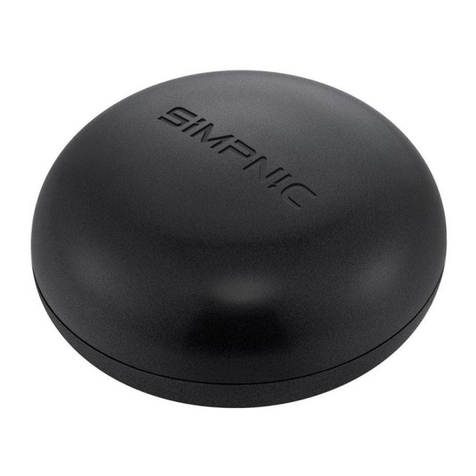
SMK RemotePoint Navigator User manual

VP4150
RemotePoint®
Navigator
User’s Manual

1. Install batteries in the battery compartment.
2. With the computer turned on, plug the receiver into a free USB
port. (If the computer displays a“Found New Hardware”dialog
box, click Next until the driver is installed.)
3. Initialize the Navigator by pressing the Blank button
within 10 minutes of connecting the receiver.
LASER Safety Statement
CAUTION: Use of controls or adjustments or performance of pro-
cedures other than those specied herein may result in hazardous
radiaon exposure.
The laser is acvated by pressing laser buon idened in the
user guide.
Do not stare into laser beam.
Do not shine a laser pointer at anyone.
Do not allow minors to use laser pointer unsupervised.
Do not point laser pointer at any reecve surface. A reect-
ed beam can be the same as a direct beam.
Do not disassemble the device.
Do not immerse in any liquid or expose to heat or moisture.
Use only within the designed operang temperature range of
0-40 deg C.
This product has no serviceable parts.
Laser Specications:
The laser used in the VP4150 complies as Class 2 laser product
with: IEC/EN 60825-1: 1994+A1+A2, and CFR Title 21 1040.10 and
1040.11, except for deviaons pursuant to Laser Noce No.50,
dated June 24, 2007.
First Use
Changing the Blank Key Code
In certain languages a dierent key code may be needed to blank the screen during a
presentation. Three key codes are provided for the various presentation programs.
To change between the codes:
• Insert the receiver into a USB port.
• Use a paper clip to press and release the recessed button on the receiver.
• The LED on the receiver will turn orange.
• Start a slide show and test the Blank screen feature.

Setting up the Navigator
Your presentation remote comes set up from the factory. In most situations no adjust-
ments are needed; however, if you have many remotes or another device which is
causing interference, complete these steps to avoid interference.
1. To train the receiver to accept the digital code from the remote, remove the USB
receiver from the USB port and reconnect it after a few seconds.
2. Press and hold the Next button (the right arrow) for 10 seconds until the red light
on the remote turns back on. The LED on the receiver should turn from ashing
green to solid green then back to ashing green.
1. Remove the battery from the remote.
2. Replace the battery and hold down the Previous button (the left arrow) for 10
seconds.
3. The LED on the remote will blink the number of the current channel. Each time you
press the Previous button it increases the channel by one.
4. Once you are on channel 4, increasing the channel will move it back to channel 1.
5. The LED will blink rapidly the number of the current channel.
6. Press the Next button (the right arrow) to conrm the channel.
7. Train the receiver again using the steps listed in“Training the Receiver.”
Training the Receiver
Changing Channels
Navigator Controls
Navigator
Model VP4150
Laser Specicaon:
Max output power: <1mW.
Emied wavelength: 620-640nm
The Class 2 laser beam is emied from the front of the device,
indicated by the aperture warning label.
Activate Laser
Previous Slide
Next Slide
Hide / Reveal

This device complies with Part 15 of the FCC Rules.
Operaon is subject to the following two condions: (1) This device may not cause harmful
interference, and (2) This device must accept any interference received, including interfer-
ence that may cause undesired operaon.
This equipment has been tested and found to comply with the limits for a CLASS B
digital device, pursuant to Part 15 of the FCC rules. These limits are designed to provide
reasonable protecon against harmful interference when the equipment is operated in
a residenal installaon. This equipment generates, uses, can radiate radio frequency
energy and if not installed and used in accordance with the instrucon guide, may cause
harmful interference to radio communicaons. However, there is no guarantee that this
radio interference will not occur in a parcular installaon. If this equipment does cause
harmful interference to radio or television recepon, which can be determined by turning
the equipment on and o, the user is encouraged to try to correct the interference by one
or more of the following measures:
Re-orient or relocate the receiving antenna.
Increase the separaon between the equipment and the receiver.
Connect the equipment into an outlet on a circuit dierent from that to which the receiver
is connected.
Consult the dealer or an experienced Radio-TV technician for help.
Noce: Any changes or modicaons not expressly approved by the party responsible for
compliance could void the user’s authority to operate the equipment. Extension cables are
not recommended, if used, they must be shielded in order to comply with the emission
limits.
IC Cercaon
The term “IC” before the cercaon/registraon number only signies that the Industry
Canada technical specicaons were met.
Declaraon of conformity
Manufacturer: SMK-Link Electronics Corporaon
3601-B Calle Tecate
Camarillo, CA 93012
Hereby, SMK-Link declares that the VP4150 is in compliance with the essenal require-
ments and other relevant provisions of Direcve 1999/5/EC.
EMC/EMI/Safety Standards:
EN 300 440-2 V1.1.1 (2001-09) EN 301 489-1 V1.4.1 (2002-08)
EN 301 489-3 V1.4.1 (2002-08) EN 60825-1 (1994, A11:1996, A2:2001)
Warranty
SMK-Link Electronics Corporaon (SMK-Link) warrants to the original end-user
purchaser of the Product (“you”) that the Product, excluding baeries, will be
free from defects in materials and workmanship under normal use and service
for one-year from date of purchase. If the product becomes defecve in materi-
als or workmanship during the warranty period, SMK-Link will, at its opon,
either repair or replace it. The replacement unit may be a more current or
upgraded model if the originally purchased model is not available. Any Product
repaired or replaced under the terms of the warranty is covered for the remain-
der of the original warranty period or ninety (90) days from the date of return
shipment, whichever is longer. This warranty does not cover products which
have been subjected to misuse, accident, physical damage, improper installaon,
abnormal operaon or handling, neglect, inundaon or re or when product
regulator label has been removed, altered or rendered illegible; nor does it cover
accessory or consumable items.
SMK-Link shall not be liable for any indirect special, incidental, or consequenal
damages. SMK-Link’s total liability for damages for any cause related to, or arising
out of, the use or inability to use the product shall not exceed the original price
paid for the product even if SMK-Link has been informed of such possibility.
If your product requires service under warranty, you must rst contact SMK-Link
product support to receive an RMA number. Shipping of defecve units back to
SMK-Link is at your expense. The contact informaon can be found on the SMK-
Link website: www.smklink.com.
This warranty does not aect your statutory rights and you may have other
rights which vary from state to state and country to country. This warranty is
understood to be the complete and exclusive agreement between the pares,
superseding all prior agreements, oral or wrien, and all other communicaons
between the pares relang to the maer of this warranty.
The above warranty does not apply to products sold in Australia. Products sold
in Australia by an authorized reseller will contain an Australia specic warranty
statement.
FCC Certication

Thank you for purchasing a RemotePoint Navigator. We
know you had other choices and we appreciate that you
chose SMK-Link for your wireless needs. So that we may
beer serve you in the future, please register online at
www.smklink.com/register.
Thank You
Support
SMK-Link Electronics Corporaon
3601-B Calle Tecate
Camarillo, CA 93012
TEL: (888) 696-3500
FAX: (805) 987-6665
Email: [email protected]
www.smklink.com
This manual suits for next models
1
Table of contents
Popular Remote Control manuals by other brands
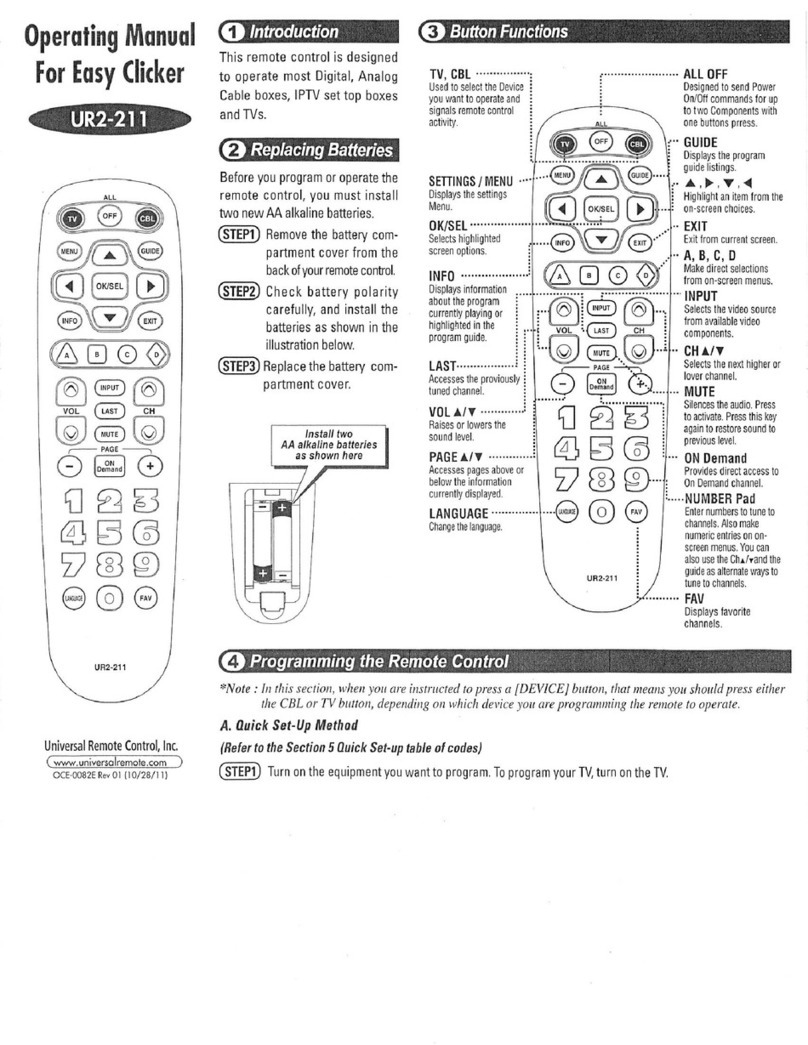
Universal Remote Control
Universal Remote Control Easy Clicker UR2-211 operating manual
Evolution
Evolution TH892 Installation and instruction manual
Chamberlain
Chamberlain 82LM quick start guide
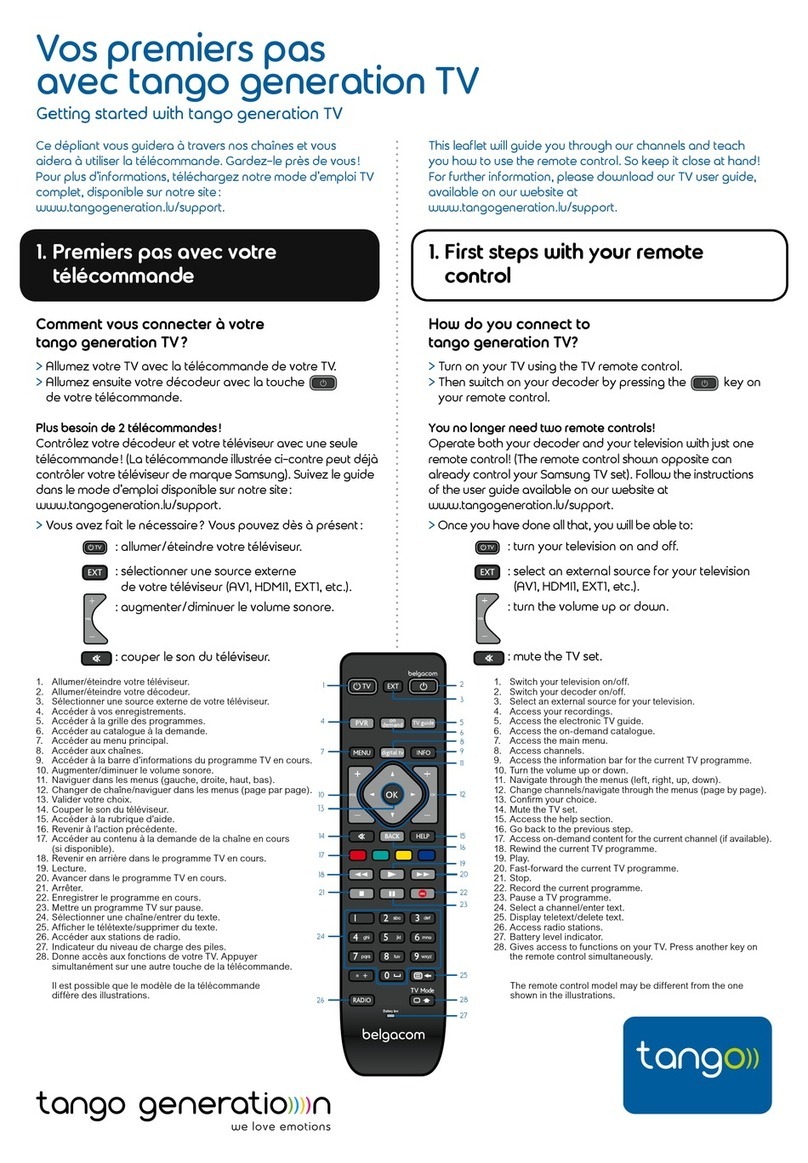
TanGO
TanGO Generation TV Getting started guide
Ecolink
Ecolink WST-100 manual
Pixel
Pixel C220 instruction manual
