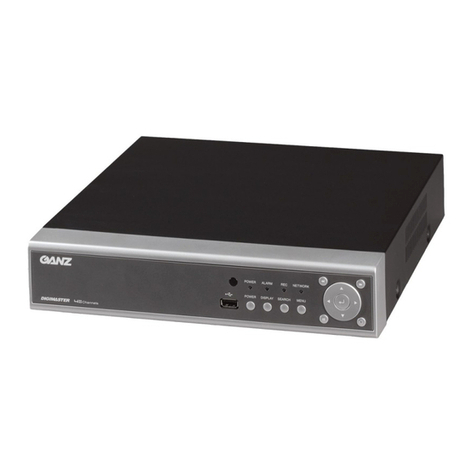
SnapAV ELAN LUM-500-NVR-4CH Quick start guide

ELAN | SpeakerCraft | Gefen | Furman | Niles | Panamax | Sunfire | BlueBOLT | Proficient | Xantech
1800 South McDowell Blvd., Petaluma CA 94954 • Toll Free: 800.472.5555 • Fax: 707.283.5901
Integration Note
Manufacturer:
SnapAV
Model Number(s):
LUM-500-NVR-4CH, LUM-500-NVR-8CH, LUM-500-NVR-16CH
Core Module Version:
7.3
Document Revision Date:
10/10/17
OVERVIEW AND SUPPORTED FEATURES
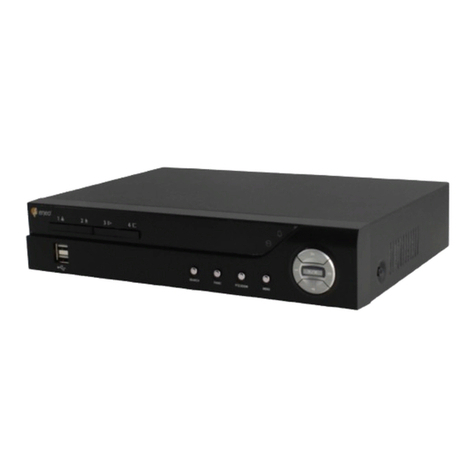
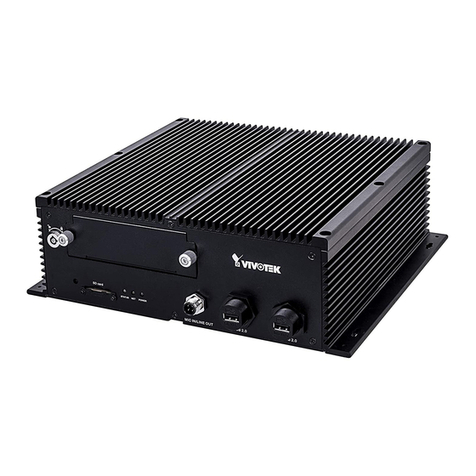
The SnapAV Luma NVRs are a line of network-enabled Video Recorders that support the connection of
up to 16 IP Cameras. The NVR Connects to the ELAN Controller via Ethernet to provide
communications, enabling control from the ELAN system.
THE FOLLOWING FEATURES ARE SUPPORTED:
Basic Control: The SnapAV Luma NVR OSD is controllable via ELAN Keypads and the SnapAV OSD
with a built in one-way IP driver and interface. This interface is assignable as a source on any zone
controller on the Media tab.
THE FOLLOWING FEATURES ARE NOT SUPPORTED:
Live or Recorded Video: Video output from the NVR is not available in the ELAN Viewer.
Any feature not specifically noted as supported should be assumed to be unsupported.

2 of 8
INSTALLATION OVERVIEW
Installing the SnapAV NVR can be broken down into the following steps:
1. During the rough-in phase install the necessary power, A/V, and network cabling for the SnapAV
Luma NVR and Cameras
2. Also during the rough-in phase, run a Cat5 wire from the location of the NVR back to the Router
to provide the Ethernet connection needed to control the NVR.
3. Install the NVR and Cameras.
4. Test the NVR and Cameras independently of the ELAN system to ensure proper operation of the
NVR and Cameras.
5. Configure the ELAN system for the NVR. This step is outlined in ELAN Configuration Details.
6. Test the system.
LUM-500-NVR CONFIGURATION
In addition to normal SnapAV Luma setup procedures, it is required to set the LUM-500-NVR devices to
static IP addresses for reliable communications. To set a NVR to a static IP address, use the remote or
attached mouse to navigate the on screen interface:
1. Press the Menu Button on the Remote.
2. Navigate to Network.
3. Select IP Address Setup
4. Set IP Mode to STATIC IP
5. Select IP ADDRESS and enter an available static IP address. Typically the first IP Video device is
set to 192.168.0.80, the second to 192.168.0.81, and so on.
6. Select SUBNET MASK and set to 255.255.255.000
7. Set the DEFAULT GATEWAY and DNS SERVER (PRIMARY) to the router IP address. By
default,192.168.000.001.
8. Press SAVE to get back to the HOME screen.

3 of 8
CONNECTION DIAGRAM
BILL OF MATERIALS
Cable provided with
Network Assy.
Cat5 Cable Assy.
3
Network
Assembly or
Switch/
Router
4
Any available
Ethernet port
g! System Controller
SnapAV NVR
2
A/V Cables
Display
1
# Device M anufacturer P art Number P roto co l Connecto r Type Notes
1 SnapAV NVR SnapAV LUM-500-NVR-xxCH Ethernet
2 Cat 5 Cable Assy Installer N/A Ethernet RJ-45 Male X RJ-45 Male
3 Switch/Router Various Various Ethernet RJ-45
4 g!System Controller ELAN Various (e.g.HC12) Ethernet RJ-45

4 of 8
ELAN CONFIGURATION DETAILS
The following table provides settings used in the ELAN Configurator. Please refer to the ELAN Configurator Reference Guide for more details.
o“<User Defined>”, etc. Type in the desired name for the item.
o“<Auto Detect >”, etc. The system will auto detect this variable.
Devices Variable Name Setting Comments
Media Tab
Two-Way Device > DVD Player Name <User Defined>
Device Type SnapAV Luma 500 NVR xxCH Select appropriate number of channels for your model
User Name <User Defined>
Password <User Defined>
IP Address <User Defined>
Port <User Defined>
One Way Interface Interface Name <User Defined>
Layout Template SnapAV
Connect to Existing
<Select from List> SnapAV Luma 500 NVR xxCH Two-WayDevice Described above

5 of 8
ELAN CONFIGURATION STEPS
CREATE NVR INSTANCE
1. Under Media tab/ Sources, Select Add New Video Server.
2. From the dialog box, choose the SnapAV Luma 500 NVR driver and click OK.

6 of 8
3. The Source configuration pane, enter the correct IP, User and Password for the NVR. Also set
the port number (default port is 80).
CREATE CUSTOM INTERFACE
1. Under Sources, select Add New Custom Source.
2. Select the SnapAV Luma template and connect to SnapAV Luma 500 NVR added in previous
steps.

7 of 8
3. Finally, add the source to the desired zone controller input as normal and arrange the
appropriate selections to manage your Display source to select the SnapAV NVR monitor out for
one-way control from the ELAN Viewer.

8 of 8
COMMON MISTAKES
1. Setting incorrect Device ID. The Device ID in the Configurator must match the ID set in the
changer’s setup menu.
2. If no One-Way Interface commands are functional, authentication may have timed out on the
SnapAV DVR. Use the Menu button and navigate to Login/Logout Menu, and select Login.
UserID and Password should populate from ELAN credentials.
3. No communication. Verify all the proper settings in the source device (step 3 above) including IP
Address, Username, Password, and Port (default Port is 80).
This manual suits for next models
2
Table of contents
