SNOWJOE SUNJOE SJSW26M-RM User manual

THANKS FOR YOUR PURCHASE
OF A REMANUFACTURED PRODUCT.
snowjoe.com
To make sure you get the most out of
your
product, be sure to register online at
to enjoy full product support.
A Division of Snow Joe®, LLC Model SJSW26M-RM Form No. SJ-SJSW26M-RM-880E-V1
R
OPERATOR’S MANUAL
PUSH LAWN SWEEPER
26-INCH
AFFIX SERIAL NUMBER LABEL

2
A Division of Snow Joe®, LLC Model SJSW26M-RM Form No. SJ-SJSW26M-RM-880E-V1
R
OPERATOR’S MANUAL
PUSH LAWN SWEEPER
26-INCH
© 2018 by Snow Joe®, LLC
All rights reserved. Original instructions. SAVE THESE INSTRUCTIONS
IMPORTANT!
Safety Instructions
All Operators Must Read These
Instructions Before Use
Always follow these safety guidelines. Failure to do so may
result in serious bodily injury or property damage.
About This Push
Lawn Sweeper
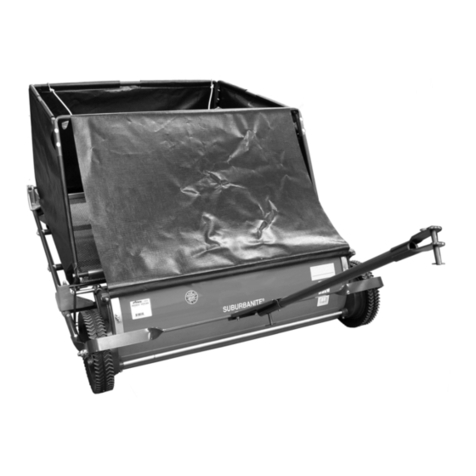
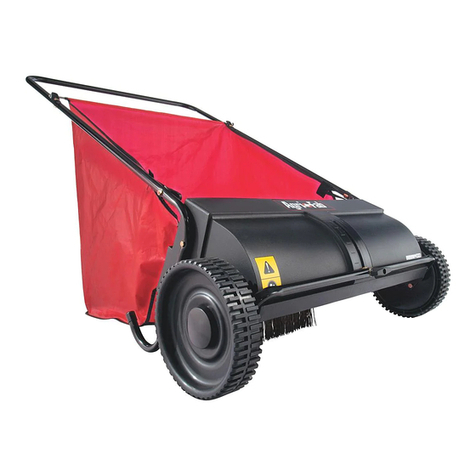
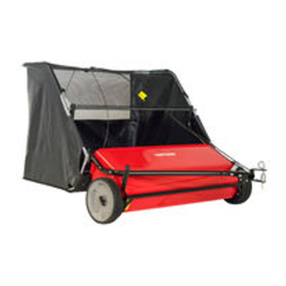
This heavy-duty push sweeper makes yard work a breeze. The
steel and poly construction is durable and lightweight, making
it easy to push, rust-resistant, and easy to clean. The extra
large sweeping span makes the job easy and saves time when
cleaning dierent types of debris from grass, such as twigs,
paper, leaves and much more. The push sweeper features an
easy one-handed function to adjust the brush head. It can be
stored in your shed, garage, and on the wall. The large
52.3 gal (198 l) hopper bag makes loading and unloading easy
and convenient.
General Safety
mWARNING! The warnings, cautions, and instructions
outlined in this manual cannot cover all possible conditions
or situations that may occur. It must be understood by the
operator that common sense and caution are factors which
cannot be built into this product and must be supplied by the
operator.
1. Do not at any time carry passengers (sitting or standing)
on the sweeper.
2. Do not permit children to operate sweeper.
3. Do not push sweeper too close to a re; the hopper and
the brushes will burn.
4. Do not exceed the maximum capacity of the hopper bag
at 52.3 gal (198 l).
5. Use caution when operating the sweeper on rough
terrain, ditches, and hillsides to prevent tipping.
6. This sweeper is not meant for street or highway use.
Watch for trac when sweeping near roadways.
7. Sweeper should be inspected for damage after striking a
foreign object.
8. Replace or repair damaged or worn parts immediately
before operating the equipment.
9. Follow all maintenance instructions outlined
in this manual.
10. Do not pick up toxic, carcinogenic, combustible, or other
hazardous materials such as asbestos, arsenic, barium,
beryllium, lead, pesticides, or other health-endangering
materials.
11. Do not pick-up burning cigarettes or other smoking
materials, ashes, matches, or similar materials.
12. To avoid personal injury, use heavy gloves when removing
glass, metal, or other sharp materials from the
hopper bag.
13. The hopper bag should be emptied after each use.
14. This push sweeper is not designed for use with liquids.
15. Do not expose to rain. Store indoors.
16. The operation of a utility sweeper can result in foreign
substances being blown into eyes. Always wear safety
goggles when operating the sweeper.
17. STAY ALERT. Watch what you are doing and use
common sense. Do not use the push sweeper when tired,
distracted, or under the inuence of drugs, alcohol, or
medication causing diminished control.
3
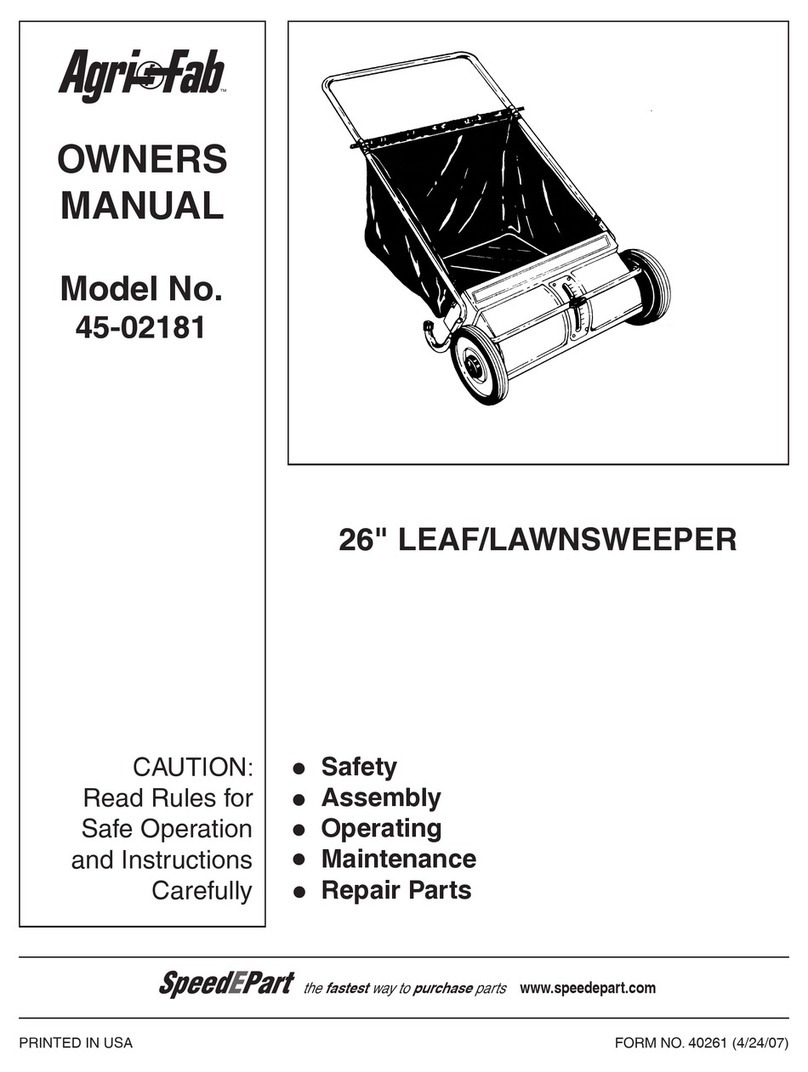
1. Handle frame
2. Long bag rod
3. Hopper bag
4. Supporting leg (2)
5. Wheel (2)
6. Sweeper assembly
7. Brush height adjustment
locking knob
8. Height adjustment tube
9. Short bag rod
10. M6 x 30 carriage bolt (8)
11. Bag rod clip (4)
12. Lock washer (4)
13. M6 nylon lock nut (4)
14. Flat washer (4)
15. Handle knob (4)
16. Wrench
Technical Data
Material...................................................... Steel + rubber
Drive Type.................................................. Walk behind (push)
Brush to Wheel Ratio ................................ 4.25 : 1
Height ........................................................ Adjustable
Brush Diameter.......................................... 10 in. (25.4 cm)
Sweeping Width .............................................. 26 in. (66 cm)
Hopper Bag Capacity...................................... 52.3 gal (198 l)
Wheel Size....................................................... 9.8 in. (25 cm)
Weight ............................................................. 34 lbs (15.4 kg)
1
2
3
4
6
7
8
9
5
10 11 12 13 14 15 16
Know Your Push Sweeper

4
Assembly
Your push lawn sweeper requires assembly. Account for all
parts and hardware before beginning assemble. If any parts
are missing or damaged, or if you have any questions or need
additional instructions, please call the Snow Joe®+ Sun Joe®
customer service center at 1-866-SNOWJOE
(1-866-766-9563).
Tools needed:
• 10 mm wrench
1. Attach the supporting leg to the sweeper assembly and
secure with M6 x 30 carriage bolt, and M6 nylon lock nut
(Fig. 1). Do not tighten yet. Repeat for the other side.
2. Assemble the handle frame over the supporting legs.
Align the holes in the handle frame and supporting legs
(Fig. 2).
3. Secure the supporting legs and the handle frame with two
M6 x 30 carriage bolts, bag rod clips, at washers, lock
washers, and handle knobs (Fig. 3).
4. Fully tighten all hardware in step 1.
5. Put two bag rod clips on the inside of each supporting
leg, secure by a M6 x 30 carriage bolt, a at washer, a
lock washer, and a handle knob (Fig. 4).
Fig. 1 Sweeper
assembly
Support leg
M6 x 30
carriage bolt
M6 nylon
lock nut
Fig. 2
Handle frame
Supporting
leg
Flat
washer
Fig. 3
Handle frame
Supporting
leg
Handle
knob
Lock washer
Bag rod
clip
M6 x 30
carriage bolt
Fig. 4
Handle knob
Lock washer
Flat
washer
Bag rod clip
M6 x 30
carriage bolt

5
6. Slide the long bag rod through the top of the hopper bag
along the stitched area. Slide the short bag rod through
the bottom of the hopper bag along the stitched area.
(Fig. 5).
7. Place the hopper bag assembly on the sweeper and
frame assembly by inserting the long bag rod in the two
rod clips on the handle frame, and the short bag rod into
the two openings on each side of the housing assembly
(Figs. 6 – 8).
8. Hook the plastic straps on the bag aps under the bag
clips on the supporting legs (Fig. 9).
Fig. 5
Hopper
bag
Long
bag rod
Short
bag rod
Stitched
area
Stitched
area
Fig. 6
Short bag rod
Hopper bag
Long
bag rod
Bag strap
Bag
rod clip
Fig. 7
Long bag
rod location
Fig. 8
Short bag
rod location
Fig. 9
Bag strap
Hopper bag
Bag rod clip

6
Operation
mWARNING! Before using the push sweeper, make sure
the sweeper is correctly assembled and all hardware is fully
tightened.
Brush Height Adjustment
1. Unlock the height adjustment lock by turning the locking
knob counter-clockwise (Fig. 10).
2. Adjust the brush height by lifting the handle up and down.
Lock your desire height by turning the locking knob
clockwise (Fig. 11).
NOTE: Sometimes you may need your hand to slide the
height adjustment tube.
Basic Sweeping Method
Push sweeper forward at normal walking speed; it does not
operate when pulled backwards.
NOTE: Always mow the grass to an even height before
sweeping.
Dumping Hopper Bag
1. To dump the hopper bag, tip the sweeper forward
allowing the material to fall out.
2. You can also take the hopper bag o of the sweeper
to dump.
mWARNING! Always dump hopper bag after each use.
Damp or wet grass and leaves will cause damage to hopper if
stored for an extended period of time.
mWARNING! DO NOT dump or unload the sweeper
too close to re as the brushes and the hopper bag can be
destroyed by excessive heat of ame.
Maintenance
General
• After each use, dump and clean the hopper.
• Rinse/dry inside and outside of the sweeper after
each use.
• Periodically check all nuts, bolts, and screws for
proper tightness.
• Annually clean out and lightly lubricate parts.
• Use a glossy enamel spray paint to touch up scratched
or worn painted metal surface.
• Never exceed the hopper load capacity rating of
52.3 gal (198 l) It will damage the hopper bag.
LOW
Fig. 10
Locking knob
Fig. 11
Use hand to
hold handle
to adjust
brush height
by lifting
up & down
Locking knob
Height
adjustment tube

7
Lubrication
The bearings in the sweeper have been pre-lubricated at
the factory. However it’s recommended that a few drops of
light oil should be added to the brush shaft bearings twice a
year. Also, the gear should be cleaned every two years. After
cleaning apply an even coat of light grease.
1. Use a screw driver to pop o the hub cap (Fig. 12).
2. To remove the wheel, take out the circlip and the at
washer; you will see the gear and the shaft (Fig. 13).
3. Remove the circlip on the gear, the gear can be taken o
easily (Fig. 14).
4. Clean the gear and lubricate the shaft as needed, then
reassemble the wheel in a reverse sequence.
Fig. 12
Hub cap
Fig. 13
Circlip
Flat washer
Wheel
Gear
Shaft
Fig. 14
Circlip
Gear

8
Brush Replacement
1. Before replacing the brush, remove the hopper bag from
the sweeper, and ip the sweeper over.
2. Remove all the nuts and bolts on the brush retainers used
for securing the brushes (Fig. 15).
3. Remove the old brushes, the long brush retainer, and the
short brush retainer from the sweeper (Fig. 16).
4. Insert new brushes between the long brush retainer and
the short brush retainer; x with M6 nuts and hex bolts
(Fig. 17).
5. Fit the brush assembly onto the brush shaft; x with a M5
nut and a M5 bolt (Fig. 18).
Fig. 15
Old
brush
Bolts
Bolts
Old
brush
Fig. 16
Old brush
Old brush Short
brush
retainers
Long brush
retainer
Fig. 17
SIDE VIEW
Brush
Brush
Long brush retainer
Short brush
retainer
Short brush
retainer
M6 nut
M6 nut
Hex bolt
Hex bolt
Fig. 18
SIDE VIEW
Brush shaft
Hex bolt
Rotation
direction
M5 nut

9
6. Repeat the steps to install the remaining brush.
NOTE: The two set of brushes should remain vertical to each
other after assembly, as shown (Fig. 19).
Storage
1. Store indoors or in protected area during severe weather
and winter months.
2. Never allow anything left in the hopper bag to remain for
an extended period of time.
3. Before storing, make sure the sweeper is dry and clean.
Service + Support
If your Sun Joe®SJSW26M-RM lawn sweeper requires service
or maintenance, please call Snow Joe®+ Sun Joe®customer
service at 1-866-SNOWJOE (1-866-766-9563) for assistance.
Model + Serial Numbers
When contacting the company or arranging service from an
authorized dealer, you will need to provide the model and serial
numbers, which can be found on the decal located on the
sweeper. Copy these numbers into the space provided below.
Fig. 19
SIDE VIEW
Brush shaft
Model #:
Serial #:
S J S W 2 6 M - R M

10
NOTES

11
SNOW JOE®+ SUN JOE®REFURBISHED GOODS WARRANTY
GENERAL CONDITIONS:
Snow Joe®+ Sun Joe®operating under Snow Joe®, LLC warrants
this refurbished product to the original purchaser for 90 days
against defects in material or workmanship when used for normal
residential purposes. If a replacement part or product is needed,
it will be sent free of charge to the original purchaser except as
noted below.
The duration of this warranty applies only if the product is put to
personal use around the household. It is the owner’s responsibility
to correctly perform all maintenance and minor adjustments
explained in the owner’s manual.
HOW TO OBTAIN YOUR REPLACEMENT PART OR PRODUCT:
To obtain a replacement part or product, please visit
instructions. Please be sure to register your unit beforehand to
speed up this process. Certain products may require a serial
number, typically found on the decal axed to the housing
or guard of your product. All products require a valid proof
of purchase.
EXCLUSIONS:
• Wearing parts like belts, augers, chains and tines are
not covered under this warranty. Wearing parts can be
purchased at snowjoe.com or by calling 1-866-SNOWJOE
(1-866-766-9563).
• Batteries are covered in full for 90-days from the date of
purchase.
Snow Joe®+ Sun Joe®may from time to time change the design
of its products. Nothing contained in this warranty shall be
construed as obligating Snow Joe®+ Sun Joe®to incorporate
such design changes into previously manufactured products, nor
shall such changes be construed as an admission that previous
designs were defective.
This warranty is intended to cover product defects only.
Snow Joe®, LLC is not liable for indirect, incidental or
consequential damages in connection with the use or misuse of
the Snow Joe®+ Sun Joe®products covered by this warranty.
This warranty does not cover any cost or expense incurred
by the purchaser in providing substitute equipment or service
during reasonable periods of malfunction or non-use of this
product while waiting for a replacement part or unit under this
warranty. Some states do not allow exclusions of incidental or
consequential damages so the above exclusions may not apply
in all states. This warranty may give you specic legal rights in
your state.
HOW TO REACH US:
We’re here to help Monday through Friday from 9AM to 6PM EST.
You can reach us at 1-866-SNOWJOE (1-866-766-9563), online
@snowjoe.
EXPORTS:
Customers who have purchased Snow Joe®+ Sun Joe®
products exported from the United States and Canada should
contact their Snow Joe®+ Sun Joe®distributor (dealer) to obtain
information applicable to your country, province or state. If for
any reason, you are not satised with the distributor’s service,
or if you have diculty obtaining warranty information, contact
your Snow Joe®+ Sun Joe® seller. If in the event your eorts are
unsatisfactory, please reach out to us directly.

snowjoe.com
Table of contents