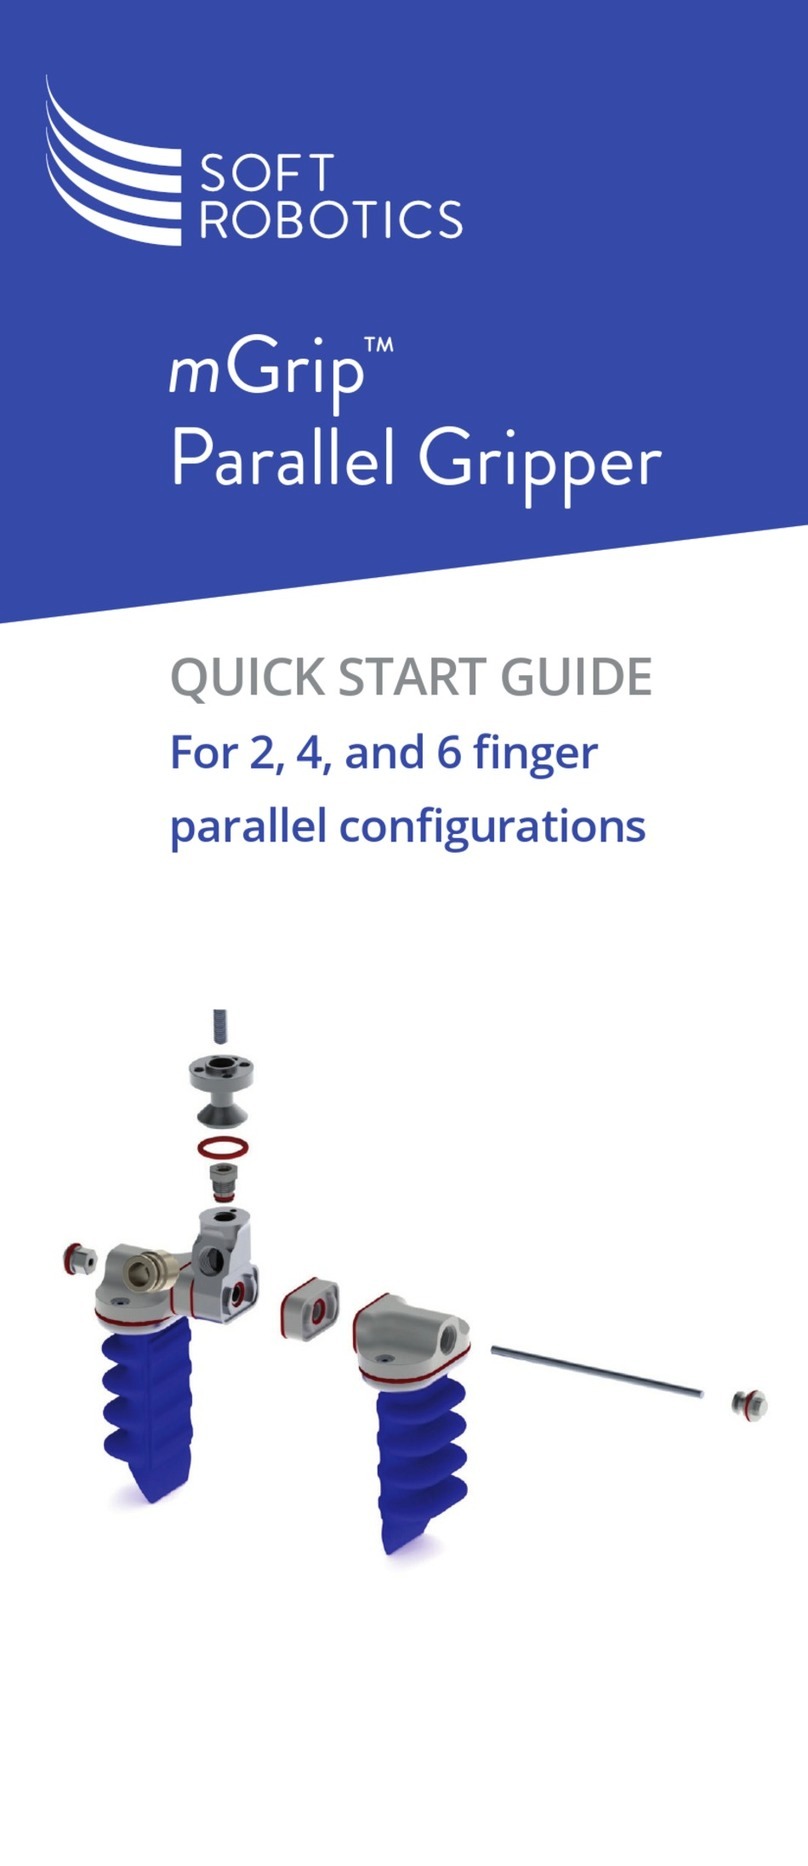
SOFT ROBOTICS mGrip Parallel Kit User manual

QUICK START GUIDE
IN YOUR KIT
All the components needed to build a
parallel tool with either 2, 4, or 6 ngers
The ability to handle a wide set of geometries with
a gripper spacing range of 40mm to 120mm
Parallel 2, 4, and 6 hubs
(6) 5mm-40mm spacers, in 5mm increments
(6) 4 accordion Soft Robotics nger modules
10mm Air Fitting
(4) Pneumatic Blanking Plates
All other relevant hardware
For more information, visit:
softroboticsinc.com/mgrip
P/N 800130 Rev A
www.SoftRoboticsInc.com
mGrip Parallel Kit
SOF T
ROBOTIC
S
GET TO KNOW THE TECHNOLOGY
mGrip is an on-demand, modular gripping system
from Soft Robotics. Developed with our award
winning technology, mGrip brings innite robotic
grasping solutions to picking challenges that
couldn’t previously be automated. mGrip allows
quick tool builds with limitless congurations and
spacing options getting users operational quickly.
Each mGrip kit comes equipped with the
components you need to build, validate and install
production-ready systems in minutes. When paired
with the Soft Robotics Control Unit, the mGrip
gripper can cycle 3-4 times per second, keeping up
with even the most demanding applications.
Reference list of parts: see back

PARALLEL KIT SPACER AND TIE ROD CHART
Grip Spacing (mm)
40
50
60
70
80
90
100
110
120
Blanking Plate
0
5
10
15
20
25
30
35
40
-
85
95
105
115
125
135
145
155
165
35
Spacer (mm) Tie Rod (mm)
3
7
Insert the M6 Screw to attach
Robot Adapter through Parallel
Hub. Torque this screw to 5Nm.
Use the M4 Hex Nut to be tightened
onto Tie Rod (after Anti-Seize applied)
and then used to attached Finger
Module and Spacer (if required) to hub.
Note: Use the tie rod and spacer chart (located on the right panel of this guide) to identify
which tie rod is best for your gripper.We recommend using food-safe anti-seize lubricant when
torquing tie-rods. We recommend Anti-Seize gel onto Tie Rod before M4 Hex Nut is installed.
Note: We recommend Anti-Seize gel
onto M6 screw before installation.
Note: Fingers can be mounted
directly to the hub if spacers are
not being used. Note: We recommend Anti-Seize gel onto
Tie Rod before M4 Cap Nut installation.
11
Repeat steps 5 through 10 to
secure other Spacers and Finger
Modules to the Parallel Hub
(for Parallel 4 and Parallel 6 EOATs)
4
8
Ensure O-Rings are installed
on the Parallel Hub and did not
come loose during shipping.
Install the second Spacer, if
required, onto the opposite side
of the Parallel Hub by passing
the tie rod through the center of
the spacer and pressing rmly
against the Parallel Hub.
Install the Air Fitting onto
the desired Parallel Hub.
Torque to 6Nm.
Install the desired Spacer
onto the Parallel Hub (if
required) by aligning the
features and pressing rmly.
Install the second Finger
Module onto Spacer and
through the tie rod.
1 5 9
2
Install the Robot Adapter
onto the Parallel Hub.
6
Install Finger Module onto
the Spacer by aligning
features and pressing rmly.
10
Install an M4 Sealing Cap
Nut onto the end of the tie
rod to secure the Spacers
and Finger Modules in place.
Torque Hex Nut to 2.2Nm.

QUICK START GUIDE
IN YOUR KIT
All the components needed to build a
parallel tool with either 2, 4, or 6 ngers
The ability to handle a wide set of geometries with
a gripper spacing range of 40mm to 120mm
Parallel 2, 4, and 6 hubs
(6) 5mm-40mm spacers, in 5mm increments
(6) 4 accordion Soft Robotics nger modules
10mm Air Fitting
(4) Pneumatic Blanking Plates
All other relevant hardware
For more information, visit:
softroboticsinc.com/mgrip
P/N 800130 Rev A
www.SoftRoboticsInc.com
mGrip Parallel Kit
SOF T
ROBOTIC
S
GET TO KNOW THE TECHNOLOGY
mGrip is an on-demand, modular gripping system
from Soft Robotics. Developed with our award
winning technology, mGrip brings innite robotic
grasping solutions to picking challenges that
couldn’t previously be automated. mGrip allows
quick tool builds with limitless congurations and
spacing options getting users operational quickly.
Each mGrip kit comes equipped with the
components you need to build, validate and install
production-ready systems in minutes. When paired
with the Soft Robotics Control Unit, the mGrip
gripper can cycle 3-4 times per second, keeping up
with even the most demanding applications.
Reference list of parts: see back
Other SOFT ROBOTICS Robotics manuals
