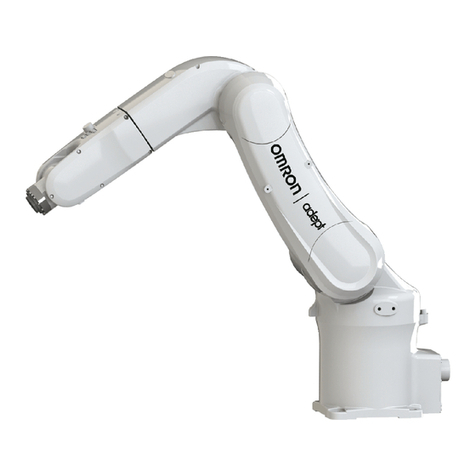
SOFT ROBOTICS mGrip P4Y User manual

QUICK START GUIDE
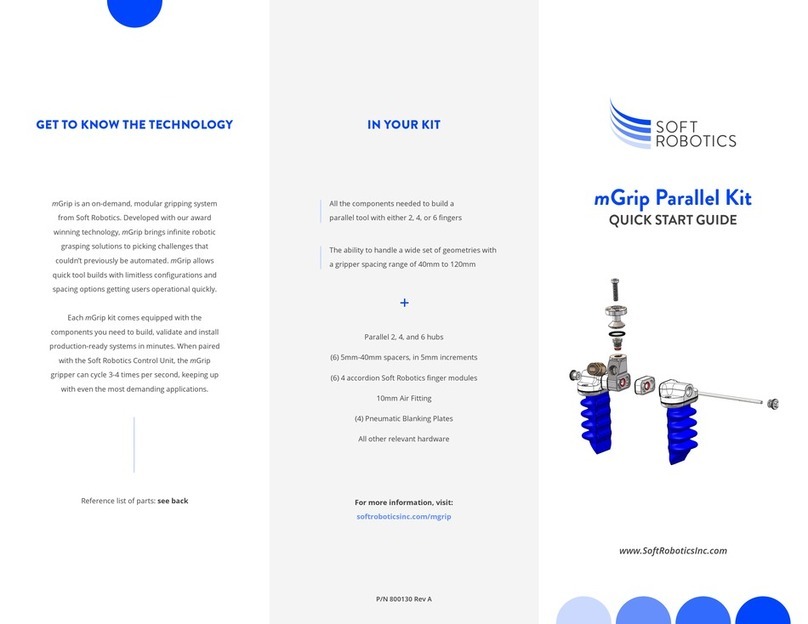
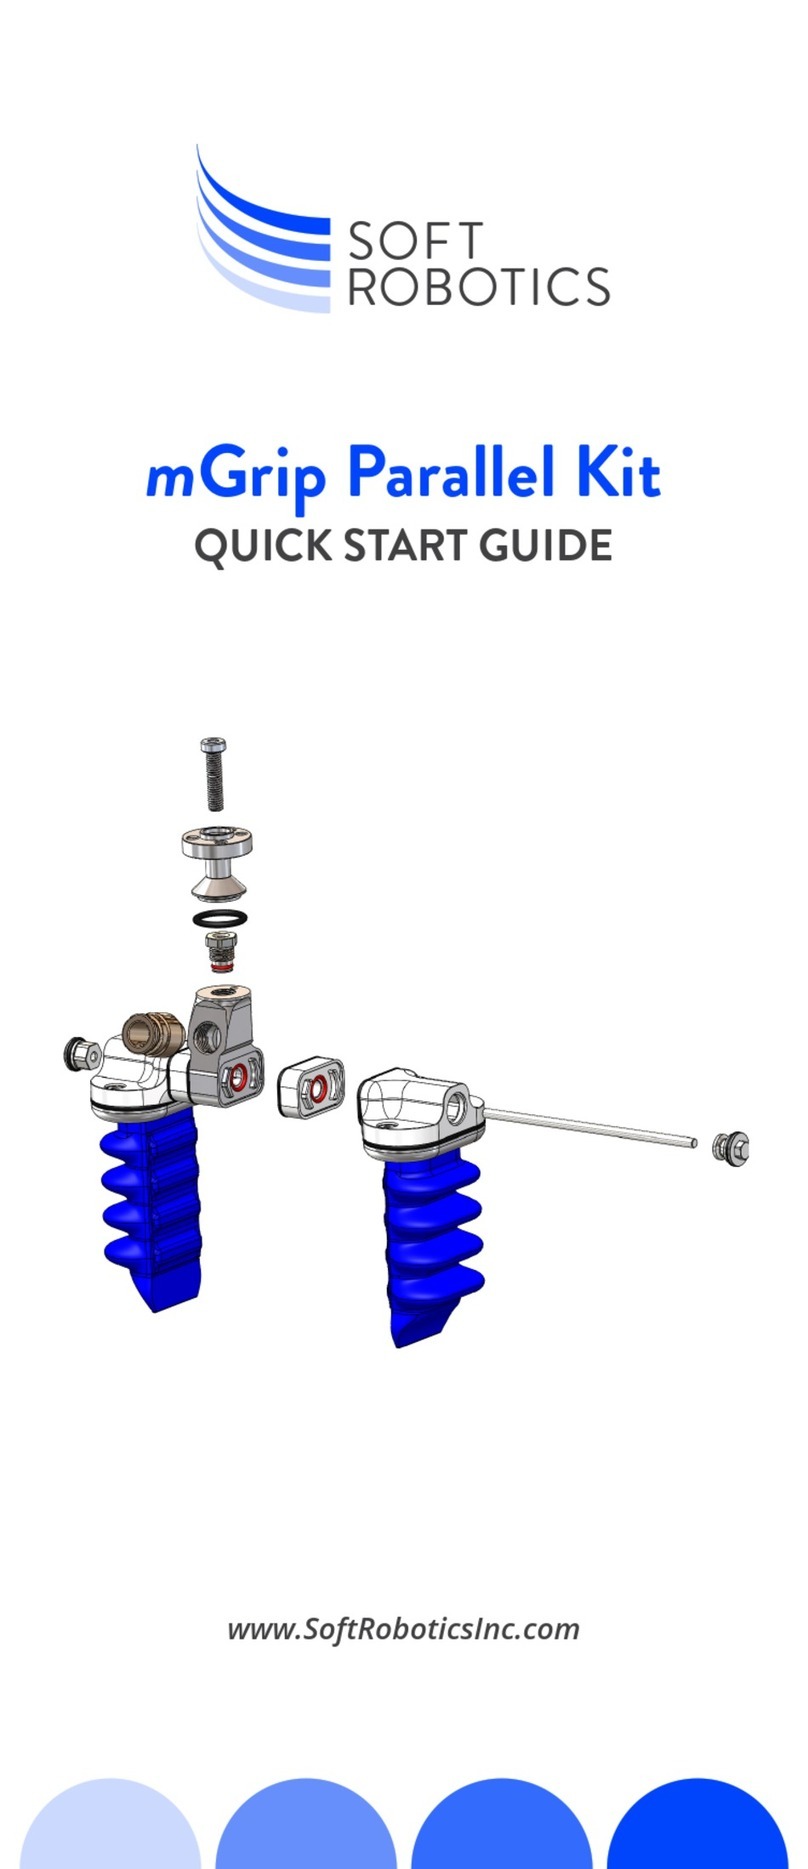
IN YOUR KIT
(1) Pre-assembled 4 fi nger parallel gripper
(1) Soft Robotics Control Unit, Generation 2
63mm Robot Adapter
31.5mm Robot Adapter
(4) 5mm - 30mm spacers, in 5mm increments
10mm Air Fitting
Pneumatic Tubing
+ All other relevant hardware
For more information, visit:
softroboticsinc.com/mgrip-p4y
P/N 800141 Rev C
www.SoftRoboticsInc.com
mGrip P4Y
SOF T
ROBOTIC
S
GET TO KNOW THE TECHNOLOGY
mGrip is an on-demand, modular gripping system
from Soft Robotics. The mGrip P4Y kit is our
one-of-a-kind soft robotic gripping system, specifi cally
designed for Yaskawa Robots. The mGrip P4Y kit
enables adaptive handling of unstructured tasks and
objects of varying size, shape and weight. This single,
integrated, and easy-to-use solution is perfect for
automating applications like:
Reference list of parts: see back
ASSEMBLY PACKAGINGPICK & PLACE

QUICK START GUIDE
IN YOUR KIT
(1) Pre-assembled 4 fi nger parallel gripper
(1) Soft Robotics Control Unit, Generation 2
63mm Robot Adapter
31.5mm Robot Adapter
(4) 5mm - 30mm spacers, in 5mm increments
10mm Air Fitting
Pneumatic Tubing
+ All other relevant hardware
For more information, visit:
softroboticsinc.com/mgrip-p4y
P/N 800141 Rev C
www.SoftRoboticsInc.com
mGrip P4Y
SOF T
ROBOTICS
GET TO KNOW THE TECHNOLOGY
mGrip is an on-demand, modular gripping system
from Soft Robotics. The mGrip P4Y kit is our
one-of-a-kind soft robotic gripping system, specifi cally
designed for Yaskawa Robots. The mGrip P4Y kit
enables adaptive handling of unstructured tasks and
objects of varying size, shape and weight. This single,
integrated, and easy-to-use solution is perfect for
automating applications like:
Reference list of parts: see back
ASSEMBLY PACKAGINGPICK & PLACE

3
Insert the M6 Screw to attach
Robot Adapter through Parallel
Hub. Torque this screw to 5Nm.
Note: Anti-seize is recommended
for the M6 screw
Note: We recommend Anti-Seize gel onto Tie Rod before M4
Sealing Cap is installed
Note: Fingers can be mounted
directly to the hub if spacers are
not being used.
4
8
Ensure O-Rings are installed
on the Parallel Hub and did not
come loose during shipping.
Install the second Spacer
onto the opposite side of the
Parallel Hub by passing the
tie rod through the center of
the spacer and pressing fi rmly
against the Parallel Hub.
Install the Air Fitting onto
the desired Parallel Hub.
Torque to 6Nm.
Install the desired Spacer
onto the Parallel Hub (if
required) by aligning the
features and pressing fi rmly.
Install the second Finger
Module onto Spacer and
through the tie rod
1 5 9
2
Install the Robot Adapter
onto the Parallel Hub.
6
Install Finger Module
onto the Spacer.
10
11
Install an M4 Sealing Cap Nut onto the end of the tie rod to
secure the Spacers and Finger Modules in place. Torque Hex
Nut to 2.2Nm
Repeat steps 5-10 for remaining fi ngers
PARALLEL KIT SPACER AND TIE ROD CHART
Grip Spacing (mm)
40
50
60
70
80
90
100
0
5
10
15
20
25
30
85
95
105
115
125
135
145
Spacer (mm) Tie Rod (mm)
7
Insert M4 Hex Nut into Tie Rod
Note: Use the tie rod and spacer
chart (located on the right panel of
this guide) to identify which tie rod is
best for your gripper. We recommend
Anti-Seize gel onto Tie Rod before M4
Hex Nut is installed

QUICK START GUIDE
IN YOUR KIT
(1) Pre-assembled 4 fi nger parallel gripper
(1) Soft Robotics Control Unit, Generation 2
63mm Robot Adapter
31.5mm Robot Adapter
(4) 5mm - 30mm spacers, in 5mm increments
10mm Air Fitting
Pneumatic Tubing
+ All other relevant hardware
For more information, visit:
softroboticsinc.com/mgrip-p4y
P/N 800141 Rev C
www.SoftRoboticsInc.com
mGrip P4Y
SOF T
ROBOTICS
GET TO KNOW THE TECHNOLOGY
mGrip is an on-demand, modular gripping system
from Soft Robotics. The mGrip P4Y kit is our
one-of-a-kind soft robotic gripping system, specifi cally
designed for Yaskawa Robots. The mGrip P4Y kit
enables adaptive handling of unstructured tasks and
objects of varying size, shape and weight. This single,
integrated, and easy-to-use solution is perfect for
automating applications like:
Reference list of parts: see back
ASSEMBLY PACKAGINGPICK & PLACE
Other SOFT ROBOTICS Robotics manuals
