Solar Sun Rings Solar Sun Ring in Plain Blue User manual

2
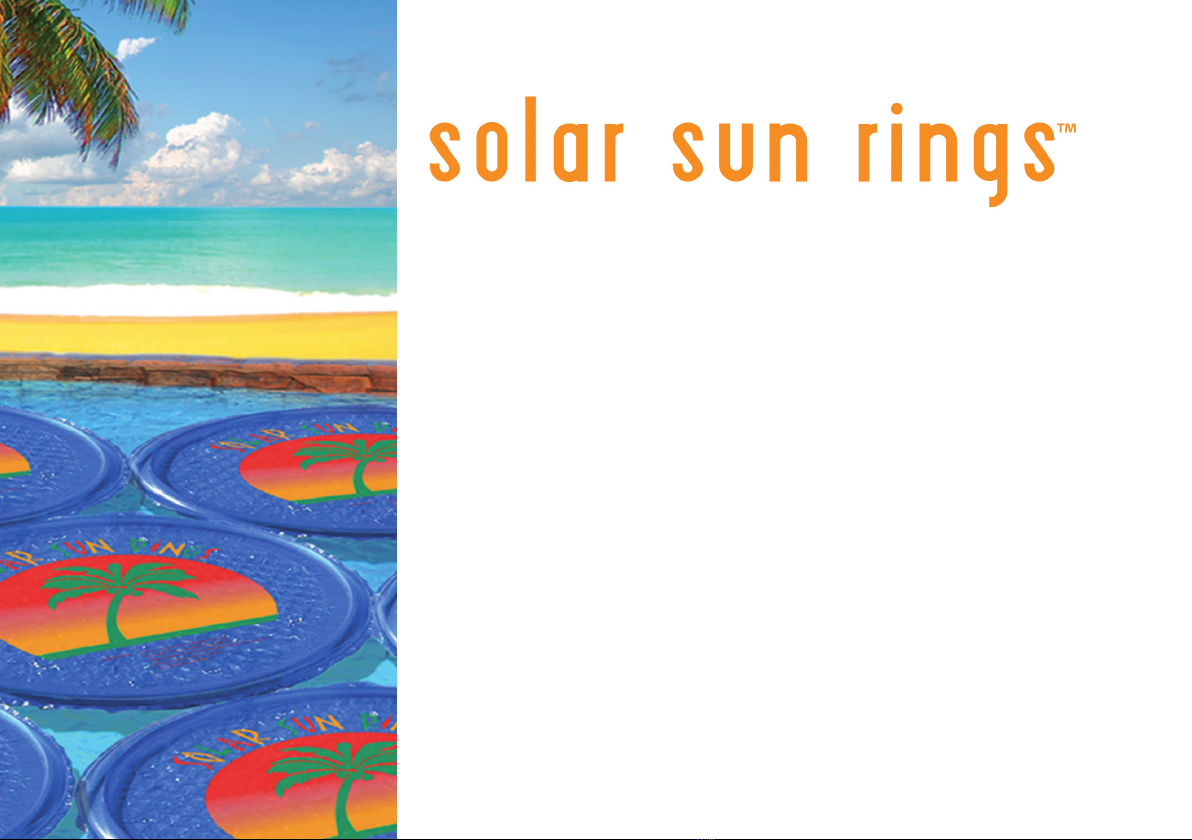
Sustainable solar
heating for your
swimming pool.
No other device in the market can oer
direct heat generation as provided
by Solar Sun Rings.
Up to 21,000 BTU per ring

3
TABLE OF CONTENTS
Why Choose Solar Sun Rings? 4
How They Work 6
Features & Specications 7
Instructions For Use 8
Variations 10
Storage Guide 11
Commen Damage Assessment Guide 12
Warranty 15
4
Why Choose
?
SAFETY Solar Sun Rings (SSR) were designed with safety in mind, they are made to
separate in case of an accidental fall in and are made out of 100% infant safe vinyl.
PERFORMANCE When compared with according to output per square meter, no
other passive solar heating type of device or cover matches the output of (SSR).
EASY TO USE Solar Sun Rings can be easily placed and removed by one person
within a few minutes. Once placed, they will connect together by corrosion-
proof magnets.
ECONOMICAL The proven performance and low cost of (SSR) combines for eco-
nomical pool heating requiring little or no extra maintenance or upkeep costs.
ENVIRONMENTALLY SOUND Solar Sun Rings can heat your pool while not em-
mitting any greenhouse gases. They also leave no waste by products and are
100% recyclable.
SMART SUSTAINABLE ENERGY While utilizing the entire spectrum of sunlight
as the source of heat, (SSR) are the most energy ecient pool heating device
available in the market.
5
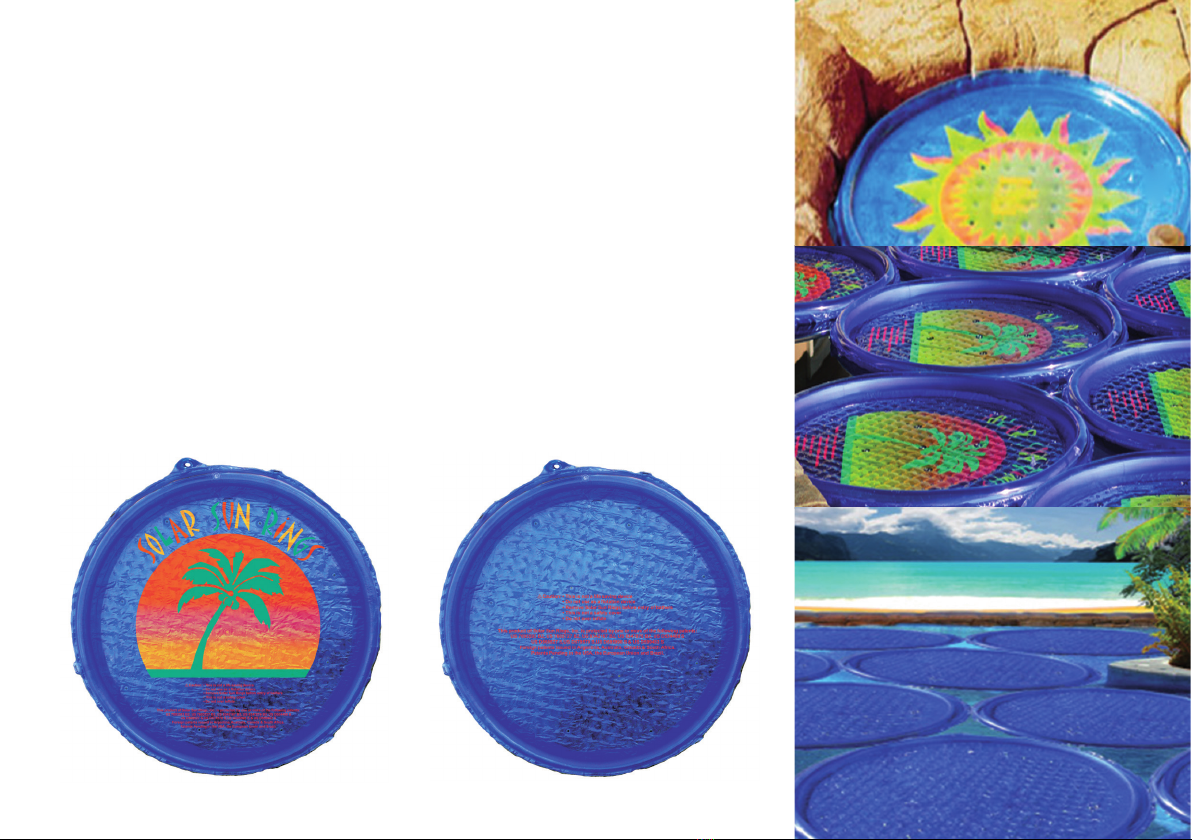
VARIATIONS
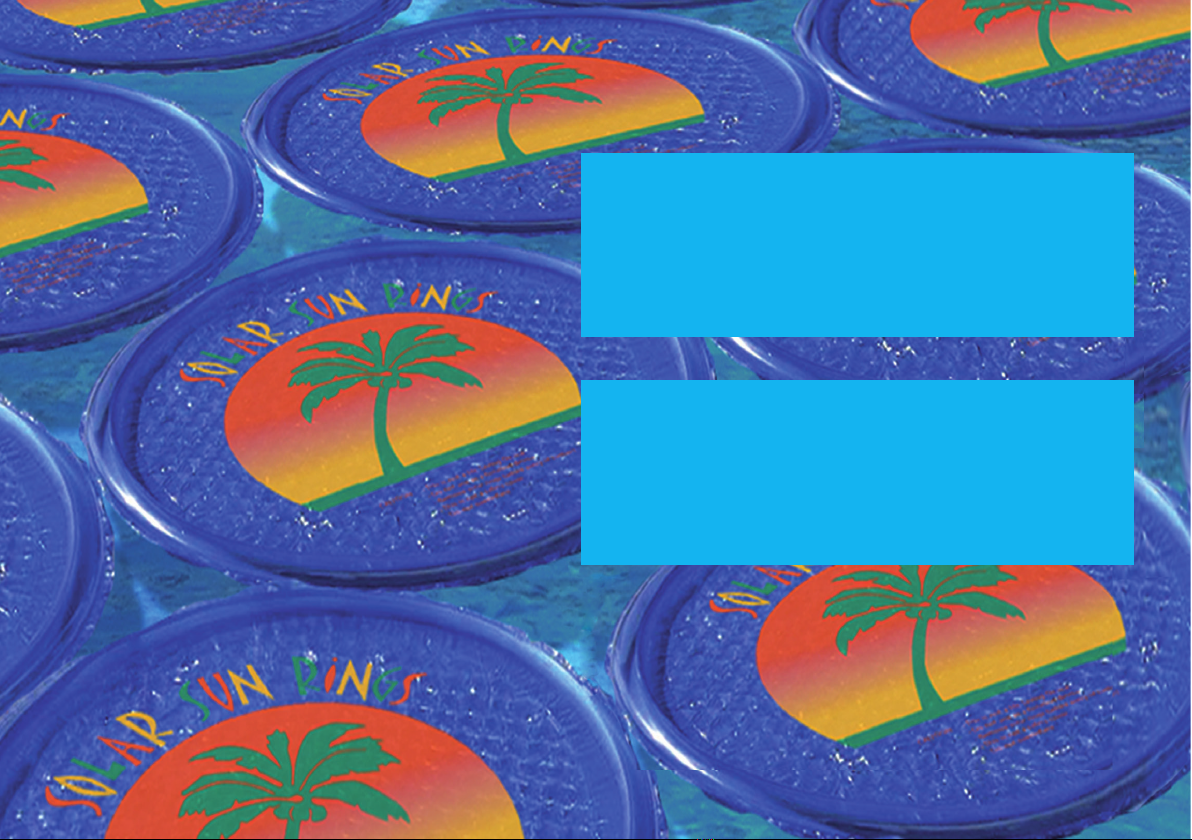
• Solar Sun Ring with Palm Tree Design
• Solar Sun Ring in Plain Blue
• Solar Sun Ring with Palm Tree Design and Water Anchor
• Solar Sun Ring in Plain Blue and With Water Anchor
* Details about Water Anchor see page 7
This manual suits for next models
3
Table of contents


