Solari lineadesign dator 60 User manual

Ora, minuti,
giorno e data!
QUICK START GUIDE

Powering
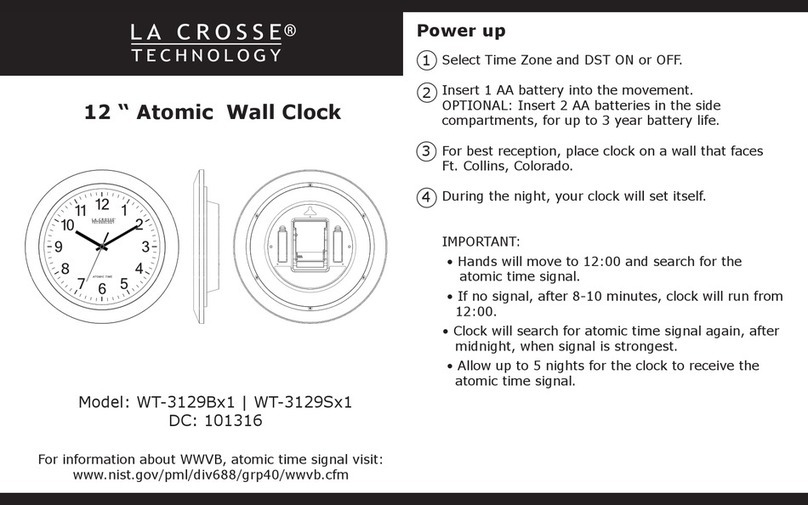
3 alkaline batteries LR20 1,5V
• Fig. 1: remove the cover on the right side (where the logo is positio-
ned). To open the cover carefully press the three levers marked with
the letter A and push outward. Push the cover back as indicated by
the arrow marked B so that it can be opened and removed easily.
The cover opens from the side near the glass as indicated by the
C and D rows;
• once it is open, remove the pins (see Fig. 2a and 2b). For the hori-
zontal model, remove the pins from both sides;
• to insert the batteries see Fig. 3. Move the sliding battery contact
all the way to the left (toward the glass) as indicated by the E arrow.
The insert the batteries according to the polarity indicated on the
cover. Be sure that they are completely pushed in and then slide
back the battery contact. If the operation is executed correctly, the
clock will make an alternating beeping sound.
| 1
Preparation for
programming
Use the keypad (Fig. 4)
• press the red Set/Synk key for a second and the clock will make a
beeping sound and stop;
• press the MO (month) key and continue until January;
• press the DM (day month) key until it indicates 1;
• press the DW (day week) key until it indicates Monday;
• press the H (hours) key until it indicates 0;
• press the M(minutes) key until it indicates 00.
The clock is now in the RESET position.
IMPORTANT batteries replacement /
Before replacing the batteries of the clock, make sure that the remai-
ning energy inside the CPU is exahusted: press the “+” or “-” button.
If the clock makes a sound signal, keep pressing the button until it
stops.
After this tasks, you can insert the new batteries and re-activate the
clock.

| 2
FIG. 1
FIG. 3
FIG. 2a
FIG. 2b FIG. 4 - KEYPAD

| 3
Programming
• Press the yellow Clear key, the clock will beep once;
• press the YR key, the clock will beep once;
• press the key corresponding to the type of the year according to
table 1, the clock will beep once;
• press the MO (month) key so that it shows the current month;
• press the DM (day month) key so that it shows the current day;
• press the DW (day week) key so that it shows the current day of
the week;
• press the H (hours) key until it shows the current hour;
• press the M (minutes) key until it shows the current minutes.
make a beep. THE CLOCK IS PROGRAMMED.
At this point close the cover, insert the hooks in the holes, and move
it all the way back. Align the cover with the border of the glass. Slide
forward. Press the hooks to block them.
IMPORTANT: the pins must not be reinserted but preserved.
N.B. To change Daylight Saving / Standard Time: press the “+” and “-”
buttons located on the side cover with one of the pins. The “+” button
advance an hour. To move back an hour press the “-” button and move 23
hours until -1 is reached.
TABLE 1
0 leap year M
KEY YEAR
2012
1 leap year +1 H2013
2 leap year +2 DW 2014
3 leap year +3 DM 2015
0 leap year M2016

| 4
Wall installation
DATOR 60 VERTICAL
Equipment:
Small parts and mounting brackets are included in the packaging:
• 4 self-tapping screws 4x30;
• 4 washers;
• 4 Fischer dowels 6 mm;
• metal mounting support.
PROCEDURES
• Drill four holes in the wall, with a vertical mounting bracket, the wa-
sher and the self-tapping screw according to the order indicated
in Fig. 5.1;
• insert the Fischer dowel, the metal mounting bracket, the washer
and the self-tapping screw according to the order indicated in Fig.
5.1;
• now that the supports are secured to the wall, hang the clock inser-
ting the supports into grooves indicated by the F arrow in Fig. 5.2.
FIG. 5.1 FIG. 5.2
175 mm
77 mm

| 5
DATOR 60 HORIZONTAL
Equipment:
Small parts and mounting brackets are included in the packaging.
• 2 self-tapping screws 4x30;
• 2 washers;
• 2 Fischer dowels 6 mm
• metal mounting support.
PROCEDURES
• Drill two holes in the wall, with a horizontal distance of 524 mm;
• insert the Fischer dowel, the metal mounting bracket, the washer
and the self-tapping screw according to the order indicated in Fig.
6.1;
• now that the supports are secured to the wall, hang the clock by in-
serting the supports into grooves indicated by the F arrow in Fig. 6.2.
FIG. 6.1 FIG. 6.2
524 mm

| 6
Information
The clocks are equipped with a LowBattery system, that works
only if the batteries are replaced quickly (expert users).
internal counter of the micropocessor continues regularly until the
battery voltage drops below a value of 2,7 V (approximately 14 days).
Once the batteries are replaced, if programming has not been dele-
ted, press the M
automatically set themselves to the correct time and date.
TECHNICAL FEATURES
Powering / 3 alkaline batteries LR20 1,5V
Protection / transparent polycarbonate
Case / PC-ABS (white or black)
Materials / shockproof and self estinguishing
Flaps / black PVC with white text
Digit height / 50 mm
Flap height / 30 mt
Flap display / driven by stepper motor
Time basis / quartz with a precision of ±1 minute/year (from 0° to 35°C)
Keypad / for programming and commissioning
Operating temperature / from 0° to +35°C
NOTES
technical/functional characteristics at any time without warning. It as-
sumes no responsibility to the indications, instructions or illustrations
contained within the document that may cause damage or an incor-
rect operation of the product when applied.
A TRADEMARK OF SOLARI DI UDINE SPA
via Gino Pieri 29, 33100 Udine (UD) - ITALY
+39 0432 497278
77021207 08/2016
Table of contents
