SolarSynthesis SuperCharge7 Assembly instructions
MAN-61225-07-14 | Revision B
Owner’s Manual & Safety Instructions
Save This Manual Keep this manual for the safety warnings and precautions, assembly, operating, inspection,
maintenance and cleaning procedures. Write the product’s serial number in the front of the manual near the product
photo. Keep this manual in a safe and dry place for future reference.
SolarSynthesis® Solar Powered USB Charging Station
Item #61225-07
Item #61225-14
Serial #______________
WARNING
Read this material before using this product. Failure to do
so can result in serious injury.
SAVE THIS MANUAL.
For Customer Support or general questions regarding this
product, please e-mail support@solarsynthesis.us

MAN-61225-07-14 | Revision B
Important Safety Information
WARNING Read all safety warnings and instructions. Failure to follow the warnings and
instructions may result in electric shock, fire and/or serious injury. Save all warnings and
instructions for future reference. The warnings, precautions, and instructions discussed in this
instruction manual cannot cover all possible conditions and situations that may occur. It must be
understood by the operator that common sense and caution are factors which cannot be built into
this product but must be supplied by the operator.
SolarSynthesis®
SolarSynthesis® Solar Powered Charging Station is your off-grid power solution. The unit is equipped with
an on-board solar panel, solar rechargeable battery, and an internally mounted control electronics
module. This aesthetically pleasing unit is ideal for permanent installation around the garden, playscape,
patio or any other off-grid location where small amounts of power are routinely required.
Assembly
SolarSynthesis® Solar Powered Charging Stations ship with the battery and solar panel disconnected.
Please follow these simple assembly instructions:
Tools Required: Philips Head Screw Driver
1. Remove the three screws retaining the solar cover to the housing. Set the screws aside and
remove the solar cover.
2. Once you have removed the cover, Connect the Red wire (+) of the control electronics “battery”
line to the Red wire (+) on the battery. These two wires are taped together for ease of
identification. Note, the unit ships with the battery fully charged.
3. Connect the DC Connector coming from the control electronics “solar”line to the Solar Cover.
4. NOTE: There is an 18 Volt AC Adapter included with your unit. At any time, you can recharge your
battery by unplugging the solar panel and plugging in the AC Adapter. When the unit is fully
charged, the green light on the control electronics box will flash.
5. The underside of the cover is labeled for the front and back to assure the correct orientation.
Reattach solar cover to housing with the three screws removed in step 1.
Missing Parts? Need Assistance? General Questions?
DO NOT RETURN THE PRODUCT TO THE STORE
E-mail support@solarsynthesis.us for rapid customer service

MAN-61225-07-14 | Revision B
Installation
1. Select an appropriate location for your solar charging station where the solar panel receives maximum sun and is not
blocked by shadows. Ideally, the unit should face towards the south in the northern hemisphere to maximize the angle of
the sun.
2. For permanent installation on wood surfaces, you may purchase a mounting hardware kit SKU 61228-06 at
www.solarsynthesis.us. Install lag bolt and washed to post base and torque to 60 ft-lbs. For concrete surfaces, an anchor
bolt can be used to secure the unit.
3
. Once post base is torqued, slide charging station over post base. Place charging station centered over the post base.
Drill small pilot holes in the side of the housing and follow with self-tapping screws provided with the kit.
Operation
1. SolarSynthesis® Solar Powered Charging Stations are shipped ready for immediate use following proper assembly and
installation instructions.
2. Lift the waterproof protective cap to expose the dual USB outlet. The blue LED indicator light will be illuminated blue
if the battery is sufficiently charged. If the light is not illuminated, the battery does not have sufficient charge and
requires exposure to adequate sunlight for a duration sufficient for the battery to reach the supply resume voltage
3. With your phone connected to its charger, insert the USB connector into one of the 2.1A receptacles
4. The 2.1A is designed to provide optimized charging speed
5. It is recommended that you disconnect the battery from the control electronics before storing during periods of non-
use. This will prevent the battery from discharge, which will extend its life.
6. NOTE: There is an 18 Volt AC Adapter included with your unit. At any time, you can recharge your battery by
unplugging the solar panel and plugging in the AC Adapter. When the unit is fully charged, the green light on the
control electronics box will flash.
Specifications
USB Output SuperCharge7™SuperCharge14™
Nominal Output Voltage 5V 5V
Output Receptacle 4.2A 4.2A
Supply Stop Voltage 10.6V 10.6V
Charge Stop Voltage 14.4V 14.4V
Supply Resume Voltage
12.0V
12.0V
Solar Panel Input SuperCharge7™SuperCharge14™
Maximum Power 6W 6W
Open Circuit Voltage 22.0V 22.0V
Optimum Circuit Voltage 17.5V 17.5V
MAN-61225-07-14 | Revision B
Short-Circuit Current 0.36A 0.36A
Optimum Circuit Current 0.34A 0.34A
Cell Type Monocrystalline Monocrystalline
Load Parameters
2400Pa
2400Pa
Battery SuperCharge7™SuperCharge14™
Nominal Voltage 12 volts (6 cells) 12 volts (6 cells)
Nominal Capacity 20-hr.
(350mA to 10.50 volts) 7.0
AH (700mA to 10.50 volts) 14.0 AH
Max Discharge Current (7 Min.) 21.0 amperes 42.0 amperes
Max Short-Duration Discharge Current (10 sec.) 70 amperes 140 amperes
Charge Range -4° F to 122° F -4° F to 122° F
Discharge Range -40° F to 140° F -40° F to 140° F
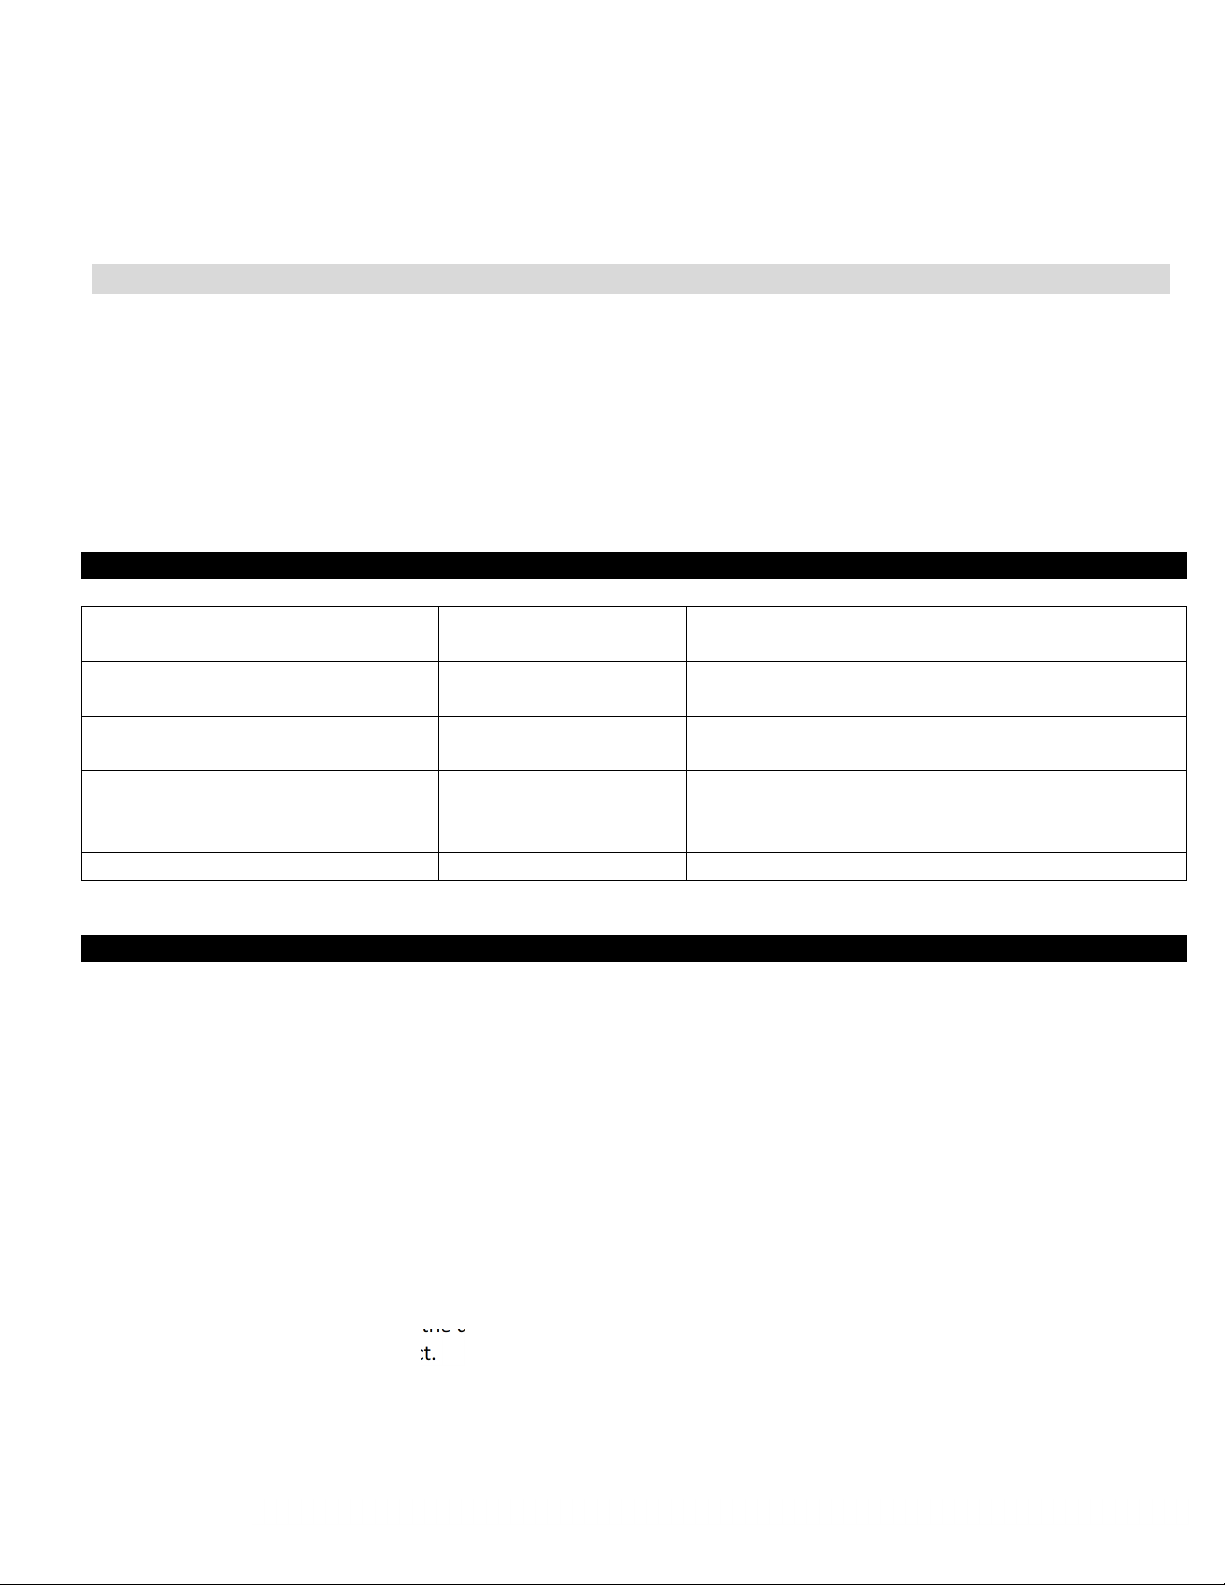
Troubleshooting
Symptom Problem Correction
USB LED does not light up Insufficient battery
charge
Expose to adequate sunlight for a duration sufficient
for the battery to reach its supply resume voltage
Solar panel not charging battery with
sunlight present
Outside temperature out
of charge range
Assure the temperature is within the appropriate
charge range
Dirt or debris covering
solar panel
Keep panel free of dust, dirt and debris to promote
optimal performance
Solar panel not charging battery with
minimal sunlight conditions
Solar panel voltage falls
below the battery
voltage
Expose to adequate sunlight such that the solar
panel voltage exceeds the battery voltage
If symptoms persist Contact SolarSynthesis® support
Limited 1 Year Warranty
SolarSynthesis® makes every effort to assure that its products meet high quality and durability standards, and warrants to
the original purchaser that this product is free from defects in materials and workmanship for the period of 1 year from
the date of purchase. This warranty does not apply to damage due directly or indirectly, to misuse, abuse, negligence or
accidents, repairs or alterations outside our facilities, criminal activity, improper installation, normal wear and tear, or to
lack of maintenance. We shall in no event be liable for death, injuries to persons or property, or for incidental, contingent,
special or consequential damages arising from the use of our products. Some states do not allow the exclusion or limitation
of incidental or consequential damages, so the above limitation of exclusion may not apply to you. This warranty is
expressly in lieu of all other warranties, express or implied, including the warranties of merchantability and fitness.
To take advantage of this warranty, the product or part must be returned to us with transportation charges prepaid. Proof
of purchase date and an explanation of the complaint must accompany the merchandise. If our inspection verifies the
defect, we will either repair or replace the product at our election or we may elect to refund the purchase price if we
cannot readily and quickly provide you with a replacement. We will return repaired products at our expense, but if we
determine there is no defect, or that the defect resulted from causes not within the scope of our warranty, then you must
bear the cost of returning the product.
This manual suits for next models
3
Popular Batteries Charger manuals by other brands

SG Micro
SG Micro SGM41562A manual

Samlex Europe
Samlex Europe PSC1600-12-60 manual

Sony
Sony DC-VQ800 operating instructions

Chicago Electric
Chicago Electric 3418 Assembly and operating instructions

Kapsys
Kapsys KAP70600 Quick starting guide

Associated Equipment
Associated Equipment INTELLAMATIC 9407 Operator's manual


