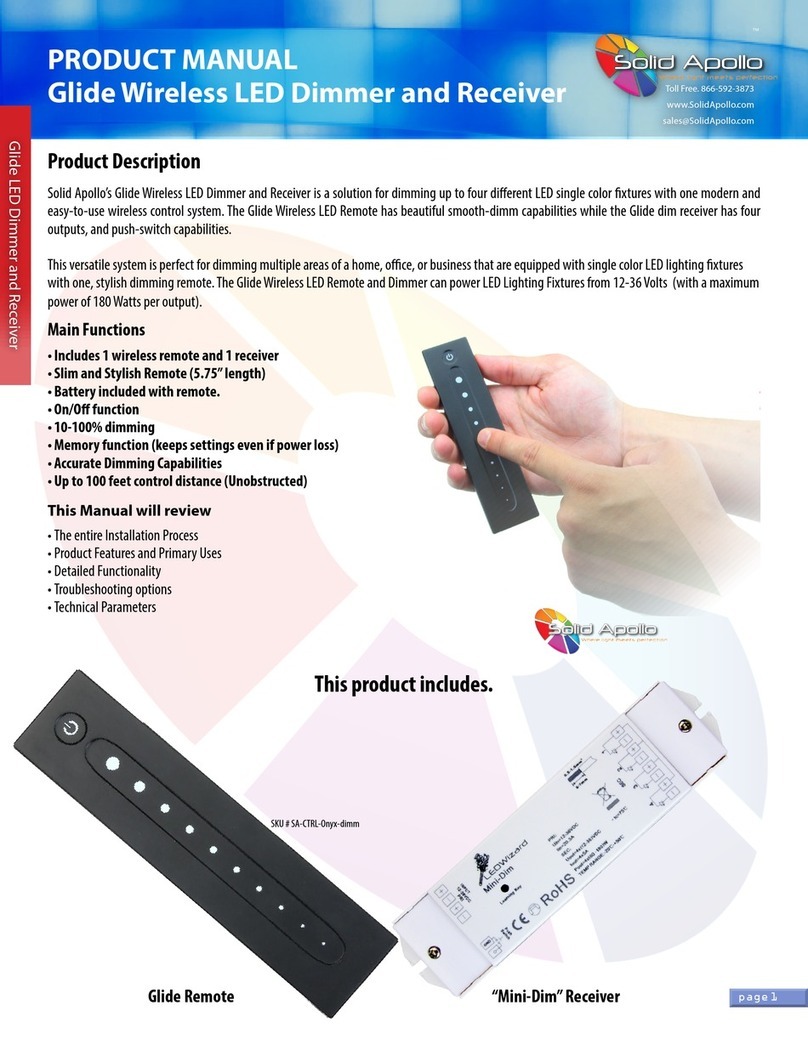
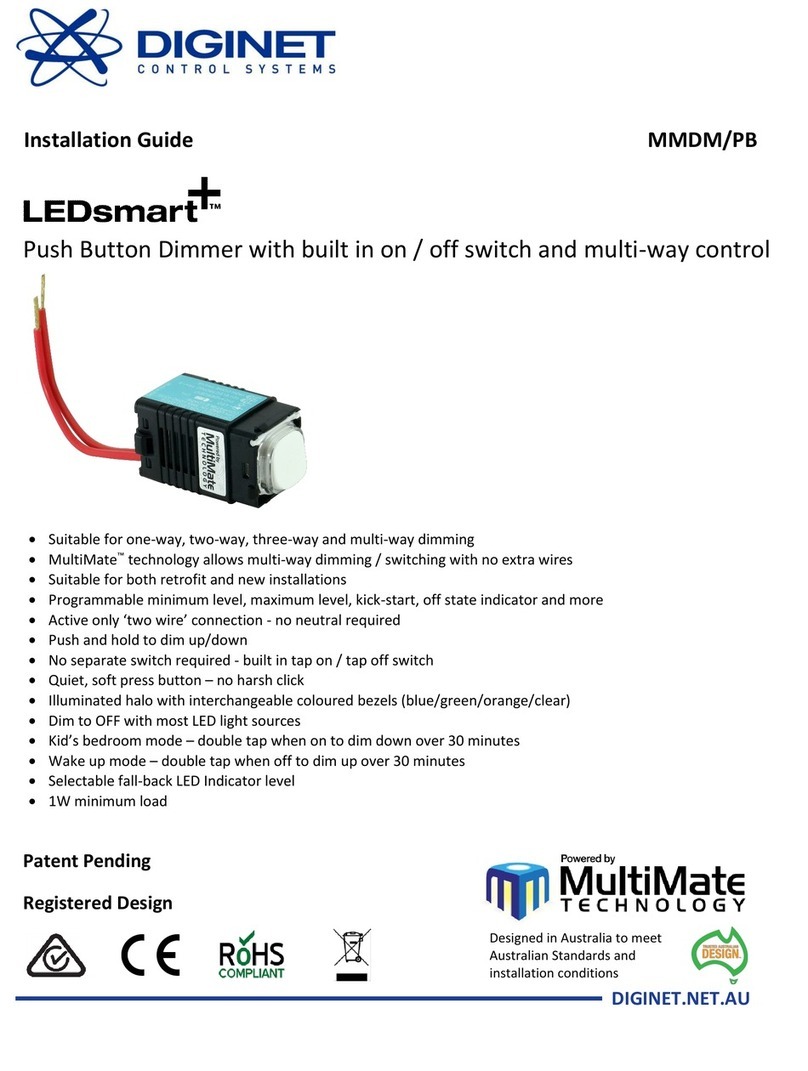
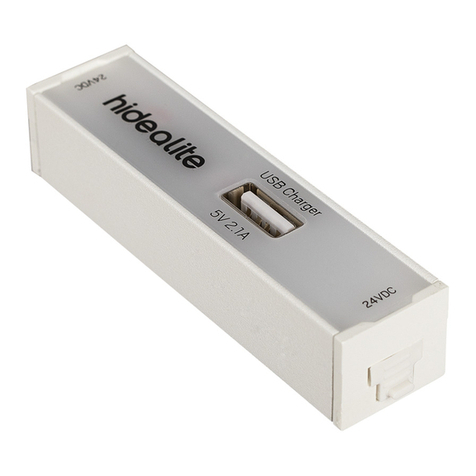
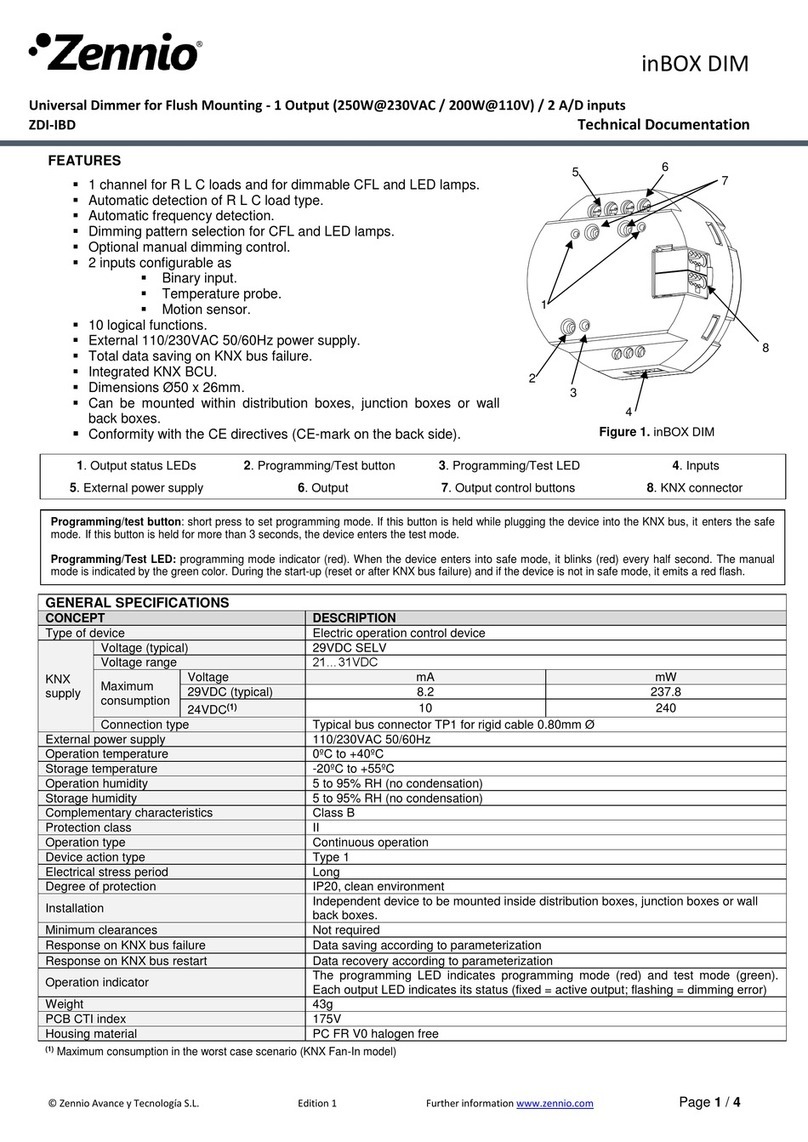
Solid Apollo Onyx 2 Zone In-Wall Wireless LED Dimmer User manual

Page 1
Product Description
Main Functions:
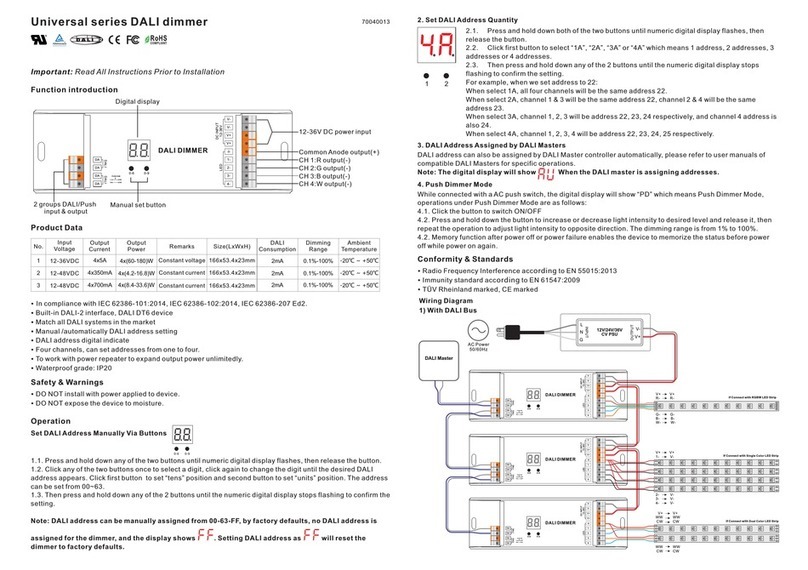
ReceiverDimmer
PRODUCT MANUAL
Onyx 2 Zone In-Wall Wireless
LED Dimmer and Receiver
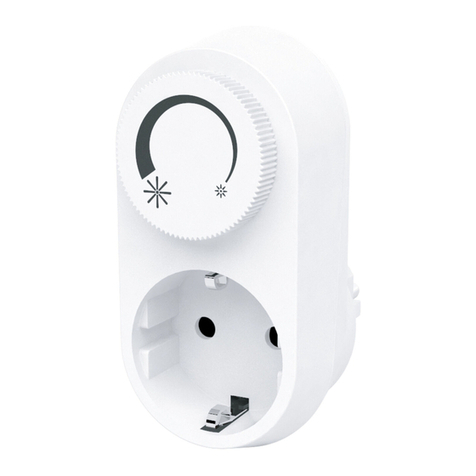
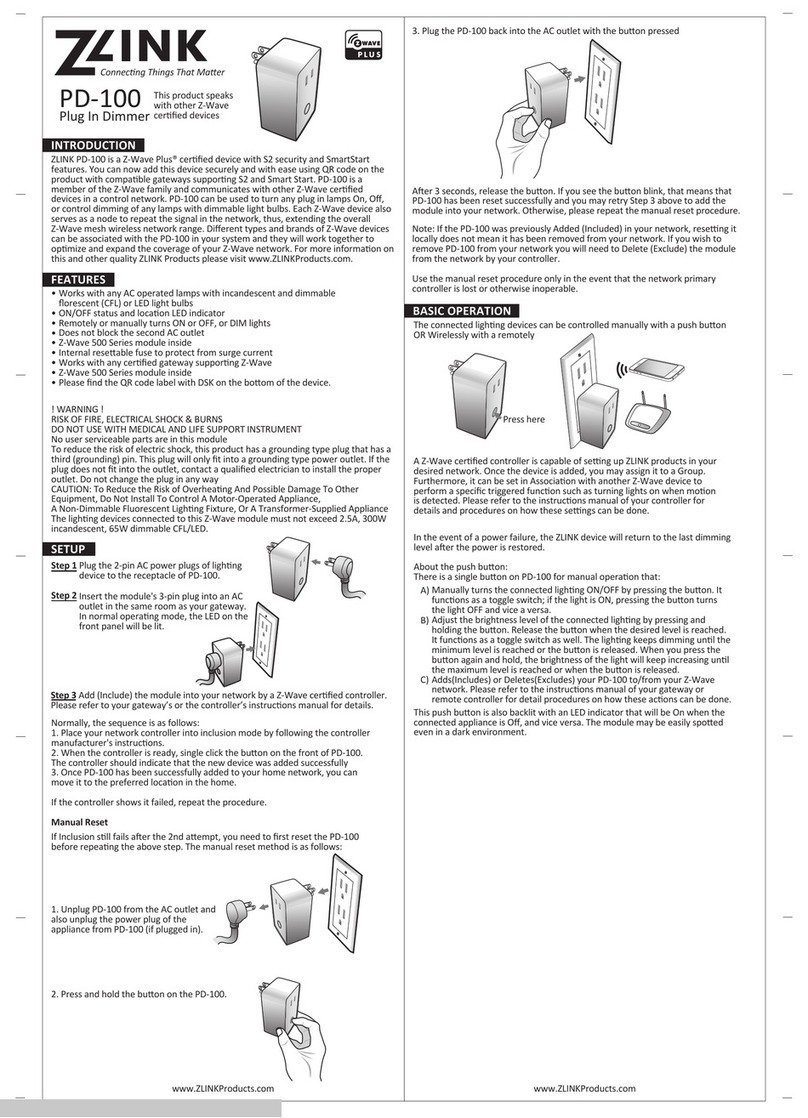
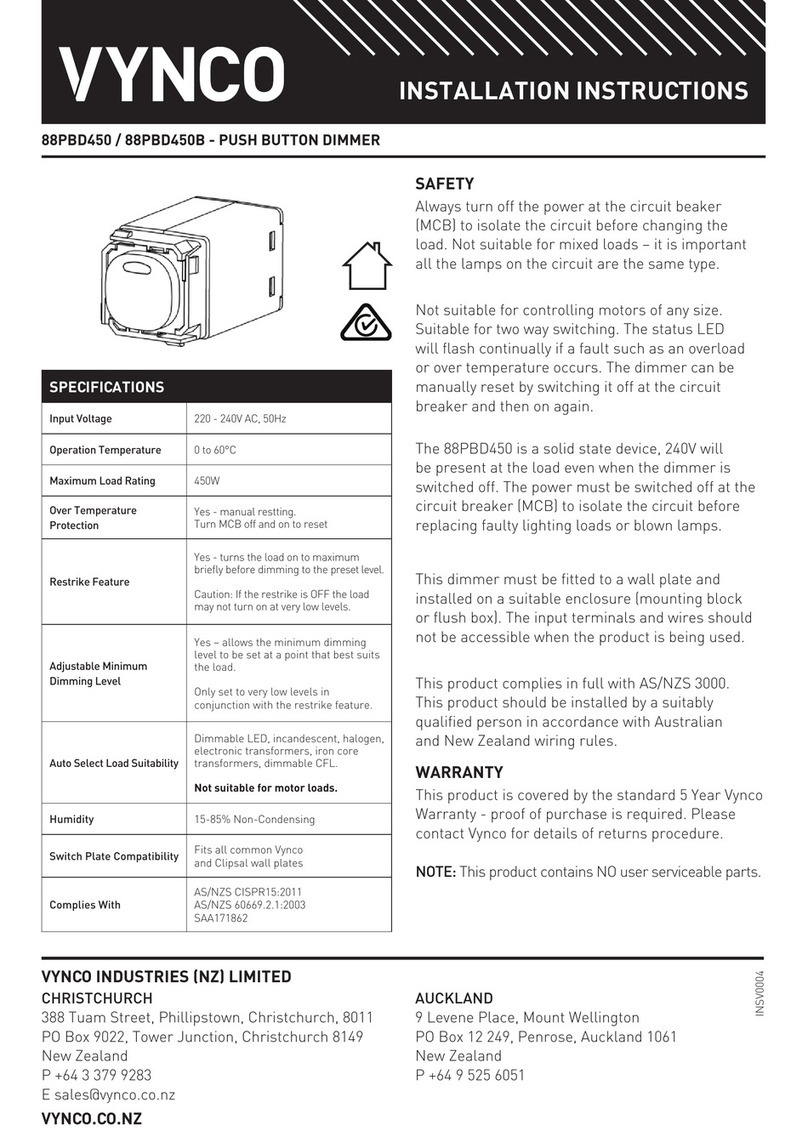
Onyx 2 Zone In-Wall Wireless LED Dimmer
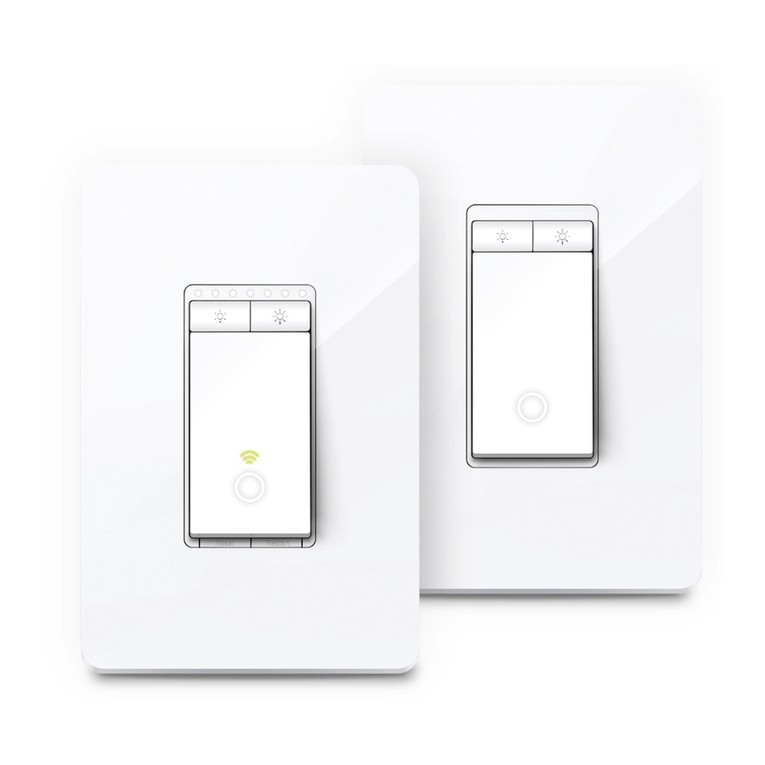
The Onyx 2 Zone In-Wall Wireless LED Dimmer is an elegant wireless design with full wireless control for up to two LED zones.The dimmer is easy to
install and ts in any standard US switch gang box. The wireless connection saves time and energy by requiring no cabling from the wall controller
to the LED zones.
The Onyx 2 Zone includes a memory function, which remembers the last brightness setting even if the power goes out. The dimmer is the perfect
controller for all single color LED projects and runs on low 12V to 24V power. The Onyx 2 Zone is easy to install and operate, and will provide many
years of easy operation.
• Control Up to 2 Zones Independently
• Wireless Control for Quick and Easy Installation
• Touch Sensitive Dark Glass Surface
• 50 Foot Wireless Range
• Soft Touch On/O
• Memory Function - Remembers Last Setting
Even If Power Goes O
This manual reviews:
Toll Free: 866.592.3873
Email: [email protected]
www.SolidApollo.com
• Entire installation process
• Product features and primary uses
• Detailed functionality
• Troubleshooting options
• Technical Parameters

Toll Free: 866.592.3873
Email: [email protected]om
www.SolidApollo.com
Installation
Solid Apollo’s Onyx 2 Zone Dimmer and Receiver can control up to two single color LED zones independently, for zones running from
12V to 24V DC. After the installation is complete, you can change the brightness on each LED zone independently from 0% to 100%
brightness.
Setting up the dimming system:
Tools Required:
Philips Screwdriver
Flat Head Screwdriver
Wire Stripper
First, the power supply connects to the left side of the receiver (uses 12 - 24V DC). Make sure the power supply is not
plugged in. Take the negative wire, and using the Wire Stripper, strip o approximately 1/4” of cover from the end of the
wire. Twist the exposed metal wire to help make a secure connection.
This section will show you how to complete the wiring for one zone with a single receiver, which will connect the power supply for up to
four LED xtures. Only one LED xture is required per receiver. To wire another zone, repeat the following steps with another receiver.
POSITIVE(+)
NEGATIVE(-)
(+)
(-)
(+)
(-)
(+)
(-)
(+)
(-)
Power
Source LED xture 1
LED xture 2
LED xture 3
LED xture 4
1Remove the white plastic end caps on both ends of the receiver using the Philips screwdriver. This will expose the green
wiring slot blocks.
2
...continued on next page
Page 2
PRODUCT MANUAL
Onyx 2 Zone In-Wall Wireless
LED Dimmer and Receiver
Onyx 2 Zone In-Wall Wireless LED Dimmer

On the left green wiring slot block for the power supply, use the Philips Screwdriver to rotate the negative wiring screw
counter clockwise to open the wiring slot located below the screw. The screw will not come out.
3
Take the negative wire and insert the exposed metal end into the negative wiring slot located below the screw. Place
the wire inside until the wire stops against the wall inside the negative wiring slot. Take the Philips Screwdriver and
turn the negative wiring screw clockwise until the screw is snug. The negative wire has now been secured to the receiver
and should not come out. If it does come out, repeat from step two, and place the exposed metal wire further into the
negative wiring slot.
4
Repeat steps two through four for the positive wire of the power supply. The positive wire will go into the positive wiring
slot.
5
Page 3
Toll Free: 866.592.3873
Email: [email protected]
www.SolidApollo.com
...continued on next page
On the right side of the receiver, connect the rst LED xture. First, take the negative wire, and repeat steps two through
four above, but connect the wiring in the right side green wiring block using the negative wiring slot. Repeat again for
the positive wire but using the positive wiring slot.
6
Power
Source
12-
24V DC
NEGATIVE(-)
POSITIVE(+)
Power
Source
12-
24V DC
PRODUCT MANUAL
Onyx 2 Zone In-Wall Wireless
LED Dimmer and Receiver
Onyx 2 Zone In-Wall Wireless LED Dimmer

™
Receiver Wiring Diagram:
Power
Source
12-24V DC
POSITIVE(+)
NEGATIVE(-)
(+)
(-)
(+)
(-)
(+)
(-)
(+)
(-)
Output 1 (5A Max.)
Output 2 (5A Max.)
Output 3 (5A Max.)
Output 4 (5A Max.)
At this time, you can attach up to three more LED xtures by repeating step six using the right side green wiring blocks.
Only one LED xture is required to run the lights.
7
The wiring for the receiver is now complete. Place the white receiver end caps back on the receiver and screw them down
securely using the Philips Screwdriver.
8
Plug in the power supply to the wall outlet. The LED xture will turn on automatically. The unit is now ready to pair
with the Onyx 2 Zone.
9
Page 4
Toll Free: 866.592.3873
Email: [email protected]
www.SolidApollo.com
PRODUCT MANUAL
Onyx 2 Zone In-Wall Wireless
LED Dimmer and Receiver
Onyx 2 Zone In-Wall Wireless LED Dimmer

™
This section will show you how to connect the power source wiring and mounting the Onyx 2 Zone.
Wiring Power and Mounting the Onyx 2 Zone Dimmer
On the back of the rear mounting base are the green wire mounting boxes. The power supply will be connected to the far
left wire mounting blocks. Using a Philips Screwdriver, unscrew the far left wire mounting screw in a counterclockwise
direction. This block is for the Negative (Ground) wire.
Take the negative wire, check the wire coating has been stripped from the wire (see page 2 step 2 if wire requires
stripping), and insert the exposed end below the mounting block screw (labeled GRD). Take the Philips Screwdriver and
re-tighten the screw clockwise until the screw is snug and the wire does not easily pull out.
1
2
Wiring Diagram for Dimmer
Page 5
Toll Free: 866.592.3873
Email: [email protected]
www.SolidApollo.com
...continued on next page
PRODUCT MANUAL
Onyx 2 Zone In-Wall Wireless
LED Dimmer and Receiver
POSITIVE(+)
NEGATIVE(-)
Power
Source
Onyx 2 Zone In-Wall Wireless LED Dimmer

™
Repeat the last step, but instead using the positive wire and the second from the left wiring block (labeled Vin).
The rear mounting base is snapped onto the face of the Onyx 2 Zone. Using a at head screwdriver, carefully insert the tip
into the notch at the end of the Onyx 2 Zone. Slowly pull the handle of the screwdriver upwards and then downwards to
help release the rear mounting base.
Take the wired rear mounting base and place it against the wall location with the switch gang box. Make sure to place
the back of the base into the wall with the opening notch (from step four) facing down.
3
4
5
Page 6
Toll Free: 866.592.3873
Email: [email protected]
www.SolidApollo.com
PRODUCT MANUAL
Onyx 2 Zone In-Wall Wireless
LED Dimmer and Receiver
Onyx 2 Zone In-Wall Wireless LED Dimmer
Take one of the provided screws and insert it into the top hole of the rear mounting base. Take the Philips screwdriver
and begin tightening the screw in a clockwise direction. At this time, make sure any extra wiring is tucked carefully
behind the rear mounting base. Take the second provided screw and insert it into the bottom hole of the rear mounting
base. Take the Philips screwdriver and being tightening this screw. Tighten down the top screw until it is snug and ush
with the wall. Repeat this process with the lower screw.
6

Page 7
Toll Free: 866.592.3873
Email: [email protected]
www.SolidApollo.com
PRODUCT MANUAL
Onyx 2 Zone In-Wall Wireless
LED Dimmer and Receiver
Make sure the LED zone(s) and power supply are turned on and correctly connected. On the receiver, push the Learning
Key button once. On the Onyx 2 Zone, push the on and o button repeatedly until the lights on the LED xture(s) ash.
The ash indicates the receiver and the dimmer are paired.This should happen within the rst ve seconds.The Onyx
2 Zone is now ready to work.
1
Onyx 2 Zone In-Wall Wireless LED Dimmer
This section will show you how to pair your new Onyx 2 Zone Dimmer with the receiver for one zone.
Pairing the Onyx 2 Zone Dimmer and Receiver
Learning Key Button Location
- Dimmer On (Touch Once)
- Increase Brightness (Hold
Down Button)
- Dimmer O (Touch Once)
- Decrease Brightness (Hold
Down Button)
Mount the face plate of the Onyx 2 Zone by rst aligning the notch at the bottom so it lines up with the rear mounting
plate. If they are not aligned the face plate will not snap into place. Place the face over the rear mounting base and
carefully push on the top and bottom until the face snaps into place and is ush at the top and bottom of the wall. The
Onyx 2 Zone is ready to pair with up to two LED zones.
7

This section will show you how to use your new Onyx 2 Zone.
Operating the Onyx 2 Zone
To turn the lights on in zone 1, push the top left “on” button once. To turn the lights o in zone 1, push the bottom left
“o” button once.
To decrease the brightness in zone 1, push and hold the bottom left “o” button and watch the lights in zone 1. When
the lights dim to the selected level, let go of the button. To increase the brightness on zone 1, push and hold the top left
“on” button and watch the lights in zone 1. When the lights brighten to the selected level, let go of the button.
To turn the lights on in zone 2, push the top right “on” button once. To turn the lights o in zone 2, push the bottom
right “o” button once.
To change the brightness in zone 2, repeat step 2 but using the top right and bottom right buttons.
1
2
3
4
Page 8
Toll Free: 866.592.3873
Email: [email protected]
www.SolidApollo.com
PRODUCT MANUAL
Onyx 2 Zone In-Wall Wireless
LED Dimmer and Receiver
Onyx 2 Zone In-Wall Wireless LED Dimmer
- Dimmer On (Touch Once)
- Increase Brightness (Hold
Down Button)
Zone 1
Control Zone 2
Control
- Dimmer O (Touch Once)
- Decrease Brightness (Hold
Down Button)

Controller
• Independent Control of 2 single color LED Zones
• Dimming from 0% to 100% brightness
• 12V to 24V DC Operation
Technical Information
Page 9
Toll Free: 866.592.3873
Email: [email protected]
www.SolidApollo.com
Receiver
• Operating Voltage 12V DC to 36V DC
• 4 x 5A Output Channels
• Overheat Protection
• Short Circuit Protection
• PWM Dimming
• Control up to Four Single Color LED xtures simultaneously
• 240W (at 12V DC)
• 480W (at 24V DC)
PRODUCT MANUAL
Onyx 2 Zone In-Wall Wireless
LED Dimmer and Receiver
Onyx 2 Zone In-Wall Wireless LED Dimmer
If you are having problems with the lights responding to the Onyx 2 Zone Dimmer in either zone, rst check that the
dimmer is within range of the receiver (50 feet maximum).
Check that the lights in the zone are on, and the wiring to and from the receiver matches the diagram on page 4. Check
that the wiring to the Onyx 2 Zone matches the wiring diagram on page 5.
If there is power going to the receiver and the lights do not shine when turned o and on, the Onyx 2 Zone could be
dimming the lights in that zone. Press and hold the on button until the lights brighten, then let go of the button when
the lights have reached the desired level of brightness.
You can re-pair the Onyx 2 Zone and the receiver by following these steps:
1
2
3
4
This section will show you how to troubleshoot the Onyx 2 Zone Dimmer and Receiver.
Troubleshooting
On the receiver, hold the Learning Key button down for 10 seconds. This will reset the system to its default
setting.
First, select the zone you want to re-pair. Each zone has to be re-paired separately.
Push the Learning Key button once, then touch the on button then the o button quickly several times until
the lights blink. The dimmer and receiver for the selected zone are now paired.
B
A
C
Table of contents
Other Solid Apollo Dimmer manuals
