Solo SG Style DIY Electric Double Neck Guitar Kit
Copyright © 2011 Solo Music Gear. All rights reserved | v1.02
STEP 2 - Attach the necks to the body each using 4 screws, a neckplate and a setter. This step can be
performed later as you may find it easier to assemble the body without the necks.
STEP 3 –Install the mounting bushings for both bridges and tailpieces. Before pressing in the mounting
bushings, you must insert ground wires into the small angled holes on the inside walls of the 2 holes for
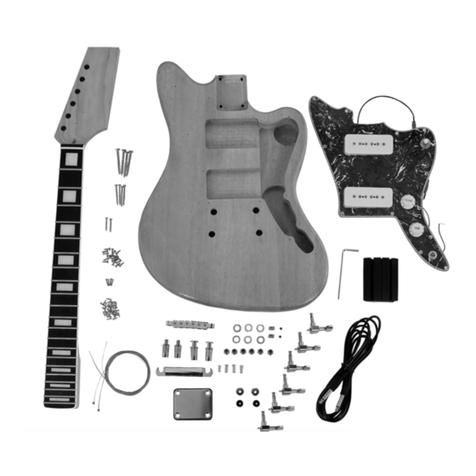
tailpiece bushings (they are marked on the illustration of the kit). Strip the end of the wire (up to an inch
long), wrap it around the bottom of the tailpiece bushing and tap the bushing tightly into the hole - don’t
forget to separate the mounting studs first! For tapping, you can use either a plastic headed hammer, or a
regular hammer, by placing a small piece of wood on the top of a bushing to prevent any potential damage.
Tap the other two tailpiece bushings and then the separated bushings for the bridges. Now screw in the
mounting studs.
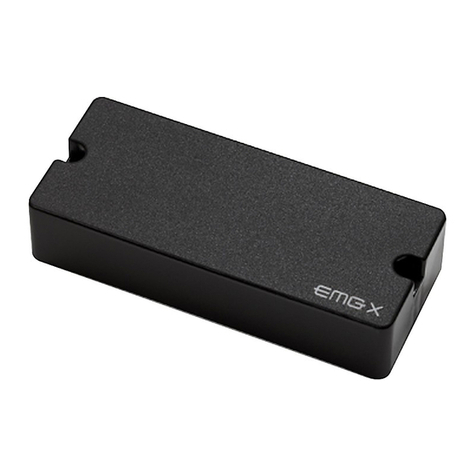
STEP 4 –Install all pickups. Neck pickups are mounted on thinner mounting rings and have wires in
yellow insulation. Bridge pickups are mounted on thicker rings and have wires in red insulation.
First, insert the pickup wires into the holes at the pickup cavities and push them all the way through to
the corresponding control cavities: 12-string pickups into the central control cavity and 6-string pickups
into the round cavity on the bottom horn of the body. Properly align each mounting ring and secure it
with 4 screws. Do not over tighten the screws as it can crack the rings (be also careful with other plastic
parts to be screwed down).
STEP 5 –Mount 3 toggle switches –two on the switch plate and one on the Pickguard. Pre-wire
volume and tone pots and install them into the control cavity on the back of the body, then complete
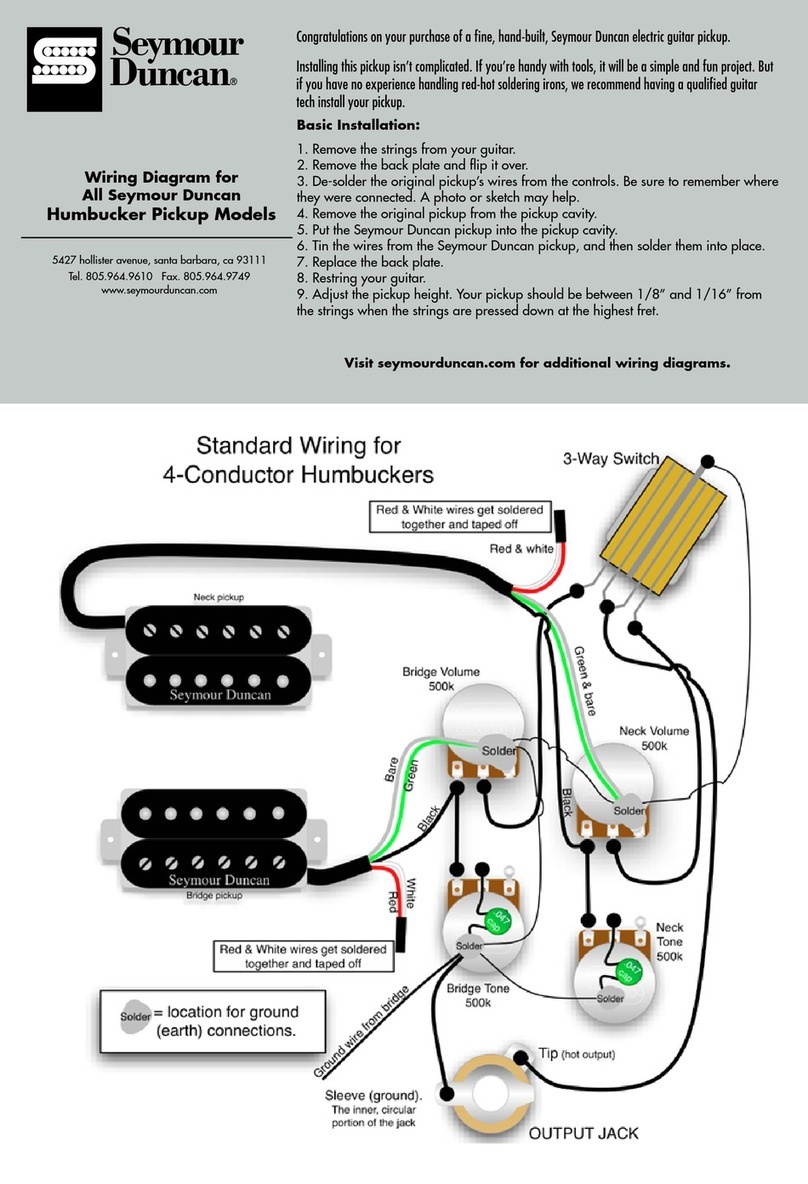
the wiring by using the diagram on the last page of this manual. Wire all pickups, switches, pots,
ground wires and output jack. Install Switch Plate, Pickguard, Jack Plate and Control Cavity Cover with
mounting screws, but before doing so check out the electronics: plug it in with a cable into the amp
and see if all switches and pots are working properly by slightly tapping the magnetic poles of each
pickup with a screwdriver.
STEP 6 –Before stringing your guitar apply some oil to the Rosewood fingerboards to protect them from possible
shrinking and cracking. . Tung oil or Linseed oil work well, or it’s OK to use Walnut or Olive oil. One thin layer is
enough. Wipe the fingerboard thoroughly with a clean cloth.
STEP 7 –Install bridges and tailpieces on the mounting studs and then install the strings by inserting them
through the holes on the back of the tailpieces and over the bridge saddles. There are a few different ways
to wrap the strings around the post of a tuning head. When threading the string through the post hole, bring
it tight before wrapping it in the opposite direction of the threading, under and then back over the string
and around the post, holding it tight as you tighten to pitch. Wrapping each string around two-three times
should be enough


