Solo LP Style DIY Electric Guitar Kit
Copyright © 2011 Solo Music Gear. All rights reserved | v1.02
the mounting studs first! For tapping, you can use either a plastic headed hammer, or a regular hammer, by
placing a small piece of wood on the top of a bushing to prevent any potential damage. Tap the other tailpiece
bushing and then the separated bushings for the bridge. Now screw in the mounting studs.
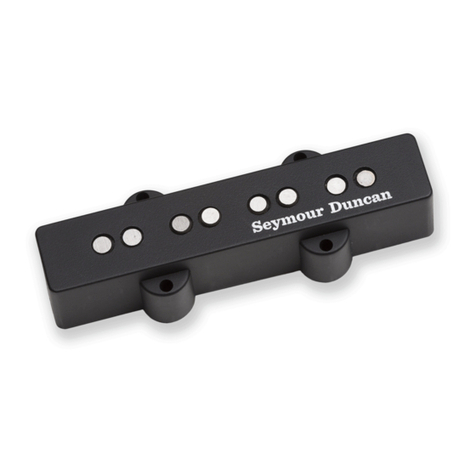
STEP 3 –Install the 3-way toggle switch and the pickups. Neck pickup is mounted on a thinner mounting
ring. Bridge pickup is mounted on a taller ring.
First, solder the three longest wires to the switch and push them from the back of the switch cavity
through the inner routing which goes through both pickup cavities to the control cavity. Now you can
install the switch into its cavity: take off the nut and the washer, push the shaft of the switch into the
hole, put the toggle switch ring over the shaft (with the Rhythm/Treble markers facing up) and mount the
switch with the washer and the nut.
Next, insert the neck pickup wires into the hole in the wall of the pickup cavity and push them to the
bridge pickup cavity, then all the way through to the control cavity. Now, insert the bridge pickup wires
into the same hole leading to the control cavity. Properly align each mounting ring and secure it with 4
screws. Do not over tighten the screws as it can crack the rings (be also careful with other plastic parts to
be screwed down).
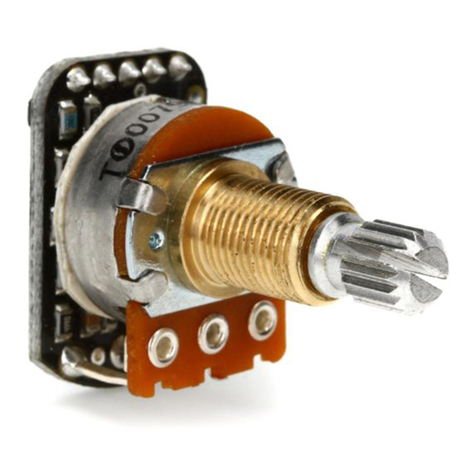
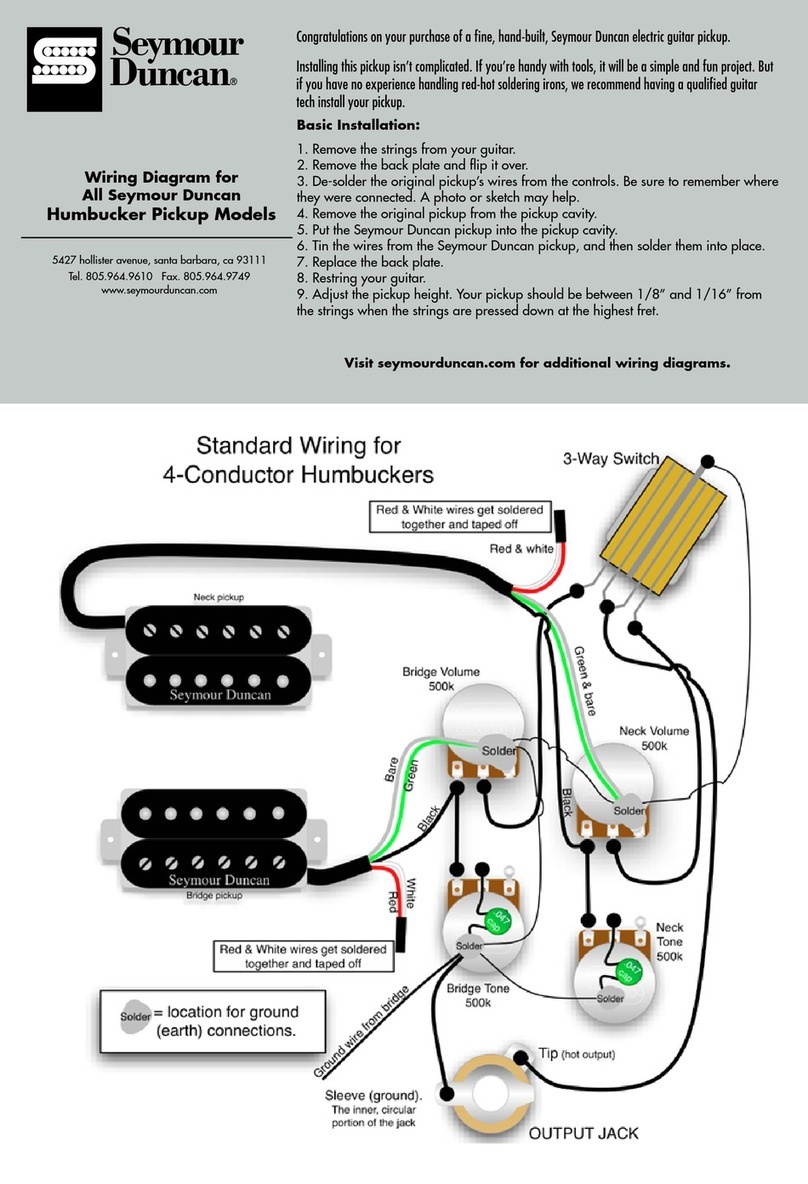
STEP 4 –Wire all electronics. For wiring instructions, use the diagram on the last page of this manual. The pots
are marked as A500 and B500 –A500 (Audio Taper) are usually for Volume controls and B500 (Linear Taper)
for Tone controls. Some musicians, however, like it better when linear pots are used for volume and audio are
used for tone (and some guitar manufacturers use only one Audio type for both controls).
STEP 5 - After you complete the wiring, install all 4 pots with the volume and the tone controls
properly placed in the following order: clockwise for the right-handed guitar starting with the hole
closest to the tailpiece - Neck PU Volume - Bridge PU Volume –Bridge PU Tone –Neck PU Tone; this
order is counterclockwise for the lefthanded guitar. Next, remove jack from the jackplate, push it
through the jack hole, put the jackplate back and install it with 4 screws. Before mounting the control
cavity cover and switch cover it’s good to check out the electronics: plug it in with a cable to the amp
and see if all switches and pots are working properly by slightly tapping the magnetic poles of each
pickup with a screwdriver.
STEP 6 –Install the two pickguards, the tailpiece and the bridge –note that the bridge must be installed with
the saddle adjustment screws on the side turned towards the pickups.
STEP 7 –Before stringing your guitar, apply some oil to the Rosewood fingerboard to protect it from possible
shrinking and cracking. Tung oil or Linseed oil work well, or it’s OK to use Walnut or Olive oil. One thin layer is
enough. Wipe the fingerboard thoroughly with a clean cloth.
STEP 8 –Install the strings by inserting them through the holes on the back of the tailpiece, over the bridge
saddles. There are a few different ways to wrap the strings around the post of a tuning head. When
threading the string through the post hole, bring it tight before wrapping it in the opposite direction of the


