8
repérez le point de régime le plus fort.
A partir de ce point repéré, tournez la vis 1/8 de
tour vers la gauche. Au moyen de la vis de
ralenti, réglez le régime suivant la valeur
indiquée et jusqu'à ce que l'outil de coupe
s'arrête. Accélérez plusieurs fois à fond. Si le
moteur ne monte pas tout de suite et
franchement en régime, d´vissez la vis L encore
très légèrement.
f) - Réglage de la vis H:
accélérez à fond - Réglez jusqu'aux tours
maximum admissibles au moyen de la vis H
g) - contrôlez encore une fois le ralenti.
Attention: Tout réglage de
carburateur doit être effectué par un
atelier spécialisé.
FILTRE A AIR
Le rôle du filtre à air est la protection des
éléments vitaux du moteur de votre
débroussailleuse. Il arrête la poussière et autres
particulesétantaspiréesversle cylindreetréduit
ainsi l'usure du moteur. Un filtre à air sale
diminue la puissance cu moteur, augmente la
consommation de carburant et rend les
démarragesdifficiles.Lor d'unemploi journalier
et prolongé le filtre à air doit obligatoirement
être nettoyé une fois par jour - sous conditions
très poussiéreuses plus souvent (selon besoin).
On le nettoie le plus rapidement en le tapant
contre une surface plane. Lors d'un très fort
encrassement, on peut laver le filtre avec un
détergent(eausavonneusechaude),mais jamais
avec de l'essence ou du diluant. Séchez bien
avant de remonter. Remplacez immédiatement
tout filtre légèrement endommagé. Toute
garantiesera refuséepourunedébroussailleuse
endommagée par manque de soin et
d'entretien.
BOUGIE
L'écartementdesélectrodesdoitêtrede0,5mm.
Attention: Vérifiez régulièrement
toutes les 50 heures l'état de la
bougie. Une bougie aux électrodes
brûlées trop loin, doit être remplacée
impérativement.
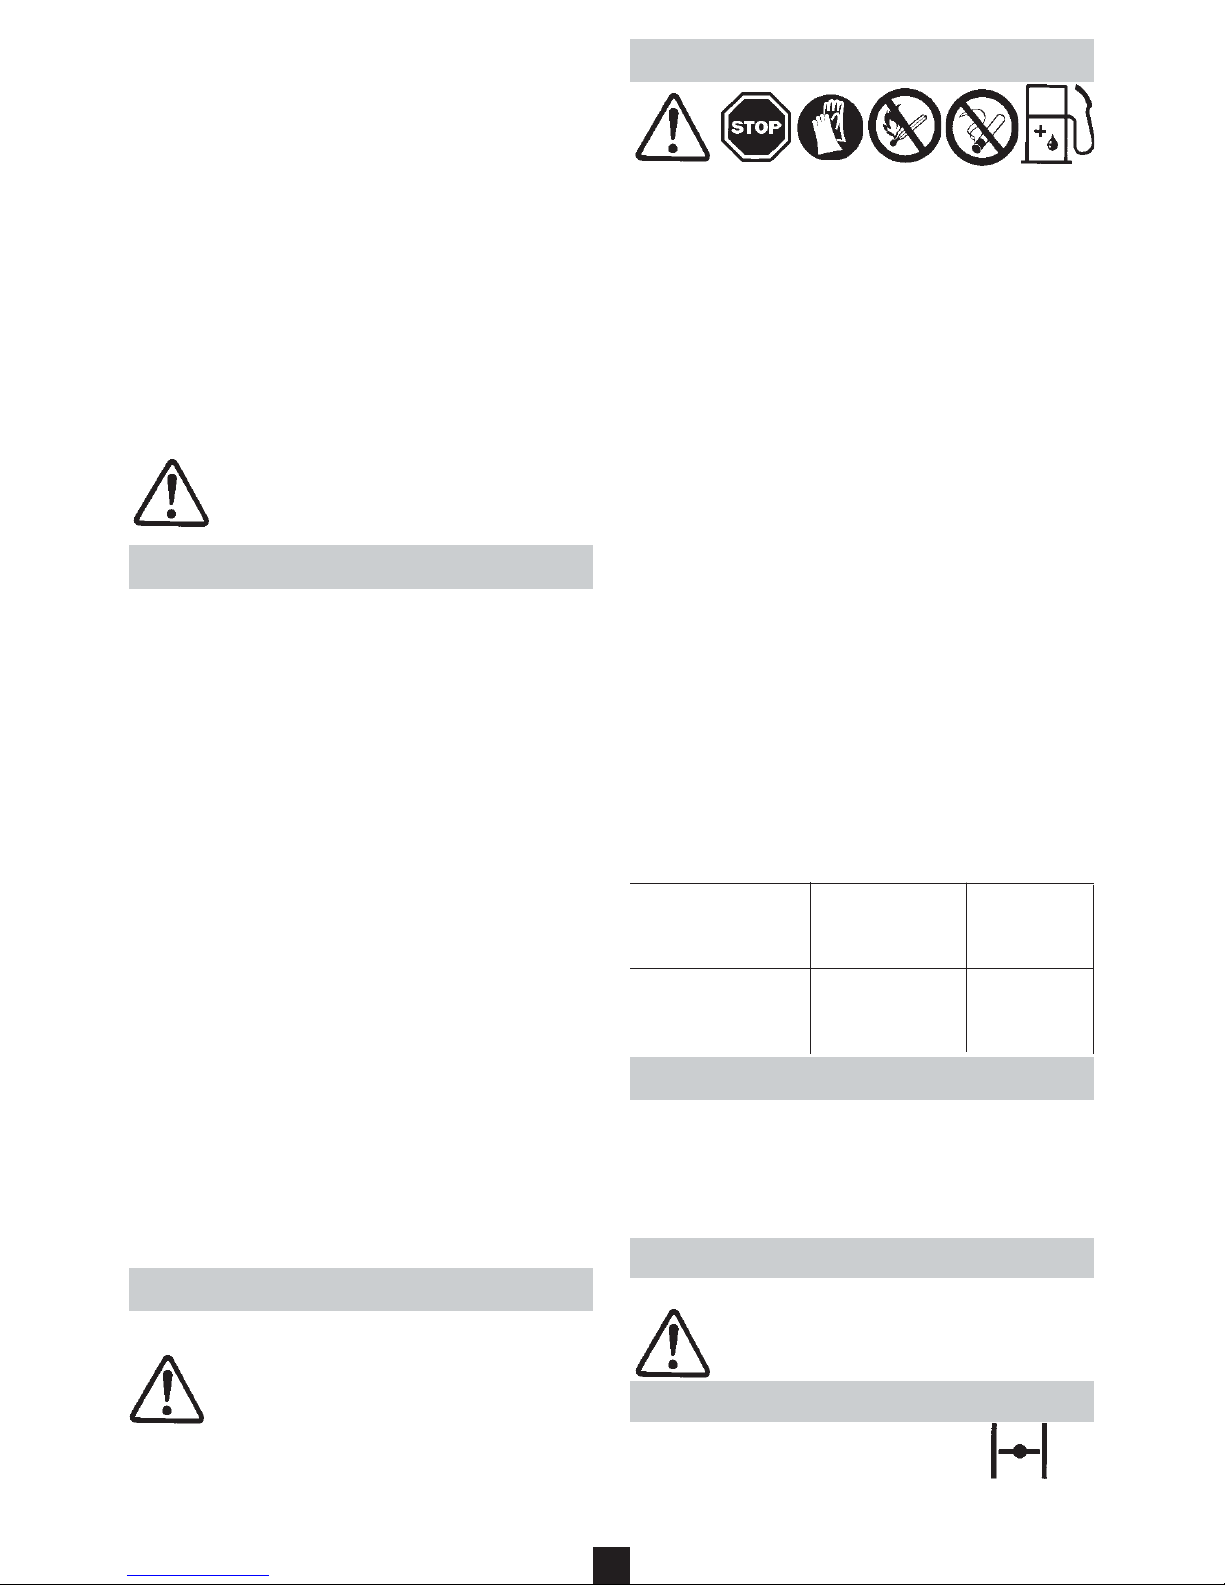
CARBURANT
Carburant et huile
Carburant:Lemoteurdevotredébroussail-leuse
est un moteur deux temps performant pour
lequel on utilise un mélange huile/essence
préparé par vous même ou acheté tout prêt
dans un commerce spécialisé.
Important : Vous pouvez sans danger employer
de l’essence ordinaire sans plomb ou du super
sans plomb (indice d’octane minimum : 92 ROZ)
Proportions de mélange recommandées:
Nous recommandons d'utiliser un mélange
essence/huile dans les proportions suivantes :
de 50 : 1 (2,0 %) en utilisant de l'huile spéciale
2 Temps CASTROL SUPER TT recommandée par
SOLO.
Si vous ne pouvez vous procurer cette huile
spéciale, vous pouvez désormais employer une
autre huile 2 Temps dans la proportion de 25 :
1 (4 %).
Remarque:Neconservez jamais unmélangeau-
delà de 3 à 4 semaines.
INSTRUCTIONS DE RODAGE
Pour le premiers cinq pleins de carburant
employez un mélange de 25 : 1 (4 %) même
avec de l'huile spéciale 2 Temps. N'accélérez
jamais votre moteur à fond, à vide.
MISE EN ROUTE ET ARRET
Attention
Pour raison de sécurité uniquement
mettre en marche au "régime ralenti".
DEMARRAGE A FROID
Fermez le bouton starter (A4) Pos.
Pompez l'essence par la pompe
d'amorçage (A5) jusqu'à ce que la bulle plastique
soit visiblement remplie et devienne dure.
Autre huile
2-Temps
25:1(4%)
Huile
CASTROL SUPER TT
50:1(2%)
20 cm
3
100 cm
3
200 cm
3
40 cm
3
200 cm
3
400 cm
3
1000 cm
3
(1 Liter)
5000 cm
3
(5 Liter)
10000 cm
3
(10 Liter)