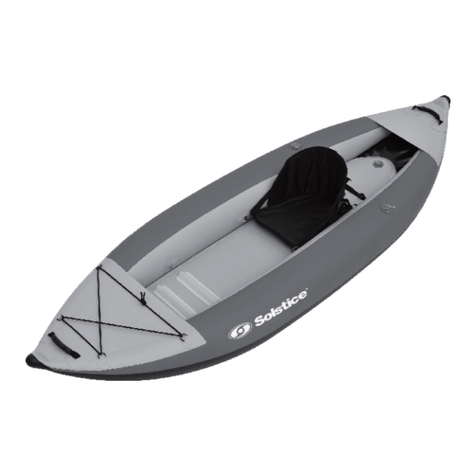
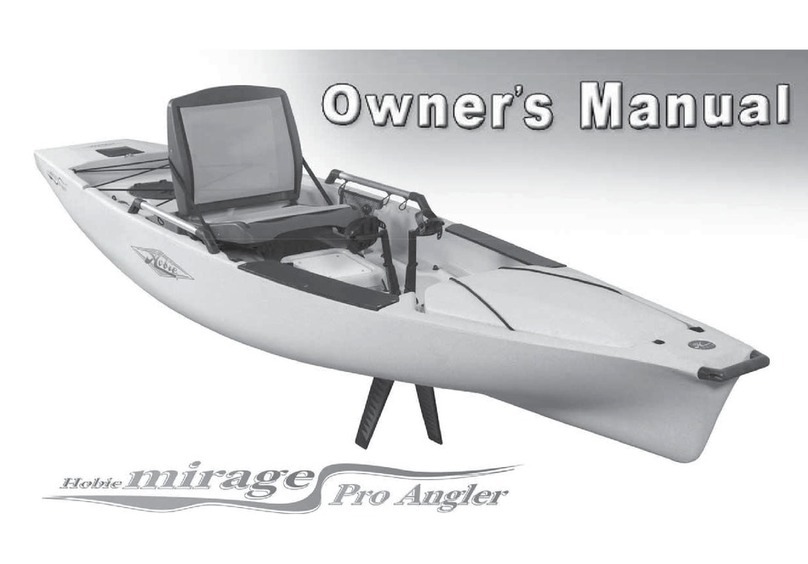
Solstice Flare 200 User manual

Dear customer,
Congratulations on your purchase of the kayak. We are proud to bring you a quality product at an aordable
price with excellent performance. Please take the time to read through this manual. It contains details of the
kayak, its equipment, and information on its operation and maintenance. Familiarize yourself with this
inatable before using it on the water in order to ensure safety and to prevent accidents.
Indicates an imminently hazardous situation which, if not avoided, could result
in death or serious injury or property damage.
WARNING
Flare 200™
OWNER’S MANUAL
Flare 200
Modelo: 29625

There is a risk of serious injury or death from drowning. Paddle sports can be very
dangerous and physically demanding. The user of this product acknowledges,
understands, and assumes the risks involved in paddle sports. Observe the following
safety standards and safe operating practices whenever using this product.
• Always wear an approved personal otation device.
• Wear kayak vests, which are not as low in the back as a marine PFD.
• Do not exceed maximum weight capacity. Regardless of the number of persons
on board, the total weight of persons and equipment must not exceed
maximum weight capacity.
• Do not operate the kayak under the inuence of drugs or alcohol.
• Wear a helmet when appropriate.
• Do not paddle alone.
• Children must be supervised by a responsible adult at all times.
• Dress appropriately for weather and marine conditions; cold water and cold weather
can result in hypothermia.
• Beware of oshore winds and currents as they can take you out to sea.
• Check weather forecasts and obtain local knowledge of the marine environment and
weather conditions prior to your voyage.
• Do not exceed your paddling ability; be aware of your limitations.
• Be aware of safe river water levels, tidal changes, currents, and obstacles in and above
the water.
• Check your equipment prior to each use for signs of wear, leaks or failure.
• Tie a leash to your paddle when appropriate.
• Always inform someone of your paddling route, the time and place of your departure
and your intended time and place of arrival.
• Always carry identication.
• Do not paddle in ood conditions.
• Make sure you are able to exit the craft if necessary.
• Scout unfamiliar waters; portage where appropriate.
WARNING
The Flare 200 Kayak (#29625) fulls the requirements of EN ISO 6185-1 standard, TYPE III.
Model Length (cm/ft) Width (cm/in) Weight (kg/lbs) Persons
Capacity
Max Load
Capacity (kg/lbs)
29625 374 / 12’3” 96 / 37.8” 17 / 37 2 210 / 461
TECHNICAL SPECIFICATIONS
ILLUSTRATION
1
2
3
3
4
4
3
8
1
7
5
6
6
7
5
9
10
10
10
1. Soft Handle
2. Bow Cover
3. Seat D-Ring
4. Adjustable Seat
5. Strap
6. Valve
7. Drain Valve
8. Detachable Skeg
9. Stern Cover
10 . Hook and loop fastener

REMOVABLE SKEG
Any use of an air compressor may result in poor performance or damage to the kayak,
and automatically voids all warranties. If you leave your kayak exposed to the hot sun,
check the pressure and deate it slightly. Otherwise the kayak may become over inated
and stretch the material.
The ambient temperature aects the tube’s internal pressure :
a variation of 1°C / 1.8° F causes a variation of the pressure in the tube of
+/- 4 mBar (0.06psi).
WARNING
Included with the Solstice kayak is a removable n. The
base is pre-attached to the kayak and the n is secured
with a recessed screw & nut. The removable n can be
installed using a coin or screwdriver. This can be done
with the kayak inated or deated. It is recommended to
inate it rst. Insert the front hook on the n in the base,
push back and down. With the n aligned properly,
install hex nut and screw, tighten using a coin or
screwdriver. BEFORE ASSEMBLY AFTER ASSEMBLY
ASSEMBLY INSTRUCTIONS / INFLATION / DEFLATION
1. Find a at area and make sure that the area you have selected to set up the kayak is completely free of
stones, sticks, sharp objects or other foreign debris.
2. Carefully unfold the kayak, spreading out the tubes to make them as smooth as possible.
a. Caution: do not drag the kayak across the ground as it may tear
it or cause other damage. Solstice is not responsible for
damage caused to kayak due to mishandling or failure to follow
these instructions.
3. Inate your kayak with pump (#19125AC) from Solstice or any pump
designed for inatable boats with a Halkey - Roberts valve.
a. Caution: Do not use high-pressure air compressors.
4. Valve Operation: Reference Figure 1-A (Right)
a. INFLATION
Unscrew the valve cap (1). Push button (2) in and turn approximately 90 degrees so it is in the“out” position.
Insert the pump hose end piece and inate it until you reach the required pressure.
After ination tighten all the valve caps (clockwise). Only the valve cap(s) can ensure nal air tightness.
b. DEFLATION
To release air from the side tubes and bottom oor tube, remove the valve cap(1) and push button(2) in
and turn approximately 90 degrees so it is in the“in”position.
5. MAX. AIR PRESSURE:
a. Side Tubes: 0.25 bar / 3.60 psi (=250 mbar ).
b. Bottom / Floor Chamber: 0.50 bar / 7.25 psi (=500 mbar ).
c. Warning: Do not over inate.
6. Ination Sequence: Reference Figure 1-B (Right)
a. Inate side tubes 1st and oor chamber last
(1) Valve Cap
(2) Button
(3) Valve Base
Figure 1-A
Figure 1-B
CLOSED OPEN
DRAIN VALVE
Your kayak has been designed with a drain system locat-
ed on the underside of the kayak in the rear. It consists of
a valve base and valve insert, for those of you who would
like to use the kayak in calm waters to maximize comfort
and dryness, screw the valve insert onto its base.
Unscrew the valve insert from the valve base so that your
kayak is self-bailing, which is optimal for whitewater
conditions. Please keep the valve insert in another place,
like the small bag of the seat, separately to well drain.
ADJUSTABLE SEATS
Your kayak is supplied with adjustable seats, that feature
comfortable high backrests. The seats are held in place
by the hook and loop fastener strips on the underside
and by webbing straps on the sides of the backrest.
Place the seat(s) into the kayak, matching the position of
the hook and loop fastener strips on the floor. Attach the
webbing straps from the sides of the backrest to the D-
rings located inside the kayak, on the side walls/
chambers. Tighten the straps as needed for proper back
support. You can choose the seat position for one or two
persons. Please see illustration:
PRE-ASSEMBLED ASSEMBLED
1 PERSON
2 PERSON
FRONT REAR

MAINTENANCE
1. To deate the kayak, remove the valve cap from the valves in the kayak oor and kayak body.
2. Clean and check the kayak as well as all the accessories. Make sure the kayak is completely dry before
putting it away. Make sure that no sand nor gravel remains inside the kayak nor between the hull and the
inner chambers: this could result in abrasion or even punctures while storing the kayak.
3. Fold the 2 sides into the middle, then roll it up from the opposite end of the valves
(so remaining air can escape from the valves).
4. When storing your inatable, keep it in a clean and dry place.
HOW TO REPAIR SMALL PUNCTURES
Check that the tube is fully deated and lies at.
1. Prepare a round patch no less than 3 inches or 7 centimeters in diameter.
2. Clean the patch and the area surrounding the leak with Alcohol.
3. To contain excess glue, use masking tape to tape o the area around the patch.
4. Apply 3 thin, even coats of repair kit adhesive to both the surface of the kayak and the patch.
Wait 5 minutes between each coat.
5. After the 3rd coat, wait 10-15 minutes before applying the patch. Use a hand roller to apply the patch
evenly. Pay special attention to the edges.
6. Wait 24 hours before re-inating.
Whenever you take your kayak out of the water and deate it, allow time for it to air out
and dry. Neither the skin/hull or the inside chambers will suer from water damage,
but stagnant water could cause mildew and foul odor.
WARNING
• Perform all of your repairs in a well-ventilated area.
• Avoid inhaling glue vapors.
• Avoid contact with the skin or the eyes.
• Keep all repair materials (glue, solvents, etc) away from the reach of children.
• The repairs on the welds must not be glued. Only the manufacturer of the kayak can
perform repairs on the welds themselves.
WARNING
Learn more about water sports equipment we have.
This manual suits for next models
1
Other Solstice Boat manuals


