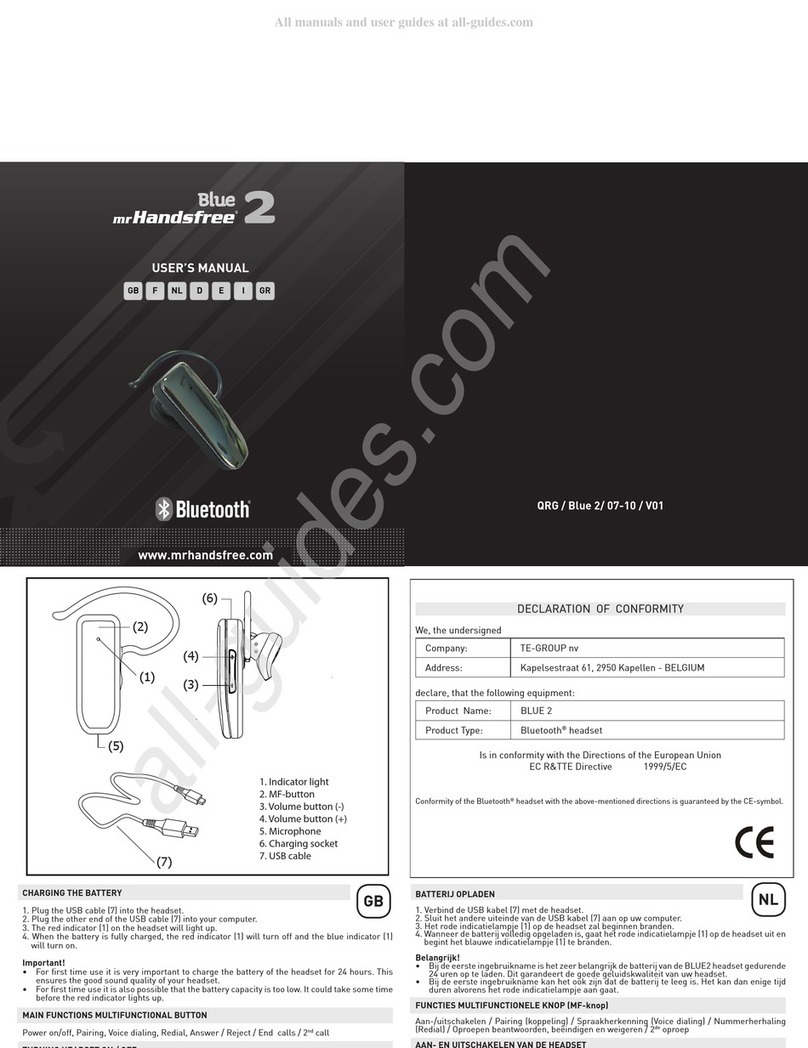
Sonetics Firecom 505 DECT7 User manual

USER GUIDE
HEADSET TO MULTI-BASE STATION
WHAT IS HEADSET TO MULTI-BASE STATION?
In normal operation, a headset may only pair with a single Base Station. The Headset to Multi-Base
Station feature allows a user to pair a 505 or 507 DECT7 Wireless Headset with up to four WB505R
DECT7 Wireless Base Stations.
REQUIRED EQUIPMENT
• A 505 or 507 DECT7 Wireless Headset with Firmware Application 13 or later.
• A minimum of two (2) and a maximum of four (4) WB505R DECT7 Wireless Base Stations.
OPERATING MODES
Operating modes control how the Headset reconnects when paired with multiple Base Stations.
Manual Mode is recommended for most situations. In this mode, the user selects a specic Base
Station number to reconnect with using Headset buttons.
Auto Mode allows the Headset to automatically reconnect with the nearest paired Base Station after
it has disconnected from its current Base Station. In Auto Mode, each Base Station should be placed
so that its radio frequency footprint, or wireless coverage area, does not overlap with any other Base
Station to which one or more Headset to Multi-Base Station users are paired.
For more information, see Appendix A: Auto Mode Conguration and Use.

2
UPDATING HEADSET FIRMWARE
Before enabling the Headset to Multi-Base Station feature, ensure that the 505 or 507 DECT7 Wireless
Headset has the most recent rmware revision installed. Check for the current rmware version
using the Sonetics Conguration Utility software. (Download your copy at: https://www.recom.com/
support/rmware-request/)
To determine if a rmware update is required:
1. Connect the headset to a Windows 7 or Windows 10 computer (Mac-OS is not supported) using the
USB to USB-Mini cable supplied with the headset. The headset’s USB-Mini connector is found inside
the left ear dome. Remove the inner foam piece to expose the access door.
2. Power on the headset. Listen for the voice prompt “Firecom on. Battery high/med/low.”
3. Open the Sonetics Conguration Utility software.
4. Click the “Find Device” button.
5. The display will populate with information specic to the connected headset.
6. The headset’s current rmware version can be found under “Application” in the “Firmware
Revisions” section (Fig. 1). All 505 and 507 models require Firmware Application 13 or higher in
order to enable the Headset to Multi-Base Station feature.
7. If the headset’s rmware version needs to be updated, the Application version number will be
highlighted with a red background.
Configuration
Utility
Firmware Revisions Programming Status
Serial Number:Model: IPEI: Firmware Status:
File Help
Program Device
Customize Device
Find Device
Update Firmware
Bootloader
Application
Voice Prompts
Bluetooth
DECT FW
DECT Config
Product Config
1
12
1
1
1
1
1
Subscription Info
Subscription 1
Subscription 2
Subscription 3
Subscription 4
02:ea:a9:c8:d0
ff:ff:ff:ff:ff
ff:ff:ff:ff:ff
ff:ff:ff:ff:ff
K1KR1-A719-SN1243FHW507 02:EA:9C:E5:68 Update Available
Fig. 1: 505 or 507 Headsets must update to Firmware “Application 13” or higher to use the Headset to Multi-Base Station feature.
To update the headset’s rmware:
1. Click the Update Firmware button at the top of the screen.
2. Listen for the headset voice prompt to announce “Firecom on. Battery high/med/low.” The
rmware update is complete.
3. The Application version number will no longer display a red background. The Firmware Status in
the upper right corner of the window will read “Firmware Current.”

3
BEFORE YOU BEGIN: CLEAR ALL PAIRINGS ON THE HEADSET
1. Place the headset into Pairing Mode by holding down the RIGHT PTT and the POWER buttons
together, and listen for a voice prompt to announce “Base Station registering.”
2. Release both buttons.
3. Power OFF the headset.
a. If the headset has been paired with multiple Base Stations prior, follow these instructions to
clear additional pairings from the headset:
i. Power ON the headset.
ii. Press both the BACK and MINUS buttons at the same time. A voice prompt will
announce “Multi Base Station.”
iii. Use the PLUS button to select the next Base Station position. A voice prompt announces
the next base station, e.g. “Base Station 2.”
iv. Press the RIGHT PTT button to save and exit the Advanced Menu.
v. Power OFF the headset.
b. Repeat Steps 3-a-i to 3-a-v above to select and clear all remaining pairings on the headset.
c. If you are unable to select the next Base Station as in Step 3-a-iii above, no additional pairings
are present.
BEFORE YOU BEGIN: CLEAR ALL PAIRINGS ON THE BASE
STATION
Follow these steps for each Base Station to which a Headset to Multi-Base Station user(s) will be paired.
1. Make sure any headsets paired to the Base Station are powered o before you begin.
2. To clear pairings follow these steps:
a. Power ON the Base Station (For a WB505R, connect the power adapter to the Base Station
and plug the adapter into a standard 120V wall outlet.).
b. When all paired headsets are turned o, any position on the Base Station with an active pairing
to a headset will display a quick ashing yellow LED above the corresponding pairing button. If
you see a steady yellow LED, the headset paired in the position is turned on. Turn the headset
OFF before proceeding.
c. Press-and-hold the pairing button until it displays a slow ashing yellow LED.
d. Power OFF the Base Station.
e. Power ON the Base Station and conrm that no yellow LED is visible above the position
button.
f. The pairing is now cleared. Repeat Steps 2a-2e to clear each additional pairing from the Base
Station.

4
ENABLING AND CONFIGURING THE HEADSET TO MULTI-BASE
STATION FEATURE
To enable and congure the Headset to Multi-Base Station feature, access the Advanced Menu on your
headset:
1. Turn OFF the headset.
2. Press and hold the POWER , FWD and BACK buttons until the voice prompt announces
“Advanced Menu.” When you hear the prompt, immediately release all buttons.
3. Press the MENU button until the voice prompt announces “Multi-Base Station.”
4. Use the PLUS and MINUS buttons to select your operating mode. Voice prompts will announce
the currently selected mode:
a. “Multi-Base Station O” – Disables the feature.
b. “2 Multi-Base Station” – Enables Manual Mode with two (2) paired Base Stations.
c. “3 Multi-Base Station” – Enables Manual Mode with three (3) paired Base Stations.
d. “4 Multi-Base Station” – Enables Manual Mode with four (4) paired Base Stations.
e. When you hear the option you wish to conrm, press the RIGHT PTT button to save and exit.
PAIRING THE HEADSET TO BASE STATIONS FOR USE IN
MANUAL MODE
1. Use the Quick Launch command to enter the Advanced Menu and select the number of the Base
Stations you want to pair to:
a. Press both the BACK and MINUS buttons at the same time.
b. Use the PLUS and MINUS buttons to select the desired Base Station number. NOTE: Higher
number positions will only become available after the lower number positions are paired. For
example, you won’t be able to select Base Station “2” for pairing until after Base Station “1” has
been paired with your headset.
c. Press the RIGHT PTT button to save and exit the Advanced Menu.
d. Turn OFF the headset.
2. Put the selected Base Station into pairing mode. (Watch: “Pairing Wireless Headsets to a Base
Station” at https://www.recom.com/customer-support/pairing-500-series-wireless-headsets/).
3. Put the headset into pairing mode.
4. When pairing is complete, repeat Steps 1a-1d to select the next Base Station.
IMPORTANT: Pair any additional headsets that will use the Headset to Multi-Base Station feature
to Base Station 1 before you begin any pairings on Base Station 2, etc. This will ensure that all
Multi-Base Headsets recognize Base Stations by the same number.
5. Turn OFF the headset and turn ON the next Base Station.
6. REPEAT Steps 2-5 for each additional base station until all are paired to the headset (up to 4
BaseStations.

5
SELECTING A BASE STATION IN MANUAL MODE
Begin by selecting a Base Station to connect to:
1. Press both the MINUS and BACK buttons simultaneously to enter Base Station selection
mode.
2. Use the PLUS and MINUS buttons to select the Base Station you wish to connect to (Voice
prompts will announce “Base Station 1”, “Base Station 2” (up to four paired Base Stations).
3. Press the RIGHT PTT button to conrm and exit.
The headset will connect with the selected Base Station when next in range. When/if you move out of
range of the connected Base Station, the headset will lose its connection. To select a dierent Base
Station, repeat Steps 1-3 above.
SINGLE AND MULTI-BASE USER COEXISTENCE
Users congured for Multi-Base Station operation can talk with other single Base Station users on the
same Base Station. Multi-Base Station headsets must have a pairing position available on each Base
Station for which a connection is desired.
Example: The supervisor’s headset is paired to Base Stations A, B and C on Position 1. Workers from
Teams A, B and C occupy single user positions 2 through 5 on the same Base Stations. The supervisor may
connect to Base Stations A, B or C. Team members remain connected to their individual base stations.

6
APPENDIX A
AUTO MODE CONFIGURATION AND USE
As you set-up and congure the Headset to Multi-Base Station feature for use in Auto Mode, please
contact Firecom Support at (888) 561-8098 for detailed instructions and conguration advice.
SELECTING AUTO MODE
Auto Mode is only available when congured using the Sonetics Conguration Utility Software (see
Appendix B: Using the Sonetics Conguration Utility Software for Set-Up).
PAIRING THE HEADSET TO MULTIPLE BASE STATIONS
1. Put the rst Base Station into pairing mode (Watch “Pairing Wireless Headsets to a Base Station” at
https://www.recom.com/customer-support/pairing-500-series-wireless-headsets/).
2. Put your headset into pairing mode.
3. Once pairing is complete, turn o the Base Station and headset.
4. Repeat Steps 1–3 with the second, third and/or fourth Base Station.
USING AUTO MODE
When powered on, the headset will automatically connect to the rst paired Base Station within range.
Voice prompts will announce “Firecom, ON. Battery high/med/low. Base station connected.” The
headset will remain connected to the rst Base Station until the headset and/or Base Station either
move out of range of each other, or are turned o.
When the connection to the current Base Station is lost, a voice prompt will announce “Base Station
disconnected.” The headset will automatically connect to the next Base Station within range.
IMPORTANT: When operating in Auto Mode, the headset will not connect with another Base Station
until it has disconnected from its current Base Station. The greater the distances separating your Base
Stations, the greater the likelihood that an Auto Mode reconnection will occur predictably.
SWITCHING OPERATING MODES
Pairing in Auto Mode may result in inaccessible pairings when a headset is switched to Manual Mode.
For example, if your headset automatically pairs a Base Station into pairing position 4, and you later
change the operating mode to Manual with 3 Base Stations, the Base Station paired in Position 4
will not be accessible to the headset. The Position 4 pairing remains active but inaccessible while the
headset is congured for 3 Base Stations.
Restore access to the pairing by selecting Auto Mode.

7
APPENDIX B
USING THE SONETICS CONFIGURATION UTILITY SOFTWARE
FOR SET-UP
To enable and congure the Headset to Multi-Base Station feature using the Sonetics Conguration
Utility software, do the following:
1. Connect the headset to your Windows 7 or Windows 10 computer (Mac-OS is not supported) using
the USB A-to-Mini USB B cable supplied with the headset. The headset’s Mini USB connector is
found inside the left ear dome. Remove the inner foam piece to expose the access door.
a. Turn on the headset
b. Open the Sonetics Conguration Utility software.
c. Click the “Find Device” button.
d. The items displayed will populate with information specic to the connected headset.
2. Click the “Customize Device” button to view all headset menu settings and conguration options.
Configuration
Utility
Feature
Serial Number:Model: IPEI: Firmware Status:
File Help
Program Device
Customize Device
Find Device
Update Firmware
Menu Defaults
Multi
Basestation
Config
Multi Basestation
Config
Split PTT
Auto Shutdown
Registration
RF Bandwidth
Activation
Audio Out Aux
Radio /
Intercom
Noise Gate
Setting
Current
Setting
Disable Auto
Enable Disable
Enable Disable
On Off
Enable Disable
On Off
Wide Band Narrow Band
2 Base Station 3 Base Station 4 Base Station
Off Vol 1 Vol 2 Vol 3 Vol 4 Max
Off Vol 1
Min Vol 2 Vol 3 Vol 4 Max
Radio PTT Radio VOX Intercom Toggle Intercom VOX Intercom PTT
Active
Subscription
Microphone
QL
Listen Through
/ Channel
Toggle
Enable
Auto
Shutdown
Split PTT
Config Enable
Registration
Enable
DECT7
Wired Aux
Dosimeter
Radio /
Intercom
Microphone
Operation
Listen
Through
Volume
Enable
Enable
Enable
Enable
Enable
Enable Enable
Adv. Menu
Enable
1
Base
Station
Quick Launch Start-Up
Setting Options
Fig. 2: The “Multi Basestation Cong” row displays all options required to enable and congure the feature.
In the “Multi Basestation Cong” row (Fig. 2):
3. Check the “Enable” checkbox in the “Adv. Menu” column.
4. Verify that the “Active Subscription” box is checked in the “Quick Launch” column.
5. Select the number of Base Stations for your application from the “Multi Basestation Cong” section
(2, 3 or 4 Base Station) in the “Options” column.
6. Select “1” from the Base Station dropdown menu in the “Start-Up Setting” column
(Fig.3). This number indicates which of your Base Stations will be paired or connected
to on headset start-up.
TIP: To avoid confusion in the work zone, make sure you know which Base Station
is designated “Base Station 1”, “Base Station 2”, etc. As you proceed with the pairing
process, mark each Base Station with a light color permanent marker or other visible
means of identication.
7. Click the “Write Menus” button at the top left of the screen and listen for the voice prompt “Firecom
On. Battery high/med/low”.”
8. Disconnect the Mini USB connector from the headset.
1
1
Base
Station
2
Fig. 3

PAIRING THE HEADSET TO BASE STATION 1
1. Pair the headset to Base Station 1 following the standard pairing procedure. For more information,
view “Pairing Wireless Headsets to a Base Station” at https://www.recom.com/customer-
support/pairing-500-series-wireless-headsets/).
IMPORTANT: To keep the headsets and their pairings organized, pair all headsets that will use the
Headset to Multi-Base Station feature to Base Station 1 before you begin the process with Base
Station 2.
2. Once the headset has been paired to Base Station 1, reconnect the headset to the computer using
the Mini USB B connector cable.
PAIRING THE HEADSET TO ADDITIONAL BASE STATIONS
1. Click the “Find Device” button.
2. Click the “Customize Device” button.
3. Select the base station you wish to pair to (e.g. “Base Station 2”) from the Base Station dropdown
menu in the “Multi Basestation Cong” row.
4. Click the “Write Menus” button at the top left of the screen and wait for the voice prompt “Firecom
On, Battery high/med/low” to be heard.
5. Repeat Steps.
6. Once the headset has been paired to all Base Stations, reconnect the headset to the computer
using the Mini USB connector, and launch the Sonetics Conguration Utility.
7. Click the “Find Device” button.
8. Click the “Customize Device” button.
9. In the “Multi Basestation Cong” row, select your preferred operation mode (AUTO, 2 Base Station,
etc.)
10. Click the “Write Menus” button to conrm the settings.
11. When you hear the voice prompt “Firecom on. Battery high/med/low,” you may disconnect the
headset from the computer, remove the Mini USB connector and reinstall the inner foam and ear
seal on the left ear dome.
17600 SW 65TH Ave, Lake Oswego, OR 97035 USA
800-527-0555
|
service@recom.com
|
recom.com
600-3107-00 Rev B
FRE-UM-0004-B
This manual suits for next models
2
Table of contents
Other Sonetics Headset manuals
Sonetics
Sonetics STL-30 User manual
Sonetics
Sonetics APX373 User manual
Sonetics
Sonetics APEX-Series User manual

Sonetics
Sonetics APX372 User manual

Sonetics
Sonetics FHW50X User manual
Sonetics
Sonetics APX375 User manual

Sonetics
Sonetics APX373 User manual

Sonetics
Sonetics APX372 User manual

Sonetics
Sonetics APX37x User manual
Sonetics
Sonetics APX375 User manual


