manuals.online logo
Brands
  1. Home
  2. •
  3. Brands
  4. •
  5. Sony
  6. •
  7. Digital Camera
  8. •
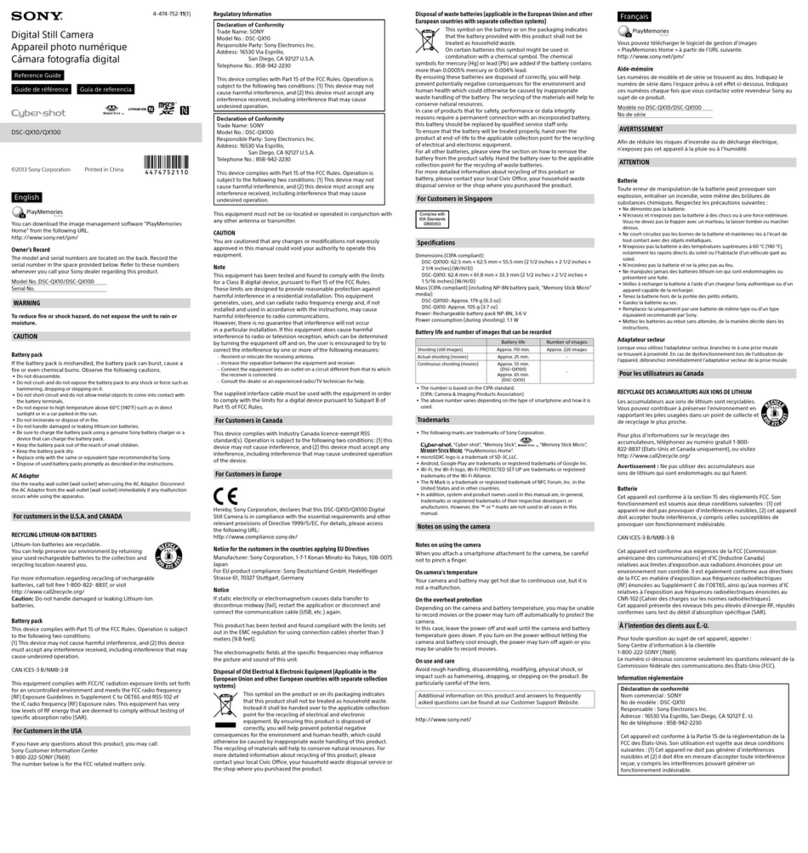
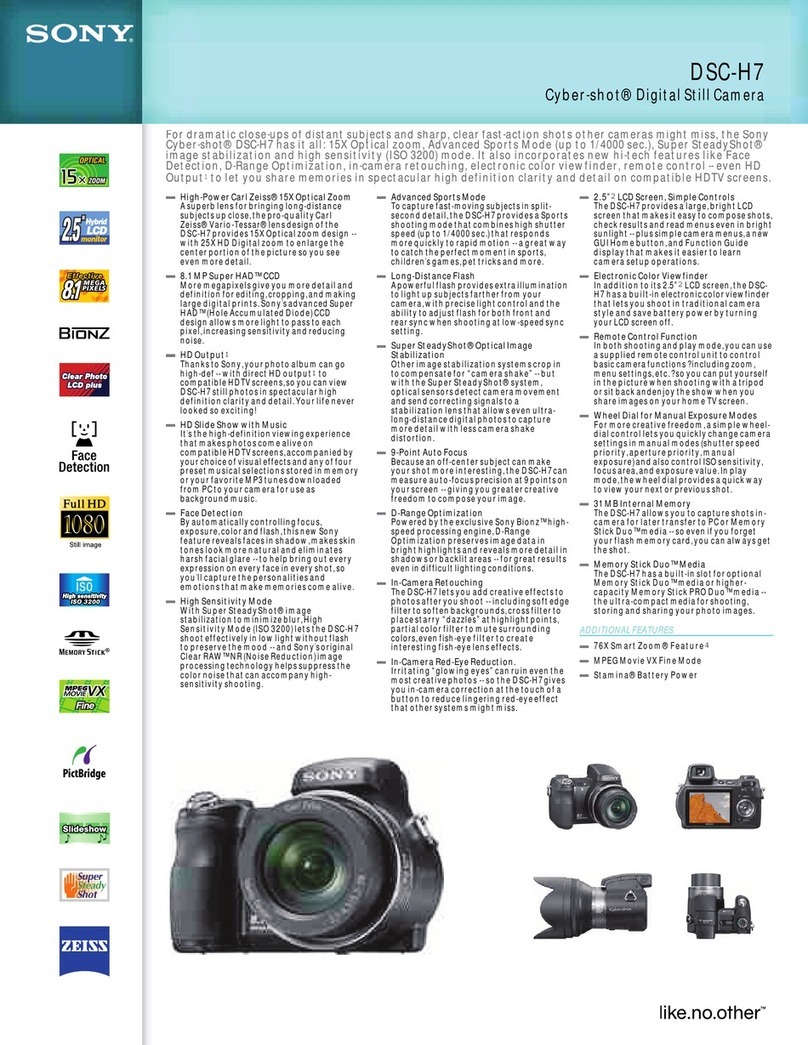
  9. Sony DSC-P2 - Cyber-shot Digital Still Camera User manual

Sony DSC-P2 - Cyber-shot Digital Still Camera User manual

This symboLis intendedto
alerttheuserto thepresence
of uninsulated“dangerous
voltage” within theproduct’s
enclosurethatma)’beoi‘
su%cieX magni:udcto
constiiuie arisk of electric
shockto persons.
This symbol is intendedto
alertihe userto thepresence
of importantoperatingand
maintenance(servicing)
insifirciions in theiitcrarniz
accompenyingtheappiiat3ce.
Neverexposethebatterypack to temperature
above60°C (14O*F),suchasin ac‘arparkedin
thesunor underdirect snnlight.
If you haveanyquestionsaboutthis product,
you may call:
SonyCustomerhhmntion ServicesCenter
I-800-222-SCM’ (7669)
Thenumberbelow is for theFCC related
mattersonly.
ReguiatoryInformation
PAodeNo.: DSC-P2
ResponsibleFarty:SonyElectronicsInc.
Address: 680Kinderkamack
Road.&dell, M
07649USA
TelephoneNo.: 204-930-6912
This devicecomplieswith Part 15of the
FCCRules.0peration is subjectio the
f~~ll~wingtwo conditions: (I) 3% device
may not causehamfui interference,and
(2) this devicemustacceptanyinterference
received,including interferencethatmaj
causeundesiredoperation.
YouarecautionedIhatmy changesor
modifications not expresslyapprovedin this
manualcould void your authority to operaic
tIniscqtipment.
ate:
This equipmenthasbeentestedandfound to
comply with thelimits for aclass B digital
device,pursuantto Part 15of theFCCRuies.
Theselimits aredesignedto provide
reasonableprotectionagainstharmful
interferencein aresidentialinstallation. This
equipmentgenerates,uses.andcanradiate
radiofrequencyenergyand,if not installed
andusedin accordancewith theinstructions,
maycauseharmful interferenceto radio
comm~mications.However,thcrc is no
gnaranreethatinterferencewili not occnrin a
particularinstallation. If this equipmentdoes
causeharmful interferenceto radio or
televisionreception,which canbedetermined
by turning theequipmentoff andon.the user
isencouragedto tty to correcttheinterference
by oneor moreof thefoilowing measures:
-Reorient or relocatethereceivingantenna.
-Increase the separationbetweenthe
eqnipinentandreceiver.
--Connect theequipmentinto anoutlet on a
circuit different from thatto which the
receiveris connected.
--Consult thedealeror anexperienced
&i&V technici~ii for Mp.
Thesuppiiedinterfacecablernnstbeused
with theequipmentin orderto comply with
the!imits for adigital devicepnrsuantto
Subparr13of Parr15of FCC Rnies.
2
Lithium-ion batteriesare
recyclable.
YOUcanhelppreserveour
environmentby returning your
usedrechareeablebatteriesto the
collection &d recycling location nearestyou.
For moreinformation regardingrecycling of
rechargeablebatteries,cahto11free
l-800-822-8837, or visit
http:/Jw~ww.rbrc.orgl
aution: Do not handledamagedor leaking
thium-Ion batteries.
TOPREVENTELECTRICSHOCK,DONOT
USETHlS POLARIZEDACPLUGWITH AN
EXTENSlONCORD,RECEPTACLEOR
OTHEROUTLBTUNLESSTHE BLADES
CAN BE FULLY INSERTEDTOPREVENT
BLADE EXPOSURB.
Shouldthefusein theplug suppliedneedto be
replaced,a5 AMP fuseapprovedby ASTA or
BSI to BS 1362,(i.e.,marlcedwith @ or v
mark) mustbeused.
If theplug suppliedwith this equipmenthasa
detachablefusecover.besureto attachthe
fusecoveralter you changethefuse.Never
usetheplug without the fusecover.If you
shouldlosethefusecover.pie,lse
c5nlact your
nearestSony servicestation.
Directive:EMC rpirective89/336/EEC,
9213IEEC
7%~equipmentcomplieswith theEMC
regulationswhen usedunderthefobliowing
circumsfances:
* Residentl zea
eBusinessdistrict
* Light-industry district
(This equipmentcompheswith theEMC
standardregulationsEN55022ClassB.)
This producthasbeentestedandfound
compliantwith theiimits setsoutontheE&K
Direcrke for usingconnectioncabiesshorier
than3meters.
Tneelectromagneticfields atthe specihc
frccjuerx.5esmay influencethepicture and
soundof this digiiai camera.
If staticelectricity or electromagnetismcauses
datatransferto discontinuemidway (fail),
restarttheapplicationor disconnectand
connecttheUSB cableagain.
Before you recordone-timeevents.you may
wantto makeatrial recordingto makesure
thatthecamerais working correctly.
herecordiw camrotbe
compensatedfor if recoGing or playback is
not possibledueto amalfunction of your
cameraor recordingmedium. erc.
tes
on
1%cameraco
;‘orCameraHe systemuniversalstandard
estabiisheciby theEEA (JapanElectro~~ics
andIIlfQmx~t~onTcchnoIogyIndustries
Asso&ltion).
g.Playbackof imagesrecordedwith ynur
cameraon otherequipmentandplaybackof
imagesrecordedor editedwith other
equipmenton your cameraarenot
guaranteed.
In addition to malfitnctions andinability to
recordimages,this may renderthe“Memory
Stick’. unusableor imagedatabreakdown,
damageor lossmayoccur.
aThe LCD screenandtheLCD tinder are
manufacturedusinge,ulremelyhigh-
precision technologysoover99.99%of the
pixels areoperationalfor effeclive use.
However.theremay besometiny black
points and/orbright points(white, red,blue
or greenin color) thatconstantlyappearon
theLCD screena13dtheLCD finder. These
points arenormal in themanufactactlting
processanddonot aeecrrherecordingin
anyway.
*?Becareful whenplacingthecameraneaza
window 01’outdoors.Eq~osingrile LCD
screen,thefinder or thelensto direct
sunhghtfor longpctiods may cause
nliIlfuix.%icIis.
g picturesouidoorsin therain 01
under
sidaular
conditions,becareful not to get
thecamerawet. If moisturecondensation
occurs,seepage94andfollow the
instructionson howato removeit beforeusing
thecamera.
This camerais equippedwith a
power zoom
lens.Becareful not to bumpthelens.andbe
caxehdnotto apply force to it.
T ictures used in this msnuai
Thephotographsusedasexamplesof pictures
in this manualarcreproducedimages,andare
not actualimagesshotusingthis camera.
eyes. verabledamageto you!
Toavoidthepotentialrisk of dataloss,always
copy (hackup) datato adisk.
4
5
Before using your camera........................ .4
Identifying the parts.. ............................... .6
Charging the battery pack ....................... 10
Using anexternal power source.............. 13
Using your camera abroad...................... 13
Turning on/off your camera.................... 14
How IOUSCthe control burton................. 14
Setting rhedareand time.. ....................... I5
Inserting and
removing a
“Memory Stick” .....__.........__...........1I
Deciding the still image size anti qua@ i 8
Basic still image shooting (using auto
adjustment mode) . 20
Checking the last image shol
iQuick Review) ............. .. ....... .. .21
USillg tl3e %OQITl ft2atUrC .. .. . .. .. .. .. . .. .. 22
Shooting close-ups (Macro) 22
llsing the self-timer ....._......................23
Sdzcting a flash mode . . 24
Shooting with ihe fir&~ ._____......__._.....26
Shcoting with the Gatean6 iime
inserted 71
. ....... .. .................. .. .......-
Shooting according to sceneco!idiGons
(Scene selection) . ..__....................28
Viewing images on theLCD screenof your
camera_........................................... 30
Viewing single images....................... 30
Viewing Index
(nine or rhreeimages display)........ 31
Viewing images on aTV screen . ..__..._.32
Deleting images___.__................................34
Deleting on the Index
(nine images) screen............. .. ..... 35
Deieting on rheIndex
(three images) screen.. .. ...... .. . . 36
Formatting a “Memory Stick” ..,._.___.......38
Copying sGil images to your computer 39
Instaliing the USR driver .._......40
Preparing your camera ... .. ...... .. .. d-1
Connecting your camera I0 your
compsirer . .,.. . .. 42
Copying images................................. _I
49
Viewing the images 011yoi:r
compater .. ......... . .... .......... . .......46
For Macirxosl3
users...___...______.__.............49
How to setupand operate your camcra...50
Changing menu settings . . . 50
Changing items in Ihe SET UP
screen... ..........._.............................50
Choosing afocus method ..... .......... .. ....51
Shooting with the kF lock using Center
AF . ................... . ...........................52
Setting the distance io the subject
(Focus preset) ....._.__._......._..............53
Adjusting the exposure
(KY adjustment)..__.__._...___._.............53
Spot light-metering __._.......__.....................iS
Adjusting color tones (White Balance) ...55
Shooting
multiple frames
(Clip Motion) _.........__......................56
Shooting in Iv&iii Bursr mode
(ML&~Burst) ._.......__._......................57
Shooting stili images for e-mail
WIvL4IL) ....a
Shooting still images wiih audio files
(VOICE) _,....,__._.......__.....................59
Adding
apecini effecrs (Picture Effec?) ...hO
Enlarging aportion of a still image.........61
Enlarging an image
- Playback z00m. .. ....................... 61
Recording an enlarged image
- Trimming _........._..........................62
Playing back s~~ccssivc images
(Slide show)____....._._._______................62
Rotating still images.________......__...............63
Protecting images (Protect) . ...................44
For the single screen.____........___...........64
Rx the Index (nine images) screen.....@
For the Index (three images) screen....65
Changing image size (Resizei . . 66
Choosing images to print (Print mark)..-47
For the single screen__._......__...............67
For the Index (nine images) screen.....47
For rile Index (three images) screen....48
Shooring movies ........ ........ .. .. I.... .. .....69
Viewing
movies
011ihe &CD screen.......m
Deleti!ig movies ......................................7 1
For the single screen ..__.__.___..._.__........71
For the index (nine images) screeli.....7I
For the Index (three images) screen....72
Editing movies.. ...................................... 73
Cutting movies.................................... 73
Deleting unnecessaryportions of
movies ........................................... .74
Copying movies to your computer .........7S
For Windows 98, @SE, 2000, Me
users................................................ 75
For Windows XT-’users....................... 75
For Macintosh users.......................... .76
Troubleshooting.. .................................... 77
Warnings and messages.......................... 85
Self-diagnostics display.. ........................ 86
The number of images rM can besaved/
shooting time.. ................................ 87
Menu items ............................................. 88
SET UP items ......................................... 92
Precautions............................................. .94
The “Memory Srick”. ............................. .95
The “infoLITHIUM” barterj pack .........95
Specikations.. ........................................ 94
The LCD scieeIi.. .................................... 98
Index ..................................................... IOI
) jack (32)
facing toward the battery compartment as
iilusrrated above. Make surethe battery
pack is properly inserted, then close the
COVU.
Open the cover in the arrow direcrion as
illustrated above.Connect theplug with the
mark facing
LIP.
Em& ejstctleader
Open Ihe batteryl”Memory Stick” ccver.
andpsh dowelthebattery eject lever in the
mow direction asillustrated above.
Connect the plug with the
LIP.
ou can useyour camera in any country or
areawith the supplied AC power adaptor
within 100V to 240 V AC, 50/60 Hz. Use a
commercially available AC plug adaptor
[a], ifnecessary, depending
the v&I outier (wll socket
To changethe current settings of the
camera,bring up the mm oxthe SET L!P
screen(page50), andusethe controi buttoi3
to malxt the changes.
For eachitem, press to select ihe
&sired value, then pressthe center
to make the setting.
* You can also carry out this operation when the
modediai is SL%to SCN, 0, or @I.
* To changevaluesfor the time and ihe datethat
havebeenpreviously set, setthe mode dial iO
SET UP. seleci [CLOCK SETJin
(age 93, ihen proczed from Step
The POWER lamp lights in greenand the
CLOCK SET screenappears.
You can select from [U/M/T?] (year/montlti
day). [M/D/Y]. and [D/M/V].
shown below the item currentiy selectedto
be set. After setting the current numerical value,
setthe next iicm. Repeat the aboveprocess
until all of the items have been sei.
After the date and time are set.the clock
will start to keep time.
Insert the “Niemory Stick” all Ihe way in
Slide thecover in the direction of the arrow. until it clicks asshown in the illustration. Open the hattery/“Memory Stick” cover,
then push Ihe “Memoq Stick” to pop it out.
The knagc size is set. The knage quaiiiy is set.
When the setting is completed, press
MENU. ‘Themenu disappearsfrom ihe
screen.
You canchooseimagesize(numberof
pixels)md imagequality(compression
ratio)basedonthekind of imagesyou
wantto shoot.Thelargeryoumakethe
youp&e the
ourimage,but
of dataneeded
imagesizeandthehigher
imagequality,thebettery
alsoLhelargertheamount
Thenmnberof&ages thatcanbesavedin FINIS(STANDARD) modeareshownbelow.
Units:numberof I
topreserveyourimage.Thismeansyou
cansavefewerimagesin yourWIemorv
Y> 1280x960 12(23) 24144)
iOY@j
.-- .-iii (1841 202(375)
/640x480 / 481120) / 195(4881 / 393(983) 1 789(1973)
i
numberofpixelsdisplayed.
/1280x960 Printingpostcardsizeima.<es/

Other manuals for DSC-P2 - Cyber-shot Digital Still Camera

1

Other Sony Digital Camera manuals

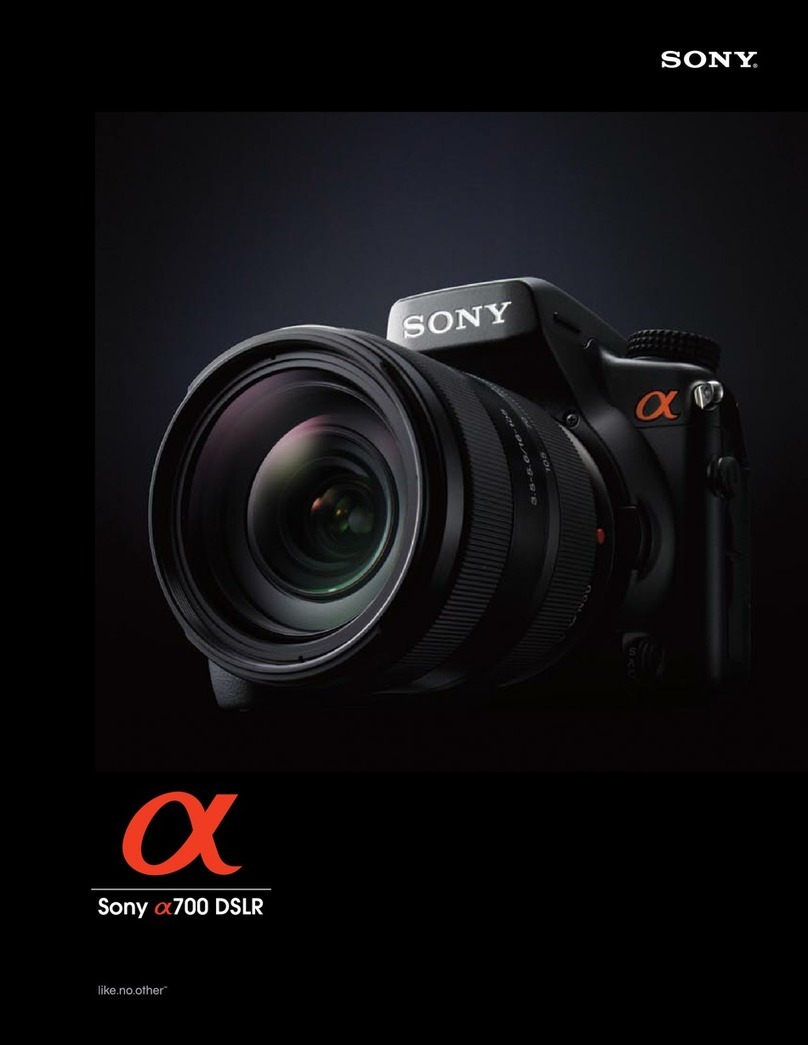
Sony DSLR-A700K - alpha; Digital Single Lens Reflex... User manual

Sony

Sony DSLR-A700K - alpha; Digital Single Lens Reflex... User manual

Sony Cyber-shot DSC-WX800 Reference guide

Sony

Sony Cyber-shot DSC-WX800 Reference guide

Sony Cyber-shot DSC-N2 User manual

Sony

Sony Cyber-shot DSC-N2 User manual

Sony Cybershot,cyber-shot dsc-tx100v User manual

Sony

Sony Cybershot,cyber-shot dsc-tx100v User manual

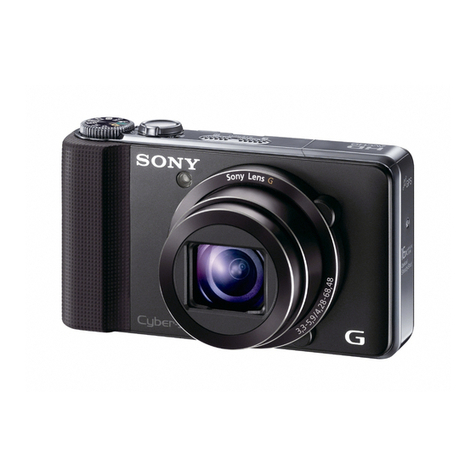
Sony Cyber-shot DSC-HX9V User manual

Sony

Sony Cyber-shot DSC-HX9V User manual

Sony Cyber-shot DSC-W35 User manual

Sony

Sony Cyber-shot DSC-W35 User manual

Sony Cyber-shot DSC-W710 User manual

Sony

Sony Cyber-shot DSC-W710 User manual

Sony Cyber-shot DSC-H5 User manual

Sony

Sony Cyber-shot DSC-H5 User manual

Sony Cyber-shot DSC-W15 User manual

Sony

Sony Cyber-shot DSC-W15 User manual

Sony DSC-WX60 User manual

Sony

Sony DSC-WX60 User manual

Sony Cyber-shot DSC-S600 User manual

Sony

Sony Cyber-shot DSC-S600 User manual

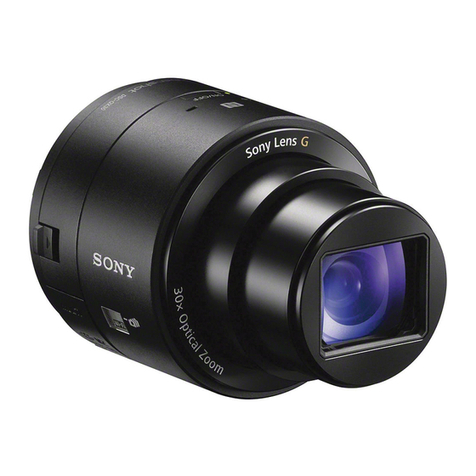
Sony ILCE-QX1 User manual

Sony

Sony ILCE-QX1 User manual

Sony DSC-W350 Cyber-shot® User manual

Sony

Sony DSC-W350 Cyber-shot® User manual

Sony XCG-CP510 User manual

Sony

Sony XCG-CP510 User manual

Sony CD Mavica MVC-CD500 User manual

Sony

Sony CD Mavica MVC-CD500 User manual

Sony Cyber-shot DSC-TF1 Installation instructions manual

Sony

Sony Cyber-shot DSC-TF1 Installation instructions manual

Sony Cyber-shot DSC-H5 Operating instructions

Sony

Sony Cyber-shot DSC-H5 Operating instructions

Sony Cyber-shot DCS-TX7 User manual

Sony

Sony Cyber-shot DCS-TX7 User manual

Sony DSC-T77/G Cyber-shot® User manual

Sony

Sony DSC-T77/G Cyber-shot® User manual

Sony Cyber-shot DSC-S2100 User manual

Sony

Sony Cyber-shot DSC-S2100 User manual

Sony DCR-HC65 - Digital Handycam Camcorder User manual

Sony

Sony DCR-HC65 - Digital Handycam Camcorder User manual

Sony DSC-V1 Operating Instructions (English) User manual

Sony

Sony DSC-V1 Operating Instructions (English) User manual

Sony Cyber-shot DSC-W350 User manual

Sony

Sony Cyber-shot DSC-W350 User manual

Sony FD Mavica MVC-FD75 User manual

Sony

Sony FD Mavica MVC-FD75 User manual

Popular Digital Camera manuals by other brands

BenQ DC 1300 Specifications

BenQ

BenQ DC 1300 Specifications

Acer Digital camera 8.1 Mega pixels CCD user manual

Acer

Acer Digital camera 8.1 Mega pixels CCD user manual

Kodak Z740 Series brochure

Kodak

Kodak Z740 Series brochure

Kodak C433 - Easyshare Zoom Digital Camera user guide

Kodak

Kodak C433 - Easyshare Zoom Digital Camera user guide

Rollei RCP-8325 user guide

Rollei

Rollei RCP-8325 user guide

Andor Technology iDus 416 quick start guide

Andor Technology

Andor Technology iDus 416 quick start guide

Minolta DYNAX 3 instruction manual

Minolta

Minolta DYNAX 3 instruction manual

Samsung ES60 Quick start manual

Samsung

Samsung ES60 Quick start manual

Dalsa P4-CC-08K050-00-R user manual

Dalsa

Dalsa P4-CC-08K050-00-R user manual

Canon EOS 650 manual

Canon

Canon EOS 650 manual

Praktica D00370 Specifications

Praktica

Praktica D00370 Specifications

Nilox EVO360 user manual

Nilox

Nilox EVO360 user manual

Meari Mini 11S quick guide

Meari

Meari Mini 11S quick guide

Casio QV-5700 user guide

Casio

Casio QV-5700 user guide

Gogen MAXIKAMERAB instruction manual

Gogen

Gogen MAXIKAMERAB instruction manual

Dukane 101 Brochure & specs

Dukane

Dukane 101 Brochure & specs

Casio EX-Z115 - EXILIM Digital Camera user guide

Casio

Casio EX-Z115 - EXILIM Digital Camera user guide

Pentax K-7 operating manual

Pentax

Pentax K-7 operating manual

manuals.online logo
manuals.online logoBrands
  • About & Mission
  • Contact us
  • Privacy Policy
  • Terms and Conditions

Copyright 2025 Manuals.Online. All Rights Reserved.