manuals.online logo
Brands
  1. Home
  2. •
  3. Brands
  4. •
  5. Sony
  6. •
  7. Receiver
  8. •
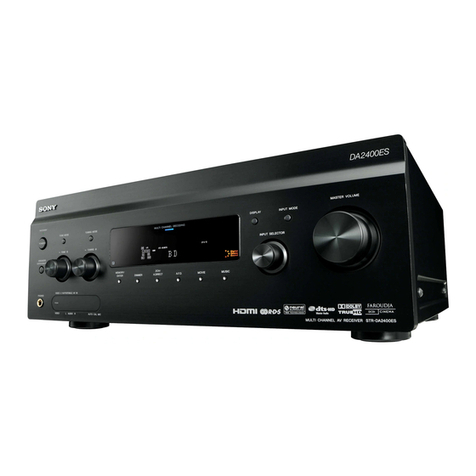
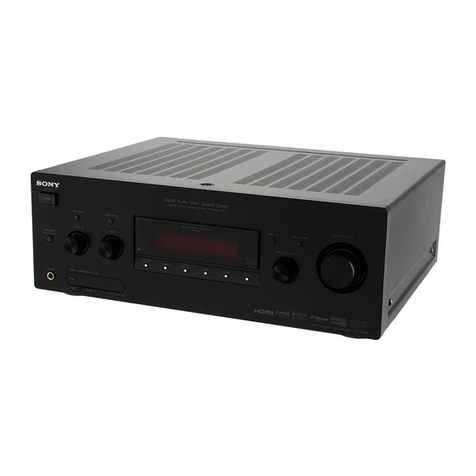
  9. Sony STR-DA3300ES - Multi Channel Av Receiver Service manual

Sony STR-DA3300ES - Multi Channel Av Receiver Service manual

Other manuals for STR-DA3300ES - Multi Channel Av Receiver

9

This manual suits for next models

1

Other Sony Receiver manuals

Sony STR-KM7600 User manual

Sony

Sony STR-KM7600 User manual

Sony ICF-M350V User manual

Sony

Sony ICF-M350V User manual

Sony BKM-256DD User manual

Sony

Sony BKM-256DD User manual

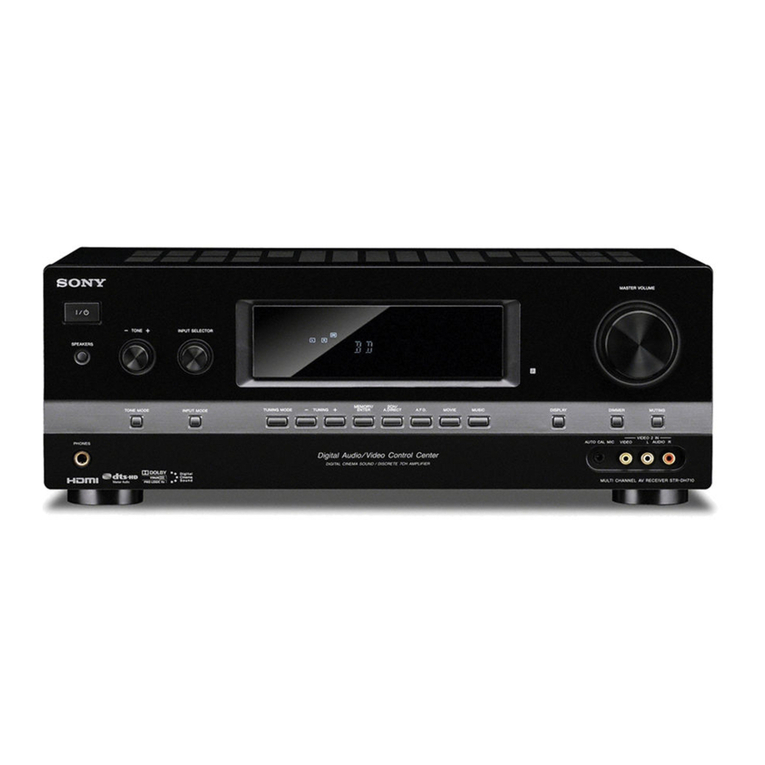
Sony STR-DH710 - 10str Hifi User manual

Sony

Sony STR-DH710 - 10str Hifi User manual

Sony HBD-TZ135 User manual

Sony

Sony HBD-TZ135 User manual

Sony SAT-A2 Operating Instructions  (primary... User manual

Sony

Sony SAT-A2 Operating Instructions (primary... User manual

Sony STR-D911 User manual

Sony

Sony STR-D911 User manual

Sony SAT-HD200 - Directv High Definition Satellite... User manual

Sony

Sony SAT-HD200 - Directv High Definition Satellite... User manual

Sony STR-DA9000ES - Fm Stereo/fm-am Receiver User guide

Sony

Sony STR-DA9000ES - Fm Stereo/fm-am Receiver User guide

Sony STR-DA3400ES User manual

Sony

Sony STR-DA3400ES User manual

Sony BRAVIA DMX-NV1 User manual

Sony

Sony BRAVIA DMX-NV1 User manual

Sony HCD-AZ1D User manual

Sony

Sony HCD-AZ1D User manual

Sony STR-DH700 User manual

Sony

Sony STR-DH700 User manual

Sony BKM-500 User manual

Sony

Sony BKM-500 User manual

Sony SAT-A50 - Digital Satellite System User manual

Sony

Sony SAT-A50 - Digital Satellite System User manual

Sony STR-ZA3100ES Reference guide

Sony

Sony STR-ZA3100ES Reference guide

Sony STR-DH590 User guide

Sony

Sony STR-DH590 User guide

Sony XDR-S100CD User manual

Sony

Sony XDR-S100CD User manual

Sony STR-DH810 - Audio Video Receiver User manual

Sony

Sony STR-DH810 - Audio Video Receiver User manual

Sony STR-DE895 - Fm Stereo/fm-am Receiver User manual
Sony

Sony STR-DE895 - Fm Stereo/fm-am Receiver User manual

Sony STR-DN840 User manual

Sony

Sony STR-DN840 User manual

Sony STR-DA333ES - Fm Stereo/fm-am Receiver User manual

Sony

Sony STR-DA333ES - Fm Stereo/fm-am Receiver User manual

Sony HCD-FL7D - System Components User manual

Sony

Sony HCD-FL7D - System Components User manual

Sony HCD-EC70  (MHC-EC70 Mini Hi-Fi System) User manual

Sony

Sony HCD-EC70 (MHC-EC70 Mini Hi-Fi System) User manual

Popular Receiver manuals by other brands

Televes ZAS HD SAT user manual

Televes

Televes ZAS HD SAT user manual

Realistic DX-75 Operating and service instructions

Realistic

Realistic DX-75 Operating and service instructions

Saris 4620 Assembly instructions

Saris

Saris 4620 Assembly instructions

Mini DTR 206C PVR user manual

Mini

Mini DTR 206C PVR user manual

RF Elements TwistPort manual

RF Elements

RF Elements TwistPort manual

Denon DN-200WS user guide

Denon

Denon DN-200WS user guide

Yamaha RX-V467 owner's manual

Yamaha

Yamaha RX-V467 owner's manual

Russound SaphIR 858 instruction manual

Russound

Russound SaphIR 858 instruction manual

Quasonix RDMS Firmware update procedure

Quasonix

Quasonix RDMS Firmware update procedure

Pioneer XV-HTD1 Service manual

Pioneer

Pioneer XV-HTD1 Service manual

ATZ HDMI-V2-44HE150 manual

ATZ

ATZ HDMI-V2-44HE150 manual

Grundig STR 7122 TWIN Service manual

Grundig

Grundig STR 7122 TWIN Service manual

Creative Blaster Modem user guide

Creative

Creative Blaster Modem user guide

Panduit ATLONA AT-OME-RX11 installation guide

Panduit

Panduit ATLONA AT-OME-RX11 installation guide

VOLTCRAFT UTPS-40 operating instructions

VOLTCRAFT

VOLTCRAFT UTPS-40 operating instructions

JVC KW-ADV794 instructions

JVC

JVC KW-ADV794 instructions

Litelink VT-1001 operating instructions

Litelink

Litelink VT-1001 operating instructions

Sangean WR-11 Service manual

Sangean

Sangean WR-11 Service manual

manuals.online logo
manuals.online logoBrands
  • About & Mission
  • Contact us
  • Privacy Policy
  • Terms and Conditions

Copyright 2025 Manuals.Online. All Rights Reserved.

Sony Service Centre (Europe) N.V.
European Service Engineering
Technologielaan 7
B - 1840 Londerzeel
1 / 7
Technical Bulletin
Date Ref. No. Model RASC
11.03.08 08HA004 STR-DA3300ES, STR-DA5300ES AU
Subject IRIS
Slightly Dark Picture C321
SYMPTOM
•The picture becomes slightly dark when a HD video signal in 720p, 1080i, or 1080p is input via component and
connected to the TV via component or HDMI.
•The problem does not occur with:
* HDMI input →HDMI output connection.
* 480i or 480p analog video signal input.
* STR output set up as ”Direct”.
CAUSE
Firmware malfunction.
SOLUTION
Update to the latest version (v1.07) of the Video Processor firmware FAROUDJA as indicated below.
1. Version Number Confirmation
! IMPORTANT !
Check the version number before updating via the “Special Menu”. Do not update the set if the version number is
v1.06 or higher. Since v1.06 does not have the above symptoms, overwriting the firmware will erase some
essential settings.
1-1. Enter the “Special menu” by subsequently pressing the “A.F.D.”, “2CH/A.DIRECT”, “MUSIC” and “MOVIE” key
on the front panel of the amplifier while holding down the “TONE MODE” key’. “MENU SPECIALIZED” is displayed
in the front panel window.
1-2. On the remote commander, press “MENU”. “<<<SPECIAL>>>” will be displayed.
1-3. Press the “Enter” key on the remote commander. “<VIDEO FACTORY MENU>” is displayed.
1-4. Continuously press the “Cursor Down” key on the remote to display the version number.
2 / 7 08HA004
2. Preparation
Make sure to have the below items available.
•PC Communication Jig J-2501-321-A.
•USB Serial Converter (USB-RS232C) or the RS-232C extension cable (straight type).
•DOS/V PC with USB or RS232C port and Windows 2000/XP installed.
•Applicable amplifier (STR-DA3300ES or –DA5300ES).
! CAUTION !
£Before updating, disconnect or power off the power amplifier to avoid noise during updating or prevent the
amplifier from being damaged. Before re-supplying power to the power amplifier, be sure to disconnect the
USB/RS232C cable.
£Before re-supplying power to the power amplifier, be sure to disconnect the USB/RS232C cable. If connected,
symptoms such as abnormal display, abnormal sound and noise may occur when turning on/off the PC power
supply, potentially damaging the power amplifier or the speakers.
£While implementing the Flash overwrite program, never cut off the power supply to the amplifier main unit to
prevent the amplifier flash memory from being damaged.
3. Update Procedure
3-1. Download firmware package
3-1-1. Download the zip file indicated below and attached to this Technical Bulletin.
Date File
March 2008 FAROUDJA107.zip
3-1-2. Unzip this attachment to a dedicated folder on the PC. The following files will be created.
Type File
CGProbe_Redistributable_5.7.0.1.exe
Overwriting program files ISPUtility_2.0.5.0.exe
Latest Flash program file Fli8668_rd3-8668_board_ext.hex
3-2. Connect PC with applicable amplifier
3-2-1. Remove the amplifier case.
3-2-2. Insert the PC Communication Jig cable into the D-VIDEO board “CN3605”. Refer to the picture below for the
precise location of “CN3605”.
3-2-3. Connect the PC communication jig and PC with the USB-RS232C conversion cable (or RS232C extension
cable).
08HA004 3 / 7
3-3. Flash Writer start-up
3-3-1. Power on the applicable amplifier, and boot up the PC.
3-3-2. Double-click the [CGProbe-Redistributable_5.7.0.1.exe] file from the dedicated folder on the PC.
3-3-3. When the installer program starts, click the buttons as scheduled below.
3-3-4. Double-click the [ISPUtility_2.0.5.0.exe] file from the dedicated folder on the PC.
3-3-5. When the installer program starts, click the buttons as scheduled below.
4 / 7 08HA004
3-3-6. Double-click the new icon on the desktop.
3-3-7. The Flash Writer window will be displayed.
3-4. Flash Writer set-up
3-4-1. When the Flash Writer is displayed, click to set the ISP settings as follows.
Connection Serial
Chip FLI8668
Flash device SST39VF320
3-4-2. Click [Settings] to set the serial port that actually connected with the jig. In the example picture this is
“COM4”.
08HA004 5 / 7
3-4-3. Click [Image], and select and open the program file (fli8668_rd3_8668_board_ext.hex) file from the
dedicated folder.
3-4-4. When the Flash Writer setting is completed, in the “File menu” click [Save].
3-4-5. When the [Save File] window is displayed, click the [Save] button, and save as an “.isp” file.
3-5. Implementation and completing of overwriting
3-5-1. Subsequently open the PC folders [C drive] →[Program File] →[Genesis Microchip] →[ISP Utility], and
double-click [FLI8668_SST39VF320.isp].
6 / 7 08HA004
3-5-2. In the [ISP Utility File Dialog Box], click [Start] after confirming that the applicable amplifier is powered on.
3-5-3. The message “Entering debug mode. Please reset the board and press OK” will be displayed. Click [OK].
The upgrade will start.
3-5-4. It takes about 2 minutes to upgrade. Make sure not to touch the applicable amplifier and PC during writing.
The message “ISP successful” will be displayed when the writing is completed normally. Click the [ ] button on
the top right of the screen to close the program.
3-5-5. Power off the applicable amplifier, and disconnect the cable of the PC Communication Jig.
NOTE
If multiple upgrades need to be performed, only steps 3.1 and 3.5 of this procedure are to be repeated.
4. Version Number Confirmation
Refer to step 1 of this procedure for further details.
******
Amplifier Initialization
Initialize the amplifier by performing the steps below.
1. Press [POWER] to turn off the amplifier.
2. Press [POWER] to turn on while holding down [TONE MODE] and [DMPORT] on the front panel.
3. “MEMORY CLEARING” appears on the display for a while. All memory is reset to the factory settings.
£Do not use a “Super reset” in the “Special Menu Mode”. If a “Super reset” is performed, also an “up convert
signal level adjustment” will be initialized.
08HA004 7 / 7
Troubleshooting
•In case of “Communication Error” after pressing the [Start] button, confirm the below points.
* Is the power on to the applicable amplifier?
* Are the cables connected firmly?
* Are the correct RS232C extension cables used? Always use a straight type cable.
* Is the cable connected tot the correct COM PORT number?
* Is the connected COM PORT available at PC side? Check whether the installed modem is equipped with the
port or not.
•Make sure to copy the Flash Overwrite program and the latest Flash program file to the hard disk before use.
Booting up from the floppy disk may cause a failure due to a slow access speed.
•In case of unsuccessful overwriting, press the [Start] button of the FAOUDJA update, and start overwriting
again from the beginning.
•Overwriting may fail if any other Windows applications are run during the operation.
APPLICABLE SERIAL NUMBERS
Model Destination Colour
Serial number
UK Black 6600001~6600219
Continental Europe Silver 5500001~5501370
Continental Europe Black 5500001~5501393
Europe Silver 5500001~5503535
STR-DA3300ES
Europe Black 5500001~5503540
UK / 6600001~6600157
Continental Europe / 5500001~5501773
Europe Silver 5500001~5503081
STR-DA5300ES
Europe Black 5500001~5503286