AVD-K800P
US Model
Canadian Model
AEP Model
UK Model
E Model
SERVICE MANUAL
COMPACT AV SYSTEM
Sony Corporation
Home Audio Company
Published by Sony Engineering Corporation
9-877-319-01
2003E16-1
© 2003.05
Ver 1.0 2003. 05
Model Name Using Similar Mechanism NEW
Mechanism Type
CDM79-DVBU22
Optical Pick-up Name
TDP022W
SPECIFICATIONS
AUDIO POWER SPECIFICATIONS
POWER OUTPUTAND TOTAL HARMONIC DISTORTION:
With 6 ohm loads, both channels driven, from 120 – 20,000 Hz; rated 60
watts per channel minimum RMS power , with no more than 0.7 % total
harmonic distortion from 250 milliwatts to rated output (USA model only).
Amplifier section
Rated Power Output at Stereo Mode
60 W + 60 W (6 ohms, at 1 kHz, THD 0.7 %)
Reference Power Output
Front: 100 W/ch (6 ohms at 1 kHz, THD 10 %)
Center*: 100 W (6 ohms at 1 kHz, THD 10 %)
Surround*: 100 W/ch (6 ohms at 1 kHz, THD 10 %)
Sub woofer*: 100 W (6 ohms at 100 Hz, THD 10 %)
*Depending on the sound field settings and the source, there may be no sound output.
Inputs (Analog) ANALOG IN:
Sensitivity: 500 mV
Impedance: 50 kilohms
Outputs (Analog) PHONES:
Accepts low- and high-impedance headphones
CD/DVD system
Laser Semiconductor laser
(DVD: λ= 650 nm)
(CD: λ= 780 nm)
Emission duration: continuous
Signal format system NTSC/PAL or NTSC
Frequency response (at 2 CH STEREO mode)
DVD (PCM): 2 Hz to 22 kHz (±1.0 dB)
CD: 2 Hz to 20 kHz (±1.0 dB)
Signal-to-noise ratio More than 80 dB
Harmonic distortion Less than 0.03 %
FM tuner section
System PLL quartz-locked digital synthesizer system
Tuning range
North American models: 87.5 – 108.0 MHz (100 kHz step)
Other models: 87.5 – 108.0 MHz (50 kHz step)
Antenna FM wire antenna
Antenna terminals 75 ohms, unbalanced
Intermediate frequency 10.7 MHz
AM tuner section
System PLL quartz-locked digital synthesizer system
Tuning range
North American models: 530 – 1,710 kHz (with the interval set at 10 kHz)
531 – 1,710 kHz (with the interval set at 9 kHz)
European models: 531 – 1,602 kHz (with the interval set at 9 kHz)
Mexican models: 530 – 1,610 kHz (with the interval set at 10 kHz)
Other models: 530 – 1,610 kHz (with the interval set at 10 kHz)
531 – 1,602 kHz (with the interval set at 9 kHz)
Antenna AM loop antenna
Intermediate frequency 450 kHz
Video section
Inputs Video: 1 Vp-p 75 ohms
Outputs Video: 1 Vp-p 75 ohms
Component: Y: 1Vp-p 75 ohms
P
B
/C
B
: 0.7 Vp-p 75 ohms
P
R
/C
R
: 0.7 Vp-p 75 ohms
General
Power requirements
North American and Mexican models:
120 V AC, 60 Hz
European models: 230 V AC, 50/60 Hz
Other models: 120/220 V AC, 50/60 Hz
Power consumption
Canadian models: 240 VA
Other models: 190 W
Power consumption (at Power Saving Mode):
0.5 W
Dimensions (approx.) 430 ×170 ×450 mm (17 ×6 7/8×17 7/8inches)
(w/h/d) incl. projecting parts
Mass (approx.) 11.5 kg (25 lb 6 oz.)
Operating temperature 5˚C to 35˚C (41˚F to 95˚F)
Operating humidity 5 % to 90 %
Design and specifications are subject to change without notice.
This system incorporates with Dolby* Digital and Dolby Pro Logic (II) adaptive matrix
surround decoder and the DTS** Digital Surround System.
*Manufactured under license from Dolby Laboratories.
“Dolby”, “Pro Logic” and the double-D symbol are trademarks of Dolby Laboratories.
** Manufactured under license from Digital Theater Systems, Inc.
“DTS” and “DTS Digital Surround” are trademarks of Digital Theater Systems, Inc.
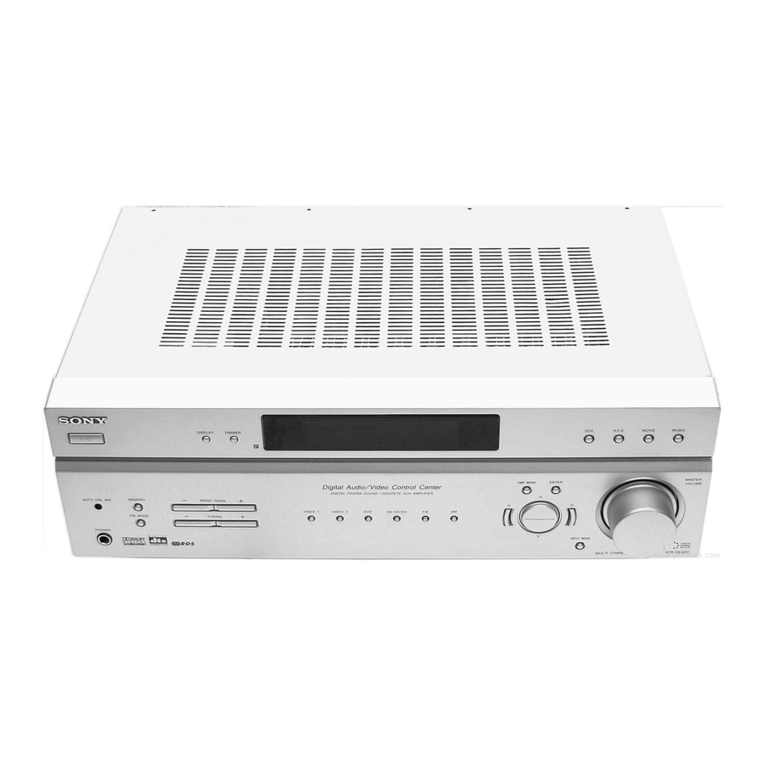
AVD-K800P is the amplifier, CD/DVD and tuner system in HT-C800DP.


