CMT-GS30DAB.GB.2-319-449-13(1)
Other Operations
Creating your own CD program
(Program Play)
1 Press CD to select the CD function.
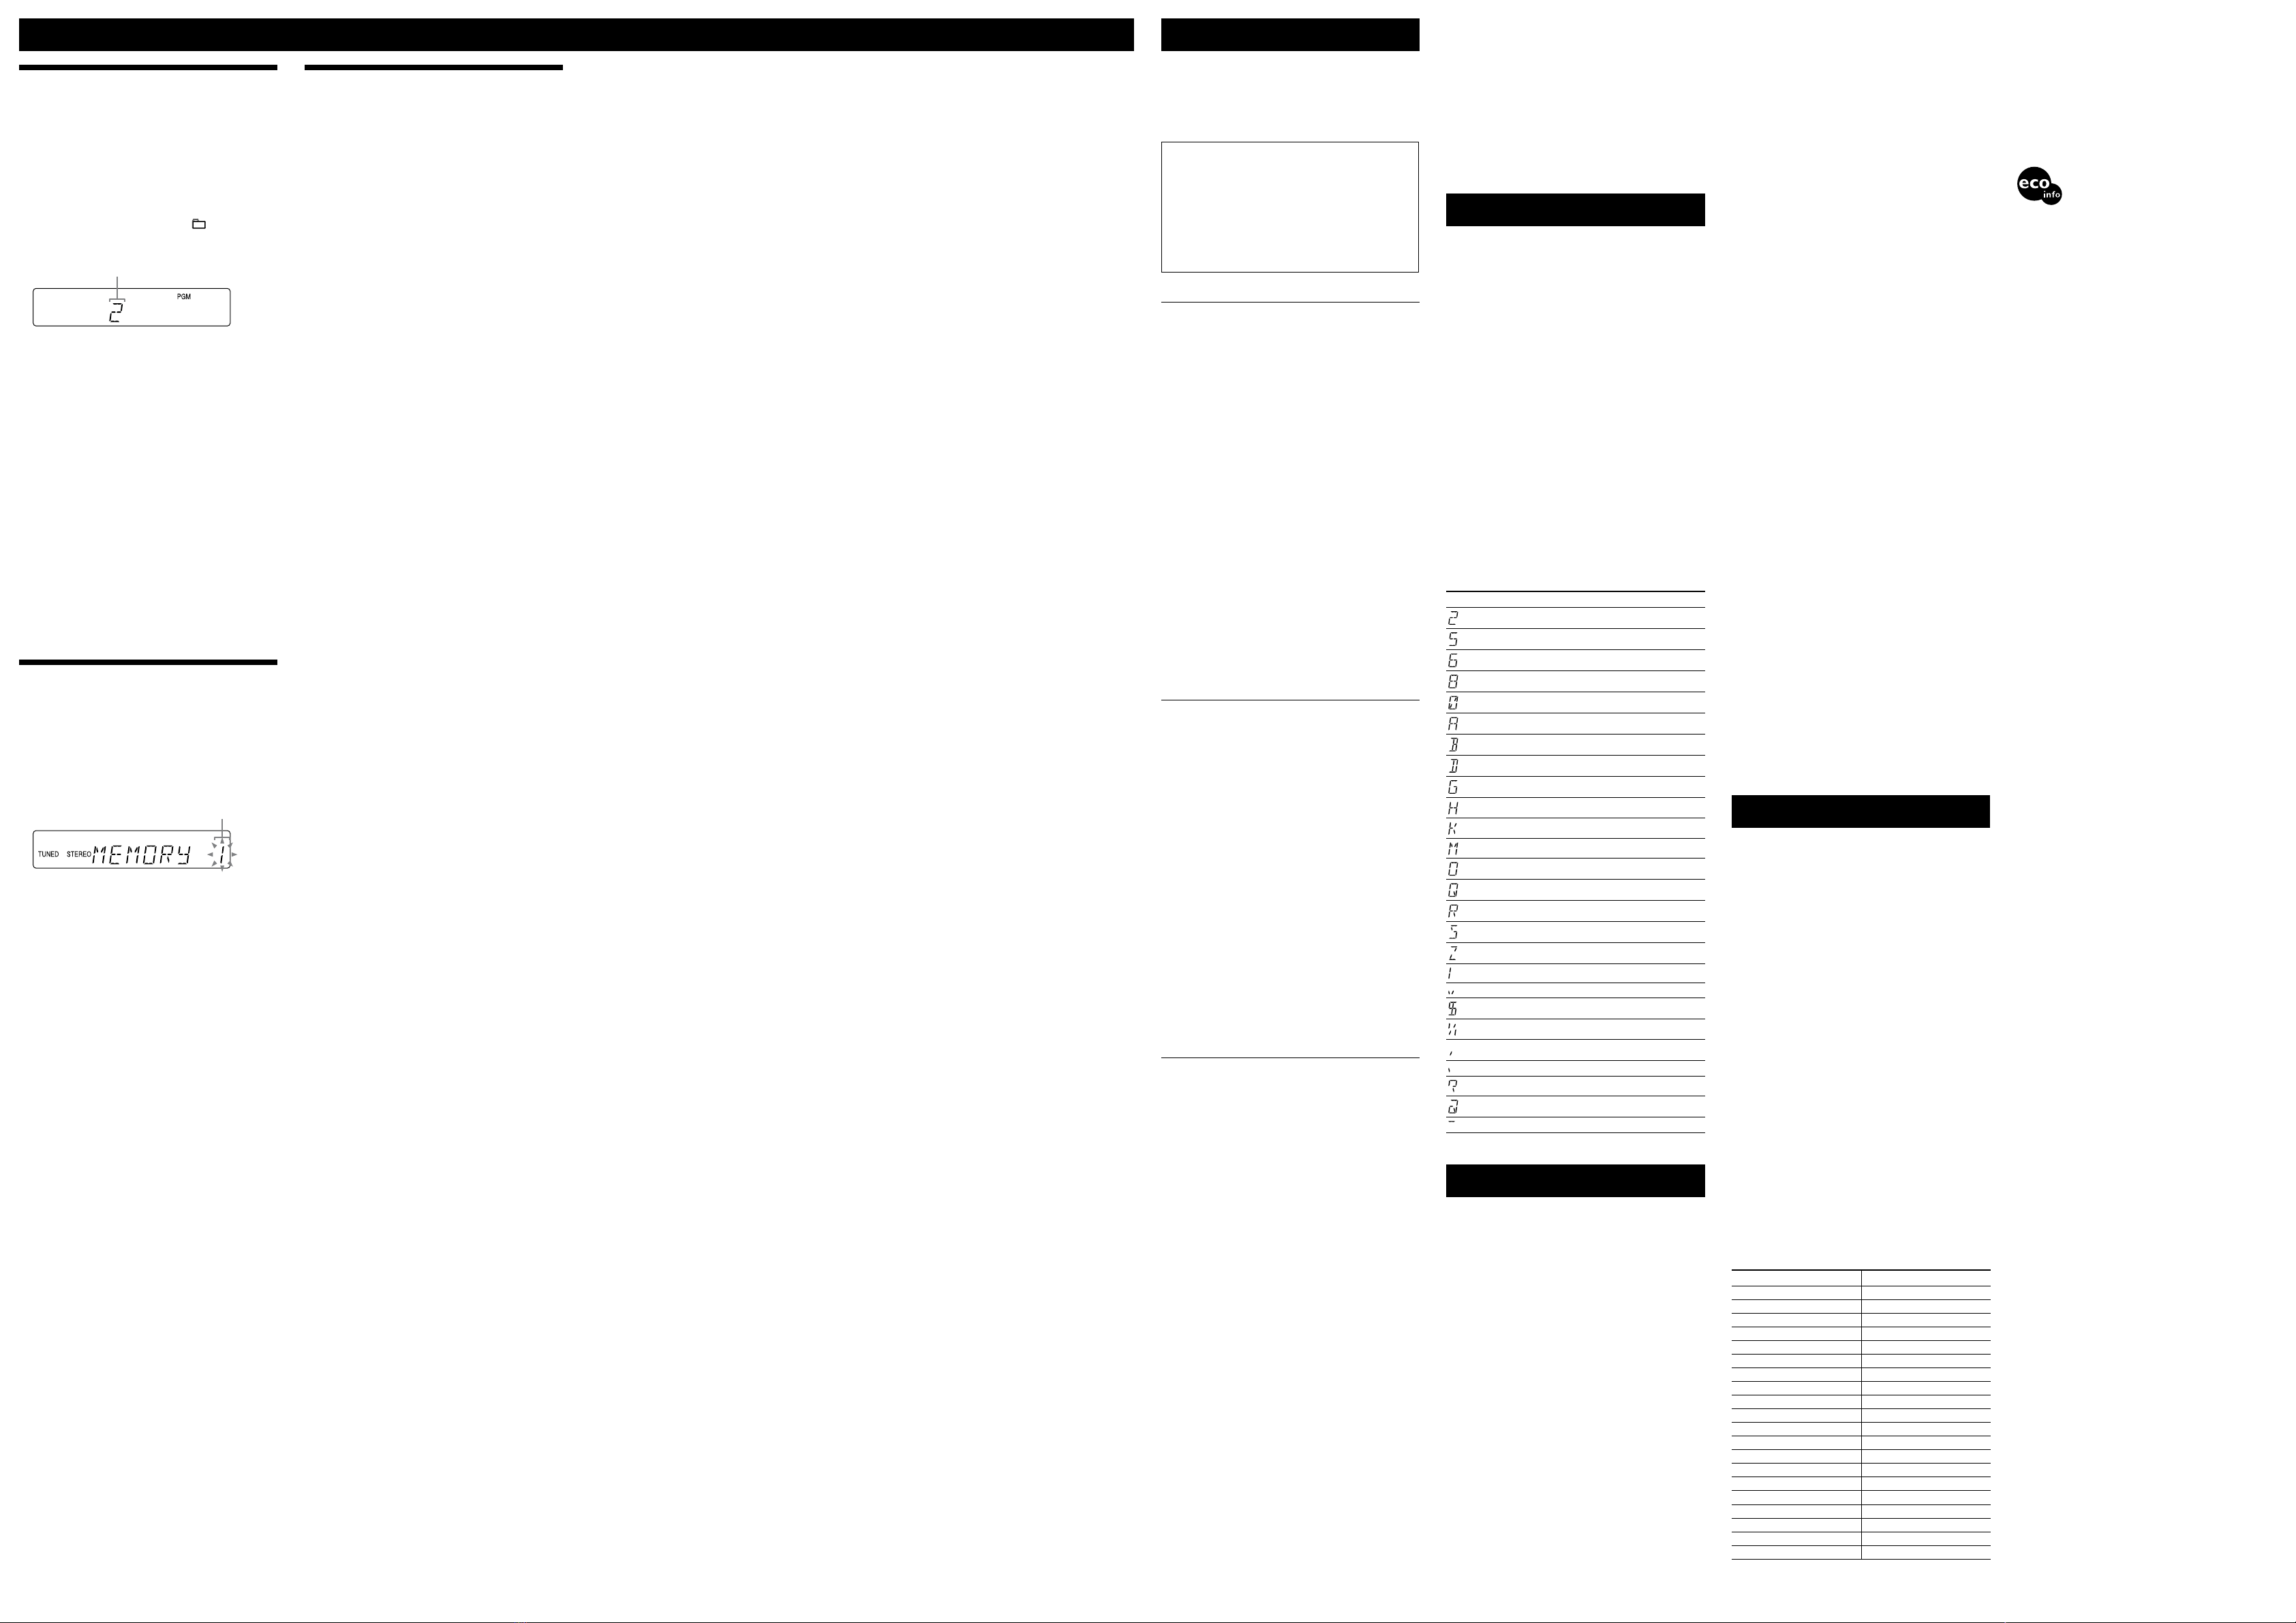
2 Press PLAY MODE repeatedly until “PGM” appears
while the player is stopped.
3 Press /(or /on the unit)
repeatedly until the desired track or le number
appears.
When programing MP3 les, press +/on
the remote repeatedly to select the desired folder, and
then select the desired le.
Selected track or le number
4 Press ENTER to add the track or le to the
program.
5 Repeat steps 3 through 4 to program additional
tracks or les, up to a total of 15 tracks or les.
6 To play your program of tracks or les, press (or
CD on the unit) .
e program remains available until you open the disc
tray. To play the same program again, select the CD
function, and press (or CD on the unit) .
To cancel Program Play
Press PLAY MODE repeatedly until “PGM”
disappears while the player is stopped.
To delete the last track or le of the program
Press CLEAR on the remote while the player is
stopped.
To view program information, such as total
track number of the program
Press DISPLAY repeatedly.
Presetting radio stations
You can preset your favorite radio stations and tune
them in instantly by selecting the corresponding preset
number.
Use buttons on the remote to preset stations.
1 Tune in the desired station (See “Listening to the
radio”).
2 Press TUNER MEMORY .
Preset number
3 Press +/(or TUNING + or on the unit)
repeatedly to select your desired preset number.
If another station is already assigned to the selected
preset number, the station is replaced by the new
stations.
4 Press ENTER .
5 Repeat steps 1 through 4 to store other stations.
You can preset up to 20 DAB, 20 FM and 10 AM
stations. e preset stations are retained for about half
a day even if you disconnect the power cord or if a
power failure occurs.
6 To call up a preset radio station, press TUNING
MODE repeatedly until“PRESET” appears, and
then press +/(or TUNING + or on the unit)
repeatedly to select the desired preset number.
Note on presetting DAB stations
You can preset a DAB service only when it can be received.
Using the Timers
e system oers two timer functions. If you use both
timers, the Sleep Timer has priority.
Sleep Timer:
You can fall asleep to music. is function works even if
the clock is not set.
Press SLEEP repeatedly. If you select “AUTO,” the
system automatically turns o aer the current disc stops
or in 100 minutes.
Play Timer:
You can wake up to CD or tuner at a preset time.
Use buttons on the remote to control the Play Timer.
Make sure you have set the clock.
1 Prepare the sound source.
Prepare the sound source, and then press VOLUME
+/to adjust the volume.
To start from a specic CD track or MP3 le, create
your own CD program.
2 Press CLOCK/TIMER SET .
3 Press /repeatedly to select “PLAY,” and
then press ENTER .
“ON TIME” appears, and the hour indication ashes.
4 Set the time to start playing.
Press /repeatedly to set the hour, and
then press ENTER .
e minute indication ashes. Use the procedure
above to set the minutes.
5 Use the same procedure as in step 4 to set the time
to stop playing.
6 Select the sound source.
Press /repeatedly until the desired
sound source appears, and then press ENTER . e
display shows the timer settings.
7 Press to turn o the system.
If the system is on at the preset time, the Play Timer
will not play.
To activate or check the timer again
Press CLOCK/TIMER SELECT , press /
repeatedly until “PLAY” appears, and then press ENTER
.
To cancel the timer
Repeat the same procedure as above until “OFF” appears,
and then press ENTER .
To change the setting
Start over from step 1.
Tip
e Play Timer setting remains as long as the setting is not canceled
manually.
1 Make sure the power cord and speaker cords are
correctly and rmly connected.
2 Find your problem in the checklist below, and take
the indicated corrective action.
If the issue persists, contact your nearest Sony dealer.
If the STANDBY indicator ashes
Immediately unplug the power cord, and check the
following item.
If your system has a voltage selector, is the voltage
selector set to the correct voltage?
Aer the STANDBY indicator on the unit stops
ashing, reconnect the power cord, and turn on the
system. If the issue persists, contact your nearest Sony
dealer.
General
The system unexpectedly shuts o while
operating.
Are the + and speaker cords short-circuited?
Make sure the speaker cords are correctly connected.
There is no sound.
Are the + and speaker cords short-circuited?
Connect only the supplied speakers.
Do not obstruct the ventilation holes.
Sound comes from one channel, or the left and
right volumes are unbalanced.
Place the speakers as symmetrically as possible.
Connect only the supplied speakers.
Severe hum or noise.
Move the system away from sources of noise.
Connect the system to a dierent wall socket.
Install a noise lter (available separately) to the power
cord.
The remote does not function.
Remove any obstacles between the remote and the
remote sensor on the unit, and position the unit
away from uorescent lights.
Point the remote at the system’s sensor.
Move the remote closer to the system.
CD/MP3 player
The sound skips, or the disc will not play.
Wipe the disc clean, and replace it.
Move the system to a location away from vibration (for
example, on top of a stable stand).
Move the speakers away from the system, or place them
on separate stands. At high volume, speaker vibration
may cause the sound to skip.
Play does not start from the rst track.
Return to Normal Play by pressing PLAY MODE
repeatedly until both “PGM” and “SHUF” disappear.
Starting playback takes more time than usual.
e following discs take a longer time to start playback.
a disc recorded with a complicated tree structure.
a disc recorded in multisession mode.
a disc that has not been nalized (a disc to which data
can be added).
a disc that has many folders.
The disc tray does not open and “LOCKED”
appears.
Contact your Sony dealer or local authorized Sony
service facility.
Tuner
Severe hum or noise, or stations cannot be
received. (“TUNED” or “STEREO” ashes on the
display.)
Connect the antenna properly.
Find a location and an orientation that provide good
reception, and then set up the antenna again.
Keep the antenna away from the speaker cords and the
power cord to avoid picking up noise.
Turn o nearby electrical equipment.
“TUNED” does not appear in the display (DAB
only).
Check all antenna connections, then perform the
DAB Automatic Scan procedure (see “Before using the
system”).
e current DAB service may not be available. Press
+/on the remote (or TUNING +/on the unit)
to select a dierent service.
If you have moved to another area, some services/
frequencies may have changed and you may not be able
to tune into your usual broadcast.
Perform the DAB Automatic Scan procedure to
re-register the contents of broadcasts. (Performing this
procedure clears all previously stored presets.)
To improve tuner reception
Turn o CD player power by using the CD power
management function. By default, CD power is turned on.
1 Press CD (or FUNCTION repeatedly) to select the
CD function.
2 Press to turn o the system.
3 After “STANDBY” stops ashing, press DISPLAY
to display the clock and then press while
holding down on the unit.
“CD POWER OFF” appears. With CD player power
turned o, disc access time is increased. To turn on
CD player power, repeat the procedure until “CD
POWER ON” appears.
Troubleshooting
To reset the system to factory settings
If the system still does not operate properly, reset the
system to factory settings.
Use buttons on the unit to reset the unit to its factory
default settings.
1 Disconnect and reconnect the power cord, and then
turn on the system.
2 Press , DSGX , and at the same time.
All user-congured settings, such as preset radio
stations, timer, and the clock, are deleted.
Messages
COMPLETE : e preset operation ended normally.
FULL : You tried to program more than 15 tracks or les
(steps).
NO DISC : ere is no disc in the player, or you have
loaded a disc that cannot be played.
NOPRESET (DAB only) : ere is no stored preset
station.
NO SERV (DAB only) : ere is no supported DAB
broadcast in your country or region.
NO STEP : All of the programed tracks have been erased.
OVER : You have reached the end of the disc while
pressing during playback or pause.
PUSH SELECT : You tried to set the clock or timer during
timer operation.
PUSH STOP : You pressed PLAY MODE during
playback.
READING : e system is reading information from the
disc. Some buttons are not available.
SET CLOCK : You tried to select the timer when the clock
is not set.
SET TIMER : You tried to select the timer when the Play
Timer is not set.
TIME NG : e Play Timer start and end times are set to
the same time.
Display examples
Display indicates
2 (two)
5 (ve)
6 (six)
8 (eight)
0 (zero)
A
B
D
G
H
K
M
O
Q
R
S
Z
|
”
$
%
,
.
?
@
^
Precautions
Discs that this system CAN play
Audio CD
CD-R/CD-RW (audio data/MP3 les)
Discs that this system CANNOT play
CD-ROM
CD-R/CD-RW other than those recorded in music CD
format or MP3 format conforming to ISO9660 Level
1/Level 2, Joliet or multisession
CD-R/CD-RW recorded in multisession that have not
ended by “closing the session”
CD-R/CD-RW of poor recording quality, CD-R/CD-
RW that have scratches or are dirty, or CD-R/CD-RW
recorded with an incompatible recording device
CD-R/CD-RW which is nalized incorrectly
Discs containing les other than MPEG 1 Audio Layer-
3 (MP3) les
Discs of non-standard shape (for example, heart,
square, star)
Discs that have adhesive tape, paper, or sticker attached
to them
Rental or used discs with attached seals where the glue
extends beyond the seal
Discs that have labels printed using ink that feels tacky
when touched
Notes on discs
Before playing, wipe the disc with a cleaning cloth from
the center out to the edge.
Do not clean discs with solvents, such as benzine
thinner, or commercially available cleaners or anti-
static spray intended for vinyl LPs.
Do not expose discs to direct sunlight or heat sources
such as hot air ducts, nor leave it in a car parked in
direct sunlight.
On safety
e unit is not disconnected from the AC power source
(mains) as long as it is connected to the wall socket,
even if the unit itself has been turned o.
Completely disconnect the power cord (mains lead)
from the wall socket (mains) if it is not going to be used
for an extended period of time. When unplugging the
unit, always grip the plug. Never pull the cord itself.
Should any solid object or liquid get into the system,
unplug the system, and have it checked by qualied
personnel before operating it again.
e AC power cord can be changed only by a qualied
service facility.
On placement
Do not place the system in an inclined position or in
locations that are extremely hot, cold, dusty, dirty, or
humid or lacking adequate ventilation, or subject to
vibration, direct sunlight or a bright light.
Be careful when placing the unit or speakers on
surfaces that have been specially treated (for example,
with wax, oil, polish) as staining or discoloration of the
surface may result.
If the system is brought directly from a cold to a warm
location or is placed in a very damp room, moisture
may condense on the lens inside the CD player, and
cause the system to malfunction. In this situation,
remove the disc, and leave the system turned on for
about an hour until the moisture evaporates.
On heat buildup
Heat buildup on the unit during operation is normal
and is not cause for alarm.
Do not touch the cabinet if it has been used
continuously at a high volume because the cabinet may
have become hot.
Do not obstruct the ventilation holes.
On the speaker system
is speaker system is not magnetically shielded, and
the picture on nearby TV sets may become magnetically
distorted. In this situation, turn o the TV, wait 15 to 30
minutes, and turn it back on.
If there is no improvement, move the speakers far away
from the TV.
Cleaning the cabinet
Clean this system with a so cloth slightly moistened
with a mild detergent solution. Do not use any type
of abrasive pad, scouring powder, or solvent, such as
thinner, benzine, or alcohol.
Specications
Main unit
Amplier section
DIN power output (rated): 45 + 45 W (6 ohms at 1 kHz, DIN)
Continuous RMS power output (reference): 50 + 50 W (6 ohms at 1 kHz,
10% THD)
Music power output (reference): 75 + 75 W
Inputs
AUDIO IN (stereo mini jack): Sensitivity 775 mV, impedance 22 kilohms
Outputs
PHONES (stereo mini jack): Accepts headphones with an impedance of
8 ohms or more
SPEAKER: Accepts impedance of 6 ohms
CD player section
System: Compact disc and digital audio system
Laser Diode Properties
Emission duration: continuous
Laser Output*: Less than 44.6µW
* is output is the value measurement at a distance of 200mm from the
objective lens surface on the Optical Pick-up Block with 7mm aperture.
Frequency response: 20 Hz 20 kHz
Signal-to-noise ratio: More than 90 dB
Dynamic range: More than 90 dB
Tuner section
DAB tuner section:
Frequency range
Band-III: 174.928 (5A) 239.200 (13F) MHz
* For details, see “DAB frequency table” below.
Antenna: FM/DAB lead antenna
Antenna terminal: 75 ohms, F female
FM stereo, FM/AM superheterodyne tuner
Antenna:
FM/DAB lead antenna
AM loop antenna
FM tuner section:
Tuning range: 87.5 108.0 MHz (50 kHz step)
Intermediate frequency: 10.7 MHz
AM tuner section:
Tuning range: 531 1,602 kHz (with 9 kHz tuning interval)
Intermediate frequency: 450 kHz
DAB frequency table (Band-III)
Frequency Label Frequency Label
174.928 MHz 5A 209.936 MHz 10A
176.640 MHz 5B 211.648 MHz 10B
178.352 MHz 5C 213.360 MHz 10C
180.064 MHz 5D 215.072 MHz 10D
181.936 MHz 6A 216.928 MHz 11A
183.648 MHz 6B 218.640 MHz 11B
185.360 MHz 6C 220.352 MHz 11C
187.072 MHz 6D 222.064 MHz 11D
188.928 MHz 7A 223.936 MHz 12A
190.640 MHz 7B 225.648 MHz 12B
192.352 MHz 7C 227.360 MHz 12C
194.064 MHz 7D 229.072 MHz 12D
195.936 MHz 8A 230.784 MHz 13A
197.648 MHz 8B 232.496 MHz 13B
199.360 MHz 8C 234.208 MHz 13C
201.072 MHz 8D 235.776 MHz 13D
202.928 MHz 9A 237.488 MHz 13E
204.640 MHz 9B 239.200 MHz 13F
206.352 MHz 9C
208.064 MHz 9D
Speaker
Speaker system: Full Range, 12 cm dia., cone type
Nominal impedance: 6 ohms
Dimensions (w/h/d): Approx. 160 × 246 × 211 mm
Mass: Approx. 1.9 kg net per speaker
General
Power requirements: 230 V AC, 50/60 Hz
Power consumption: 110 W
Dimensions (w/h/d) (excl. speakers): Approx. 170 × 246 × 307.5 mm
Mass (excl. speakers): Approx. 4.0 kg
Supplied accessories: Remote Commander (1)/AM loop antenna (1)/FM/DAB
lead antenna (2)/R6 (size AA) batteries (2)/Speaker pads (8)
Design and specications are subject to change without notice.
Standby power consumption: 0.5 W
Halogenated ame retardants are not used in the
certain printed wiring boards.
Halogenated ame retardants are not used in cabinets.


 User manual")


