3
MHC-DX80 4-232-652-14 (1)
Table of Contents
Parts Identification
Main unit ............................................... 4
Sound Broad Amplifier .........................5
Remote Control ..................................... 5
Getting Started
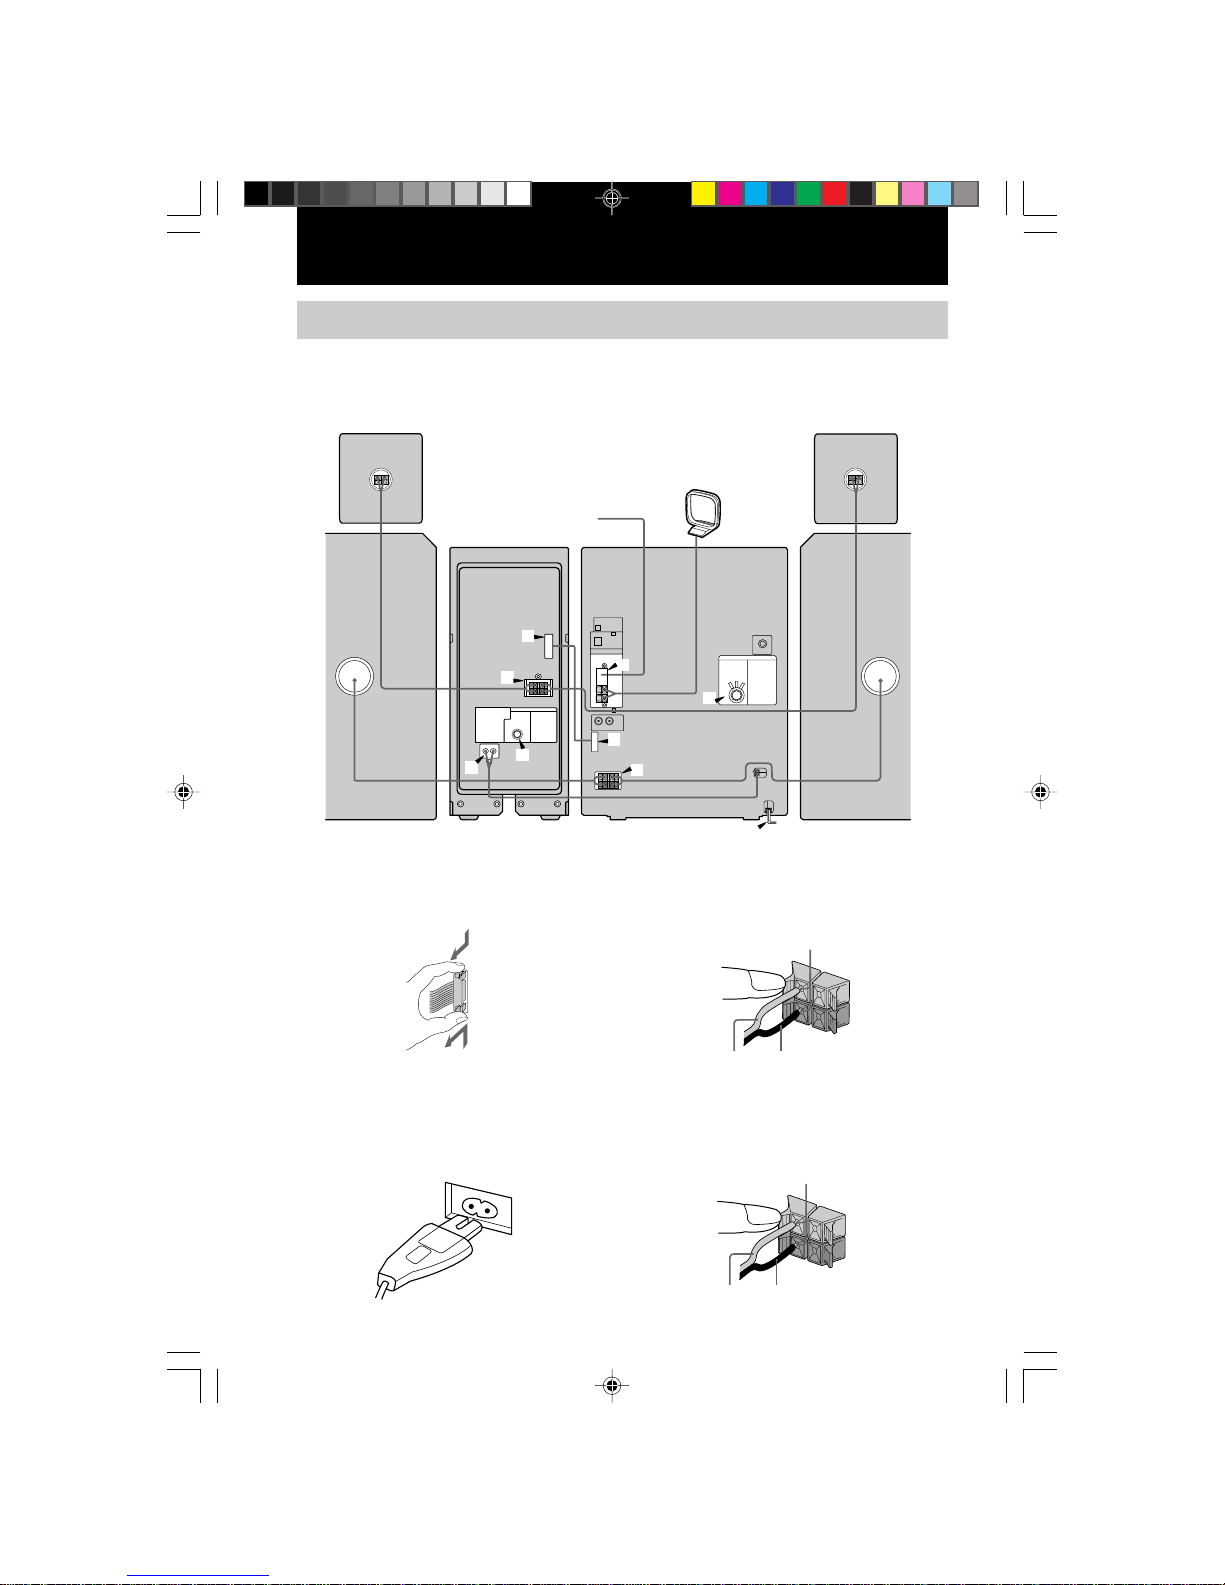
Hooking up the system .......................... 6
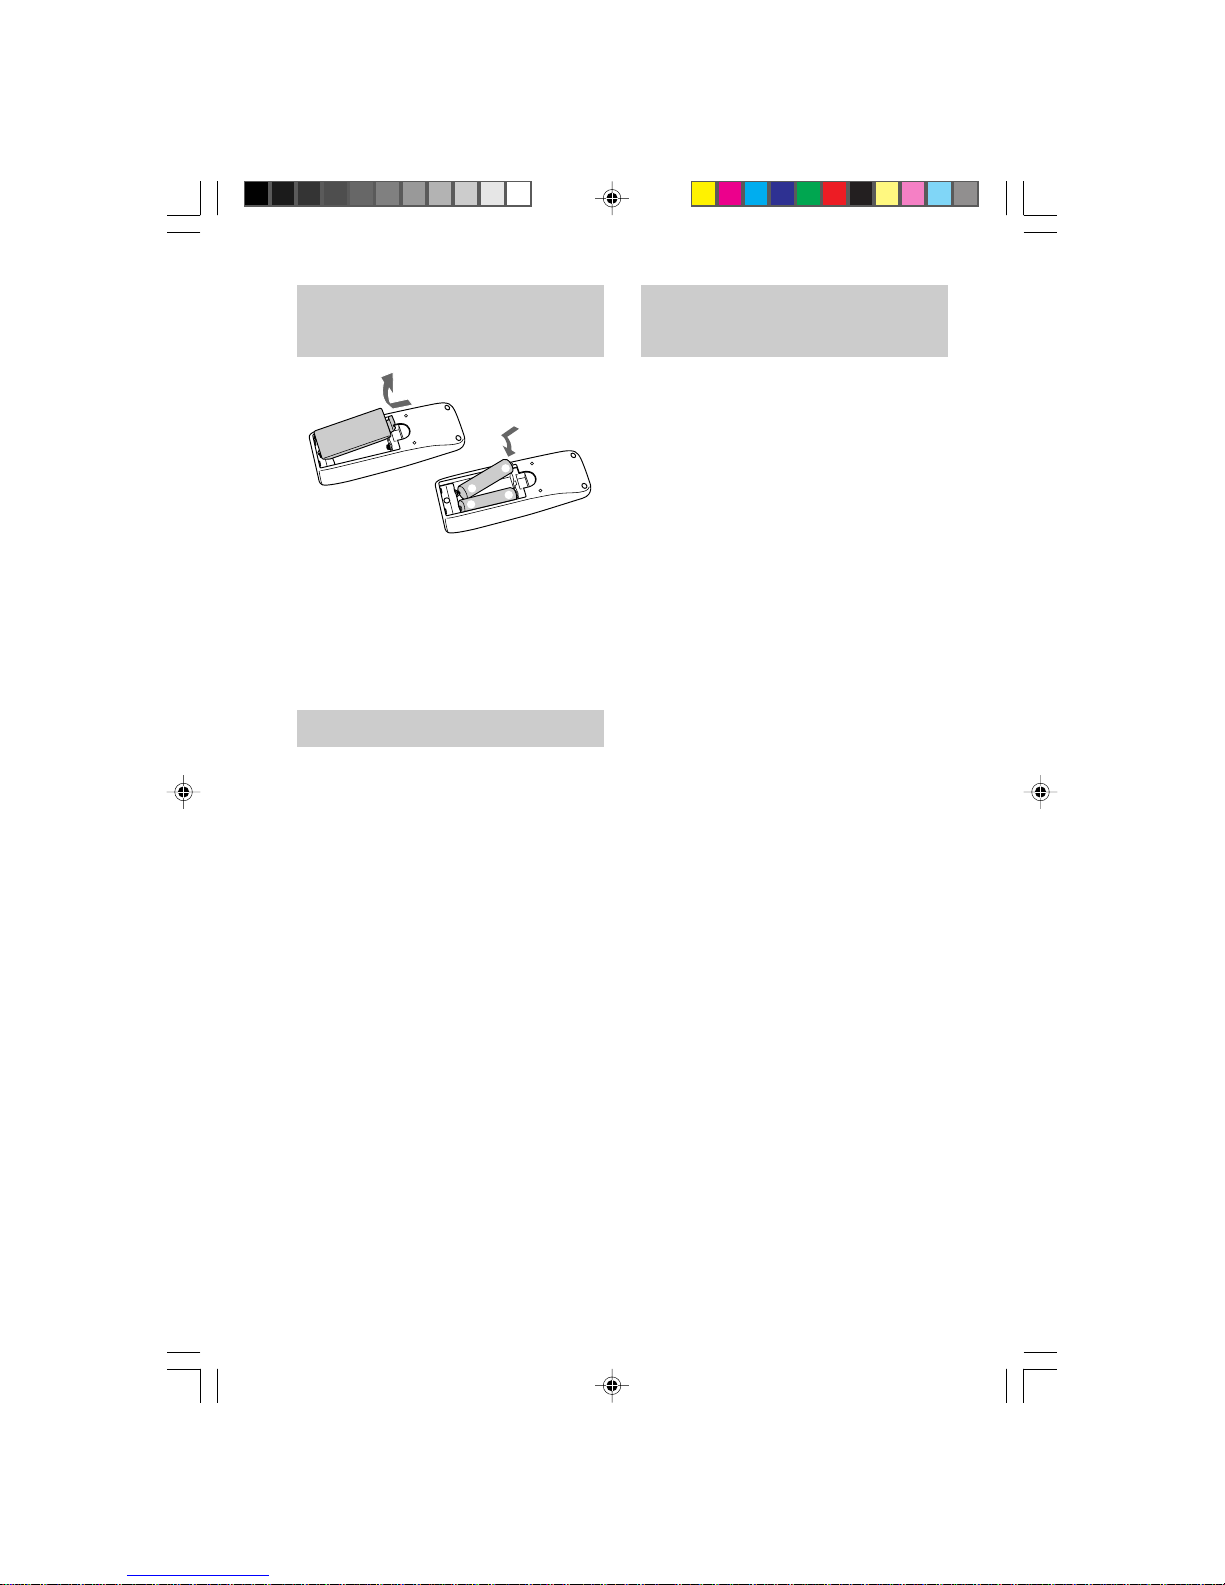
Inserting the batteries into the remote
control ............................................. 8
Setting the time...................................... 8
Saving the power in standby mode........ 8
CD
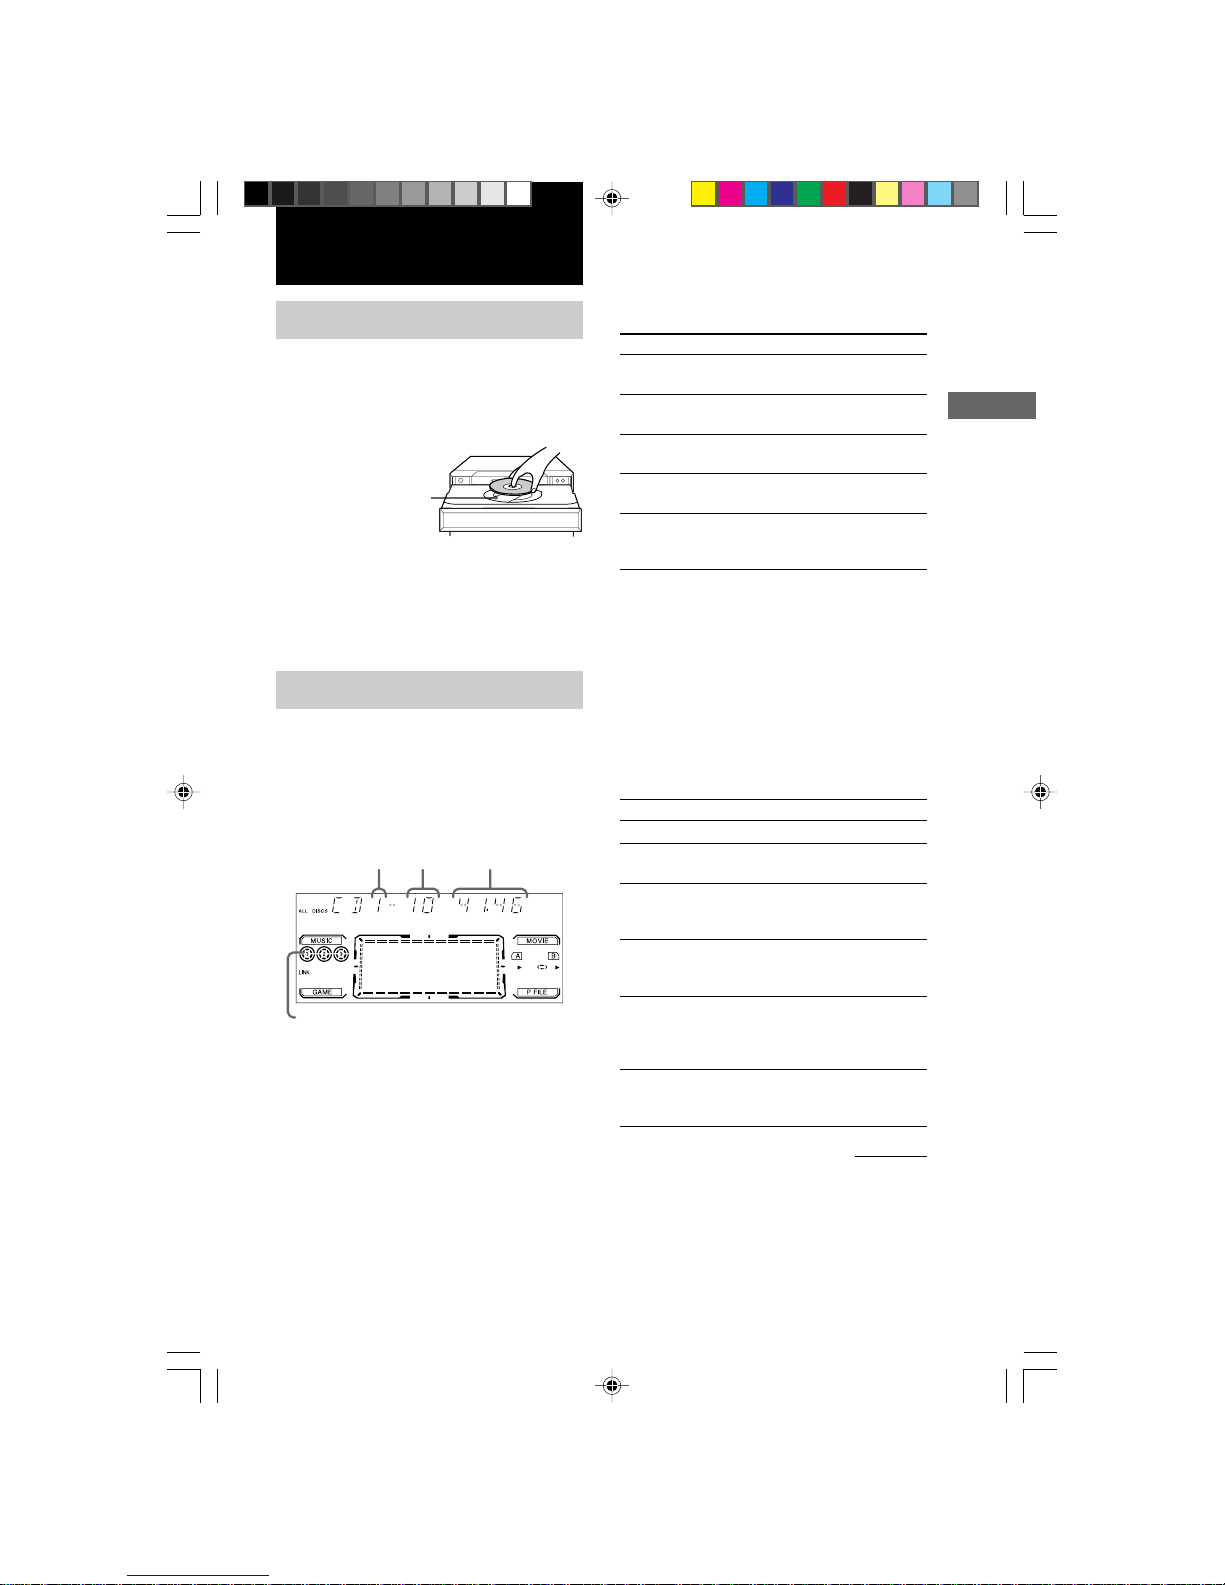
Loading the CD ..................................... 9
Playing the CD
–– Normal Play/Shuffle Play/
Repeat Play ..................................... 9
Programming the CD tracks
–– Program Play ............................ 10
Using the CD display .......................... 11
Tuner
Presetting radio stations.......................12
Listening to the radio
–– Preset Tuning ........................... 13
Tape
Loading a tape .....................................14
Playing a tape ...................................... 14
Recording to a tape
–– CD Synchro Recording/
High Speed Dubbing/Recording
Manually/Program Edit ................. 15
Timer-recording radio programs .........16
Sound Adjustment
Adjusting the sound ............................. 18
Selecting the sound system.................. 18
Selecting the audio emphasis effect .... 18
Adjusting the graphic equalizer........... 19
Selecting the surround effect ...............19
Making a personal audio emphasis file
— Personal file.............................. 19
Other features
Changing the spectrum analyzer
display ........................................... 20
Singing along: Karaoke ....................... 20
Falling asleep to music
— Sleep Timer .............................. 21
Waking up to music
— Daily Timer .............................. 21
Optional components
Connecting MD deck/VCR ................. 23
Connecting a Video Game Player ....... 23
Connecting external antennas.............. 24
Additional Information
Precautions .......................................... 25
Troubleshooting................................... 25
Specifications ...................................... 27
02TOC_MHC-DX80.p65 GB 17/07/2001, 2:46 PM3