–
3
–
TABLE OF CONTENTS
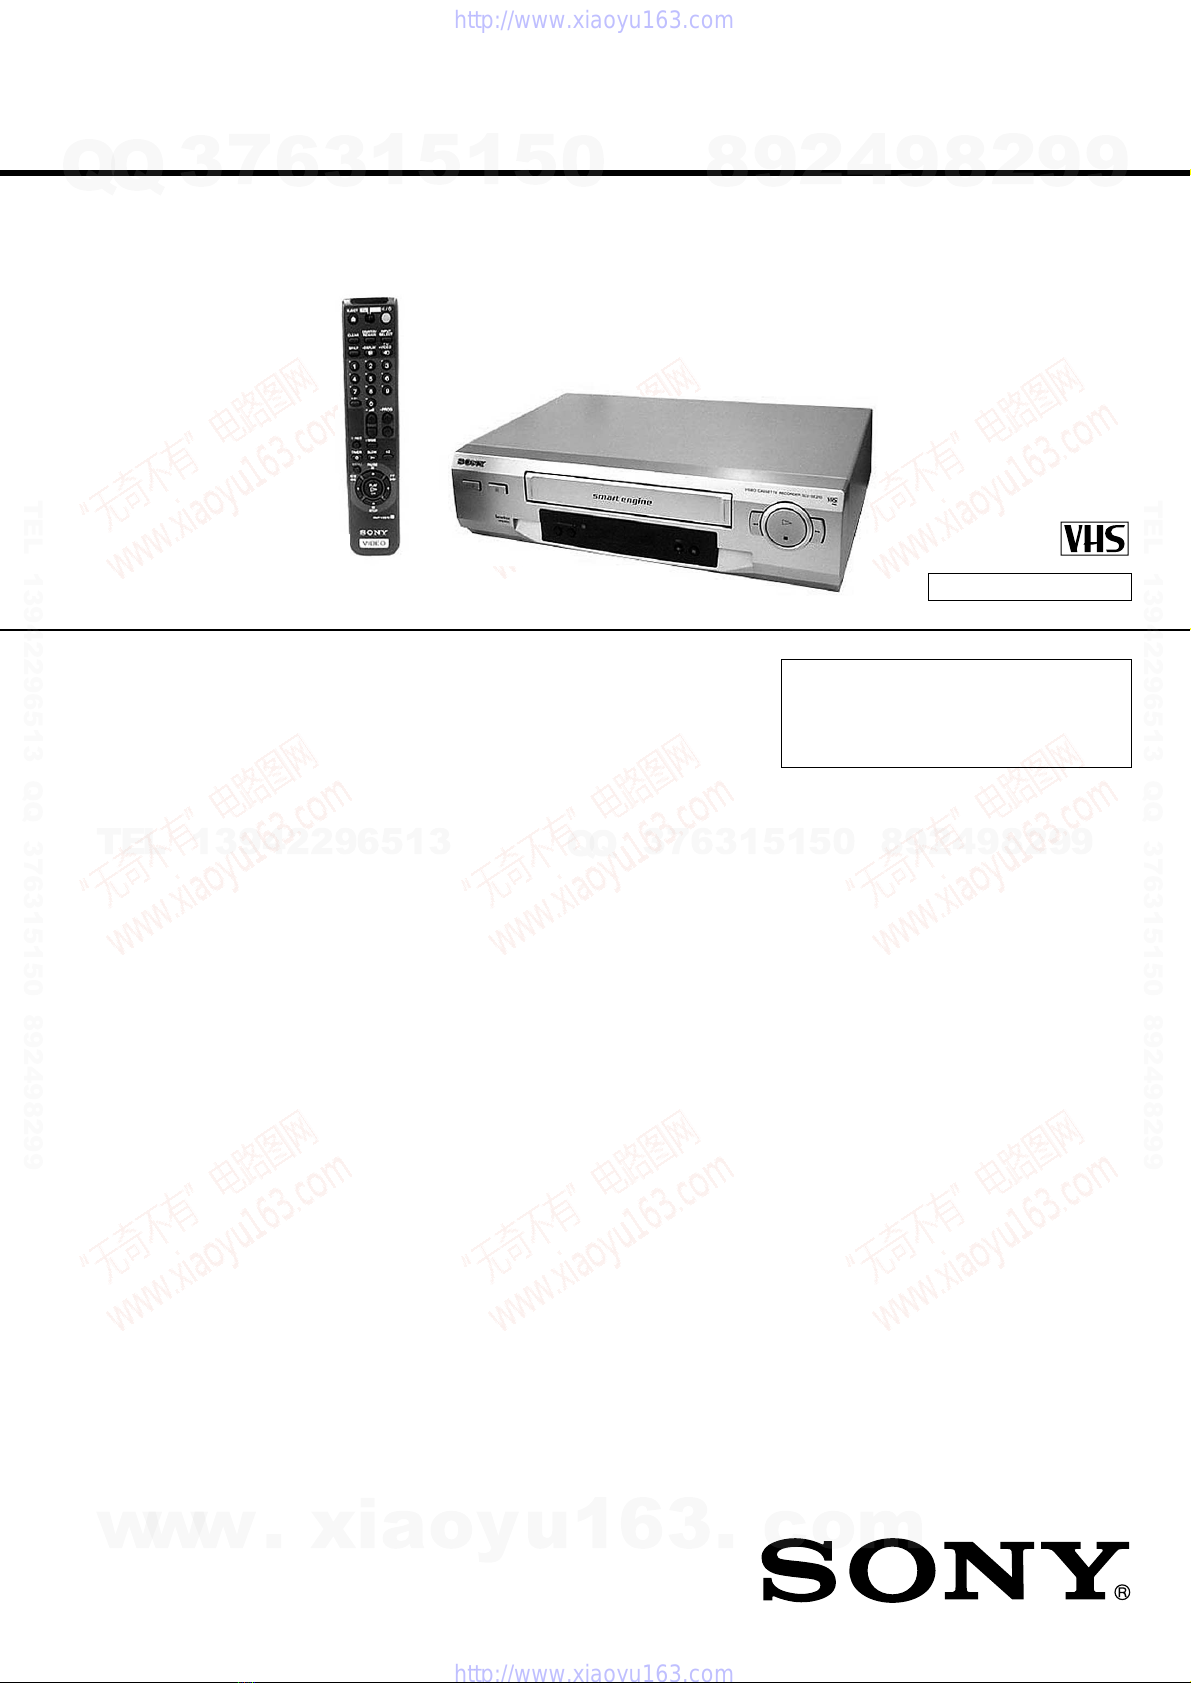
SERVICE NOTE
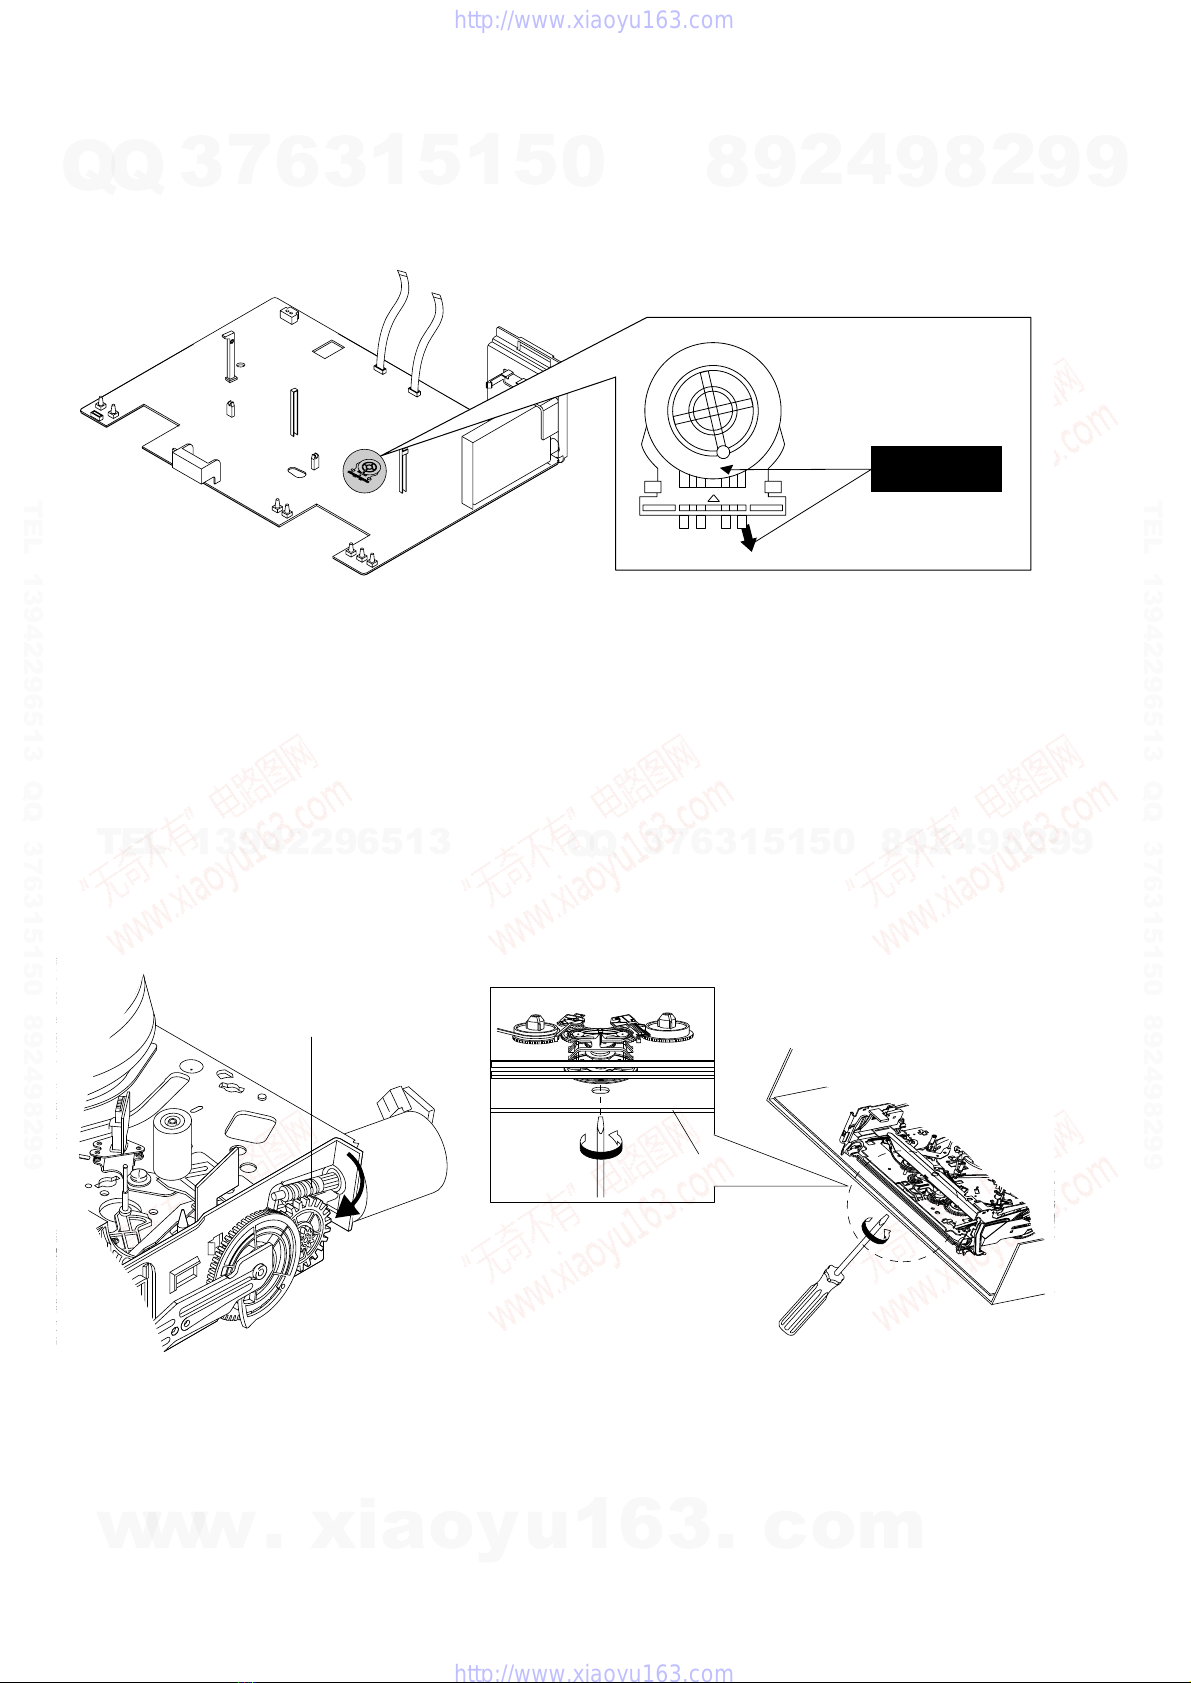
1. Mode Switch (Program Switch) Assembly Point ............. 4
2. How to eject the cassette tape
(If the unit does not operate on condition that tape is
inserted into housing ass'y) ............................................... 4
3. EEPROM Initialization and Discharging the Backup
Capacitor ............................................................................5
3-1. NV-RAM (EEPROM) Initialization Clear the EEPROM
Using the TEST Button on the JIG Remote Controller......5
3-2. NV-RAM (EEPROM) Initialization Clear the EEPROM
without Using the TEST Button on the JIG Remote
Controller............................................................................5
3-3. MICOM RESET (Backup Release) ...................................5
4. How to troubleshoot ......................................................... 6
1. GENERAL
Getting Started
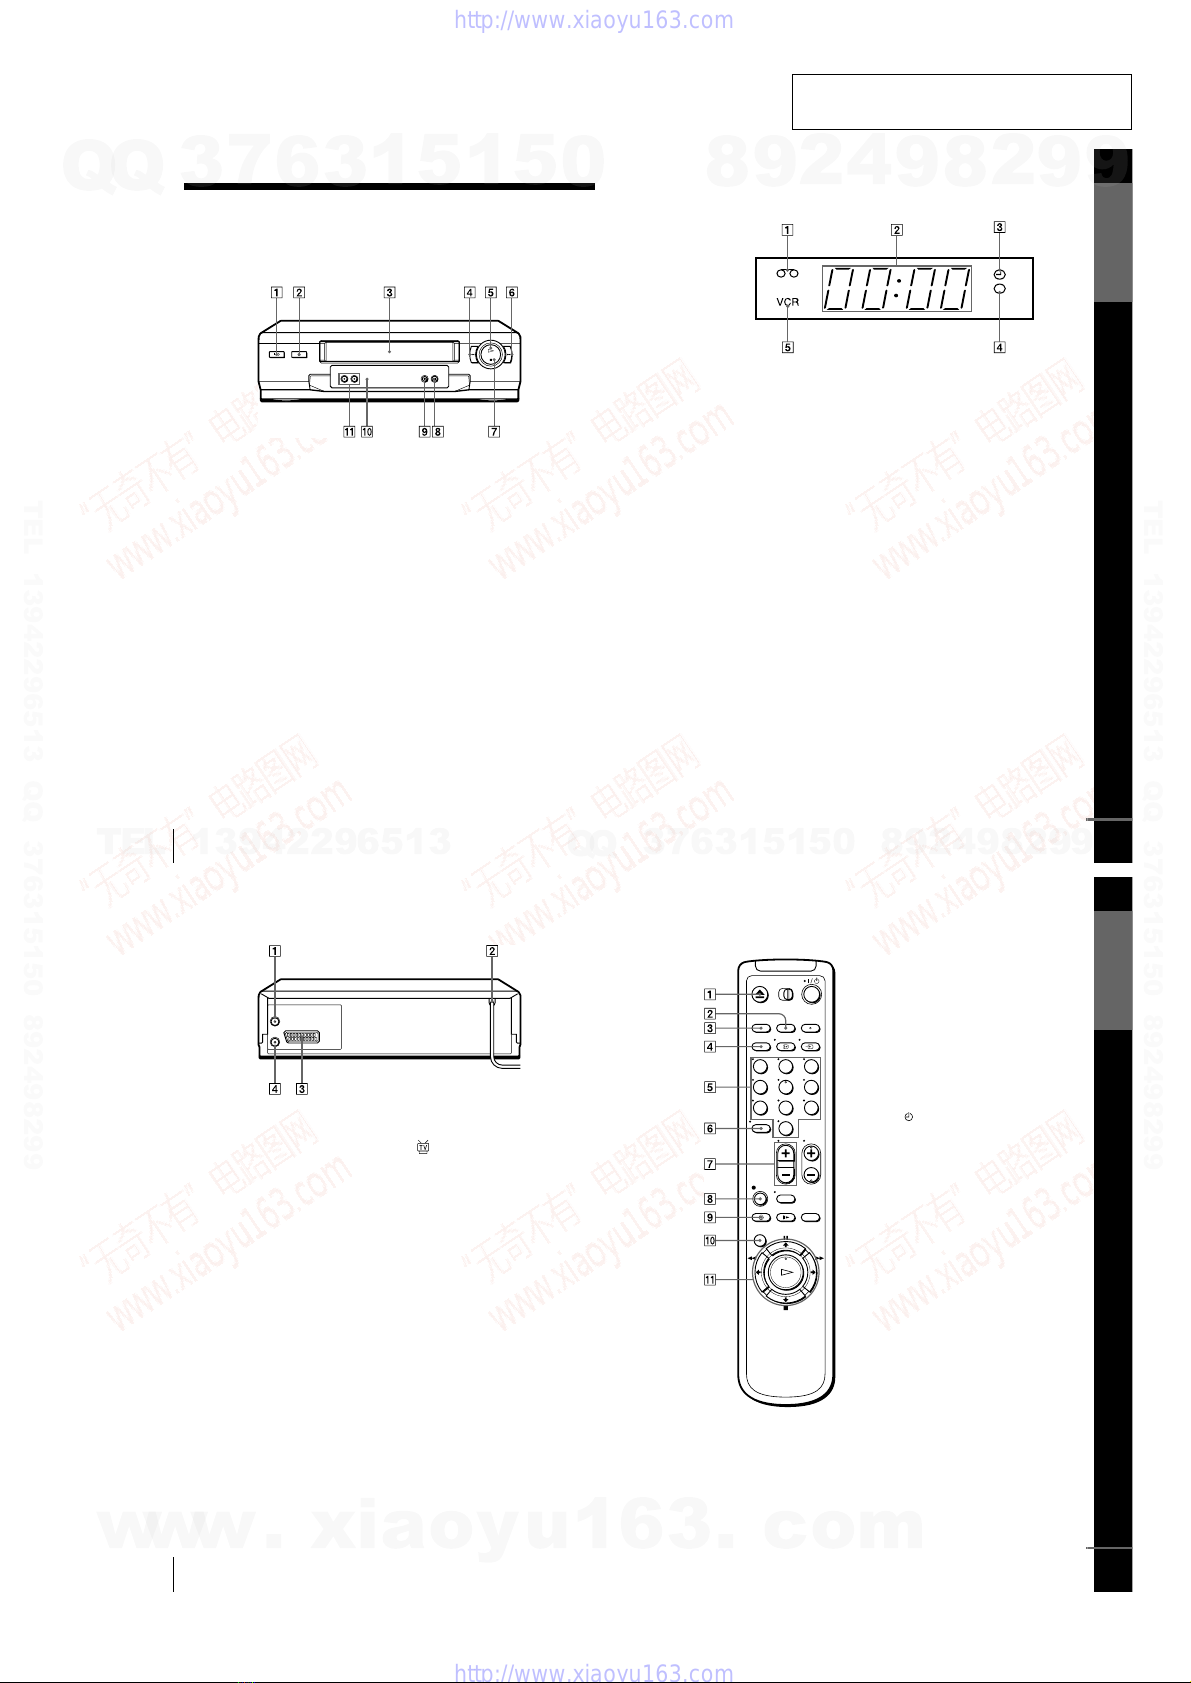
Index of parts and controls....................................................1-1
Step 1: Unpacking.................................................................1-2
Step 2: Setting up the remote commander.............................1-2
Step 3: Connecting the VCR.................................................1-3
Step 4: Setting up the VCR with the Auto Set Up function..1-3
Selecting a language..............................................................1-4
Presetting channels................................................................1-4
Changing/disabling programme positions.............................1-5
Setting the clock....................................................................1-6
Basic Operations
Playing a tape ........................................................................1-6
Recording TV programmes...................................................1-7
Recording TV programmes using
the VIDEO Plus+ system .................................................1-8
Setting the timer manually ....................................................1-9
Additional Operations
Playing/searching at various speeds......................................1-9
Setting the recording duration time.....................................1-10
Checking/changing/cancelling timer settings......................1-10
Adjusting the picture...........................................................1-10
Changing menu options.......................................................1-11
Editing with another VCR...................................................1-11
Additional Information
Troubleshooting...................................................................1-12
2. DISASSEMBLY
2-1. Cabinet Top ................................................................... 2-1
2-2. Cover Bottom ................................................................ 2-1
2-3. Ass’y-Panel Front .......................................................... 2-2
2-4. Ass’y MAIN-PCB, DECK ............................................ 2-3
2-5. Internal Views ............................................................... 2-4
3. PRINTED WIRING BOARDS
3-1. Main PCB ...................................................................... 3-1
4. SCHEMATIC DIAGRAMS
Block Identification of Main PCB ............................................ 4-1
4-1. S.M.P.S. ........................................................................ 4-3
4-2. Power ............................................................................ 4-5
4-3. System Control/Servo ................................................... 4-7
4-4. Audio/Video .................................................................. 4-9
4-5. TM-Block .....................................................................4-11
4-6. OSD (VPS/PDC) ......................................................... 4-13
4-7 SECAM (SLV-SE210B/SX110B model).....................4-15
4-8. Input-Output (2 Scart Jack) ......................................... 4-17
4-9. Input-Output (1 Scart Jack) ......................................... 4-19
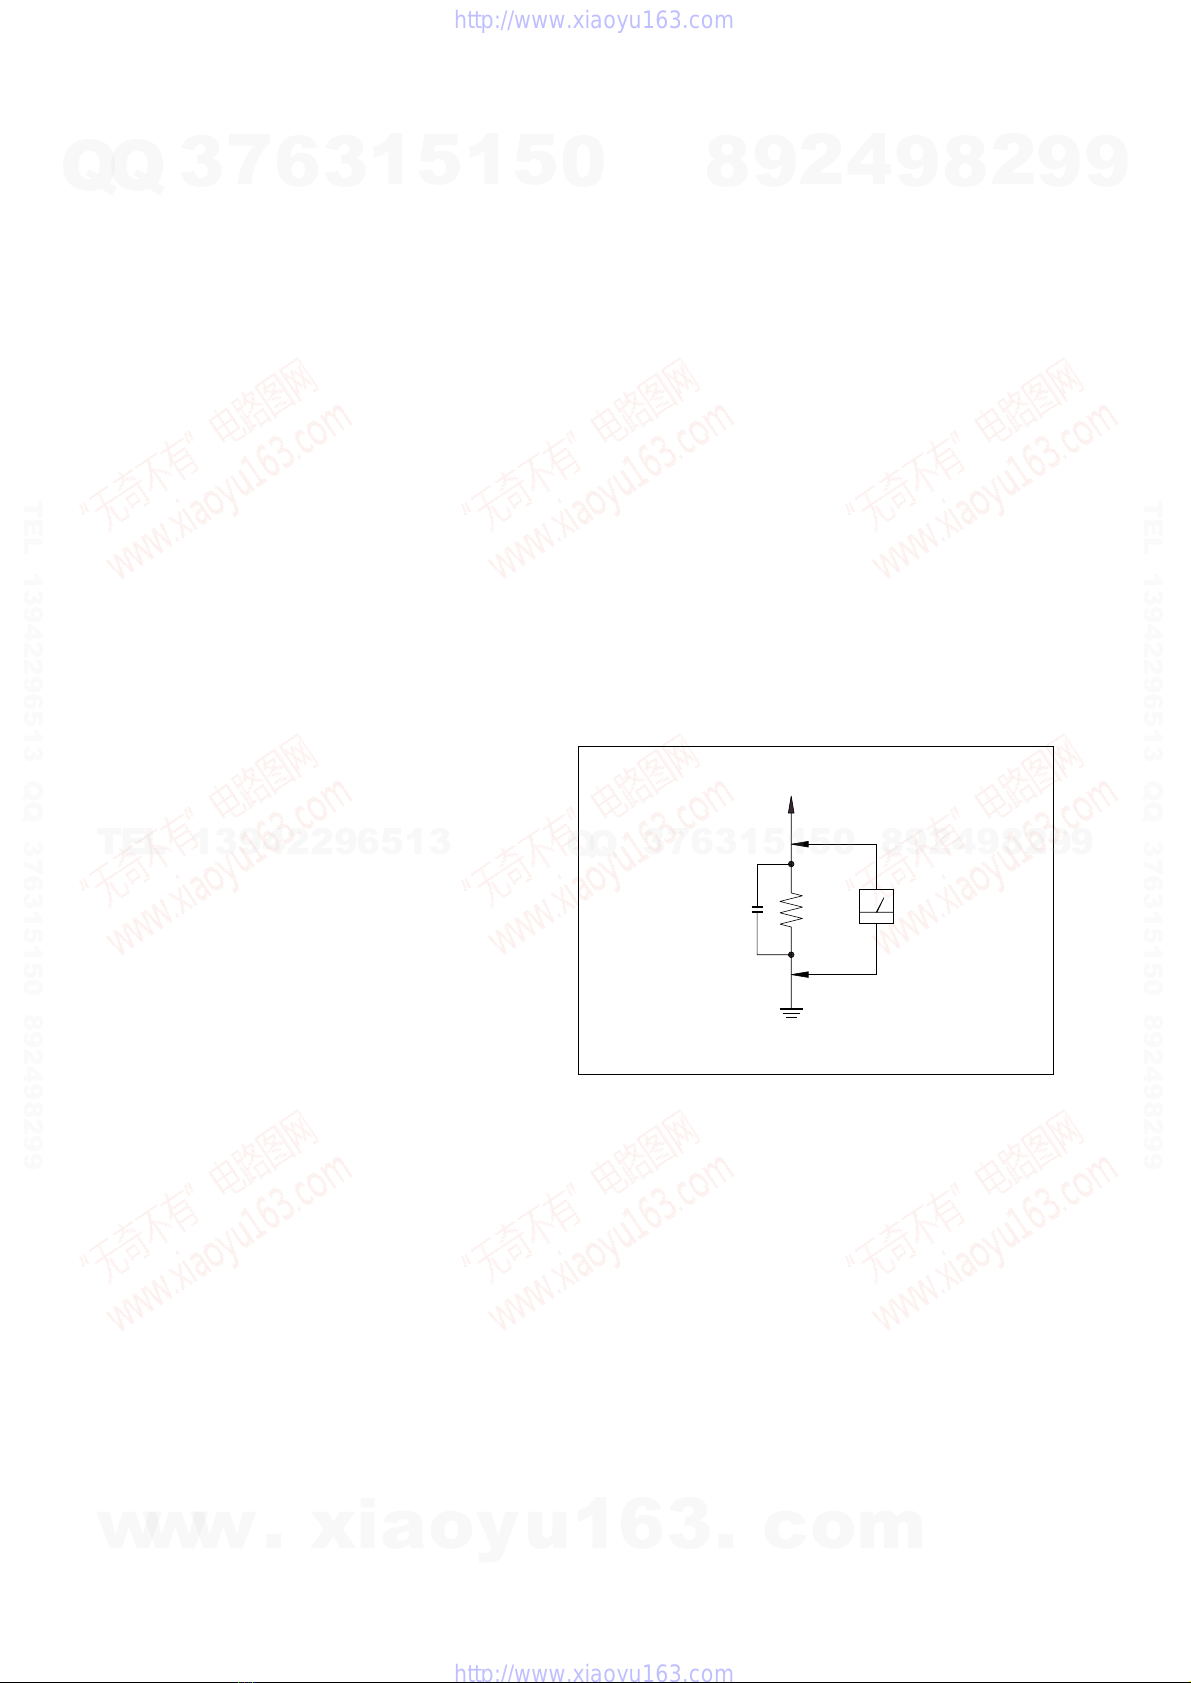
5. ALIGNMENT AND ADJUSTMENT
5-1. Reference .......................................................................5-1
5-1-1 Location of adjustment button of remote control .......... 5-1
5-1-2. Test point location for adjustment mode setting ........... 5-2
5-2. Mechanical Adjustment ................................................ 5-3
5-2-1. The number and position of test point .......................... 5-3
5-2-2. ACE Head Position (X-Point) Adjustment ................... 5-3
5-3. Head Switching Point Adjustment ................................ 5-4
5-4. NVRAM Option Setting ............................................... 5-4
6. REPAIR PARTS LIST
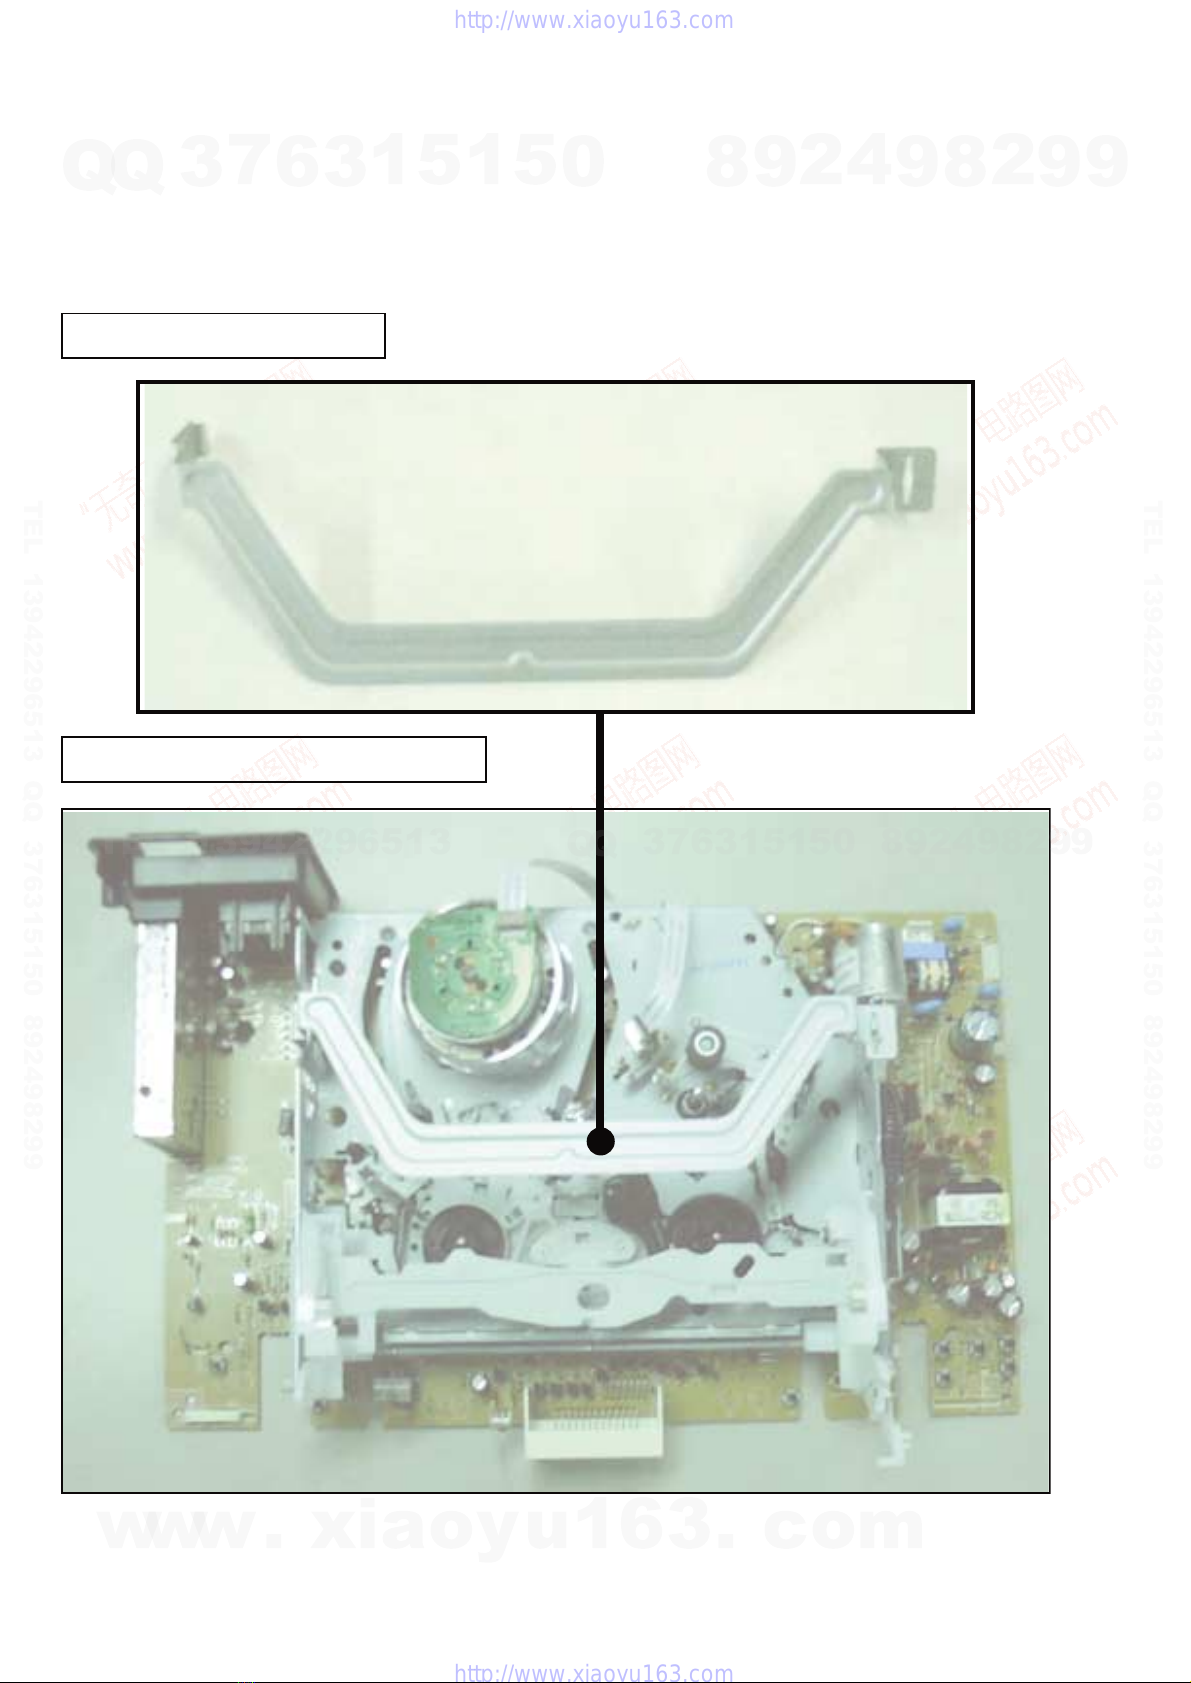
6-1. Exploded Views ............................................................ 6-1
6-1-1. Instrument Assembly .................................................... 6-1
6-1-2. Mechanical Parts (Top Side) ......................................... 6-2
6-1-3. Mechanical Parts (Bottom Side) ................................... 6-3
6-2. Electrical Parts List ....................................................... 6-4