SOR GI169 Instruction manual

Form 169 (07.21) ©SOR Inc.
1/12
This instruction provides information for mounting, electrical
connection, process connection, and calibration of SOR®
Temperature Switches.
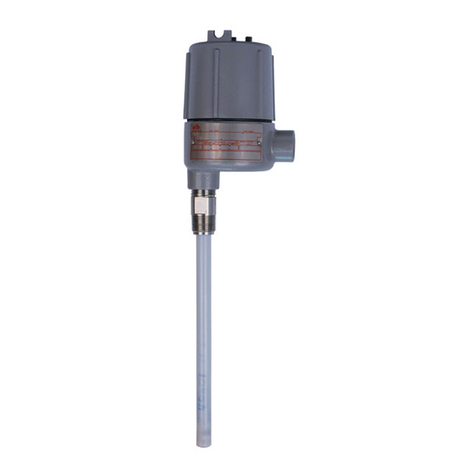
The SOR Temperature Switch consists of a pressure switch
with a sealed temperature sensing bulb attached directly to the
pressure port. (An optional remote temperature sensing bulb may
be connected to the pressure port with an armor-clad capillary.) The
temperature sensing system is pressure filled with a volatile fluid.
Process temperature changes cause proportional vapor pressure
changes in the temperature sensing bulb that act on the diaphragm/
piston assembly to actuate and deactuate a snap-action electrical
switching element at discrete process temperatures. The
instrument’s
behavior is
determined by vapor pressure
(105 range model fill media is inert gas).
NOTE: If you suspect that a product
is defective, contact the factory
or the SOR Representative
in your area for a return
authorization number (RMA).
This product should only be
installed by trained and
competent personnel.
ent at
d
i
scre
t
e process
t
empera
t
ures.
T
h
e
vapor pressure
del fill media is inert gas
)
.
s
pe
ct that a
pr
oduc
t
ntact the factory
resentativ
e
a return
umber
(
RM
A)
.
ould only b
e
ned and
onnel.
Design and
specifications are
subject to change
without notice.
For latest revision, go to
SORInc.com
Table of Contents
Installation.......................................2
SIL Installation ..................................3
Process Connection ............................3
Electrical Connection...........................4
Calibration .......................................5
Special Conditions..............................5
Probe Dimensions ..............................6
ATEX/IECEx Marking Information .............8
Declaration of Conformity ................... 10
Temperature
Switches
Registered Quality System to ISO 9001
General Instructions

2/12
Form 169 (07.21) ©SOR Inc.
Installation
Direct-Mount Probe
The temperature sensing probe is rigidly attached to the instrument’s body/housing.
nCarefully insert the sensing probe into the process through a suitable fitting or
thermowell. The standard process connection is 1/2-inch NPT(M).
oEnsure that ample clearance exists before rotating the instrument housing to make
threaded connection.
pTighten the probe hex fitting with 1-1/8-inch open-end wrench for a leak free fit.
NOTE: A locally customized mounting bracket may be used if more support is desired.
Housings L, S, TA, V1, V2, LC, SC, BA, B3, B4, B5 and B6 are not recommended for direct
mount where vibration is expected. These housings should be securely mounted to a at
surface (bulkhead or panel rack) or pipe stanchion.
Remote-Mount Probe — Capillary
nSecure the housing-mounting pad to bulkhead, panel rack or pipe stanchion with
suitable 1/4-inch (6.35 mm) bolts.
oMounting by electrical conduit connection is NOT recommended.
p
Suggested mounting orientation is electrical conduit connection at 3 or 9 o’clock
and sensing body at 6 o’clock. However, the device is not position sensitive and
may be mounted in any position. If a breather drain is installed, it must be
oriented at 6 o’clock (pointing down) so condensation will drain. It must be kept
clear of paint and foreign matter.
q
Carefully insert the sensing probe into the process through a suitable fitting or
thermowell. Adjust the desired insertion length. Tighten the probe hex fitting with
a 7/8” open-end wrench. Tighten 9/16” hex nut to fingertight. Then hold the 7/8”
fitting with a wrench and tighten the 9/16” hex nut an additional 1-1/4 turns from
finger tight. Avoid sharp bends in capillary.
When mounting to an irregular or uneven surface, install rubber washers on
bolts between the housing and mounting surface (except for high vibration
applications) to prevent deformation of housing, which could change relative
positions of internal parts and affect calibration or render device inoperative.

Form 169 (07.21) ©SOR Inc.
3/12
Process Connection
The temperature sensing probe is 300 series stainless steel. If the process is
compatible, it may be directly inserted into the process without the use of a thermowell.
Best results are obtained when the probe is completely immersed in the process.
A thermowell increases response time (lag). A thermowell filled with thermal transfer
media reduces lag.
Safety Integrity Level (SIL) Installation Requirements
The SOR pressure switches have been evaluated as Type-A safety related hardware.
To meet the necessary installation requirements for the SIL system, the following
information must be utilized:
Proof Test Interval shall be one year.
Units may only be installed for use in Low Demand Mode.
Products have a HFT (Hardware Fault Tolerance) of 0, and were evaluated in a
1oo1 (one out of one) configuration. Form 1538 (03.12) ©2012 SOR Inc.

4/12
Form 169 (07.21) ©SOR Inc.
Electrical Connection
When making electrical connections, use care to apply minimal strain to the electrical
switching element. Refer to wiring schematic below for terminal and wire codes.
Ensure that wiring conforms to all applicable local and national electrical codes and
install unit(s) according to relevant national and local safety codes.
The Switching Element Assembly has been precisely positioned in the
housing at the factory for optimum performance. Any inadvertent movement
or replacement in the eld will degrade performance and could render the
device inoperative, unless factory authorized procedures are followed.
Housing Type Conduit
Connection
Contact
Termination
Contact
Identication
Open Bracket None
Screw terminals Stamped on
insulation
Wire leads Color coded and
marked
All others
3/4” NPT(F), M
20 x 1.5 (F), or
1/2” NPT(M)
unless optional
adapter is
specified
Screw terminals Stamped on
insulation
Wire leads Color coded and
marked
Terminal strip Stamped on
insulation
Wiring Schematics
Wiring Lead Code Colors
SPDT
Blue (C)
Black (NO)
Red (NC)
Temperature Green (GND)
DPDT (2-SPDT)
Blue (C)
Black (NO)
Red (NC)
Yellow (C2)
Brown (NO2)
Orange (NC2)
Temperature
NO1 NO2
Green (GND)

Form 169 (07.21) ©SOR Inc.
5/12
The permanently attached cables are to be suitably terminated and protected
from impact and UV light.
To minimize the risk of electrostatic discharge, clean only with a damp cloth.
The switch capsule has an expected life cycle of 1x10⁵, therefore end user shall
ensure that the switch capsule does not exceed the stated life cycle.
Flameproof joints are not intended to be repaired
Special Conditions for Safe Use for ATEX/IECEx Certied
Mini-Hermet Temperature Switches only
Calibration
Disconnect electrical power to the temperature switch.
NOTE:
It is not necessary to disconnect electrical power with the Big Hermet series or models
in B3, B4, B5 and B6 housings provided that only the cover fastened with four captive screws
over Set Point adjustment is removed.
Remove the housing cover (or weathertight cap).
Units in Hazardous Locations – Prior to calibration, make sure that the work
area is declassied before removing the explosion proof cover to calibrate
the unit. Failure to do so could result in severe personal injury or
substantial property damage.
For instruments with 3/4-inch hex set point adjustment:
Use 3/4-inch open-end wrench to turn hex adjusting nut clockwise (in) to increase
set point, and counterclockwise (out) to decrease set point.
Approximate set point can be obtained by sighting across top of adjusting nut to
calibration scale on the housing floor.
If precise set point calibration is required, it will be necessary to use a regulated
thermal bath and suitable continuity tester. Consult factory.
For instruments with dead band adjustment:
Use the fixed dead band procedure (above) to calibrate the desired decreasing
temperature set point. The increasing temperature set point can then be adjusted by
turning the white thumbwheel on the electrical switching element. Setting Ayields the
smallest possible dead band. Setting Fyields the widest possible dead band. Settings
above Emay degrade repeatability.
Do not unthread the adjusting screw more than two threads below the ush
point of housing as calibration could be adversely affected.
For instruments with 1/8” hex Allen wrench set point adjustment under weathertight cap:
Use 1/8” hex Allen wrench to turn adjusting screw to achieve desired set point.
Turn the adjusting screw clockwise (in) to increase set point and counterclockwise
(out) to decrease set point.
A calibration scale is not installed, so external measurement of the process
temperature is necessary. Consult the factory.

6/12
Form 169 (07.21) ©SOR Inc.
See Housing
Dimensions
52.3
2.06
Armored Capillary
300 Series SS
Sensing Bulb
Extension 316 SS
1/2” NPT (M)
Temperature Sensing Bulb
347 SS for Range 105
316 SS For all Others
263.4 Max
10.37
308.3
12.06
Approximate Range of Adjustment
Remote Mount
Probe Dimensions
Linear = mm/inches
Drawings are for reference only. Contact the factory for certified drawings for a
particular model number.
For “V” Series, see
Housing Dimensions
For All Others, subtract .29
from Housing Dimensions
12.7
.50
1/2” NPT (M)
22.6
.89
Sensing Bulb 316 SS
Direct Mount
Linear = mm/inches

Form 169 (07.21) ©SOR Inc.
7/12
Feature
Range Probe 201 203 205 207 209
AAll m NA 1.8 3.0 4.5 6.0
ft NA 6.0 10.0 15.0 20.0
B
*235,
125,
115
mm 105.7 112.0 124.7 162.8 194.6
in. 4.16 4.41 4.91 6.41 7.66
105 mm - 148.3 148.3 148.3 148.3
in. - 5.84 5.84 5.84 5.84
B with
NB opt.
*235,
125
mm 107.2 112.0 112.0 112.0 112.0
in. 4.22 4.41 4.41 4.41 4.41
C
*235,
125,
115
mm 128.3 135 to 396 147 to 409 185 to 447 216 to 480
in. 5.05 5.3 to 15.6 5.8 to 16.1 7.3 to 17.6 8.5 to 18.9
105 mm - 170 to 433 170 to 433 170 to 433 170 to 433
in. - 6.7 to 17.1 6.7 to 17.1 6.7 to 17.1 6.7 to 17.1
D dia.
*235,
125,
115
mm 9.7 9.7 9.7 9.7 9.7
in. 0.38 0.38 0.38 0.38 0.38
105 mm - 16.0 16.0 16.0 16.0
in. - 0.63 0.63 0.63 0.63
*235 range has same dimensions as the discontinued 135 range.

8/12
Form 169 (07.21) ©SOR Inc.
Drawing 0720044
Manufacturer’s
Registered
Trademark
ATEX/IEXEx
Listing
Information
Product
Model
Identification
Serial Number
(First Two
Numbers
Indicate
Year of
Manufacture)
NOTE: The unit conforms to the requirements of clause 6.3.12, EN 60079-11: 2007. The unit
is capable of withstanding a 500 Vrms isolation test between circuit and enclosure.
ATEX/IECEx Marking Information
For Mini-Hermet ATEX/IEXEx Certied Models
For R-Series ATEX/IEXEx Certied Models
8304108
Serial Number
(First Two Numbers Indicate
Year of Manufacture)
Manufacturer’s
Registered Trademark
ATEX/IECEx Listing
Information
Thread Form
Information
Product Model
Identification
Drawing 8304108

Form 169 (07.21) ©SOR Inc.
9/12
For ATEX/IECEx Certied Models
Declaration of Conformity
Form 1382 (06.20) ©SOR Inc.
14685 West 105th Street, Lenexa, KS 66215-2003
913-888-2630 • 800-676-6794 USA • 913-888-0767 FAX
Engineered to Order with Off-the-Shelf Speed
EU Declaration
of Conformity
A Mini Hermet Pressure or Temperature Switch
SOR Inc.
14685 West 105
th
Street
Lenexa, Kansas 66215-2003
United States of America
June 18, 2020
ATEX Directive (2014/34/EU) Equipment Intended
for use in Potentially Explosive Atmospheres
EN 60079-0:2012 + A11:2013 IEC 60079-0:2011
EN 60079-1:2014 IEC 60079-1:2014-06
II 2 G Ex db IIC T6/T5 Gb
T6 (-40°C < Ta < +60°C)
T5
(-40°C < Ta < +75°C)
EC-Type Examination Certificate
Baseefa03ATEX0582X Issued October 31, 2003
IECEx BAS 15.0047X Issued June 1, 2016
SGS Fimko Oy (Notified Body No. 0598)
Takomotie 8
Helsinki, 00380
Finland
Michael J. Bequette (VP of Engineering)
Michael J. Bequette
Product
Manufacturer
Place of Issue
Date of Issue
We declare under our sole
responsibility that the
above products conform to
the following specifications
and directives
Carries the marking
Reference document
ATEX Notified Body
Person responsible

10/12
Form 169 (07.21) ©SOR Inc.
Declaration of Conformity
For ATEX/IECEx Certied Models
R Series Pressure Switches
SOR Inc.
14685 West 105th Street
Lenexa, Kansas 66215-2003
United States of America
June 18, 2020
ATEX Directive (2014/34/EU) Equipment Intended for use
in Potentially Explosive Atmospheres
EN 60079-0:2012 + A11:2013 IEC 60079-0:2011
EN 60079-11:2012 IEC 60079-11:2011
II 2 G Ex ia IIC T6...T4 Gb
T6
(-40°CTa +75°C)
T5
(-40°CTa +90°C)
T4
(-40°CTa +125°C)
EC-Type Examination Certificate
Baseefa11ATEX0125 Issued February 16, 2012
IECEx BAS 15.0150 Issued April 19, 2016
SGS Fimko Oy (Notified Body No. 0598)
Takomotie 8
Helsinki, 00380
Finland
Michael J. Bequette (VP of Engineering)
Form 1539 (06.20) SOR Inc.
Product
Manufacturer
Place of Issue
Date of Issue
We declare under our sole
responsibility that the
above products conform to
the following specifications
and directives
Carries the marking
Reference document
ATEX Notified Body
Person responsible
EU Declaration
of Conformity
14685 West 105th Street, Lenexa, KS 66215-2003
913-888-2630 • 800-676-6794 USA • 913-888-0767 FAX
Engineered to Order with Off-the-Shelf Speed
Michael J. Bequette

Form 169 (07.21) ©SOR Inc.
11/12

12/12
Form 169 (07.21) ©SOR Inc.
14685 W. 105th St., Lenexa, KS 66215
913-888-2630
800-676-6794 USA
SORInc.
Registered Quality System to ISO 9001
Table of contents
Other SOR Switch manuals
SOR
SOR 651 K9 RF Instruction manual
SOR
SOR 1510 User manual
SOR
SOR 1710 Instruction manual

SOR
SOR 200 series User manual
SOR
SOR 651 Series Instruction manual
SOR
SOR 1550 Instruction manual
SOR
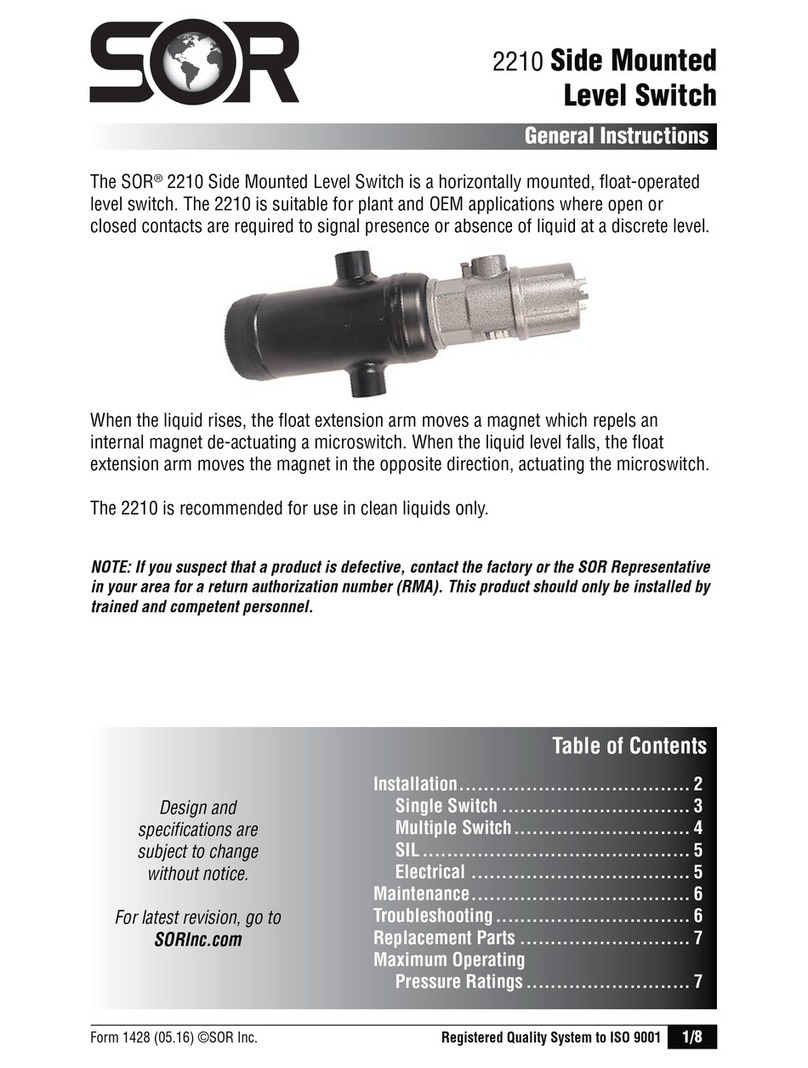
SOR 2210 Instruction manual
SOR
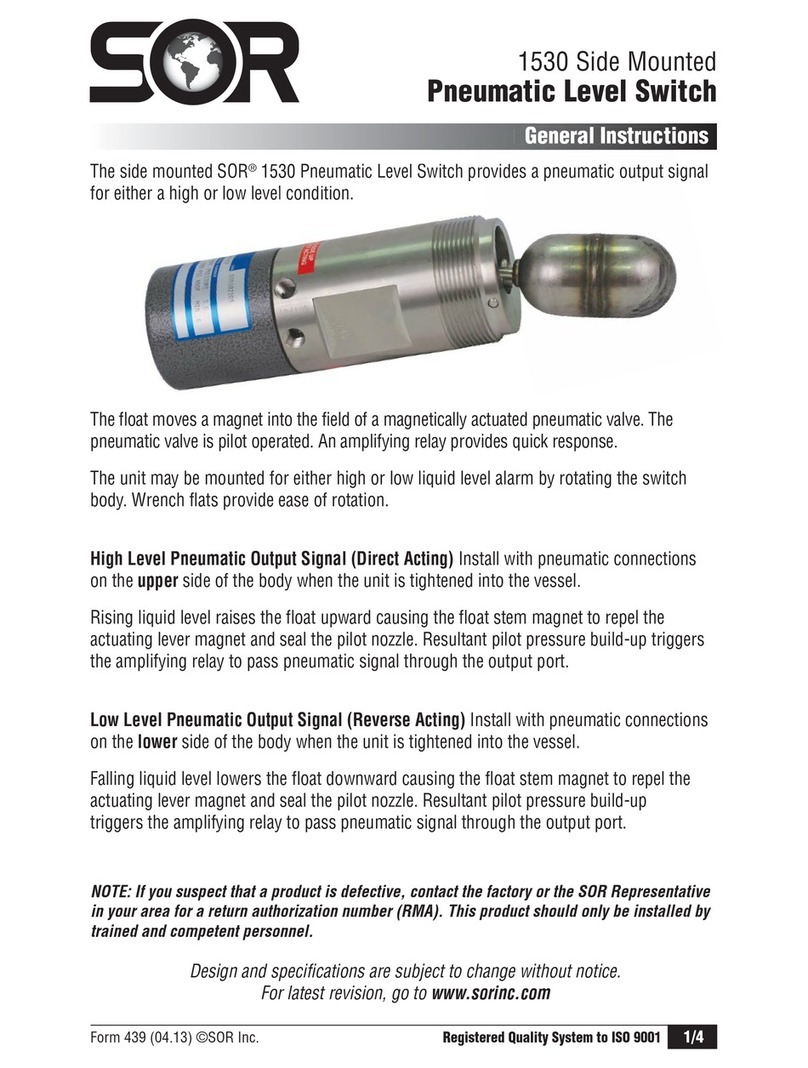
SOR 1530 Instruction manual
SOR
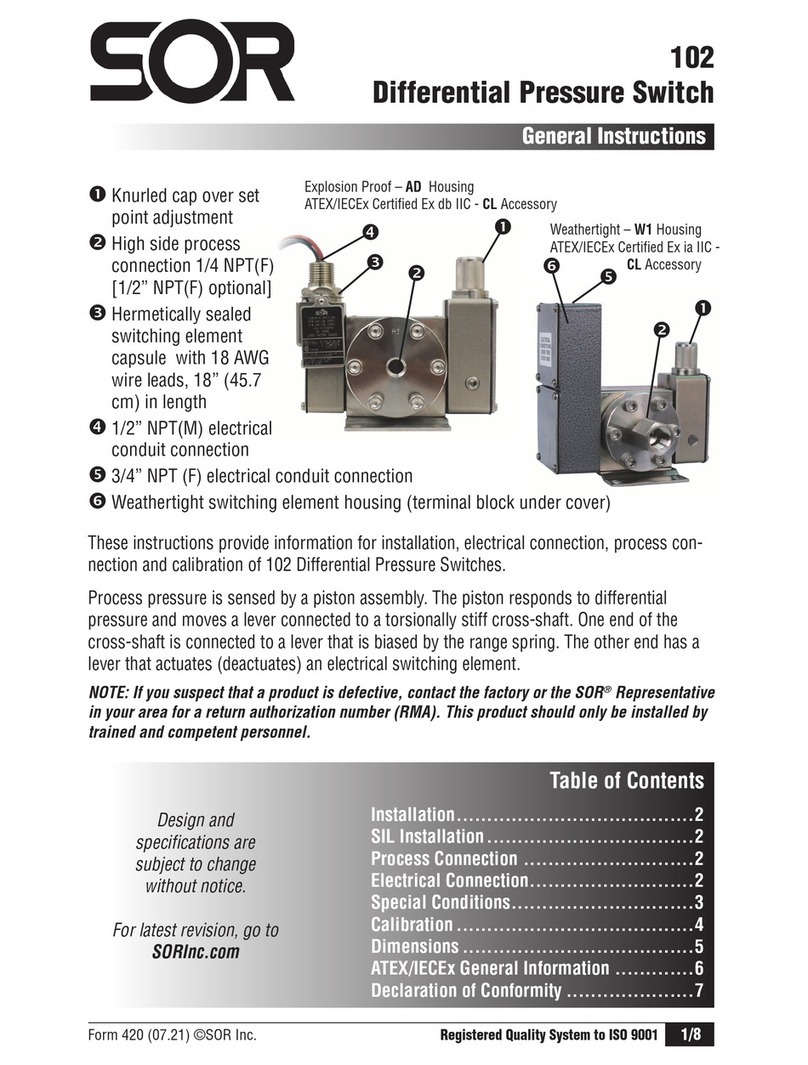
SOR 102 Instruction manual
SOR
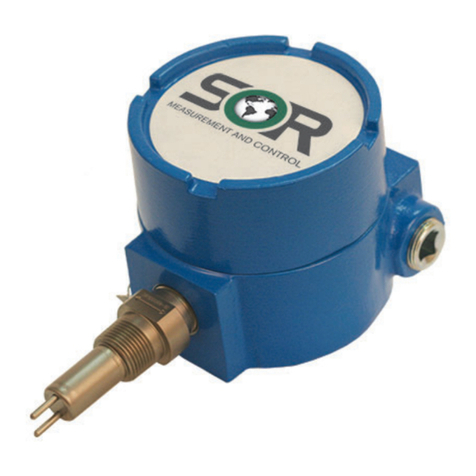
SOR T21 Instruction manual
