manuals.online logo
Brands
  1. Home
  2. •
  3. Brands
  4. •
  5. SOUNDMASTER
  6. •
  7. CD Player
  8. •
  9. SOUNDMASTER SCD 5400 User manual

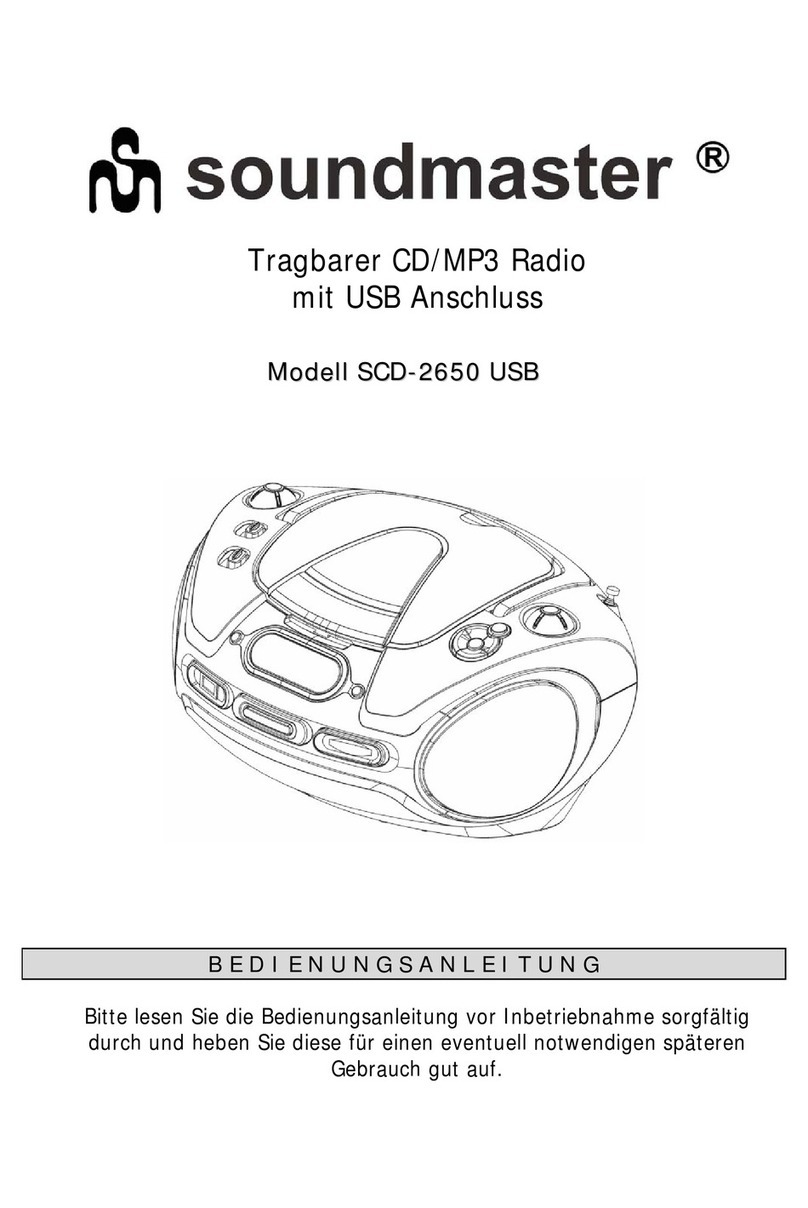
SOUNDMASTER SCD 5400 User manual

SCD 5400 / 5401 / 5402
DEUTSCH ENGLISH
FRANÇAIS NEDERLANDS
ROMÂNĂLIETUVIŠKAI
EESTI LATVIEŠU
ESPAÑOL
ENGLISH
ENG 1
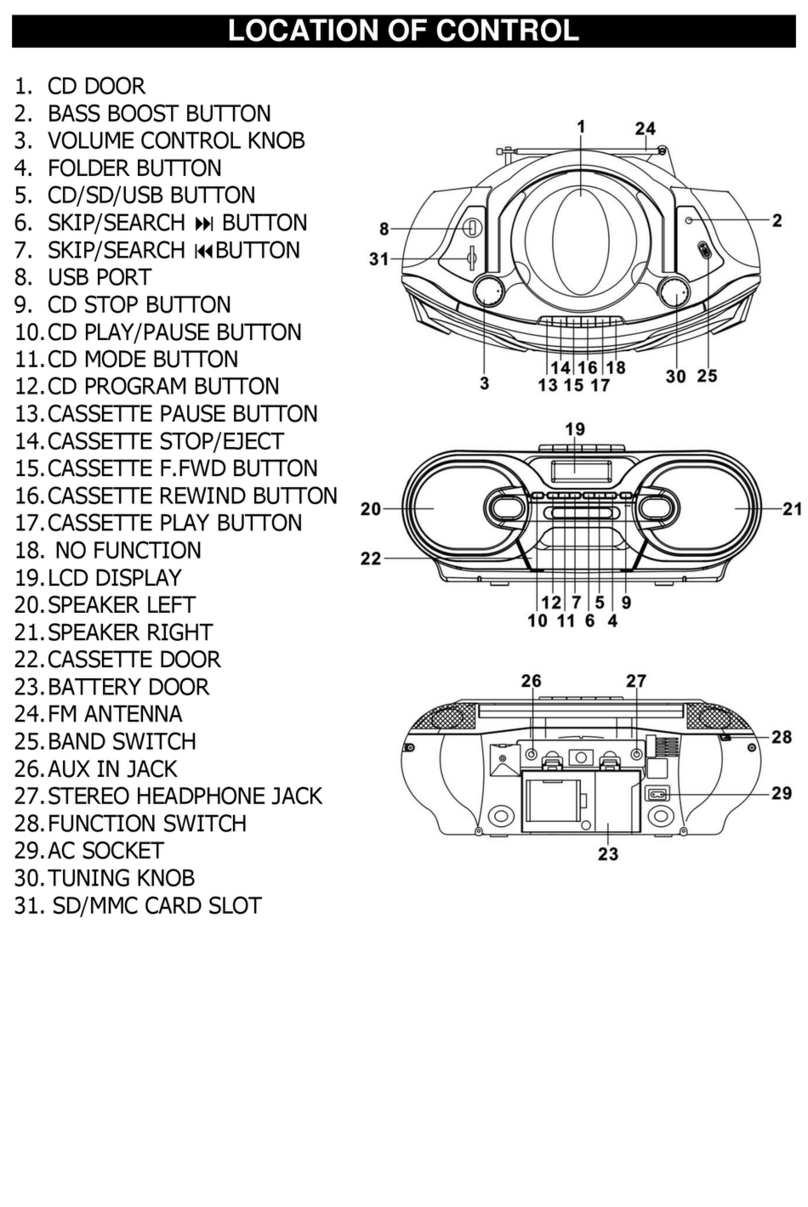
1. DBBS Bass Boost
2. Function Selector
3. Volume
4. Display
5. Cassette Recorder Keys
6. CD Door
7. Band Selector FM-ST/FM/AM
8. Handle
9. Tuning Control
10. CD Program
11. CD Skip/Search back-/forward |<< >>|
12. CD Stop
13. CD Play/Pause
14. CD repeat one/all
15. Speakers
16. FM Telescopic Antenna
17. Battery Compartment
18. AC Mains
19. Main power switch ON/OFF
Specification:
FM Frequency 87,5 – 108 MHz
AM Frequency 540 – 1600 KHz
Power Consumption 15 W
AC Power Supply AC 230V / 50Hz
DC Power Supply 8x 1,5V Type UM-1/D
Power Supply
AC Operation
Before operation please ensure VOLTAGE on the set corresponds to VOLTAGE of your local area. Unravel AC Line Cord, insert one
end into AC jack on the set and the other end into a standard AC outlet.
Battery Operation (Batteries not incl.)
Disconnect AC Cord Set completely. Open the Battery Compartment (17) and insert 8x R20/UM-1 “D” size batteries making sure the
indicated battery polarity is observed.
•Do not mix old and new batteries, or different types of batteries.
•Always remove the batteries to prevent damage if there is a battery leakage.
Volume and DBBS
Adjust the sound with the Volume (3) and DBBS (1) controls.
Headphone operation: (Headphone not incl.)
Connect a headphone into the headphone jack (3.5mm Klinke). The sound output will be cut automatically.
19
ENGLISH
ENG 2
AABC
Radio Operation
1. Switch the main power switch (19) to ON position
2. Slide the Function selector (2) to RADIO
3. Slide the Band selector (7) to a desired setting FM-ST/FM/AM
4. Rotate the Tuning control (9) to find the desired stations
5. When you finish listening, switch the main power switch (19) to OFF position
- FM operation: Pull out the telescopic antenna. Incline and turn the antenna. Reduce its length if the signal is too strong.
- AM operation: The item is provided with a built-in antenna. Direct the antenna by turning the whole set.
Cassette Operation
1. Switch the main power switch (19) to ON position
2. Slide the Function Selector (2) to TAPE
3. Press STOP/EJECT ■(5) to open the cassette door
4. Press PLAY ◄(5) to start playback
5. To interrupt playback press || (5). To resume, press the key again
6. By pressing |<< or >>| on the set, fast winding of the tape is possible in both directions
7. To Stop the tape, press STOP/EJECT ■(5)
8. When you finish listening, switch the main power switch (19) to OFF position
Recording from the radio
1. Slide the Function Selector (2) to RADIO
2. Tune to the desired radio station
3. Insert a suitable cassette into the cassette deck
4. Press RECORD ●(5) to start recording
5. For brief interruptions, press PAUSE || (5). To resume press PAUSE again
6. To stop recording, press STOP/EJECT ■(5)
Tape deck maintenance
To ensure quality recording and playback of the tape deck, clean parts A, B and C shown in the diagram
beside, after approx. 50 hours of operation. Use a soft cloth slightly moistened with alcohol or a special
head cleaning fluid to clean the deck.
CD Operation
1. Switch the main power switch (19) to ON position
2. Slide the Function Selector (2) to CD
3. Open the CD door (6) and insert a CD/-R/-RW with the printed side facing up and close the CD door
4. Press PLAY/PAUSE on the set to start playback
5. Press >>| (11) once briefly for the next track, or press repeatedly until the desired track number appears in the display
6. Press |<< (11) once briefly to return to the beginning of a current track
7. Press |<< (11) more than once briefly for a previous track
8. To pause playback press PLAY/PAUSE (13) again
9. To stop CD playback, press STOP (12)
10. When you finish listening, switch the main power switch (19) to OFF position
CD repeat
Press 1x REPEAT (14) to repeat the current track
Press 2x REPEAT (14) to repeat all tracks
Press 3x REPEAT (14) to cancel the function
Programming CD track numbers
1. In Stop mode press PROG (10), display shows „PROG“
2. Press |<< >>| (11) for select your desired track
3. When your chosen track number appears, press PROG (10) once to store the track. The display shows prog and prog briefly
followed by your selected track number
4. Repeat steps 2 and 3 to select and store all desired tracks in this way
5. To play your program, press PLAY/PAUSE (13) button
6. To erase a program, press twice STOP (12) button
Copyright by Woerlein GmbH, 90556 Cadolzburg, www.woerlein.com
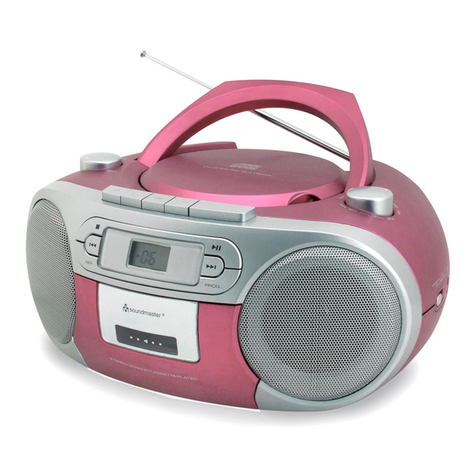
This manual suits for next models

2

Other SOUNDMASTER CD Player manuals

SOUNDMASTER SCD5750 User manual

SOUNDMASTER

SOUNDMASTER SCD5750 User manual

SOUNDMASTER RCD5000 User manual

SOUNDMASTER

SOUNDMASTER RCD5000 User manual

SOUNDMASTER CD9110 User manual

SOUNDMASTER

SOUNDMASTER CD9110 User manual

SOUNDMASTER SCD-5600 User manual

SOUNDMASTER

SOUNDMASTER SCD-5600 User manual

SOUNDMASTER DISC 4011 User manual

SOUNDMASTER

SOUNDMASTER DISC 4011 User manual

SOUNDMASTER RCD1180 User manual

SOUNDMASTER

SOUNDMASTER RCD1180 User manual

SOUNDMASTER RCD1200 User manual

SOUNDMASTER

SOUNDMASTER RCD1200 User manual

SOUNDMASTER SCD5410 User manual

SOUNDMASTER

SOUNDMASTER SCD5410 User manual

SOUNDMASTER CD9290 User manual

SOUNDMASTER

SOUNDMASTER CD9290 User manual

SOUNDMASTER SCD 2600 User manual

SOUNDMASTER

SOUNDMASTER SCD 2600 User manual

SOUNDMASTER SCD1500 User manual

SOUNDMASTER

SOUNDMASTER SCD1500 User manual

SOUNDMASTER SCD2350 User manual

SOUNDMASTER

SOUNDMASTER SCD2350 User manual

SOUNDMASTER CD9220 User manual

SOUNDMASTER

SOUNDMASTER CD9220 User manual

SOUNDMASTER SCD3550 User manual

SOUNDMASTER

SOUNDMASTER SCD3550 User manual

SOUNDMASTER SCD8000 User manual

SOUNDMASTER

SOUNDMASTER SCD8000 User manual

SOUNDMASTER SCD5701 User manual

SOUNDMASTER

SOUNDMASTER SCD5701 User manual

SOUNDMASTER KCD1600 User manual

SOUNDMASTER

SOUNDMASTER KCD1600 User manual

SOUNDMASTER SCD-3700 User manual

SOUNDMASTER

SOUNDMASTER SCD-3700 User manual

SOUNDMASTER DISC4020 User manual

SOUNDMASTER

SOUNDMASTER DISC4020 User manual

SOUNDMASTER SCD7200WE User manual

SOUNDMASTER

SOUNDMASTER SCD7200WE User manual

SOUNDMASTER URD 700 User manual

SOUNDMASTER

SOUNDMASTER URD 700 User manual

SOUNDMASTER CD9180 User manual

SOUNDMASTER

SOUNDMASTER CD9180 User manual

SOUNDMASTER SCD5410 User manual

SOUNDMASTER

SOUNDMASTER SCD5410 User manual

SOUNDMASTER RCD1770 User manual

SOUNDMASTER

SOUNDMASTER RCD1770 User manual

Popular CD Player manuals by other brands

Sony CDX-M9905X Installation/connections

Sony

Sony CDX-M9905X Installation/connections

Emerson PD6920 owner's manual

Emerson

Emerson PD6920 owner's manual

Clarion DRX9255EXL Service manual

Clarion

Clarion DRX9255EXL Service manual

Street Beat CD-10 operating instructions

Street Beat

Street Beat CD-10 operating instructions

Audiovox CE249MP operating instructions

Audiovox

Audiovox CE249MP operating instructions

Marantz CDR500 F1B Service manual

Marantz

Marantz CDR500 F1B Service manual

Symphonic CD2000 owner's manual

Symphonic

Symphonic CD2000 owner's manual

JB Systems mcd 2.2 Operation manual

JB Systems

JB Systems mcd 2.2 Operation manual

Teac SL-D90 Service manual

Teac

Teac SL-D90 Service manual

Sony D-EJ360 - PSYC CD Walkman operating instructions

Sony

Sony D-EJ360 - PSYC CD Walkman operating instructions

Philips AX2411 Specifications

Philips

Philips AX2411 Specifications

McIntosh C100 manual

McIntosh

McIntosh C100 manual

Panasonic SL-S120 operating instructions

Panasonic

Panasonic SL-S120 operating instructions

Marantz SA-10 quick start guide

Marantz

Marantz SA-10 quick start guide

Gemini CDJ-10 Operation manual

Gemini

Gemini CDJ-10 Operation manual

JVC CH-X500 instructions

JVC

JVC CH-X500 instructions

Harman Kardon HD7400 instruction manual

Harman Kardon

Harman Kardon HD7400 instruction manual

Magnavox AZ1100 - Single Deck user manual

Magnavox

Magnavox AZ1100 - Single Deck user manual

manuals.online logo
manuals.online logoBrands
  • About & Mission
  • Contact us
  • Privacy Policy
  • Terms and Conditions

Copyright 2025 Manuals.Online. All Rights Reserved.