SoundVision SV-T21WR BT User manual
1
EN
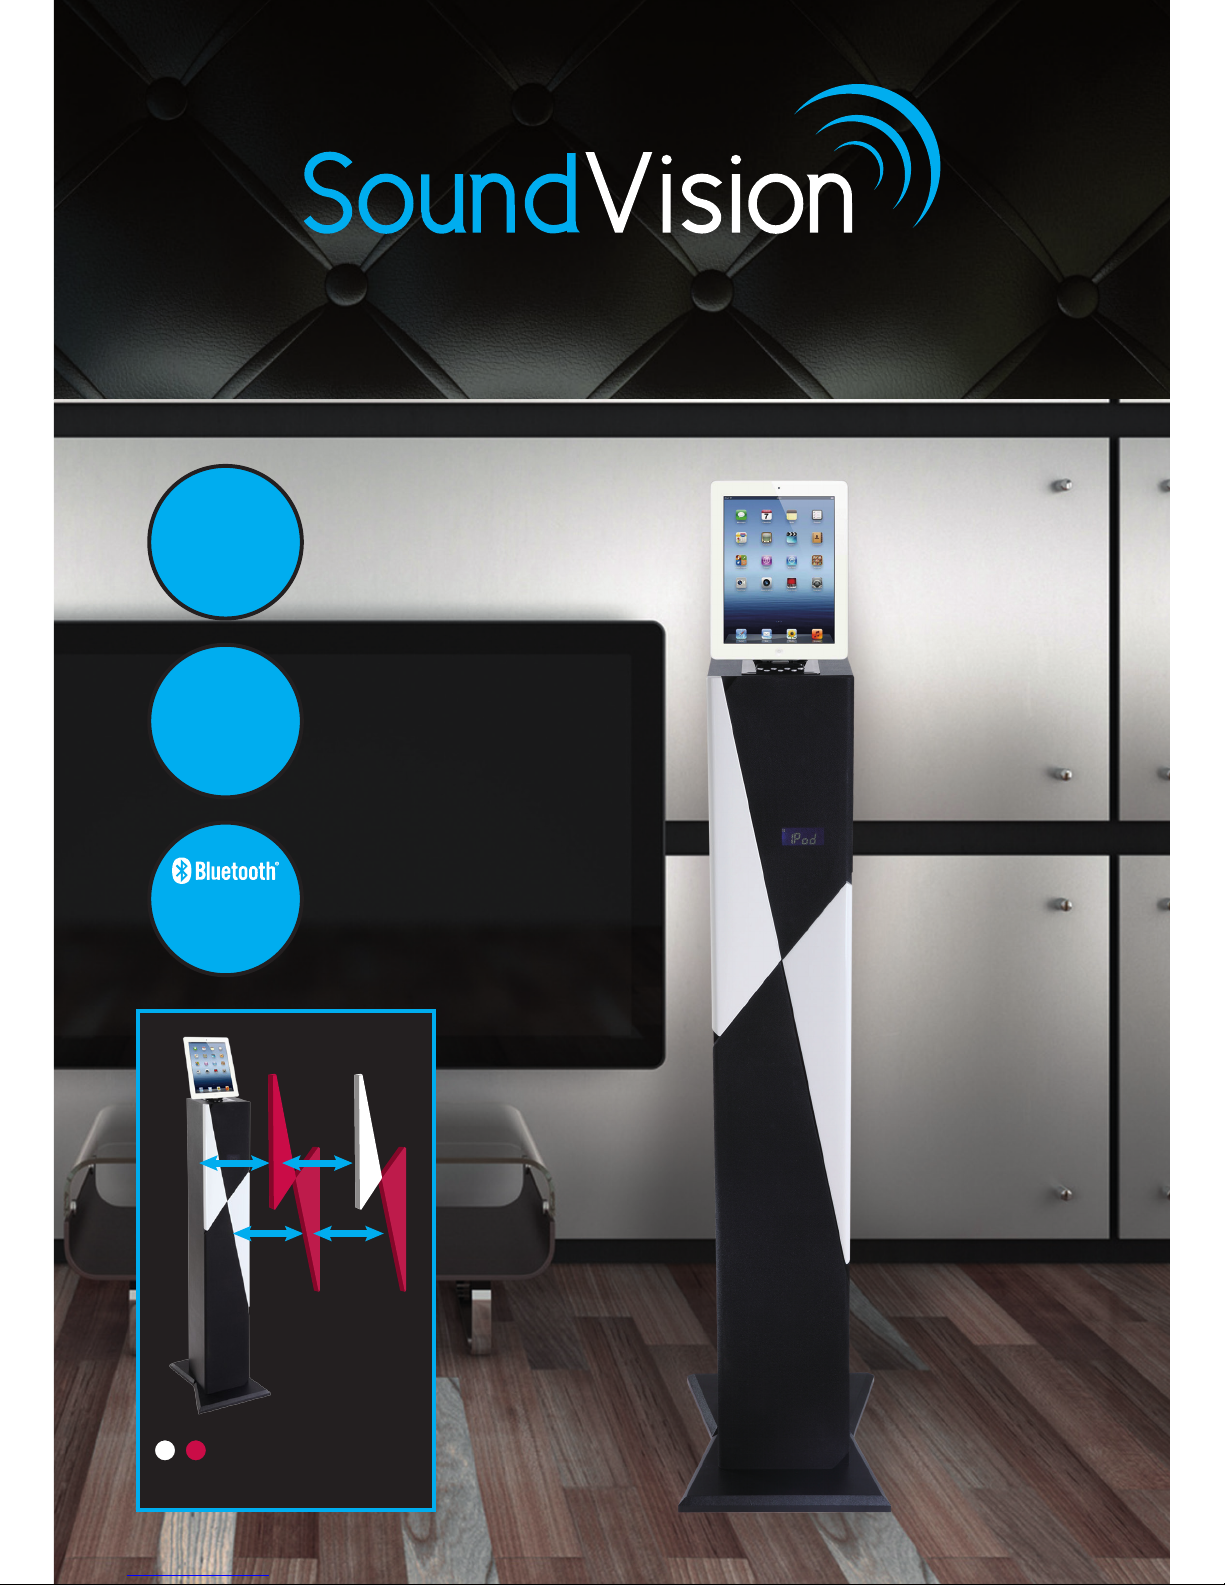
Tower Speaker - SV-T21WR BT
SV-T21WR BT
User Manual
• Providedtwo
colors
iPhone 5*
COMPATIBLE
* Bluetooth or
lightning adaptor
SmartPhones
& Tablets
iPhone 4/4S
3/3GS/iPad2
New iPad
COMPATIBLE

1
Tower Speaker - SV-T21WR BT
EN
Table of contents
Table of contents 1
Safety Instructions 2
Accessories 3
Main features 3
Setting up Your Tower 4
Remote Control 5
Functions of the remote Control 6
Illustration top / back panels 8
Setting Clock 9
Sleep Mode 9
Charging and Playing your iPod/iPhone/iPad 9
Listening to the radio 9
Using the Line in or AUX Input 9
Using the USB/SD input 10
Mode Bluetooth 10
Specications / Remarks 11

2
EN
Tower Speaker - SV-T21WR BT
Safety Instructions
When using electrical appliances, basic safety
precautions should always be followed. This
appliance is not intended for use by persons
(including children) with reduced physical,
sensory or mental capabilities or lack of
experience or knowledge. They should be
given supervision and instruction in the use of
the appliance by a person responsible for their
safety. Ensure the appliance is not too close
to heat emitting appliances or placed in direct
sunlight. Check that the voltage indicated on
the data plate corresponds with that of the
local network before connecting the appliances
to the mains power supply. Do not leave the
appliance unattended whilst connected to
the mains power supply. Do not immerse the
appliance in water or any other liquids. It is
imperative to unplug the power cord after the
appliance has been used, before it is cleaned
and whilst being repaired. Close supervision
is required when using this appliance near
children.
Never leave the appliance within reach of
children. Repairs to electrical appliances
should only be performed by qualied
personnel. Improper repairs may place the
user at serious risk.
This appliance is intended for household use
only and should not be used for industrial
or commercial purposes. Do not operate
this appliance with a damaged plug or cord,
after a malfunction or after being dropped or
damaged in any way. Do not use this appliance
for anything other than its intended use. This
appliance must be placed on a stable, heat
resistant surface. Do not push objects into
any openings as damage to the appliance
and/or electric shock may occur. Do not use
this product in wet or bad weather conditions.
This product is not a toy. Do not play music at
excessive levels especially near children.

3
Tower Speaker - SV-T21WR BT
EN
Accessories
Please check that the following accessories
are enclosed in the package :
Main features
.
Remote control
Screw
Manual
AC/DC cable AC/DC adaptor
AV cable
JACK LINE IN
SMARTPHONE & MP3/4 PLAYERS
SOUND CONNECTION
FM
60 Watts
Alarm Clock
4
EN
Tower Speaker - SV-T21WR BT
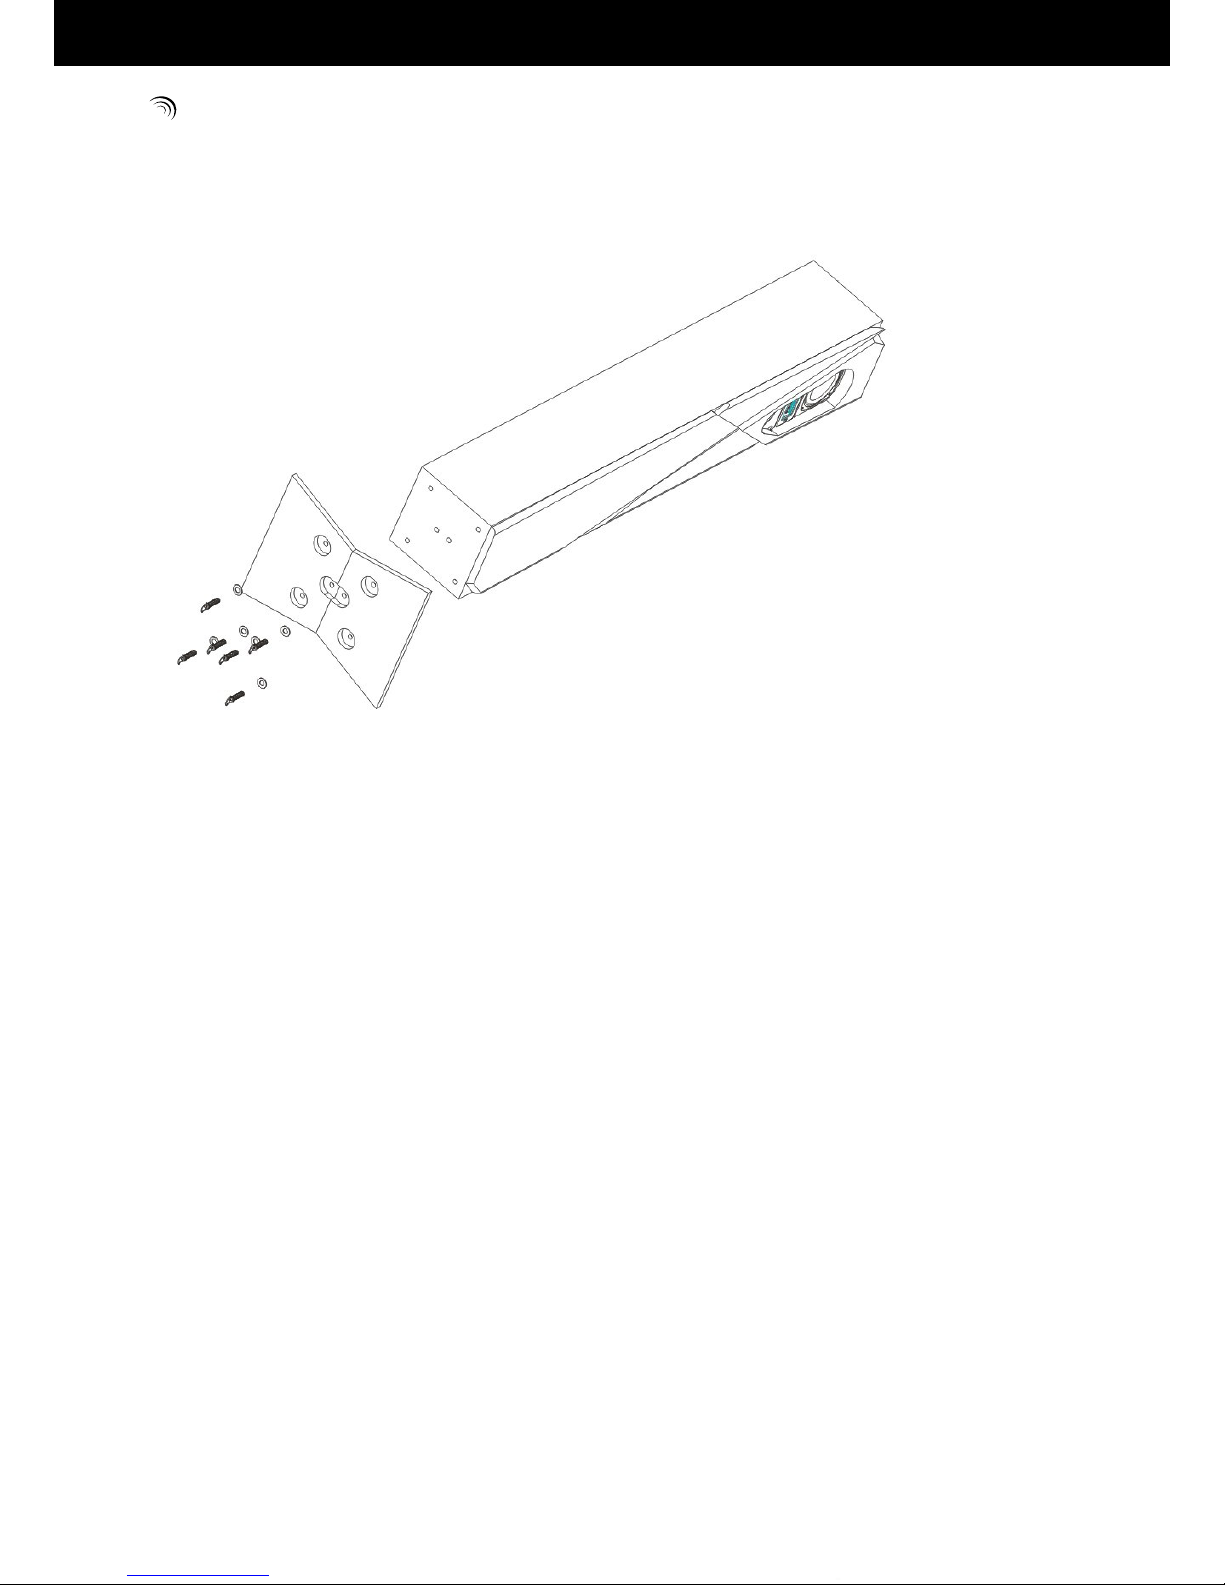
Setting up Your Tower
Carefully take the tower body and base out
of the packaging.
1. Take the screws and washers out.
2. Attach the base to the body aligning
the three holes in the base with three
holes in the tower.
3. Screw the base into the body.
4. Standthetoweruprightontheoor.
The appliance is now ready for use.

5
Tower Speaker - SV-T21WR BT
EN
Remote control
1. Installing the Batteries
Pull the clear tab from the battery
compartment at the end (right) on the remote
control.
Attention
If your remote works intermittently or if you nd
you need to bring the unit to make it work, you
should probably replace the battery.
To replace the battery, slide the battery holder
to the bottom of the remote.
Remove the battery and replace the battery
with a CR2025 Lithium 3 Volt, making sure that
the + side is on the underside of the support
when you slip into the compartment.
2. Remote maintenance
Attention
Be sure to clean the surface of the remote
control buttons, dust accumulation that may
impair the operation keys.
Danger
Do not place the remote in a wet or exposed
to rain.

6
EN
Tower Speaker - SV-T21WR BT
Functions of the remote Control
1. POWER
Turn off the power switch or turn your iPod®/
iPhone®/ iPad®
2.SLEEP
Press the SLEEP button to activate the sleep
timer (of 10 mns 1:30) 00 means that the
function is disabled.
3.MUTE
Press «mute» to disable the audio output,
press again to cancel this function.
1.POWER
2.SLEEP
3.MUTE
4.MENU
5.SOURCE
6.ENTER
7. NEXT
8. MENU
9. PLAY/PAUSE
10.VOLUME
11 BASS
12. TREBBLE
13. MEM TIME
14. PREVIOUS
15. iPod MENU
4/8. MENU
In playback mode via your iPod®/ iPhone®/
iPad®, press the arrow keys or navigate
through your iPod®/ iPhone®/ iPad®.
In Radio mode press keys or to select
a station.
5. SOURCE
Press this button when the tower is lit to
change the source: AUX / USB / iPod®/
iPhone®/ iPad®/ radio / line in
6. ENTER
Press to conrm menu selections.

7
Tower Speaker - SV-T21WR BT
EN
7/14. NEXT / PREVIOUS
In playback mode iPod®/ iPhone®/ iPad®:
Press NEXT or PREVIOUS
to select the next or previous track.
In radio mode: Press NEXT or PREVIOUS to
adjust the frequency.
Standby mode: Press NEXT or PREVIOUS to
set the time.
9 PLAY / PAUSE
In playback mode iPod®/ iPhone®/ iPad®, press
this button to switch to playback or pause.
10. VOLUME
Use these buttons to adjust the master volume.
11.BASS
Use these buttons to adjust the volume low.
12.TREBBLE
Press these buttons to strengthen or weaken
the effect of the treble.
13. MEM TIME
In radio mode, press MEM TIME to store a
radio station.
Standby mode: Go to the clock setting.
14. iPod MENU
Press this button to select your iPod®/ iPhone®/
iPad®
8
EN
Tower Speaker - SV-T21WR BT
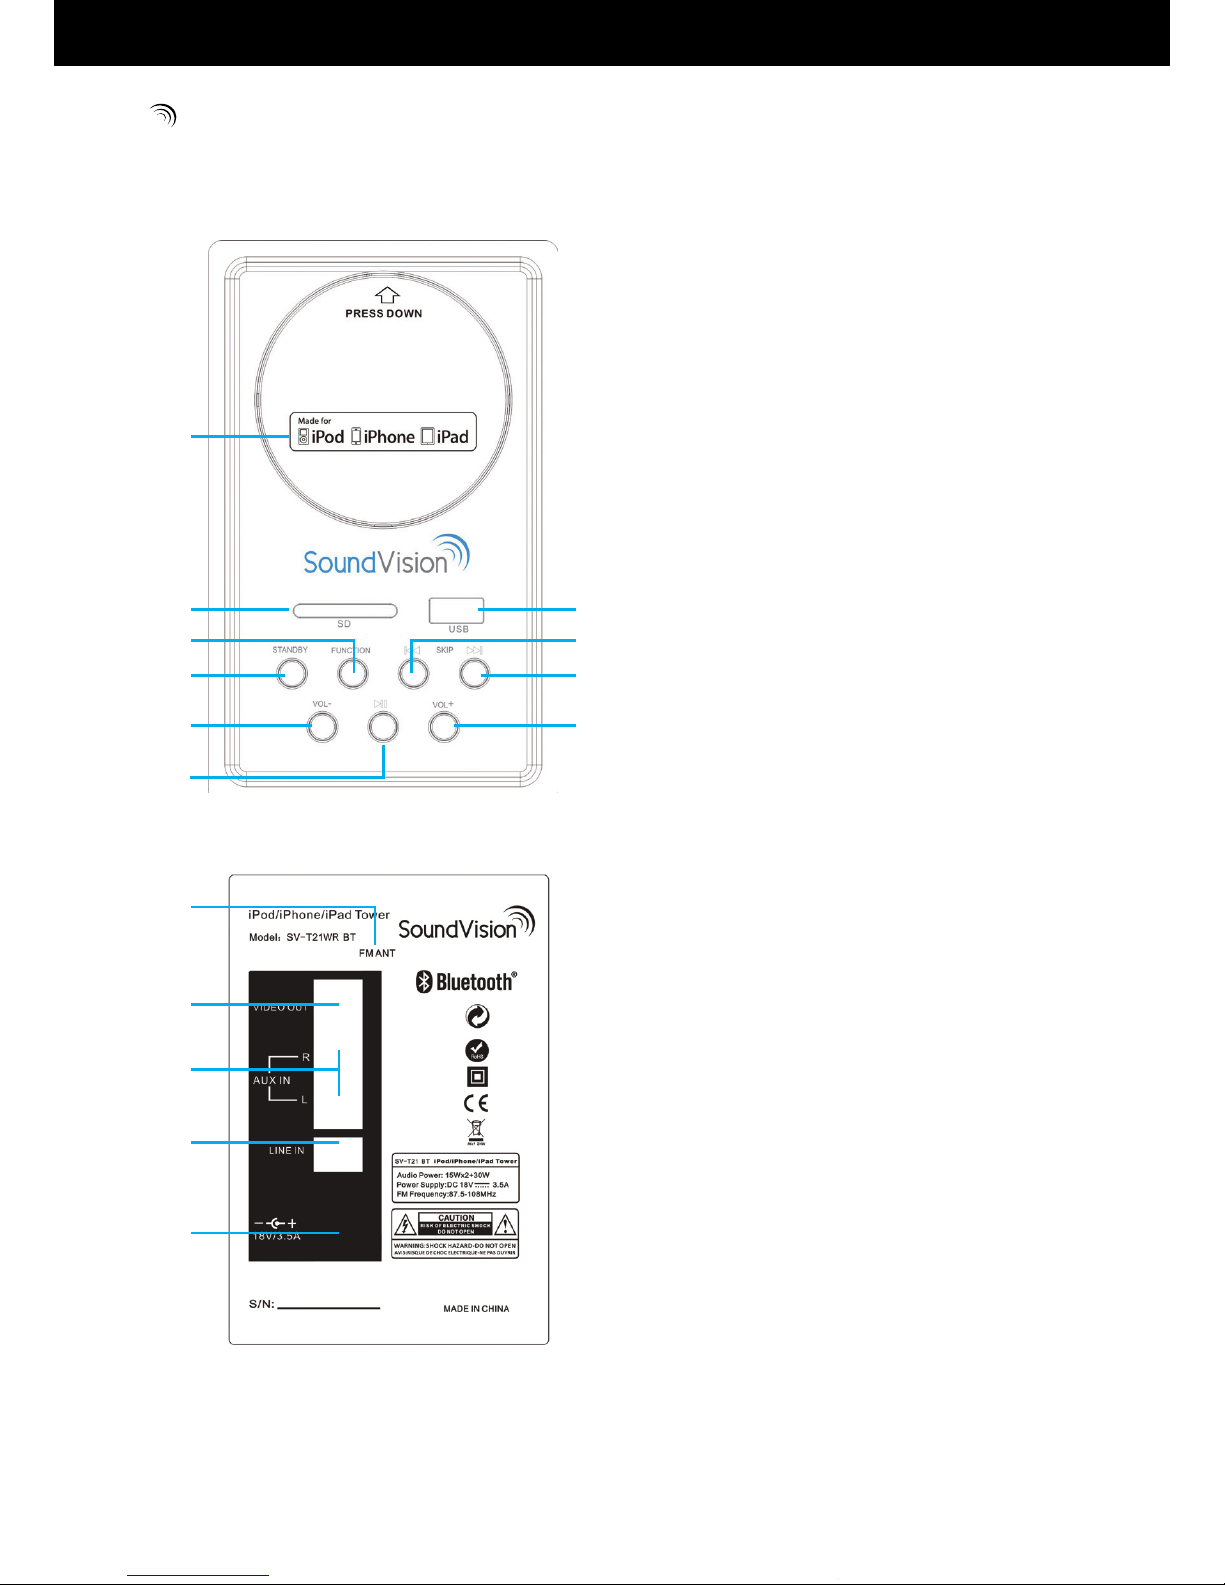
Illustration top / back panels
Top panel
Back panel
1 FM
2 Video out
3 AUX in
4 Line in
5Power
1. Docking iPod/iPhone/iPad
2. SD
3. USB
4. Fonction
5. Standby
6. Previous
7. Next
8. Volume-
9. Volume+
10. Play/Pause
1
2
4
5
8
10
9
3
6
7
2
1
3
4
5

9
Tower Speaker - SV-T21WR BT
EN
Setting Clock
After the unit is plugged into a mains supply or
mains power failure, the display will show the
“0:00” on the LCD display. The unit should be
in standby mode to set the current clock.
1. Press MEM/TIME button, the digits for the
display will blink.
2 .Press the PREVIOUS/NEXT button
repeatedly until correct hour is set. Press the
MEM/TIME to conrm.
The hour setting; the minute digits on the
display will blink.
3. Press the PREVIOUS/NEXT button
repeatedly until correct minute is set. Press the
MEM/TIME to conrm the minute setting.
Sleep Mode
Press the SLEEP button, the display will blink.
Press the button until the display shows the
minute you want to set.You can set 10 to 90
minutes.
It blinks three times to conrm, and then return
to the interface before. If you want to cancel
the sleep mode, press to 00, after blanking
three times, the sleep mode will cancel.
Chargement de votre iPod/iPhone/iPad
You can charge your iPod®/ iPhone®/ iPad®via
the dock in either stand by or operation mode.
Your iPhone/iPod will automatically charging
when it is docked.
Attention
Please ensure that the main power switch at
the rear of the unit is in the on position.
Playing your iPod®/ iPhone®/ iPad®
1. Press the power button on the rear of the
speaker or on the main console to turn the unit
on.
2. To select the iPhone/iPod playback function,
press and hold the function button on until the
red light below iPod illuminates.
3. Connect your iPod®/ iPhone®/ iPad®to the
connector inside the dock.
4. Press the play/pause button on the unit or
on the remote control to begin playing music
from the docked iPod®/ iPhone®/ iPad®.
Listening to the radio
1. Press the button on the unit or the remote
control to select RADIO mode. The unit will be
in FM radio mode.
2. Select the desired radio station by pressing
the PREVIOUS/NEXT button.
3. Press and hold PREVIOUS/NEXT button
for 2 seconds, The unit will automatically start
and search the frequencies for the previous or
next strong station and stop on that station.
4. Once you nd a station you want to save,
press the MEM button on the remote control,
”P01” will be shown on the display, press M-up
or M-dn until the desired memory position
number appears on the display. Press the
MEM again to conrm and save the current
station.
Using the Line in or AUX Input
Analogue sound signals from other sources
can input to the speaker. To select the Aux
function button on the tower or repeatedly
press the source button on the remote control
until the displace shows AUX or LIN.

10
EN
Tower Speaker - SV-T21WR BT
Line in Jack
Requires a 3.5mm cable (not included).
1. Connect a 3.5mm cable to the Aux in 1 jack.
Connect the other end of the 3.5mm cable to
an Mp3 player or other audio source.
2. Press the power button to turn the unit on.
3. Press the function button or source button
on the remote to switch to Line In mode.
4. Use the controls on the connected device to
begin playing audio routed through the unit.
AUX In Auxiliary Input RCA
Si votre périphérique fonctionne avec un câble
RCA, connectez le câble RCA sur le panneau
arrière de la tour (AUX IN) et selectionnez
AUX à l’aide la touche Source de la
télécommande.
Using the USB/SD input *
1. Plug your USB ash drive/Secure Digital
Memory Card to the USB/SD converter, then
connect the converter to the unit. Change the
sequence may cause damage to the iPhone/
iPod dock.
2. Press SOURCE once into the USB mode,
the unit can play automatically.
3. Press SOURCE twice into the SD mode, the
unit can play automatically.
4. Press MENU UP /MENU DOWN to select
which folder you want to open. The display will
shows the number of folder rst, Otherwrise
the number of track.
5. Press PREVIOUS/NEXT to select track.
* When using the USB or SD card, remove the
cable Line’’ in’’.
MODE BLUETOOTH
Select the Bluetooth function. ‘BT’ is displayed.
Connect your smartphone and enter the code
‘0000’.
play your music.
Notes
Always unplug the appliance when not in use
and before cleaning.
Do not play music at excessive volume levels
as damage to hearing and/or the equipment
may occur. Do not use this unit in wet or damp
conditions.
Care and Maintenance
Always disconnect the unit from the mains
power supply before cleaning. Clean the
appliance with a soft, damp, lint free cloth. Do
not use abrasives or harsh cleaners.

11
Tower Speaker - SV-T21WR BT
EN
Specications / Remarks
Power Rating
AC-DC adaptor
Input AC 100-240 V, 50/60 Hz
Output : DC 18 V 3.5A
Radio Frequency
FM : 87.5 – 108 MHz
“Made for iPhone” and “Made for iPod”
means that an electronic accessory has been
designed to connect specically to iPhone
or iPod respectively, and has been certied
by the developer to meet Apple performance
standards. Apple is not responsible for the
operation of this device or its compliance with
safety and regulatory standards. IPhone and
iPod are trademarks of Apple In., Registered in
the U.S. And other countries. IPod not included.
Not iPod shufe compatible.
• Don’t throw the electrical and
electronical appliances into the usual
dustbin.
• Bring them to a collecting point.
• Some parts contained in these
appliances may be dangerous for health
and environment.

12
EN
Tower Speaker - SV-T21WR BT

13
Tower Speaker - SV-T21WR BT
EN

14
EN
Tower Speaker - SV-T21WR BT
15
Tower Speaker - SV-T21WR BT
EN
COPYRIGHT2012SOUNDVISIONINC.-Technicalspecicationsand/ordesignmaybealteredwithoutpriornotice.SoundvisionandSoundvisionlogoareregistered
trademarksofSoundvisionCorp.Allotherbrandorproductnamesarethepropertyoftheirrespectiveowners.
SoundVisionINC.
TheSeagramBuilding
375ParkAvenue,Suite2607
NewYorkCityNY
10152USA
Email:[email protected]
Internet:www.mySoundVision.com
FOLLOWUS
Imported by HDW FRANCE
157 Rue du Caporal Felix Poussineau
77190 DAMMARIE LES LYS
FRANCE
Table of contents
Other SoundVision Speakers manuals


