Sovereign SR337 User manual

Installation and Operating Instructions
MODEL SR337
UNDER COUNTER FRIDGE
Please read these instructions carefully before attempting to install or use this appliance.
It is advisable to keep these instructions in a safe place for future reference.

1
Introduction
Thank you for choosing this Sovereign appliance. It has been
designed to give years of trouble-free use provided it is installed
and maintained correctly.
Please read these instructions carefully before installing or using
your appliance. It is advisable to keep your purchase and installation
receipts with these instructions in a safe place for future reference.
Included is some important safety information in addition to
guidelines and recommendations that will enable you to take full
advantage of all the functions available.
This quality appliance has been tested and certified to meet all
applicable UK electrical and safety standards.
This appliance must be installed and connected in accordance
with current regulations by a qualified electrician.
After unpacking the appliance ensure that there is no visible
damage. If the appliance has been damaged during transit, do not
use it, contact your retailer immediately.

2
Guarantee
This appliance is guaranteed for one year from date of purchase.
Keep your purchase receipt with these instructions.
To fulfill the conditions of the guarantee this appliance must have
been correctly installed by a qualified person and operated in
accordance with these instructions. The appliance is intended for
domestic use only.
If the appliance fails to work properly during the first year period
contact the Sovereign Service Help line on 01527-573010.
The appliance will be repaired or replaced (at the manufacturer’s
discretion) at no cost to you. If the guarantee has elapsed, you
will be given a quotation for any repairs or parts required.
The model and serial number together with details of your sales
receipt must be quoted when contacting the Help line.
For Assistance or Service please contact the
Sovereign Service Help line on 01527-573010

3
Description of the Appliance
1. Ice-Box
2. Thermostat Control
3. Interior Glass Shelf
4. Door Storage – Specific Areas for Bottles & Dairy Products
5. Salad Crisper Box with Glass Shelf
6. Two Adjustable Feet
2.
3.
4.
5.
6.
1.

4
CONTENTS:
Section 1. Installation
Section 2. Safety Advice
Section 3. Operating the Appliance
Section 4. Maintenance

5
Section 1. I n s ta lla tion
IMPORTANT! This appliance must be left to stand in an upright position
for at least 4 hours before being switched on for the first time.
Remove all packaging and securing tape from the appliance.
Wash the interior of the appliance with luke warm water containing a
small amount of bicarbonate soda (5ml to 0.5 litres of water).
Position the appliance in a dry atmosphere and out of direct sunlight.
Do not position next to a cooker or other sources of heat, i.e. radiator.
If positioned next to another fridge or freezer, leave a minimum gap of
2cm between the appliances in order to avoid condensation.
A clearance of 50mm should be left above the appliance. If this cannot
be achieved you should ensure a clearance of 25mm is maintained on
each side of the appliance.
Fit the plastic wall spacers to the condenser on the rear of the appliance,
this will ensure an air gap between the appliance and the wall.
Do not place or store heavy items on the top of this appliance.
Ensure that the appliance is positioned on a firm flat floor.
This appliance must be level. Adjust the level by screwing the adjustable
feet up or down (use your fingers or a suitable spanner).
Ensure that the appliance is upright and both feet are in firm contact with
the floor so that the cabinet is stable.
Connect the plug to an adjacent 13amp socket outlet and ensure that the
appliance is not standing on the supply cable.
Section 2. Safety Advice
Please read this booklet thoroughly before installing and switching on the
appliance. The manufacturer accepts no responsibility for incorrect
installation and usage.
If this appliance is to replace an old refrigerator with a lock, as a safety
measure break or remove the lock before disposal.
Your old appliances contain insulation gases and refrigerant that must be
disposed of correctly. Please ensure that the refrigerant circuit is not
damaged before the appliance is taken away for correct disposal in line
with current legislation. If there is any doubt contact your Local Authority
for instructions.
This appliance may contain the refrigerant isobutene (R600a). This is a
natural gas with a high level of environmental compatibility; however,
caution is required as isobutene is a flammable gas. It is essential to ensure
that refrigerant tubes are not damaged during transportation and the
installation of the appliance. In the event that the refrigerant circuit is

6
damaged, avoid naked flames or sources of ignition and ventilate the room
in which the appliance is situated.
Do not damage the refrigerant circuit.
Do not allow children to play with the appliance. Children must never
play in or around the appliance.
If using an adaptor, this must be used in accordance with the
manufacturers instructions and ensure that the electrical circuit is not
overloaded as this could cause overheating.
Do not twist or bend the cables, and keep them away from hot surfaces.
Do not plug ın or unplug this appliance with wet hands.
Following installation make sure that the power cable is not trapped
underneath the appliance.
Section 3. Operating the Appliance
3.1. Switching on the Appliance
Allow the appliance to stand for 4 hours after installation.
Plug in the appliance and switch on at the mains supply.
Set the thermostat control to the required setting as detailed in the
Temperature Control section (3.2.).
Leave the appliance for approximately 4 hours for the correct
temperature to be reached.
3.2. Temperature Control
The temperature selector knob is located on the right hand side of the ice box
unit (see Description of the Appliance on page 4).
Setting “0”: Unit Off
Setting “1”: Unit On – Warmest Temperature
Setting “3”: Normal Operation (adequate for most situations)
Setting “5”: Coldest Temperature
3.3. Ice-Box
Your appliance is fitted with a one star ice-box that will maintain a temperature
in the region of –6 degrees. This ice-box is intended for the storage of certain
frozen foods for a maximum of 1 week. You should check the storage label of
any pre-frozen food you intend to store and follow the producers instructions.
The ice-box can also be used for the freezing and storage of small amounts of
ice.
Please note: You cannot use this ice-box to freeze any fresh food item.

7
Important!
During high ambient temperatures e.g. on hot summer days, it may be
necessary to set the thermostat to the coldest setting (position 5). This may
cause the compressor to run continuously in order to maintain a low
temperature in the cabinet.
3.4. Normal Operating Sounds
You may hear faint gurgling or bubbling sounds when the refrigerant is pumped
to the cooling system and through the coils or tubing at the rear of the
appliance. When the compressor is in operation you may hear a slight whirring
sound or pulsating noise. The thermostat controls the operation of the
compressor, and you may hear a slight click as it cycles in and out.
3.5. Energy Saving Advice
Do not install the appliance close to sources of heat, such as a cooker,
dishwasher or radiator. Locate the appliance in a cool well-ventilated room and
make sure that the air vents are clear.
Try to avoid keeping the door open for long time, warm air will enter the cabinet,
and may cause a build up of ice as well as affecting the energy consumption.
Ensure there are no obstructions preventing the door from closing properly
3.6. In the Event of a Power Failure
If there is a power failure, keep the door closed. When the power has been
restored the appliance will start to operate but it may take some time to achieve
the pre-set operating temperature. Check the condition of your stored food
items and liquids.
Section 4. Maintenance
Before any maintenance or cleaning work is carried out, DISCONNECT the
appliance from the ELECTRICITY supply.
4.1. Internal Cleaning
Clean the interior and accessories with warm water and bicarbonate of soda
(5ml to 0.5 litre of water). Rinse and dry thoroughly. Do not use detergents,
abrasive powders, highly perfumed cleaning products, wax polishes or cleaning
products containing bleach or alcohol.

8
4.2. External Cleaning
Wash the outer cabinet with warm soapy water. Do NOT use abrasive
products. There may be sharp edges on the underside of the product, so care
should be taken when cleaning. Once or twice a year dust the rear of the
appliance and the compressor at the back of the appliance, with a brush or
vacuum cleaner, as an accumulation of dust will affect the performance of the
appliance and cause increased energy consumption.
4.3. Defrosting
If ice build up in the ice-box exceeds 3-5mm, empty the contents and switch off
the appliance, leave the door open and allow the ice to melt. Do not use sharp
objects to scrape the ice away. Clean and dry the interior, close the door and
turn on the power to the appliance. When the power has been restored the
appliance will start to operate but it may take some time to achieve the pre-set
operating temperature.
4.4. When the appliance is not in use
When the appliance is not in use for long periods, remove the contents,
disconnect from the electricity supply and clean the appliance, leaving the door
ajar until you wish to use the appliance again.
4.5. Changing the Interior Light Bulb
Switch off the power supply to the appliance
Unscrew the bulb from the rear of the light unit.
Replace the bulb with a suitable replacement.
Refit the cover and switch the appliance back on.

9
4.6. Reversing the Door
The door opening can be reversed from “right hand hinged” (as supplied) to “left
hand hinged” if required.
Warning!
When reversing the door, the appliance must not be connected to the
mains. Remove the plug from the mains beforehand.
Step 1: Tilt the appliance slightly towards the
rear and prop it securely. Unscrew the level
adjuster and the foot.
Unscrew the bottom hinge screws.
Support/hold the door so that it does not fall off.
Step 2: Remove two plastic caps in the top
cover. Unscrew the four screws that fix the top
cover. Remove the top cover.
Step 3: Remove the door.
Step 4: remove the plastic caps on the top of
door and fit to the opposite side. Remove the
plastic plug in bottom of door and fit to opposite
side.

10
4.7. What to do if something goes wrong
Before contacting our service help line, check the following points:
There is no power to the appliance:
Check there is not a power cut
Check there is power to the electric socket/appliance
Check the fuse in the plug (Must be 13 amp)
The compressor runs continuously:
Is the door closed correctly?
Have large quantities of food recently been added to the appliance? – if
yes, allow the interior temperature to recover
Has the appliance door been opened frequently? – if yes, allow the
interior temperature to recover
Step 5: Unscrew the bottom hinge nut and
remove hinge pin from the hinge plate. Turn the
hinge plate over and refit the hinge pin and
secure with nut.
Step 6:
Refit the hinge plate to the opposite side of the
cabinet and secure with three screws. Refit the
level adjuster and foot.
Step 7:
Remove the hinge pin from the top cover and refit
to the opposite side.
Step 8:
Fit the door on to the bottom hinge pin. Be
careful not to let the door drop.
Step 9:
Refit the top cover so that the hinge pin is
inserted into the door. Secure the top cover with
the four screws. Insert the two plastic caps into
the top cover.

11
There is excessive frost/ice build up:
Ensure that the door has been closed correctly
Ensure that the door seal is clean and sealing correctly
The appliance is making a noise:
Refer to Normal Operating Sounds, section 3.4.
Ensure that the appliance has been installed correctly (see section 1).
If after the above checks there is still a fault contact the Sovereign Service Help
line on 01527- 573010.
In-guarantee customers should ensure that the above checks have been made
as the engineer will make a charge if the fault is not the result of a mechanical
or electrical breakdown.
The model and serial number together with details of your sales receipt must
be quoted when booking an in-guarantee service call.
I nsu r ance
!
The m a nu fact ur e r's gu a ra n te e do e s not c o ve r lo s s of
!
food content
.
Any claim for loss, damage, costs or expenses of an indirect or consequential
nature including any economic loss or damage to foodstuffs or any other goods
is excluded. We recommend that you inspect your fridge/freezer regularly to
check that it is working correctly, losses can result from deterioration following
breakdown or accidental failure of the appliance, fuses, plugs or public
electricity supply, these can be covered by your standard home insurance or
might require extra cover. Check with your insurance provider.
12
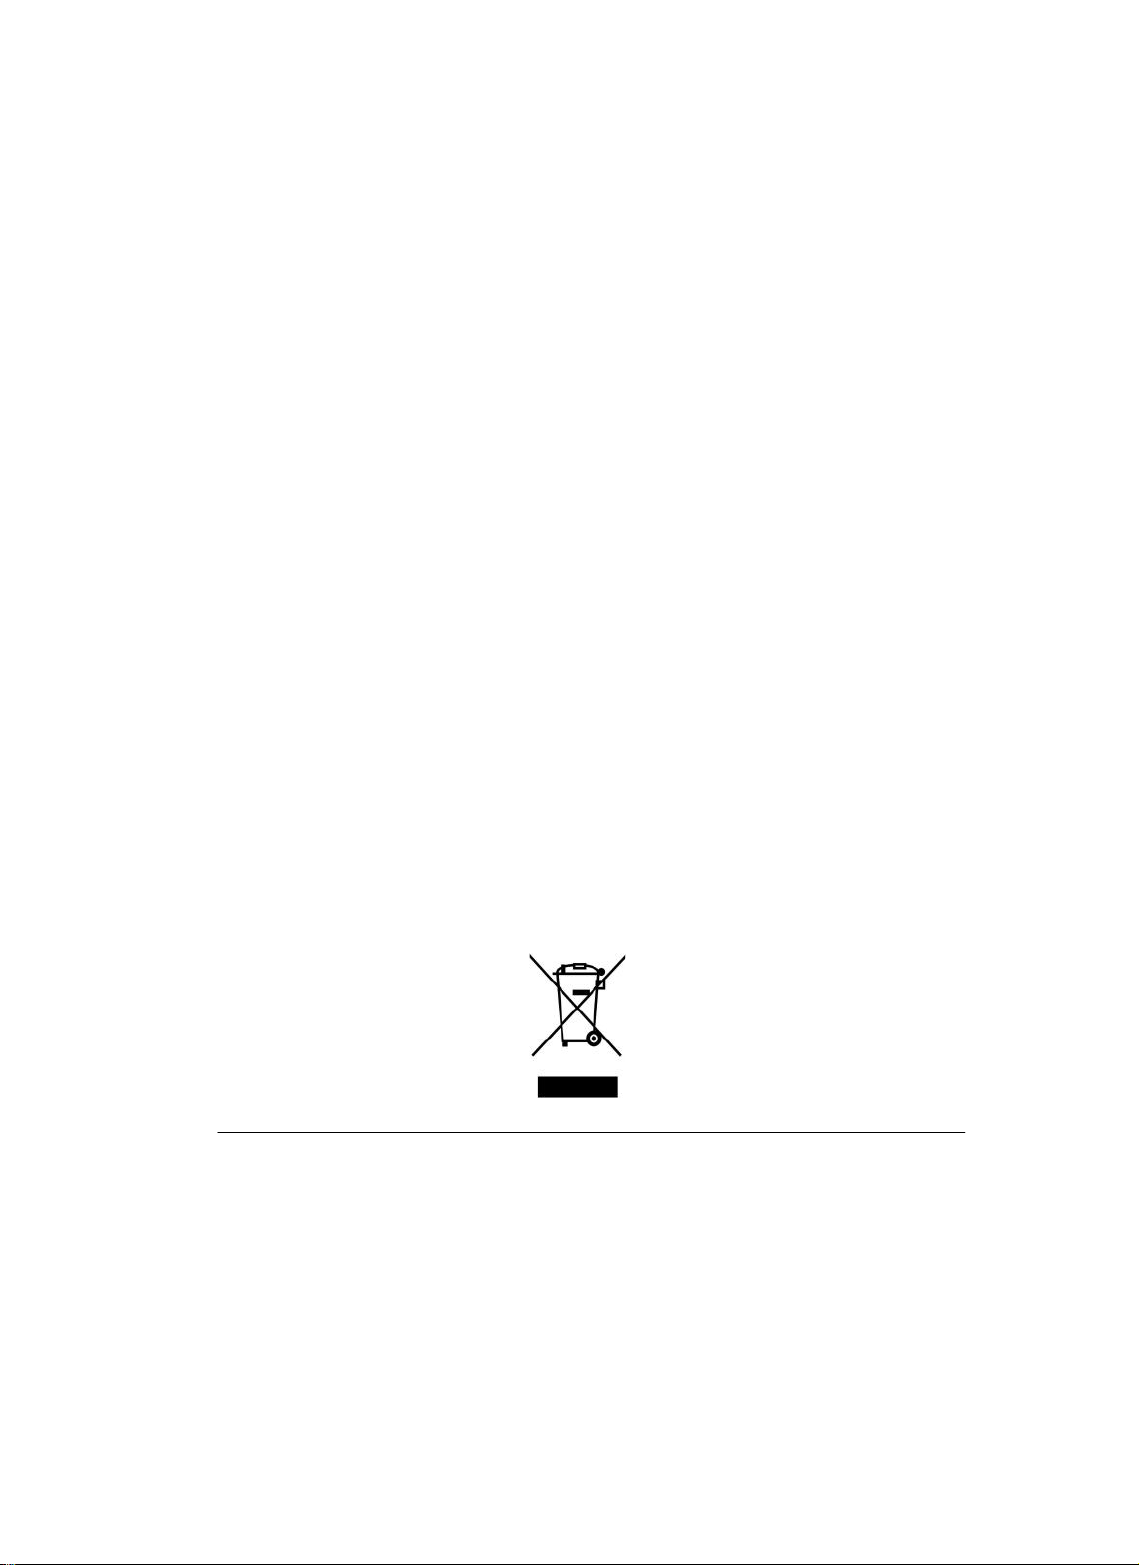
Important Note:
Th is app liance is m arke d accord ing to th e E uropea n direct ive 2002 /96 /EC
on W ast e E lect rica l an d E lectron ic E qu ipm en t (WEEE ). By ensu ring th is
produc t is dispose d of co rrect ly, you will he lp prev en t potent ial negat ive
consequence s for th e environ m en t an d hu m an hea lth , which cou ld
othe rwi se be cause d by inapprop riate w ast e hand ling of th is product .
Th e sym bo l on th e product , or on th e docu m ent s acco m pa nying th e
product , th e C rosse d O ut W hee lie Bin, ind icate s tha t th is app liance m ay
no t be treate d as househo ld w ast e. I nstea d it sha ll be hande d ov er to
th e app licab le co llect ion po int for th e rec ycling of elect rica l an d electron ic
equ ipm ent .
Di sposa l mus t be ca rried ou t in accordanc e wi th loca l environ m enta l
regu lation s for w ast e disposa l. Fo r m ore deta iled inform ation
abou t treat m ent , rec ov ery an d rec ycling of th is product , pleas e
contac t you r loca l autho rity, you r househo ld w ast e disposa l se rvice
or th e reta iler w he re you purchase d th e product .
W e con tinuou sly try to im prove ou r produ cts for the bene fit of ou r custom er s.
For this rea son w e re serve the righ t to m ake change s to any produ ct at any tim e,
withou t no tic e
Other Sovereign Refrigerator manuals


