5
SAFETY GUIDELINES-----DEFINITIONS
This manual contains information that is important for you to know and understand. This information relates to protecting YOUR SAFETY
and PREVENTING EQUIPMENT PROBLEMS. To help you recognize this information, we use the symbols below. Please read the manual
and pay attention to these sections. SAVE THESE DEFINITIONS/INSTRUCTIONS.
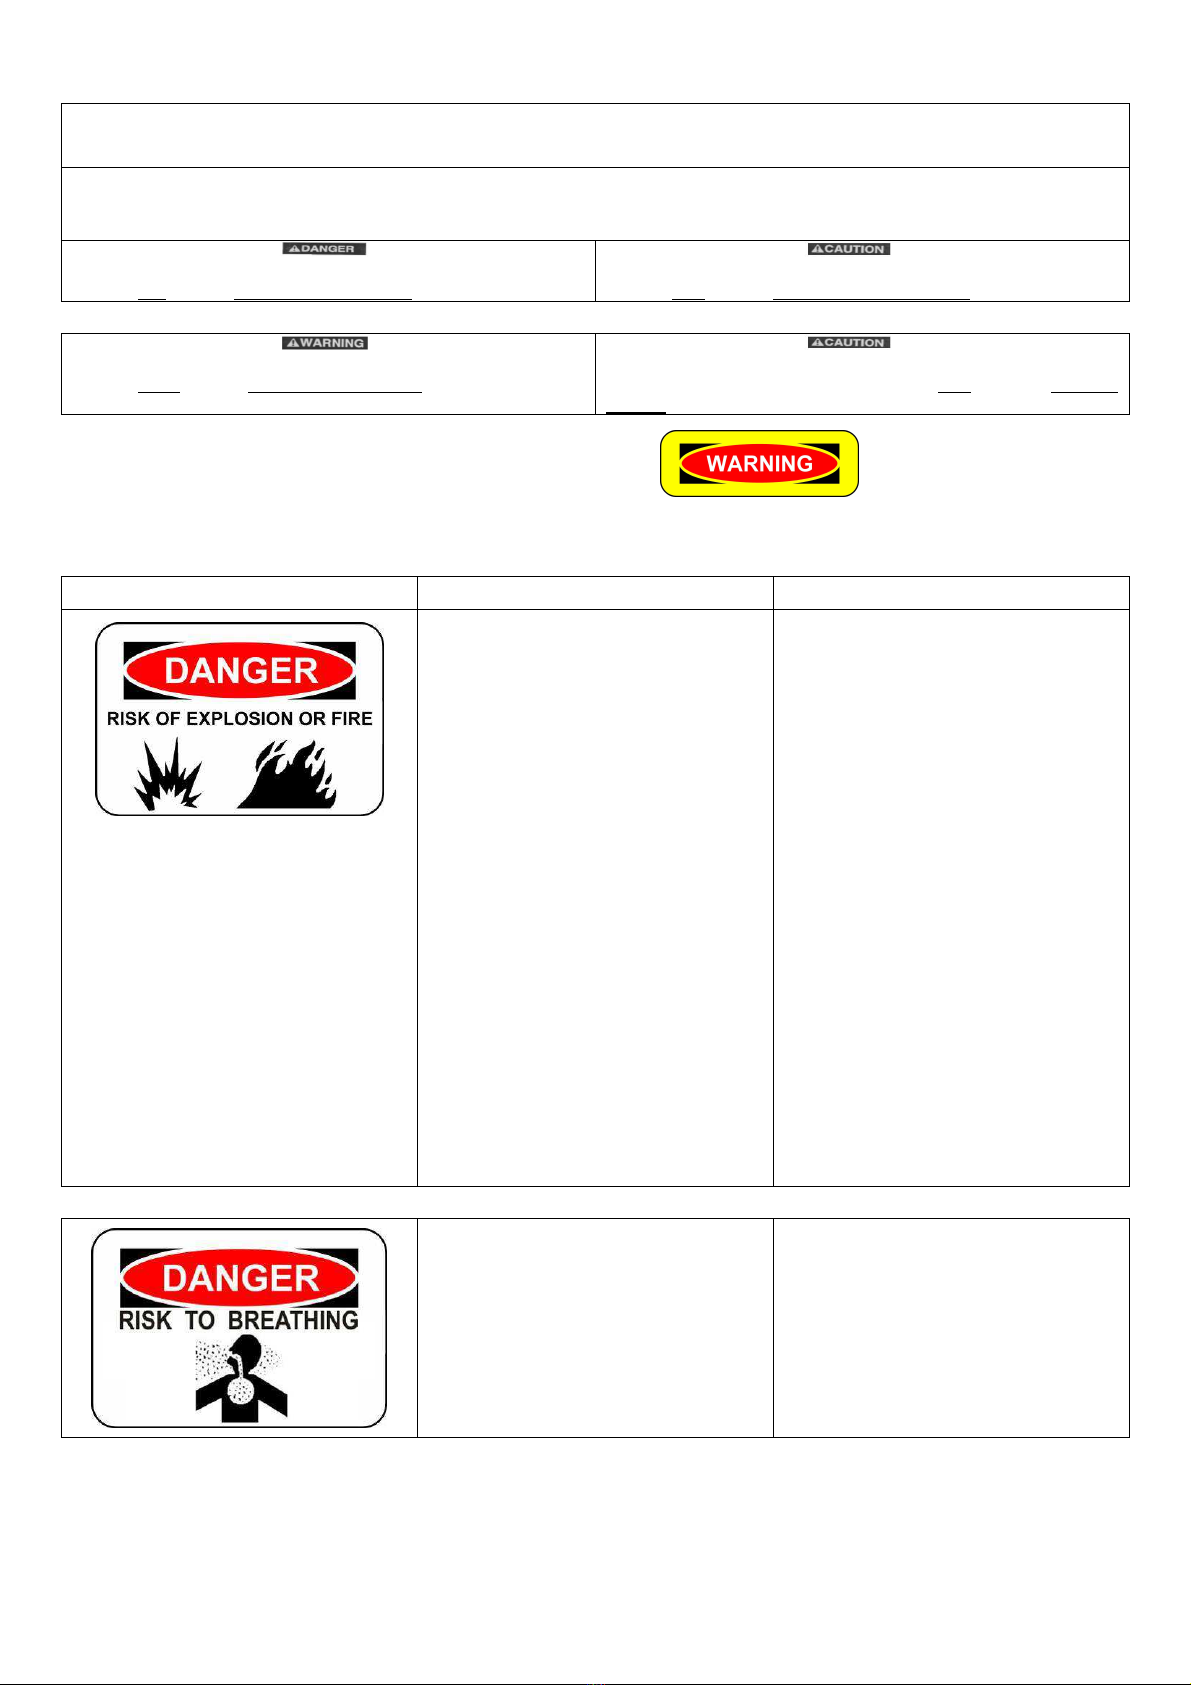
DANGER indicates an imminently hazardous situation which, if not
will
death or serious injury.
CAUTION indicates a potentially hazardous situation which, if not
may
minor or moderate injury.
WARNING indicates a potentially hazardous situation which, if not
avoided, could result in death or serious injury.
CAUTION used without the safety alert symbol indicates a potentially
hazardous situation which, if not avoided, may result in property
damage.
IMPORTANT SAFETY INSTRUCTIONS:
IMPROPER OPERATION OR MAINTENANCE OF THIS PRODUCT COULD RESULT IN SERIOUS INJURY, DEATH AND OR
PROPERTY DAMAGE. READ AND UNDERSTAND ALL WARNINGS AND OPERATING INSTRUCTIONS BEFORE USING.
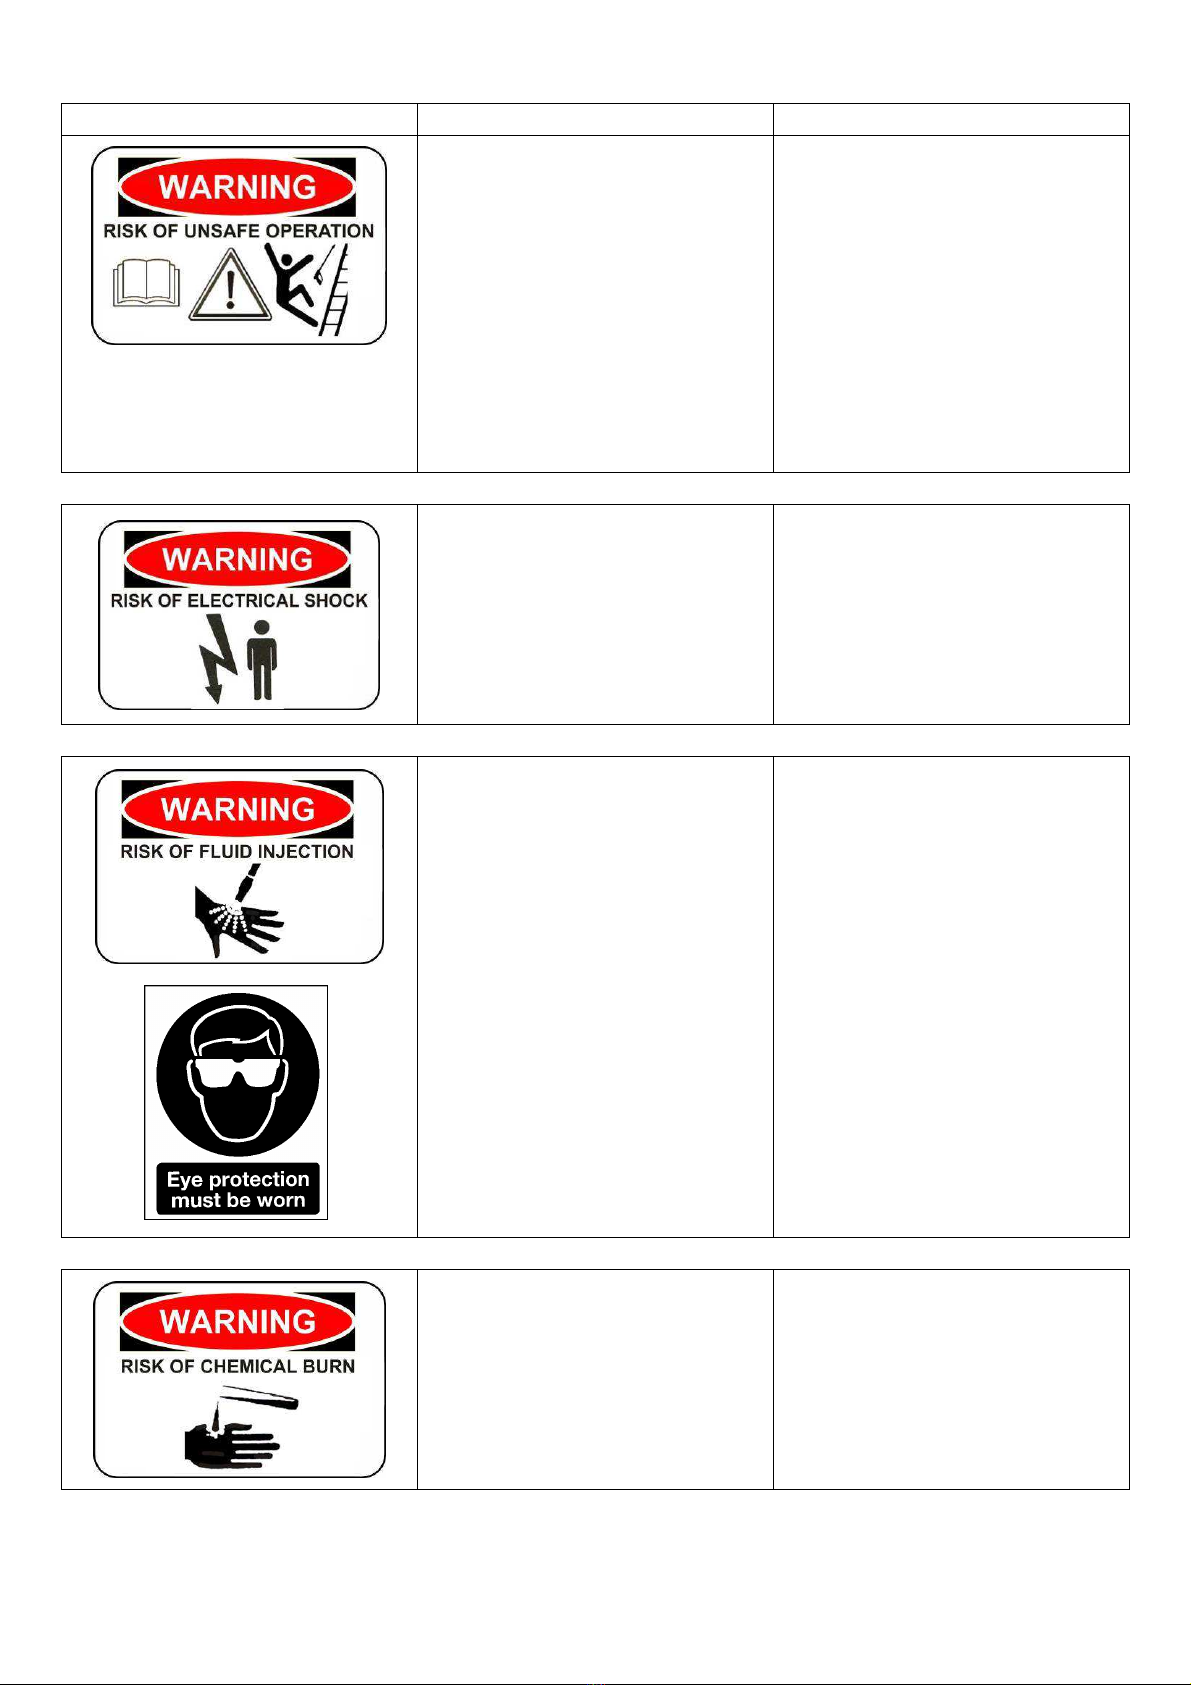
HAZARD WHAT CAN HAPPEN HOW TO PREVENT IT
Spilled gasoline and its vapors can
become ignited from cigarette sparks,
electrical arcing, exhaust gases, and hot
engine components such as the muffler.
Heat will expand fuel in the tank which
could result in spillage and possible
fire explosion.
Operating the pressure washer in an
explosive environment could result in a
fire.
Materials placed against or near the
pressure washer can interfere with its
proper ventilation features causing
overheating and possible ignition of the
materials.
Muffler exhaust heat can damage
painted surfaces, melt any material
sensitive to heat (such as siding,
plastic, rubber, or vinyl), and damage
live plants.
Improperly stored fuel could lead to
accidental ignition. Fuel improperly
secured could get into the hands of
children or other unqualified persons.
Shut off engine and allow it to cool
before adding fuel to the tank.
Use care in filling tank to avoid
spilling fuel. Move pressure washer
away from fueling area before starting
engine.
Keep maximum fuel level 1/2” below
top of tank to allow for expansion.
Operate and fuel equipment in well
ventilated areas free from obstructions.
Equip areas with fire extinguishers
suitable for gasoline fires.
Never operate pressure washer in an
area containing dry brush or weeds.
Always keep pressure washer a safe
distance away from surfaces (such as
houses, automobiles, or live plants)
that could be damaged from muffler
exhaust heat.
Store fuel in container approved for
gasoline, in a secure location away
from work area.
Breathing exhaust fumes will cause
serious injury or death.
Some cleaning fluids contain
substances which could cause injury to
skin, eyes, or lungs.
Operate pressure washer in a well
ventilated area. Avoid enclosed areas
such as garages, basements, etc.
Never operate unit in a location
occupied by humans or animals.
Use only cleaning fluids specifically
recommended for high pressure
washers. Follow manufacturer’s
recommendations.