manuals.online logo
Brands
  1. Home
  2. •
  3. Brands
  4. •
  5. Spectra Logic
  6. •
  7. Storage
  8. •
  9. Spectra Logic Spectra 10K Manual

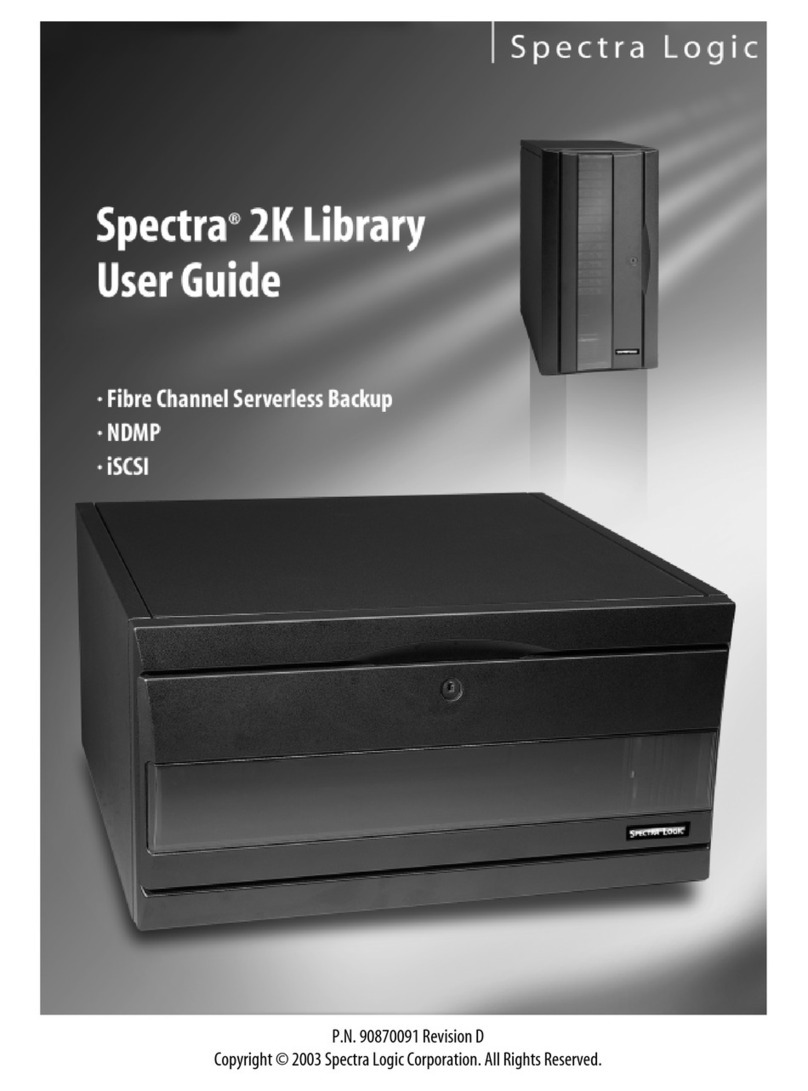
Spectra Logic Spectra 10K Manual

Other manuals for Spectra 10K

1

This manual suits for next models

9

Other Spectra Logic Storage manuals

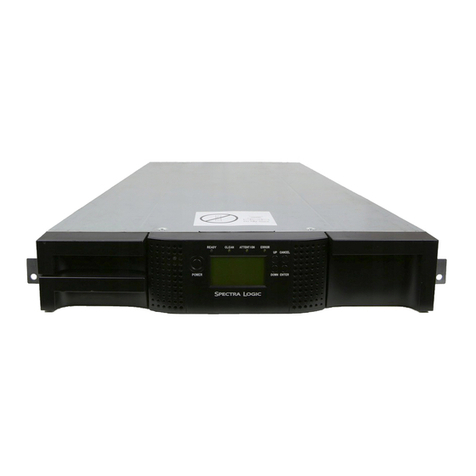
Spectra Logic T-Series Spectra T120 Manual

Spectra Logic

Spectra Logic T-Series Spectra T120 Manual

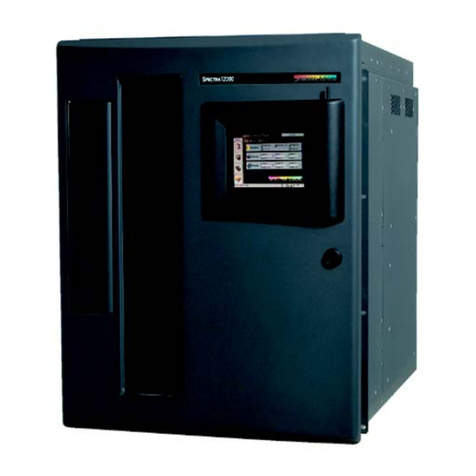
Spectra Logic Spectra 12000 Manual

Spectra Logic

Spectra Logic Spectra 12000 Manual

Spectra Logic T-Series Spectra T50 User manual

Spectra Logic

Spectra Logic T-Series Spectra T50 User manual

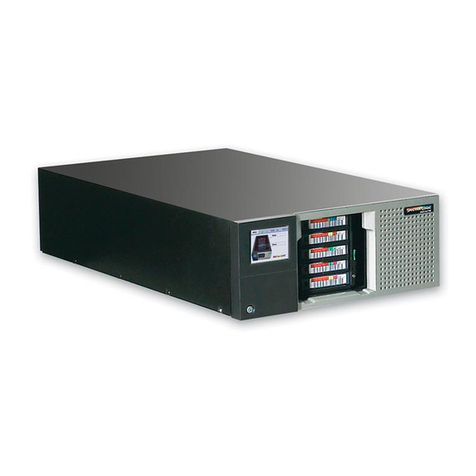
Spectra Logic DAStape 100 Manual

Spectra Logic

Spectra Logic DAStape 100 Manual

Spectra Logic T-Series Spectra T50e Instruction Manual

Spectra Logic

Spectra Logic T-Series Spectra T50e Instruction Manual

Spectra Logic Spectra 10000 User manual

Spectra Logic

Spectra Logic Spectra 10000 User manual

Spectra Logic 10K Library Operating manual

Spectra Logic

Spectra Logic 10K Library Operating manual

Spectra Logic Spectra nTier500 User manual

Spectra Logic

Spectra Logic Spectra nTier500 User manual

Spectra Logic Spectra RXT150 User manual

Spectra Logic

Spectra Logic Spectra RXT150 User manual

Spectra Logic T-Series Spectra T950 Instruction Manual

Spectra Logic

Spectra Logic T-Series Spectra T950 Instruction Manual

Spectra Logic Spectra nTier500 User manual

Spectra Logic

Spectra Logic Spectra nTier500 User manual

Spectra Logic T-Series Spectra T50 Instruction Manual

Spectra Logic

Spectra Logic T-Series Spectra T50 Instruction Manual

Spectra Logic Spectra 12K Manual

Spectra Logic

Spectra Logic Spectra 12K Manual
Spectra Logic Spectra 2000 Manual

Spectra Logic

Spectra Logic Spectra 2000 Manual

Spectra Logic Spectra 2k Parts list manual

Spectra Logic

Spectra Logic Spectra 2k Parts list manual

Spectra Logic AIT-3 User manual

Spectra Logic

Spectra Logic AIT-3 User manual

Spectra Logic Spectra 64K Manual

Spectra Logic

Spectra Logic Spectra 64K Manual

Spectra Logic Spectra 12K User manual

Spectra Logic

Spectra Logic Spectra 12K User manual

Spectra Logic Spectra 10000 User manual

Spectra Logic

Spectra Logic Spectra 10000 User manual

Spectra Logic Spectra 12K Manual

Spectra Logic

Spectra Logic Spectra 12K Manual

Spectra Logic Spectra nTier700 User manual

Spectra Logic

Spectra Logic Spectra nTier700 User manual

Spectra Logic T-Series Spectra T120 Operating manual

Spectra Logic

Spectra Logic T-Series Spectra T120 Operating manual

Spectra Logic Spectra nTier300 Instruction Manual

Spectra Logic

Spectra Logic Spectra nTier300 Instruction Manual

Spectra Logic Spectra RXT Media User manual

Spectra Logic

Spectra Logic Spectra RXT Media User manual

Popular Storage manuals by other brands

IBM 40/80 GB HH DLTVS user guide

IBM

IBM 40/80 GB HH DLTVS user guide

Synology DiskStation DS716+II Quick installation guide

Synology

Synology DiskStation DS716+II Quick installation guide

Vantec NexStar-HX4 user manual

Vantec

Vantec NexStar-HX4 user manual

LaCie Christofle Galet datasheet

LaCie

LaCie Christofle Galet datasheet

LaCie Rugged Thunderbolt user manual

LaCie

LaCie Rugged Thunderbolt user manual

OCZ IBIS datasheet

OCZ

OCZ IBIS datasheet

Transcend JetFlash 110 Brochure & specs

Transcend

Transcend JetFlash 110 Brochure & specs

QNAP TS 32PXU Series user guide

QNAP

QNAP TS 32PXU Series user guide

LaCie RUGGED RAID user manual

LaCie

LaCie RUGGED RAID user manual

Freecom CLS DOCK Quick install guide

Freecom

Freecom CLS DOCK Quick install guide

PNY Attache P-FD64MBATT3 install guide

PNY

PNY Attache P-FD64MBATT3 install guide

OWC Mercury Elite Pro Dual mini Assembly manual

OWC

OWC Mercury Elite Pro Dual mini Assembly manual

OLT 6x6 Maximizer Assembly manual

OLT

OLT 6x6 Maximizer Assembly manual

Transcend JetFlash 160 Specifications

Transcend

Transcend JetFlash 160 Specifications

Thunderbolt 600 user manual

Thunderbolt

Thunderbolt 600 user manual

Intel RAID High Availability user guide

Intel

Intel RAID High Availability user guide

LaCie 12big Thunderbolt 3 Quick install guide

LaCie

LaCie 12big Thunderbolt 3 Quick install guide

IBM Redbooks ServeRAID-MR10M user guide

IBM

IBM Redbooks ServeRAID-MR10M user guide

manuals.online logo
manuals.online logoBrands
  • About & Mission
  • Contact us
  • Privacy Policy
  • Terms and Conditions

Copyright 2025 Manuals.Online. All Rights Reserved.

Tape Carousel Upgrade Guide for Spectra Logic Libraries
Part Number 90840073
Revision F
Tape Carousel Upgrade Guide for Spectra Logic Libraries
Tape Carousel Upgrade Guide
for Spectra Logic Libraries
Page 2 Tape Carousel Upgrade Guide for Spectra Logic Libraries
Notices
EXCEPT AS EXPRESSLY STATED IN THE USER’S GUIDE, SPECTRA LOGIC CORPORATION
PROVIDES THE UNITS “AS IS” WITHOUT WARRANTY OF ANY KIND, EITHER EXPRESSED OR
IMPLIED, INCLUDING BUT NOT LIMITED TO THE IMPLIED WARRANTIES OF
MERCHANTABILITY OR FITNESS FOR A PARTICULAR PURPOSE. IN NO EVENT SHALL
SPECTRA LOGIC CORPORATION BE LIABLE FOR ANY LOSS OF PROFITS, LOSS OF BUSINESS,
LOSS OF USE OR DATA, INTERRUPTION OF BUSINESS, OR FOR INDIRECT, SPECIAL,
INCIDENTAL, OR CONSEQUENTIAL DAMAGES OF ANY KIND, EVEN IF SPECTRA LOGIC
CORPORATION HAS BEEN ADVISED OF THE POSSIBILITY OF SUCH DAMAGES ARISING FROM
ANY DEFECT OR ERROR.
Information furnished in this manual is believed to be accurate and reliable. However, no responsibility is
assumed by Spectra Logic Corporation for its use. Due to continuing research and development, Spectra
Logic Corporation may revise this publication from time to time without notice, and reserves the right to
change any product specification at any time without notice.
Some products or services mentioned in this manual are provided by companies other than Spectra Logic.
Inquiries about one or more of these products or services should be sent directly to the company in question.
This manual refers to the following brand or product names, registered trademarks, and trademarks that are
listed according to their respective owners. These trademarks may be registered in this country, other
countries, or both.
Sony Electronics
SDXTM
AITTM
All other brand or product names are or may be trademarks of, and used to identify the products and services
of, their respective owners.
Copyright © 1996, 1997, 1998, 1999, 2000 Spectra Logic Corporation.
All rights reserved.
Tape Carousel Upgrade Guide for Spectra Logic Libraries Page 3
Introduction
About this Manual
This manual describes the procedure for removing and replacing the carousel in the Spectra Logic tape
libraries. Use this manual if you are upgrading your library from a smaller capacity carousel to a larger
capacity carousel.
This manual is also useful if you need to remove and replace the carousel for maintenance reasons or as an
intermediate step in another procedure.
Contents
Introduction ..........................................................................................................3
Background Information ......................................................................................4
Prepare the Library and Host System...................................................................5
Disassemble the Library .......................................................................................6
Move the Sony Drives Away From the Carousel .................................................7
Remove the Carousel............................................................................................8
Carousel Diagram.................................................................................................9
Prepare the New Carousel ..................................................................................10
Install the New Carousel ....................................................................................12
Assemble the Library .........................................................................................13
Configure the Library and Replace the Tapes ....................................................14
Page 4 Tape Carousel Upgrade Guide for Spectra Logic Libraries
Background Information
Who can do this?
You need to feel comfortable working inside electronic equipment and should have some experience
installing and removing mechanical devices in computers. You also need to be familiar with the operating
system on the host computer, and with operating your library.
What you need to do this.
• a #1 phillips screwdriver, at least 6 inches long from the tip to the bottom of the handle
• a ¼ inch flat blade screwdriver
You need a carousel replacement kit from Spectra Logic. Multiple replacement kits are available.
• Spectra 4000/5000, 20 to 60 slot FRU upgrade kit: 90841500
• Spectra 4000/5000, 40 to 60 slot FRU upgrade kit: 90841501
• Spectra 4000/5000, 20 to 40 slot FRU upgrade kit: 90841502
• Spectra 9000, 20 to 40 slot FRU upgrade kit: 90849001
• Spectra 10000, 20 to 40 slot FRU upgrade kit: 92848057
Obtain a password from Spectra Logic technical support.
Alert: If you are upgrading the library to a larger capacity carousel, at the end of this procedure you
will update the library configuration to recognize the larger carousel. The library will not rec-
ognize the larger carousel without this update.
You need the library serial number to obtain a password from Spectra Logic technical support. The password
allows access to the
MFG screen to update the library configuration.
1. Access the Spectra Logic screen and write down the library serial number in the table below.
2. Call Spectra Logic technical support at 1-800-399-3585 and tell us what you are doing. You will be
given a password for upgrading the carousel size. Write the password in the table below.
Figure 1: Spectra Logic Screen
The library serial number is above the manufactured date.
(Do not use the serial number in this figure, it will not work for your library.)
Table : Serial Number and Password for your library
Serial number for YOUR library
Password from Spectra Logic technical support
Tape Carousel Upgrade Guide for Spectra Logic Libraries Page 5
Prepare the Library and Host System
Remove all tapes from the drives and the library.
1. Access the main GUI screen. Note if any tape drives are
LOADED.
2. Move all tapes out of the library and drives; use the library’s bulk unload feature or your backup soft-
ware.
3. Close the rotary door on the library. When all tapes are removed from the library, press the library door
button on the outside of the library and close the library door. When the door is closed, the tape slot on
the door faces in.
Warning: The library door MUST BE CLOSED before you continue.
Shut down the library and the host system.
1. Perform a complete system shut down. Exit all programs running on the host computer and switch
OFF the power to the host computer, the library, and any other attached equipment and SCSI periph-
erals.
Warning: Electrical shock hazard inside the library and can cause injury or death. Disconnect
the AC power to the library before removing the cover. Never connect AC power to
the library with the cover removed.
Warning: Possible visible laser light source inside the library and can cause serious,
permanent eye injury. Never connect the AC power to the library with the cover
removed.
2. Disconnect all connections to the library.
• Disconnect the AC power cord from the wall outlet and the rear of the library.
• Disconnect the SCSI cables from the rear of the library.
• If applicable, disconnect the serial cable from the RS-232 port on the rear of the library.
3. Move the library to a location where you have access to all sides of the library and sufficient table space
to place parts and work comfortably.
Note: You may find it easiest to remove the carousel when you are facing the rear of the library.
Warning: The library is heavy, about 56 lbs. Get help moving the library.
Page 6 Tape Carousel Upgrade Guide for Spectra Logic Libraries
Disassemble the Library
Remove the Cover
1. Loosen or remove the library cover screws on the rear of the library. You will need either the #1
phillips screwdriver or the flat blade screwdriver. On libraries with phillips screws, the screws are the
captive type and cannot be removed from the cover. Loosen the screws sufficiently to fully disengage
the screws from the library frame. Flat blade screws must be completely removed from the library.
If the library is a horizontal unit, three screws hold the cover in place. If the library is a vertical unit,
four screws hold the cover in place.
2. Slide the cover toward the rear of the library about ½inch, see Figure 3; this releases the side clips
holding the cover to the library faceplate.
3. Remove the cover by lifting it straight up, and set it aside, see Figure 4.
4. If the library is a vertical unit, lay the library on its side with the carousel and drives facing up.
Figure 2: Library cover screws on a horizontal unit
Figure 3: Slide cover back Figure 4: Lift cover
Tape Carousel Upgrade Guide for Spectra Logic Libraries Page 7
Move the Sony Drives way From the Carousel
If you are removing the carousel from the 0000 library, continue reading here.
If you are removing the carousel from the 4000, 5000, or 9000 libraries, skip to page 8.
The Sony AIT tape drives in the Spectra 10000 library need to move back and away from the carousel before
you can remove it; the guides on the face of the tape drives interfere with removing the carousel. You do not
need to disconnect any cables or remove the drives from the library.
Warning: If you try to remove the carousel without moving the drives, you may damage the
drives, the carousel, or both.
1. Use the #1 phillips screwdriver to loosen the two captive screws on each drive sled assembly in the
library, see Figure 5.
Note: Captive screws cannot be completely removed from the drive mounting assembly. Loosen the
screws sufficiently to disengage them from the chassis.
2. Gently lift the rear of the drive assembly up, off the chassis, a little bit. This action loosens the tongue
that holds the front of the drive assembly in place.
3. Grip the drive and mounting bracket and slide the drive toward the rear of the library until it stops,
about one inch.
Note: The drives may not move easily. Keep at it, as the drives MUST be moved out of the way before
you can remove the carousel.
Figure 5: Mounting screws on drive sled assembly. (Rear panel removed for clarity.)
Page 8 Tape Carousel Upgrade Guide for Spectra Logic Libraries
Remove the Carousel
1. Use the #1 phillips screwdriver to loosen the eight captive screws holding the carousel to the library
chassis. See Figure 7 on page 9 for the locations of the screws around the carousel frame.
Note: Captive screws cannot be completely removed from the carousel frame. Loosen the screws
sufficiently to disengage them from the chassis.
2. Rotate the robotic arm so that the jaws that grip the tape point to the rear of the library. The carousel
will not come out unless the gripper jaws face the rear of the library. The black arrow in Figure 6 points
the robotic arm. The arm is pointed in the correct position to remove and install the carousel.
3. Remove the carousel.
Alert: Removing the carousel requires finesse, not force. The base of the robotic arm is not a circle,
therefore the carousel will not lift straight up and out of the library. The carousel comes out eas-
ily if done correctly.
Warning: Using force to remove the carousel will damage the carousel or other components
in the library.
• Lift the carousel up and off the guide pins, about ½ inch.
• Lift the front of the carousel even with, or a little higher than, the base of the robotic arm.
• Move the carousel toward the rear of the library a little bit so the front of the carousel touches the
robotic arm base.
• Lift the rear of the carousel above the robotic arm base. The carousel should now be clear of the ro-
botic arm base and you can lift it up and out of the library.
Note: The white arrow in Figure 6 points to an opening in the library side panel where the carousel
tends to get caught. If this happens, you need to spread the library side panels apart just a bit.
• Set this carousel aside; you will not need it for the remainder of this procedure.
Figure 6: Top view of library showing the proper orientation of the gripper arm, (black arrow).
Tape Carousel Upgrade Guide for Spectra Logic Libraries Page 9
Carousel Diagram
Figure 7: Top view of the carousel showing the screw and guide pin locations.
The screw and guide pin locations are the same on all carousels.
Page 10 Tape Carousel Upgrade Guide for Spectra Logic Libraries
Prepare the New Carousel
This procedure is only necessary if more than one drive is installed in your library.
If only one drive is in the library, skip to page 2.
Background information.
Three tape slots on every carousel have a dual purpose; they can be either storage slots for tapes or pass
through slots to access drives. The absence or presence of backstops determines whether a carousel slot is a
pass through slot or a storage slot. These combination locations are marked on the top of the carousel with
both the tape slot number and the drive number.
The new carousel comes with tape backstops installed in drive positions 2, 3, and 4 making these locations
tape storage slots. You need to remove the backstop(s) from each carousel position where a drive is located.
.
Remove tape backstops from the Spectra 9000 and Spectra 0000 carousels.
If you are installing the carousel in a Spectra 4000 or Spectra 5000 library, skip to page .
The backstops on the 8mm carousel are fastened to the upper carousel ring with two phillips screws, see
Figure 8. Use the #1 phillips screwdriver to remove two screws that fasten the backstop to the carousel. Do
this for each position on the carousel that needs to be a pass through slot for drive access. The two black
arrows in Figure 8 point to the two screws that hold a backstop in place.
Table 2:
Tape Cartridge Locations vs. Drive Numbers for 20, 40 and 60 Slot Carousels
20 Tape Carousel 40 Tape Carousel 60 Tape Carousel a
a. Spectra 4000 libraries only
Drive 2=tape slot 23 Drive 2=tape slot 43 Drive 2=tape slot 6
Drive 3=tape slot 22 Drive 3=tape slot 42 Drive 3= tape slot 60
Drive 4=tape slot 2 Drive 4=tape slot 4 Drive 4=tape slot 59
Figure 8: Backstops and backstop screws on the Spectra 9000 and Spectra 10000 carousel.