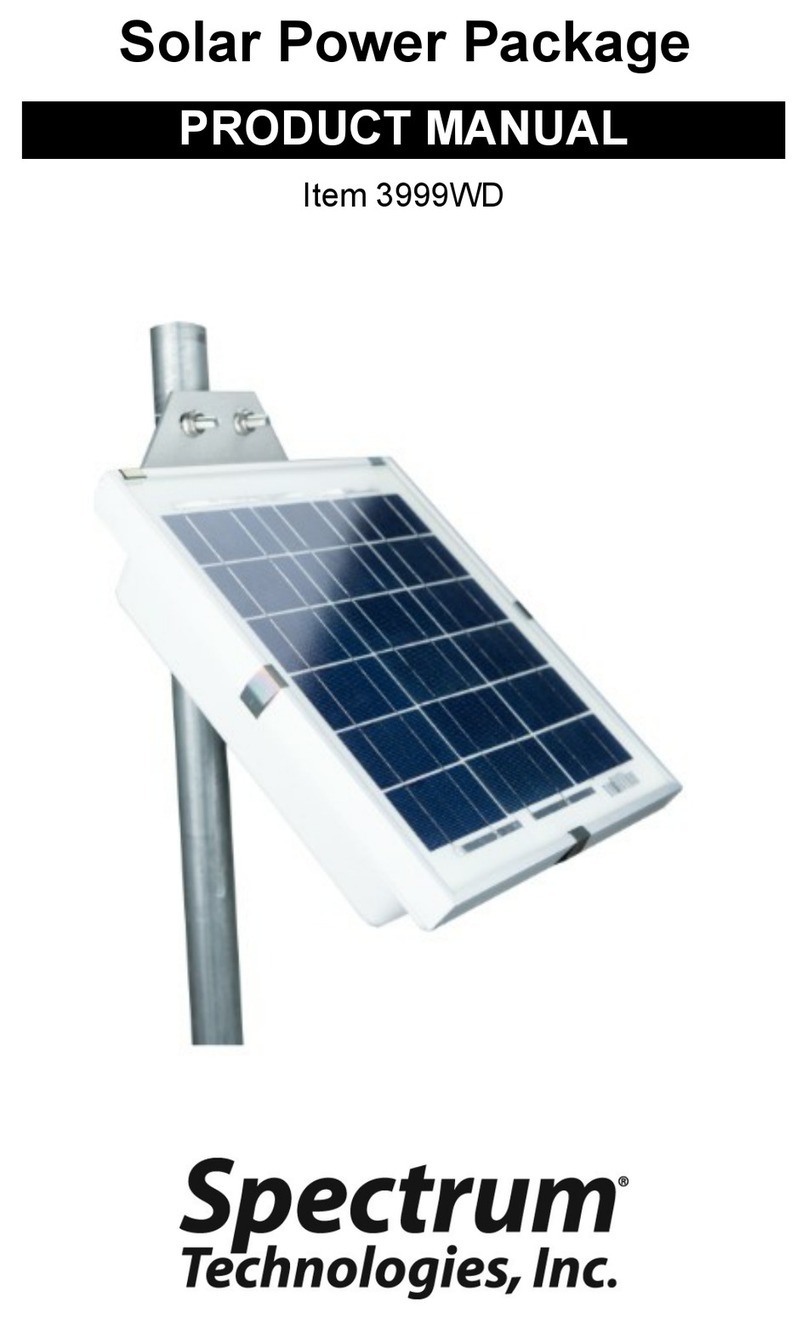
Connecting Solar Power Package to a WatchDog
DO NOT attach the charge cable to the battery's positive terminal until the WatchDog unit is completely connected.
To avoid possible damage to the Solar Power Package, or your WatchDog device, the Solar Power Package is
shipped with the charger cable disconnected from the positive terminal of the battery (fig. 1). The fuse connected to
the WatchDog Power Cable protects the system if the red and black wires touch while connected to the battery.
1. On your WatchDog device, remove the cap from the gland through which the cable is to pass.
2. If you are connecting to a Sensor Pup that will also have a sensor cable passing through this gland, feed the sen-
sor cable through the cap and then through the gland.
3. Clip the zip tie that attaches the power cable to the frame. Pull the protective heat shrink off the ground cable
(fig.1).
4. Feed the red and black wires through the cap, then through the gland. If you have run a sensor cable through
the gland, the power cable wires can be squeezed around it.
5. Attach the wires to the desired adapter (fig. 3) by pressing down the lever, inserting the bare wire, and releasing
the lever.
6. Attach the snap connector to the cable coming out of the faceplate of the WatchDog device.
7. Apply power by connecting the loose fuse wire fuse to the positive (open) battery terminal (fig. 4).
Dielectric grease on the connector protects it from corrosion and should not be wiped off. When replacing the bat-
tery, it is recommended to apply grease to the terminals
Note: When disconnecting the Solar Power Package from your WatchDog device, follow the above steps in reverse
order.
Figure 3: Snap connector
3600 Thayer Ct.
Aurora, IL 60503
(800) 248-8873 or (815) 436-4440
Fax (815) 436-4460
E-Mail: info@specmeters.com
www.specmeters.com
05/21
Figure 4: Charger cable connected to battery
