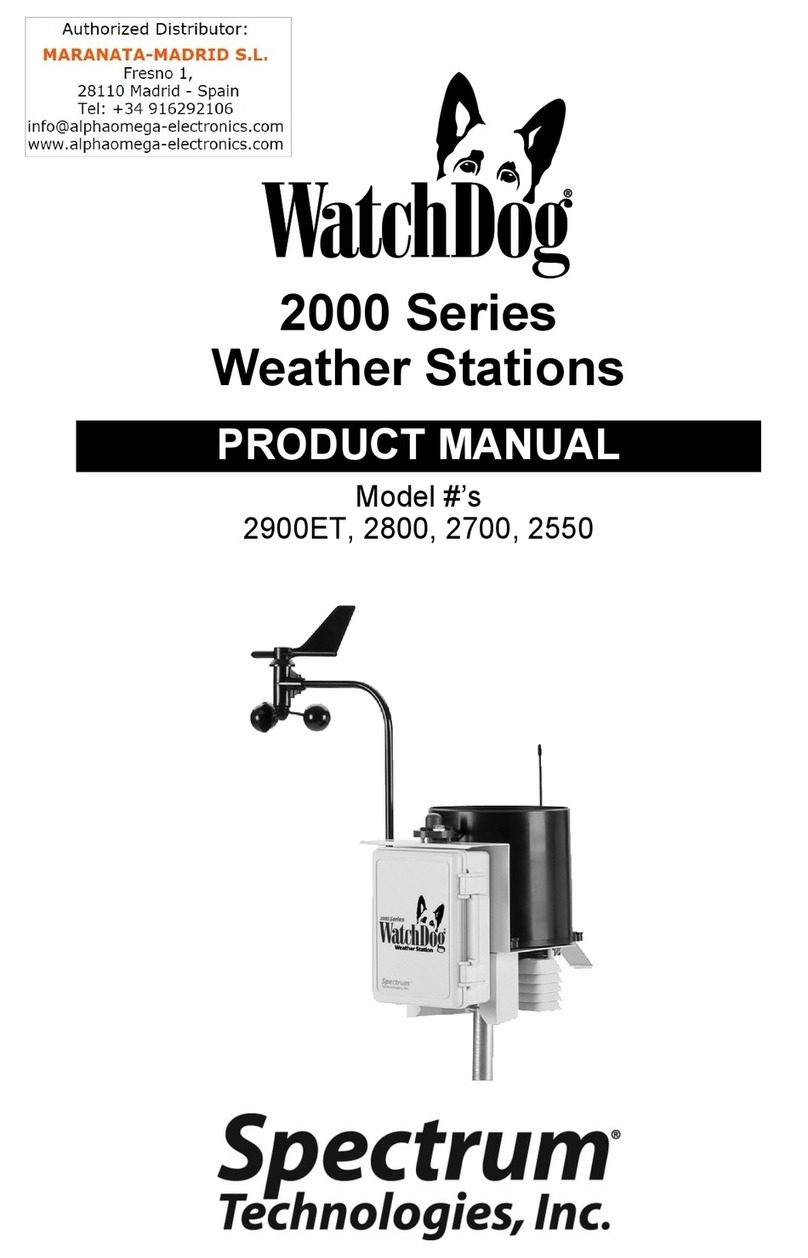
Spectrum Technologies WatchDog 2000 User manual

• The button functions: UP, DOWN and MAIN are always in bold
type. These refer to the buttons on the thumb switch, as shown
below.
• For reference, typical route sheet entries are shown below:
4.20 SPEED 30 9:12:00
4.30 R TAR 9:12:12
.
.
14.40 RESET TO 9:39:20
17.00 R TR 10:07:30
.
.
96.20 END 13:40:00
UP
DOWN
MAIN
This is the
This is the TO mileage
for a speed
for a reset
This is the SPD
for a speed change
AT mileage
change or
reset
Keytime
2
Last mileage
The following conventions are used in this manual:
• Quoted capital letters relate to what you will see on the WatchDog
2000 display.The actual display may use both capitals and
lowercase letters. For example, “SEE SPDS” indicates the following
will be shown on the WatchDog 2000 display.
Some letters cannot be displayed in their true form. For instance,
K’s will look like capital H’s. Therefore H’s are always represented
in lowercase on the display. Also, an “m” requires two digit fields to
represent it in the display. For example, “KEYTIME” on the display
looks like;
About this Manual
1

CHAPTER 2
The WatchDog 2000 caters to the serious enduro rider, and to the
enduro rider wanting to improve his or her ability to race competitively,
accurately and with more finesse. The WatchDog 2000 allows the rider
to concentrate more on riding technique by alleviating the mental strain
of keeping track of your minute, your speed, and programming.
The display during race-mode shows you only the critical information
that you need to know to stay on time. Within your minute, DE’s
MinuteMinderTM technology displays at once the distance to the next
even minute (remaining distance you should cover each minute to stay
on time), differential time and key time seconds. All the information you
will need in a glance, to keep an edge on your competition is on your
display! Outside of your minute, MileMinderTM displays the mileage
and time differential.
WatchDog 2000 allows adjustments of all race variable while in race-
mode, including mileage, your minute (for Brand-X), clock and tire size.
In the event your sensor magnet gets sheared off, WatchDog 2000 will
calculate your “should-be” distance to keep you on time. In addition, a
“Race Recovery” feature will enable WatchDog 2000 to advance to any
key time and mileage should you need to exit race-mode to adjust any
programming (like speed changes or resets) during a race. Resets to
zero allow programming for multiple loops.
The all-aluminum color-anodized WatchDog 2000 off-road computer is
designed for ease-of-use, during both programming and race-modes.
The user does not need to have any technical experience to use or
program the WatchDog 2000.
WatchDog 2000
4
CHAPTER 1
Your WatchDog 2000 comes complete with everything you will need to
start racing right away. Your kit should include the following items:
•WatchDog 2000 with remote thumb switch.
• Sensor assembly.
• Nickel plated rare earth magnet.
• Two mounting plates.
• Two #2025 coin batteries.
• Six bolts and four nuts.
• Thumb switch clamp.
• This manual.
Remove the two screws holding the backplate to the computer. Insert
one battery into each battery holder with the “+” side up. Replace
backplate with the recess in the backplate over the battery holders.
Depending on the brand of batteries, WatchDog will run continuosly for
about two - three months, much longer if you turn it off in between
races. Always replace the batteries in pairs. Do not use an old battery
paired with a new one. Use only #2025 batteries (20 millimeter diameter
by 2.5 millimeter thick). WatchDog retains all programmed information
when the batteries are removed. You will not lose any data.
Tip: After replacing the backplate, smear a bit of RTV in the space
around the backplate. Do not put RTV inside the backplate, you will
never get it off again!
Tip: When changing batteries, use a small screwdriver to push on the
back of the battery while lifting the front of the battery over the lip of the
battery holder. Be careful not to over extend the battery retaining clip.
What’s included with
WatchDog 2000?
3

so that WatchDog 2000 clears other accessories, such as steering
dampers. The brackets can be mounted on the front or back handlebar
clamp bolts, facing forward or backwards. If you want WatchDog 2000
to sit directly above the handlebar, mount the brackets to the front
clamp bolts with the slots toward the rear. Use spacers between the
bracket and clamp so that you have access to the bottom of the bracket
for the nuts. Always drill the hole in the bracket tab as near as possible
to the computer. Applications where the holes must be drilled less than
3/4” from the end require two sets of brackets. Cut or grind off any
unused portion of the backet tab.
Locate the brackets by loosely assembling the WatchDog 2000 to the
brackets using the four Allen bolts and nuts provided. Position the
WatchDog 2000 where you want it. Adjust the brackets and mark the
position of the holes in the bracket. Drill the holes and mount the
brackets to the handle bar clamps. You may have to use longer
handlebar clamp bolts if you use spacers below the brackets. Tighten
the WatchDog 2000 to the brackets.Once the WatchDog 2000 is
mounted, run the switch wire along the handle bar and secure with zip
ties. Mount the switch next to the left grip. Adjust the position of the
switches so they are comfortable to access.
Connecting the Sensor Wire
The sensor is threaded for a 5/16 x 24 thread. The best way to mount
the sensor is to drill and tap a hole in the caliper carrier. If you use this
method, locate a spot for the magnet first. Find a location on the front
disk that passes by the caliper carrier but does not interfere with the
pads and mark it with tape or ink. Locate a spot on the caliper carrier by
which this mark will pass. Drill a 3/16” hole thru the carrier and into the
disk where you marked it (just spot drill the disk for now). Rotate the
disk and drill the hole about 1/64” deep in the disk and epoxy the
magnet in the hole. Drill out the hole in the carrier to 17/64ths and tap it
with the 5/16 x 24 tap. Remove one of the nuts from the sensor and
gently thread the sensor into the caliper carrier until the sensor is about
3/16 of an inch from the magnet as it goes by. DO NOT FORCE
SENSOR. IF TIGHT, RECUT THREADS AND USE OIL. Hand tighten
the outside nut against the caliper. Run the sensor wire up along the
brake line securing with ties or tape. Run the sensor cable all the way to
the brake master cylinder. This reduces the stress on the wire as the
forks move. Connect the sensor to the computer. Take up the slack in
the cable and secure it and the connector with ties to the handlebars or
something else. When done, the connector should not move at all
when forks are compressed.
6
CHAPTER 3
Tools needed for Installation
Your WatchDog 2000 is very easy to install. A typical installation will
require:
• Phillips screw driver.
• 9/64” hex key wrench
• 3/16” and 17/64” drill bit and 5/16 x 24 tap
• a drill bit, sized to clear your handle bar clamp bolts.
Other tools may be needed depending on your specific installation.
Mounting WatchDog 2000
WatchDog 2000 comes with two brackets for mounting your computer
to the handle bar clamps. The brackets can accommodate a wide range
of center-to-center clamp distances.
With the tabs facing out the brackets accommodate clamps up to 4”
apart. By flipping the bracket over so the tabs face inward, the center-
to-center distance is increased to 5”. The brackets are shipped w/o
holes for the handlebar bolts. This way you can customize the brackets
YOU DRILL
THESE
HOLES
Installation
5

Menu
Use the UP/DOWN buttons to quickly scroll through the programming
functions. These functions are:
Program Mode Navigation
The table above reflects the order in which you would typically enter
data prior to a race. The MAIN button is used to select the function, the
UP and DOWN buttons are used to scroll through values of that
function. The same procedure is used to enter values for all the
functions. For instance, to enter a reset, do the following:
Function What you see
in the Display What it says
Enter a reset rESEt RESET
Enter a spd change SPd Ch SPD CH
Enter layover LAYovEr LAYOVER
See resets SEE rStS SEE RSTS
See speeds SEE SPdS SEE SPDS
Enter tiresize tirESiZE TIRESIZE
Enter minute minutE MINUTE
Enter race start time Strt tm STRT TM
See race information rACEinFo RACEINFO
Verify programming vEriFYto VERIFYTO
Enter keytime HEYtimE KEYTIME
Clear resets CLr rStS CLR RSTS
Clear speed changes CLr SPdS CLR SPDS
8
CHAPTER 4
This section describes and illustrates how to use the three buttons of
the thumb switch to program your race data. Once you are comfortable
with entering data and understand their functions, proceed to the
QuickStartTM chapter to program WatchDog for a race.
Thumb Switch Programming
In general, when using the thumb switch to program WatchDog 2000,
the MAIN button (top) is used to select functions or values while the UP/
DOWN buttons are used to scroll through the functions or values.
UP
DOWN
MAIN
SELECT
SCROLL
WatchDog 2000 Programming Details
7

the TO mileage in the same manner. After entering the last digit for this,
a confirmation prompt will be displayed, (“ENTER?”). To accept the
entered reset values hit MAIN. This will store the values in memory. To
cancel entry hit DOWN. The reset function will be displayed again. To
continue entering resets hit MAIN and repeat.
At any point while entering the reset you can exit back to the start of the
function by holding the MAIN button until “OFF” is displayed and then
releasing. This will take you back to the beginning of the current
function.
Function Prompts
The following sections illustrate the prompts you will see for each
function. Enter the values for each function as described in the previous
section for entering resets. Parenthesis indicate valid value range.
Speed Changes (SPD CH)
1. hit MAIN
2. prompt is “AT 0 _ _._ _”, enter the five digits indicating the AT
mileage, (000.00 - 254.00) hitting MAIN after each.
3. prompt is “SPD 0_ _”, enter the three digits for the speed (001 -
254), hitting MAIN after each.
4. prompt is “ENTER ?”, hit MAIN to accept, DOWN to re-enter speed
changes.
Note: If a dash appears next to SPD CH or RESET (ie “RESET -”) this
indicates that the resets contain a jump (reset to 000.00) and that the
entries will not be sorted by mileage.
Layover (LAYOVER) (aka WAITS or PAUSES)
1. hit MAIN
2. prompt is “AT 0 _ _._ _”, enter the five digits indicating the AT
mileage, (000.00 - 254.00) hitting MAIN after each.
3. prompt is “FOR 0_ _”, enter the three digits for the length of the
layover (in minutes, 001-255), hitting MAIN after each.
4. prompt is “ENTER ?”, hit MAIN to accept, DOWN to re-enter
layover.
Note: Layovers are stored as speed changes, with the speed = 0 mph.
See Resets (SEE RSTS)
1. hit MAIN, reset number (01, 02 etc) is briefly displayed, then
2. display will alternate between the AT and TO mileage for the first
reset. Hit MAIN to display each of the remaining resets.
10
Use the UP/DOWN buttons to scroll to “RESET”. Select the reset
function by hitting MAIN. The display will read “AT 0_ _. _ _”, prompting
you for the AT mileage of the reset. The zero indicates the current digit
being edited. Use the UP/DOWN buttons to scroll through the numbers
0-9. Hit MAIN to select the currently displayed value for that digit field.
The current digit will be accepted and the cursor will move to the next
digit field. Continue entering the values for the remainder of the digit
fields. When the last digit is entered, the display will change to
“TO 0 _ _ . _ _”, prompting you for the TO mileage of the reset. Enter
9
14.40 RESET TO 9:39:20
17.00 R TR 10:07:30
AT mileage
14.40 RESET TO 9:39:20
TO mileage 17.00 R TR 10:07:30

Race Info (RACEINFO)
1. hit MAIN, total ground miles from last race will be displayed (ie “TD
087.33”). Hit MAIN, highest speed from last race will be displayed
(ie “HISP 067”). Hit MAIN to repeat or DOWN to exit and advance
to “VERIFYTO”.
Verify To (VERIFYTO)
1. hit MAIN
2. prompt is “VE 0 _ _._ _”, enter the five digits, hitting MAIN after
each, for the mileage to which you want to verify the programming.
3. display is “HOLD ON”, then display will return with calculated time
for the selected mileage.
4. Hit MAIN to enter the next mileage and repeat step 3 for successive
mileages, or hit UP/DOWN to advance to “KEYTIME”.
Note:When multiple loops are programmed, you must verify to the end
of each loop in order. For example, if there are resets to zero at 45.00
and then 35.00 miles, first verify to 45.00 miles. Then hit MAIN again to
enter and verify to 35.00 miles.
This incremental verification can be used with all programs (to help find
programming errors, for example).
Keytime (KEYTIME)
1. hit MAIN
2. prompt is “KT0_:_ _:_ _ “, enter the six digits, hitting MAIN after
each of the digits, for the advanced posted keytime. Wait on hitting
MAIN for the last digit until the posted keytime equals the entered
keytime. Running keytime is displayed.
3. Hit DOWN to display countdown to race time.
Clear Resets (CLR RSTS)
1. hit MAIN, a confirmation prompt is displayed “CLR RS ?”
2. to clear resets hit MAIN, or hit UP/DOWN to escape. Display is
“HOLD ON”, while reset memory is being cleared, then display will
return with “CLR SPDS”. The reset and speed change sorting
feature will be enabled. ”
Clear Speeds (CLR SPDS)
1. hit MAIN, a confirmation prompt is displayed “CLR SP ?”
2. to clear speeds hit MAIN, or hit UP/DOWN to escape. Display is
“HOLD ON”, while speed memory is being cleared, then display will
return with “RESET”. This also clears all layovers. Default speed
at 000.00 miles will be 24mph.
12
3. to delete the currently displayed reset, press MAIN until “OFF” is
displayed. Release MAIN to delete the entry.
4. hit DOWN to exit
See Speeds (SEE SPDS)
1. hit MAIN, speed number (01, 02, etc) is briefly displayed, then
2. display will alternate between the AT mileage (“AT 000.00”) and the
speed (“SPD 024”) for the first speed or between the AT mileage
and “SPD 0-XXX” for a layover, where 0 indicates 0 mph and XXX
is the length of the layover in minutes. Hit MAIN to display each of
the remaining speeds.
3. to delete the currently displayed speed, press MAIN until “OFF” is
displayed. Release MAIN to delete the entry.
4. hit DOWN to exit
Tire Size (TIRESIZE)
1. hit MAIN. Current tire size is displayed (ie “TS 083.65”). If OK hit
DOWN to advance to “MINUTE”. To change tire size hit MAIN.
2. prompt is “TS 0 _ _._ _”, enter the five digits for tire size (circumfer-
ance of tire in inches and hundredths of inches, 001.00 - 254.00),
hitting MAIN after each. (See addendum on how to measure tire
size.)
3. prompt is “ENTER ?”, hit MAIN to accept, DOWN to exit and
advance to “MINUTE”.
Minute (MINUTE)
1. hit MAIN, current rules and minute are displayed (ie “AMA 021”). If
OK hit DOWN to advance to “STRT TM”. To change hit MAIN.
2. prompt is “AMA ”, hit MAIN to select AMA rules, or
3. hit UP/DOWN to toggle rules to “NEI “, hit MAIN to select NEI
rules.
4. prompt is “AMA 0_ _” or “NEI 0_ _”, enter the three digits for your
minute, (001 - 254) hitting MAIN after each.
5. prompt is “ENTER ?”, hit MAIN to accept, DOWN to exit and
advance to “STRT TM”.
Start Time (STRT TM)
1. hit MAIN. Current race start time is displayed (ie “ST 09:00”). If
OK hit DOWN to advance to “RACEINFO” . To change, hit MAIN.
2. prompt is “ST 0_:_ _”, enter the four digits for the race start time,
(hour and minute 00:00 - 99:59) hitting MAIN after each.
3. prompt is “ENTER ?”, hit MAIN to accept, DOWN to exit and
advance to “RACEINFO”.
11

CHAPTER 5
WatchDog 2000 was designed to simplify timekeeping before and
during a race. To start a new race with WatchDog 2000, use the
following QuickStartTM procedure.
1. Power On Battery Check
Press and hold MAIN button until “ON” is displayed, release MAIN.
A battery check will be perfomed and displayed (“BATT 98 “). The
range is from 0 to 98. Change the batteries when the charge is
around 50. To exit the battery check press any button. “RESET” will
be displayed.
2. Program Resets and Speed Changes
Clear old resets and speed changes by scrolling down to the CLR
RST/CLR SPDS functions. Hit MAIN at each function to clear the
resets and speed changes. Enter all the resets, speed changes,
layovers, and jumps as outlined on your route sheet. If the first
speed is not 24mph you must enter a new speed for 000.00
miles. Speed changes and resets can be entered in any order.
WatchDog 2000 will sort them by mileage. Error checking
disallows certain invalid entries. For instance, you can’t enter a
reset from 11.50 miles to 10.50 miles. Note, For multiple loop races
where the mileage is reset to zero at he start of each loop you must
enter the resets and speeds in the order in which they occur.
Always do the resets before the speeds and enter a reset to zero at
the end mileage of each loop. For example, if the first loop is 40
miles long, enter a reset AT 40.00 TO 000.00. Once you enter a
reset to zero the sorting feature is disabled and all subsequent
resets (and speeds) are stored in the order they are entered.So,
the first reset of the second loop is entered after the reset to zero.
(ie AT 10.20 TO 10.50). A dash next to the function (“RESET -”)
indicates sorting is disabled. After the resets are entered, enter all
the speed changes in the order in which they appear. If there is a
speed change at the start of the next loop (at mile 000.00), enter
that speed change at the same mileage at which you entered the
reset to zero (ie AT 40.00 SPD 18 in example above). Clearing
resets (CLR RSTS) will re-enable sorting. Once the resets, speed
changes and layovers are programmed, they can be easily viewed
and checked by selecting SEE RSTS and SEE SPDS. If you have
entered a reset to zero (sorting is disabled), you can insert resets
and speed changes by hitting the UP button while viewing the
resets or speed changes. When you hit UP, “INSERT ?” is
displayed. To insert a reset/speed change hit MAIN. Enter the
reset/speed change as usual. When done, you will return and
continue viewing from the one you just entered.
WatchDog 2000 QuickStartTM
13
Important: If the route sheet has a speed change that falls inside a
reset, you must enter the reset as two resets: the first one resets
to the speed change mileage and the second goes from there to the
end of the original reset. Alternatively, you can leave that reset out
and advance the mileage manually when you get to it.
For example: if there is a reset AT 22.00 TO 25.00 and there is a
speed change AT 24.00 SPD 18, you enter the reset as follows:
AT 22.00 TO 24.00 and then AT 24.00 to 25.00 Enter the speed
change as usual. The verify function will catch this type of situation,
so if it fails check to see if there is a speed change inside a reset.
3. Entering Tiresize, Minute and Race Start time
Use the TIRESIZE, MINUTE, and STRT TM functions to enter your
tire size, your start minute, and the race start time (i.e., 9:00).
4. Verify Programming
Scroll down, using the DOWN button to “VERIFYTO” and enter the
last mileage indicated on your route sheet. Hit the MAIN button.
“HOLD ON” will appear on your display. When done (usually about
1sec/3miles) WatchDog 2000 will display the calculated time for
the entered mileage. It should match your route sheet. If not, make
sure the speed changes match the route sheet and that there is not
a speed change inside a reset. Don’t enter a mileage that is inside a
reset. If you do the routine will timeout after about 60 seconds and
return with “ 00:00:00”. For multiple loops you must verify to the
end of each loop in order. For example, if you have a reset to zero
at 45.00 miles, first verify to 45.00. Then hit MAIN and enter the
mileage at the end of the next loop, etc.
5. Enter Keytime
Once all the data has been entered correctly, scroll down to
“KEYTIME”, hit MAIN. Enter a time 10 or 15 seconds ahead of the
posted keytime (this provides sufficient time to synchronize
WatchDog with keytime). When the posted keytime reaches the
entered value hit the MAIN button. After you press MAIN the
display will continue to show the running keytime and WatchDog
2000 will begin the countdown to your race time. Press the DOWN
button to view the countdown time. You can scroll through the
menu as usual after entering keytime. Anytime you go back and
14
96.20 END 5:40:00
Last mileage
93.50 L TAR 5:33:15 Calculated
time should
match this

change your minute or start time, the countdown stops until a new
keytime is entered. Once keytime is entered, the CLR RSTS, CLR
SPDS, and VERIFY TO functions are disabled and are not
displayed. These functions can be re-enabled by resetting your
minute, start time, or by turning off the computer and then turning it
on again.
Remember: Always enter the posted keytime directly. WatchDog
will adjust for your minute and the race start time when displaying
the countdown. If you enter a keytime ahead of when you should
leave (race start plus your minute) the computer will enter race
mode and advance to that keytime.
1. Race Mode
When the countdown reaches zero.....twist that thang!!! Okay
seriously, WatchDog enters race mode.
Within your minute, the following MinuteMinderTM information is
displayed:
• Number on far left => remaining distance to travel in the current
minute to stay on time.
• Middle Number => Early/Late status in seconds.
• Number on far right => Keytime seconds.
When your early/late status is more than one minute, the following
MileMinderTM information is displayed:
• Number on left => Odometer in miles and hundredths.
• Number on right => Early/Late status in minutes and seconds.
2. Adjusting Mileage
To adjust your mileage, use the UP/DOWN buttons in the following
manner depending on your early/late status.
While in MinuteMinderTM, hit the UP button to temporarily display
your mileage and differential time. After four seconds of no switch
activity, the display will revert back to the MinuteMinderTM (see
above). If you need to adjust your mileage, use the UP/DOWN
buttons before the four second delay expires.
15
While in MinuteMinderTM, hit the DOWN button to display
odometer and differential time without reverting back after the four
second delay to MinuteMinderTM . Use the UP/DOWN buttons to
adjust mileage. Hit MAIN to revert back to MinuteMinderTM .
3. Changing your Minute
If running Brand-X (NEI) rules and need to change your minute,
from AUTO mode, hit MAIN once. Your minute will be displayed.
Use the UP/DOWN buttons to adjust. The display will revert back
to AUTO mode after four seconds of no switch activity. If you do not
change your minute the display will revert to AUTO mode after 10
seconds.
Note: If you are running AMA rules, this will not be displayed.
4. Viewing Odometer and Speedometer
From AUTO mode, hit MAIN twice in Brand-X or once in AMA.
5. Viewing Keytime
To view keytime, from AUTO mode, hit MAIN three times in
Brand-X, or twice in AMA.
In Brand-X the keytime is adjusted for your current minute for direct
comparison to the route sheet.
6. Adjusting Tiresize
To adjust the tiresize, press and hold MAIN button until “TIRESIZE”
appears in the display. Release the MAIN button. Your tiresize is
displayed and can be adjusted using the UP/DOWN buttons. Hit
MAIN to revert back to race display.
7. Adjusting Elapsed Keytime
To adjust the elapsed keytime clock, press and hold the MAIN
button until “CLOCK” is displayed. Release the MAIN button.
Keytime is displayed and can be adjusted in increments of minutes
using the UP/DOWN buttons. Remember, this is the elapsed time
since you left the gate and is the time you see on your route sheet.
The method for setting this clock depends on the rules you are
racing. For all events you should set your backup watch to display
the elapsed time during the race. That is, set your backup watch to
the posted keytime minus your minute during pre-race, or start your
stopwatch when you leave.
16

For AMA events, if you ever need to change the clock, you simply take
the time directly from your backup watch.
When running Brand-X, if you need to change the clock, you first set
your minute to your original minute, then adjust the clock to match your
backup watch. After adjusting the clock set your minute to your current
minute.
Whichever rule you are running, adjust the clock to one minute less
than the backup watch. When the backup seconds turn to :00, incre-
ment the clock minute. Make sure they match then hit MAIN to return to
race displays. Adjust your minute if necessary.
Note: In Brand-X the keytime you see once back in race mode is
adjusted for your current minute. You can compare this directly to your
route sheet.
8. Calculated Mileage Mode
To enter calculated mileage mode, press and hold MAIN button
until “CALCDIST” is displayed. Calculated distance will be
displayed on the left, and keytime minutes and seconds will be
displayed on the right. You can change which field of information is
displayed in it’s entirety by hitting either the UP or DOWN button.
Notice that either the least significant mileage digit or the most
significant time digit is blanked. This is to visually separate them.
9. Power Off
After winning the race...turn off Watchdog by pressing and holding
MAIN until “OFF” is displayed and then the screen blanks.
17
CHAPTER 6
There are two main displays when you are racing. AUTO mode
automatically selects what is displayed depending on your early/late
status. When you are within your minute (differential time less than one
minute), the MinuteMinderTM is displayed. When the differential time
is greater than one minute the MileMinderTM is displayed. While
racing, you can adjust your mileage, your minute, keytime, and tiresize.
You can also view calculated mileage.
MinuteMinderTM
The MinuteMinderTM displays three fields of information. The two left
digit fields indicate the distance to where the next whole minute should
be in hundredths of a mile. For example, at 24mph this will countdown
from 40 to 00, then start at 40 again, at 18mph it will count from 30, etc.
Use this information wisely to get a early jump into sections. As long as
the count is high keep going. As the countdown gets close to zero,
make sure you are on time. If the count will reach zero around the next
blind corner....watch out, don’t be early!!! If you can see ahead enough,
it is safe to keep going until the count down approaches zero again
(don’t forget to adjust your mileage at the markers).
MILES PER MINUTE
(in hundredths)
DIFFERENTIAL TIME
(early or late in seconds)
KEYTIME SECONDS
COUNTDOWN
Race Mode
18

The two center digits indicate your early/late status. Use this as the
main indicator of how you are doing. Always use this in conjunction with
the keytime seconds (right most field) when approaching checkpoints. If
you are late the minus “-” sign appears around the differential time (DT)
If you are early the DT flashes.
The right most digits display the keytime seconds. This is used as a
final check before entering checkpoints. The DT should not be used
alone as an indicator of when to enter a check, since this is dependent
on the accuracy of your odometer. Always use the keytime seconds as
the last indicator of when to enter the checkpoint. Enter as the seconds
roll over to zero, or at 30 seconds for an emergency check.
Note:The countdown is replaced by actual odometer hundredths if the
speed is not 1 thru 6 or 12, 18, 24, 30, 36 etc..... mph. (1-5 or multiple of
6 mph)
MileMinderTM
When your differential time is greater than one minute the
MileMinderTM displays two fields of information.The left field displays
your mileage in miles and hundreths of a mile. The right field displays
your DT in minutes and seconds. Go faster if you are late. Go slower if
you are early!
ODOMETER
DIFFERENTIAL TIME
(in minutes and seconds)
(in miles and hundredths)
19
Other Race Mode Displays
The following sections describes other race mode displays and how to
adjust race variables.
Adjusting Mileage
In MinuteMinderTM there are two ways to view and/or adjust your
mileage. To view or adjust the mileage hit either the UP or DOWN
button. Display switches to MileMinderTM. Use the UP/DOWN buttons
to adjust your mileage.
If you initially hit the UP button to enter MileMinderTM , the display will
return to MinuteMinderTM after 4 seconds of no button activity. If you
initially hit the DOWN button the display will remain in MileMinderTM
until you hit the MAIN button.
Tip: Use the UP button to quickly view your mileage and adjust if
necessary. Use the DOWN button on road sections or fast sections
when you stay within your minute and want a constant display of your
mileage.
Tip: The longer you hold the UP/DOWN button the faster the mileage
will scroll.
Changing your Minute (Brand-X)
To change your minute in Brand-X racing, hit the MAIN button once
from AUTO mode. Your minute is displayed. Use the UP/DOWN
buttons to adjust. The display will return to the AUTO mode display after
4 seconds of no button activity, or after 10 seconds if you did not adjust
your minute.
Note: In AMA rules, your minute will not be displayed. Hitting the MAIN
button will display odometer and speedometer.
Tip: The display will automatically return to AUTO mode so don’t worry
about the display, adjust your minute and take off!!
View Odometer and Speedometer
You can view your odometer and speedometer by pressing MAIN once
in AMA or twice in Brand-X. The speed is a 3 second running average.
View/Adjust Keytime
From AUTO mode, you can view the current keytime by pushing
MAIN twice, three times if running Brand-X rules. You cannot change
the keytime from this display . If you need to change keytime, press
and hold the MAIN button until “CLOCK” appears on the
20

display. Release the button. A “C” will be displayed on the left indicating
keytime can be adjusted. Adjust the keytime in increments of minutes
using the UP/DOWN buttons. The seconds are reset to zero each time
you change the minute. Hit the MAIN button to return to AUTO mode.
Adjusting Tire Size
At any time, to adjust your tire size, hold down the MAIN button until
“TIRESIZE” is displayed. Release the button. Now use the UP/DOWN
buttons to adjust your tire size in increments of 0.01 inches. Hit the
MAIN button to return to AUTO mode.
Tip: If your mileage is off by one one-hundredth (1/100) of a mile over
the course of a mile, adjust your tire size by about 0.80 inch.
Calculated mileage mode
In the event your magnet gets sheared off (or anytime), you can use
WatchDog 2000 to display the calculated mileage for comparison to
the trail mileage markers. To enter this mode, hold the MAIN button until
“CALCDIST” (calculated distance) is displayed. Release the button. the
display will show the calculated mileage on the left and the keytime on
the right. You can change which field of information is displayed in its
entirety by hitting either the UP or DOWN button. Notice that either the
least significant mileage digit or the most significant time bit is blanked.
This is just to visually separate them.
Race Recovery
In the unlikely event the batteries lose contact (big wipeout, high speed
tree contact, scuba diving, ....etc), WatchDog will recover and prompt
you to enter the keytime (“KEYTIME”). Using your back-up watch
(which you should always have), enter the current un-adjusted keytime.
You will then be prompted for an AT mileage (“AT 0 _ _._ _”). Enter the
mileage to which you want to advance. To enter a mileage past a reset
to zero, you must enter the total accumulative mileage to that point. For
example, if the reset to zero is at 30.00 miles and you want to advance
to mile 10.00 of the 2nd loop, enter 40.00 miles at the prompt. If you
make a mistake entering either value, hold MAIN until “OFF“ is
displayed. You will be prompted for the keytime again. WatchDog will
enter race mode and advance to the entered keytime and mileage.
Once back in race mode, adjust your minute if necessary. While
recovering, “HOLD ON” is displayed, during which you DO NOT need
to wait....GO!!
Note: This feature can be used at any time to enter race mode. If you
enter a post race-start keytime (keytime plus minute) you will always be
prompted for a mileage.
21
CHAPTER 7
WatchDog 2000 offers additional useful features. These are:
• Sensor Check Mode
• Instant Race Mode
• Race Information
• Software Reset
Sensor Check Mode
You can check to see if the sensor is working by entering a tiresize of
zero (000.00). This will not be stored in memory. As you rotate your
tire, the display will alternate between all ones (11111111) when the
magnet passes the sensor, and all zeros (00000000) when the sensor
is off. If ones (11111111) are not displayed as magnet goes by the
sensor, check both the sensor wiring and the distance between the
sensor and the magnet. The magnet should be less than a quarter inch
(1/4”) from the sensor as it passes by.
Instant Race Mode
For recreational or practice riding you can instantly enter Race Mode by
entering a keytime of zero (00:00:00). All the functions of Race Mode
are enabled.
Tip: Use Instant Race Mode if you just need to use the odometer or
speedometer. Also use Instant Race Mode for practicing by
programming a speed average (using speed change function) and
using the differential time to maintain that pace. This is good practice for
using WatchDog 2000 and for improving racing skills.
Race Information
While racing, WatchDog will keep track of and store the total ground
miles and the top speed attained. To view theses stats scroll down to
“RACEINFO” while in programming mode. Hit MAIN to display the total
ground miles. Hit MAIN again to see highest speed.
Other WatchDog 2000 Features

Software Reset
In the event that you find a way to “hang” the software, there is an
escape sequence built in to WatchDog 2000. If your computer does
not seem to be responding to switch input, wait about one minute then
press the MAIN button for a few seconds. The software will reset itself
and return to the battery check. No programming information will be
lost.
Note: The verify and race recovery routines may take a while to
complete (more than the one minute timeout), depending on the
mileage and the number of speed changes and resets programmed in.
Therefore, it is possible to accidently reset the software during these
routines if you hold down the MAIN button. If you inadvertently reset
the software during race recovery it will prompt you for the keytime
again.
Need help? Comments? Please, don’t hesitate to call or email us.
DUGAS ENGINEERING
508 337 3132
email: WatchDog2K@DugasEngineering.com
www.DugasEngineering.com
23
Addendum
How to determine tire size
In order for the computer to accurately track your mileage you must
enter the circumference of the front tire. The computer then knows how
far you travel each time the tire rotates. The accuracy of your odometer
depends on the accuracy of this measurement
There are several ways to measure this. The most accurate is to put
some paint on one of the center knobbies of the front tire and move the
bike through two tire rotations. Measure the distance (in inches and
hundredths of an inch) between the first and third knobby print and
divide this distance by two. This is the value you enter using the
TIRESIZE function.
You can also mark the tire with a piece of tape. Rotate the tire so the
tape is at dead bottom. Mark the ground then move the bike through
two rotation and mark the ground again. Make the measurement as
described above.
Race mode displays (using MAIN button to select)
24
Auto MinuteMinder 33 -05- :14
MileMinder 26.88 1:34
or
DT< 1 minute
DT> 1 minute
Minute min 023
Odo/Speedo 26.88 045
Brand-X only
Elapsed time 02:22:49
Table of contents
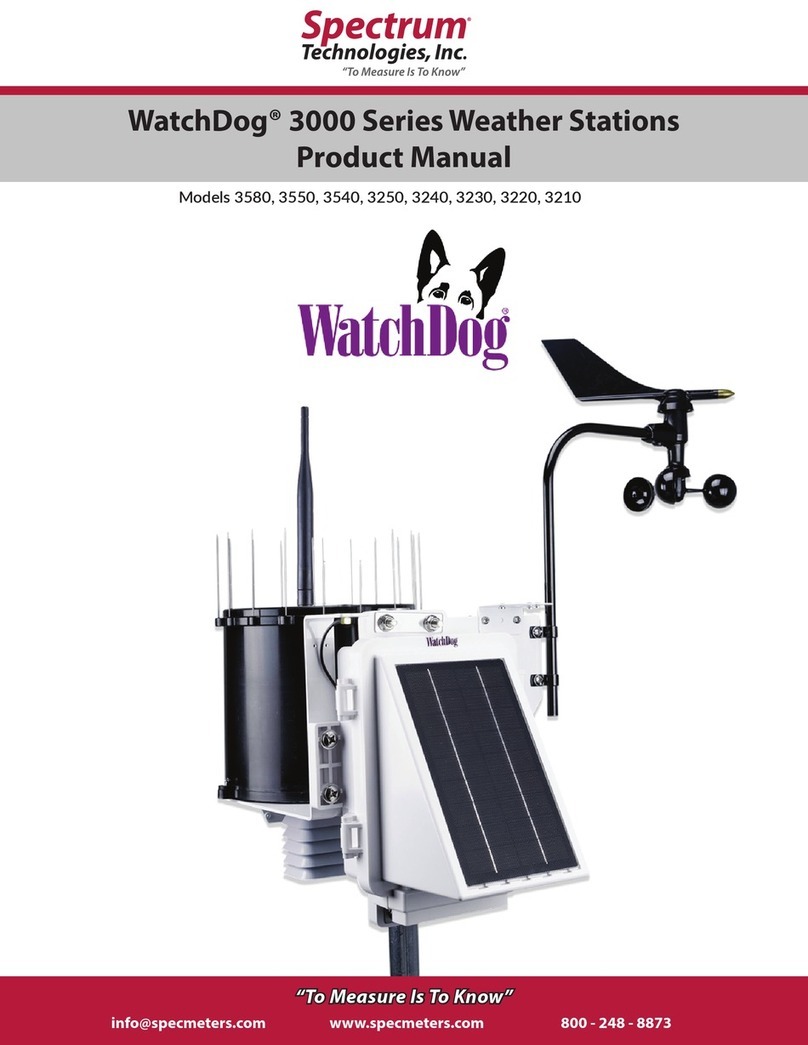
Other Spectrum Technologies Weather Station manuals

Spectrum Technologies
Spectrum Technologies WatchDog 3000 Series User manual

Spectrum Technologies
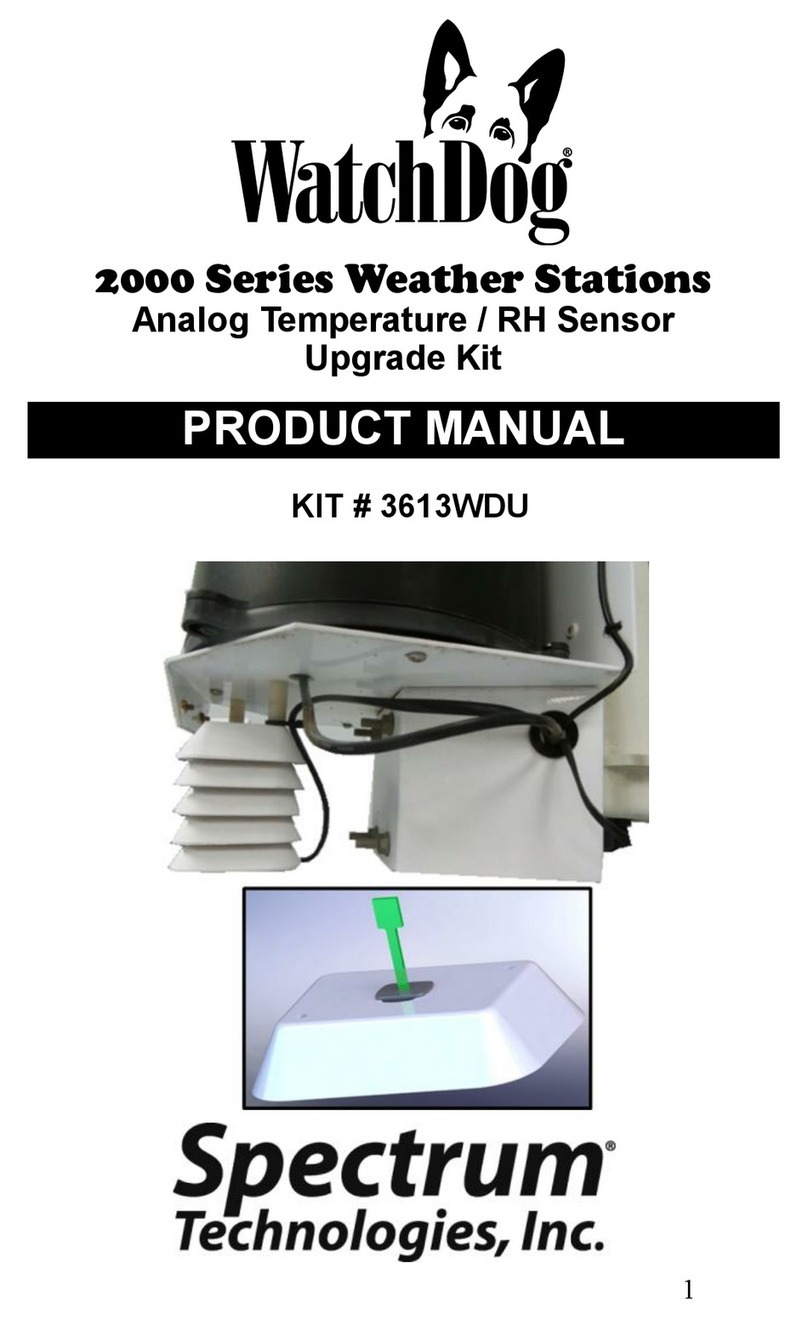
Spectrum Technologies WatchDog 2000 Series Service manual

Spectrum Technologies
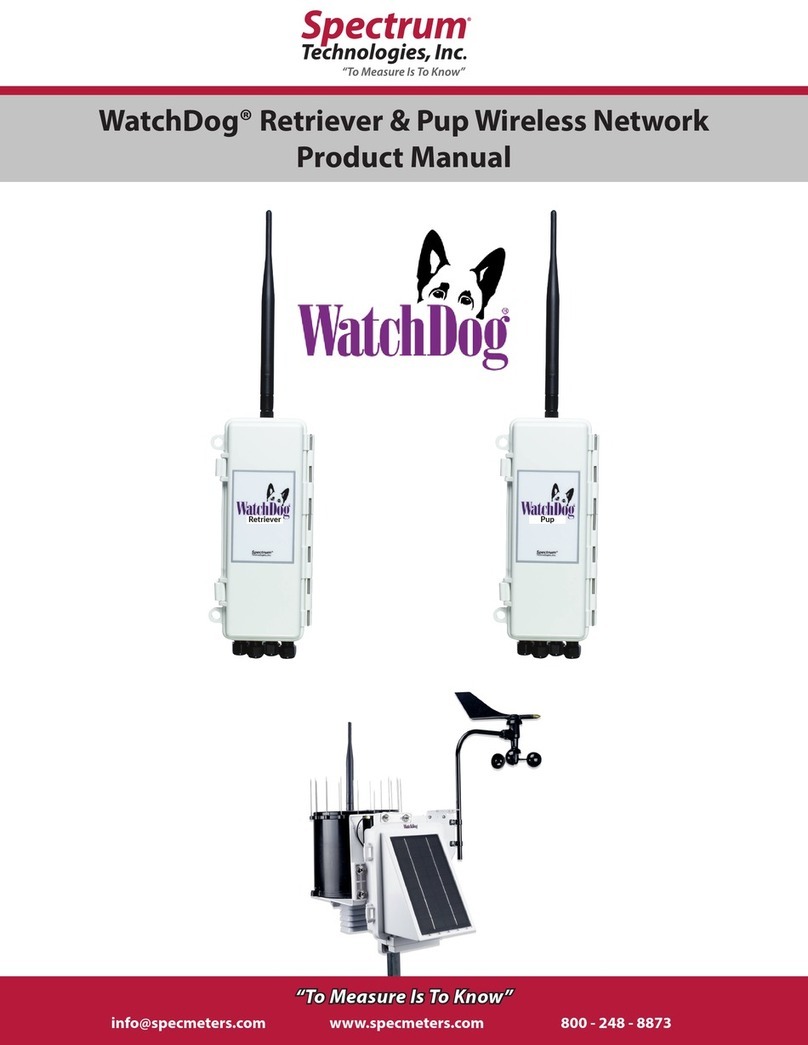
Spectrum Technologies WatchDog Retriever User manual

Spectrum Technologies
Spectrum Technologies WatchDog 3500 User manual

Spectrum Technologies
Spectrum Technologies WatchDog 2900ET User manual

Spectrum Technologies
Spectrum Technologies WatchDog 2400 User manual

Spectrum Technologies
Spectrum Technologies WatchDog 2000 Series User manual