Titmus V4 / Titmus V2
Warranty, Standards & Technical Data
Warranty
Sperian Protection Optical, Inc. warrants the Titmus VSeries against defects in materials and workmanship for a
period of two (2) years from the date of purchase. Warranty includes the light module. Sperian will, as its option,
repair or replace the instrument during the warranty period within a reasonable time after receipt of written
notice from the buyer. To receive consideration for warranty repair or replacement procedures, product must be
returned in its original packaging. If original packaging is not available, this can be obtained from Sperian at a
nominal cost. It is necessary to obtain Return Authorization Number from Sperian prior to shipment.
This warranty does not cover accessories or damages sustained in transit, or as a result of the buyer’s misuse,
neglect or carelessness, or by events beyond the control of Sperian. All correspondence must include the
instrument serial number. Failure to return the completed registration card will void the warranty. Warranty
valid only when purchase or repair is made from Sperian or an authorized Sperian Distributor.
Standards
The TITMUS™ Vision Screener conforms to the following UL, CSA and CE Standards.
USA: AAMI ES 60601-1
Canada: CSA-C22.2, No. 601.1-M90, Category 245
Device Type per the Canadian Medical Device Regulations
Class I Device
CB Scheme: IEC 60601-1
Europe: EN 60601-1, IEC 60601-1, Third edition
Emissions: Group 1, Class A
Applicable Directive
Annex VII, Medical Device Directive 93/42/EEC
Classification
Class I, Annex IX of MDD 93/42/EEC
Non-sterile, Non-measuring device
The CE mark on this device indicates it has been tested to and conforms to the provisions noted
within the 93/42/EEC Medical Device Directive
Technical Data
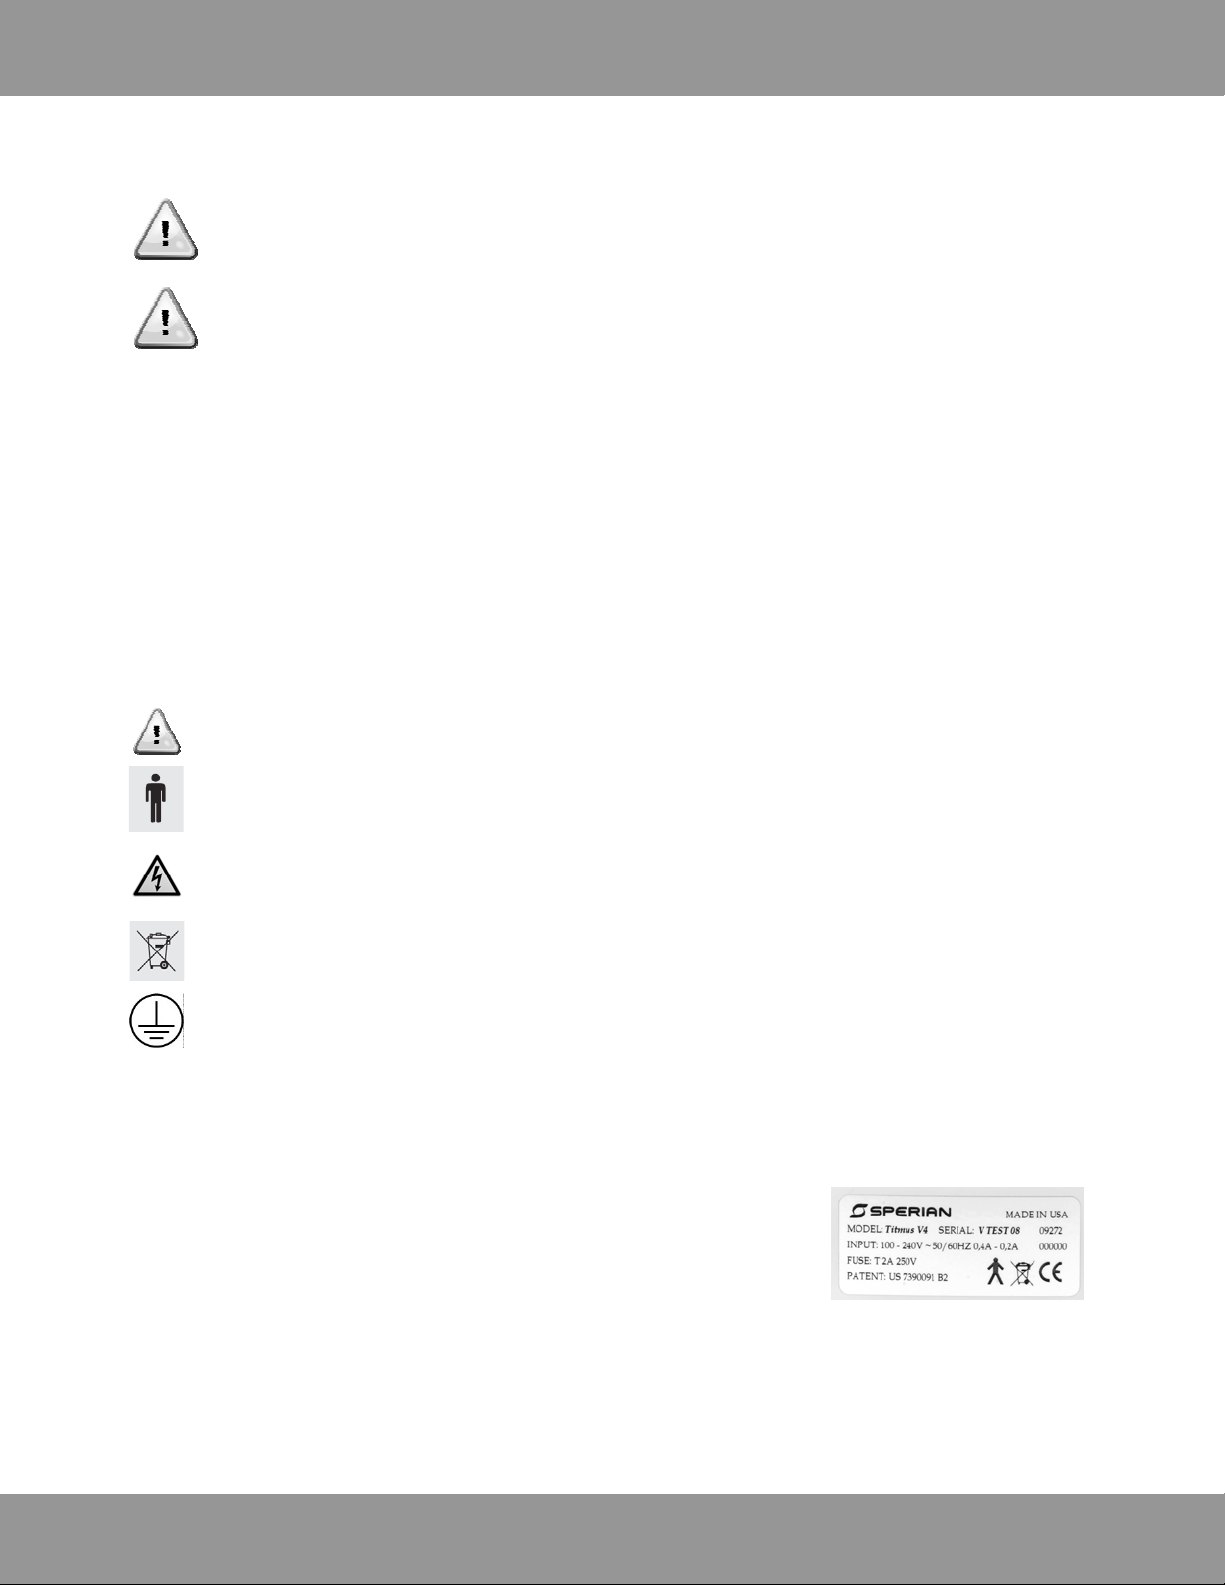
Power Supply: 110-240 VAC, 0.4A-0.2A, 50/60 Hz
Fuse Rating: 2 A, 250 V, Type – T (time delay)
Cords: 1. Power cord, length 3 meters
Note: Customer must contact TITMUS to obtain replacement cords or alternate voltage cords (240V).
2.
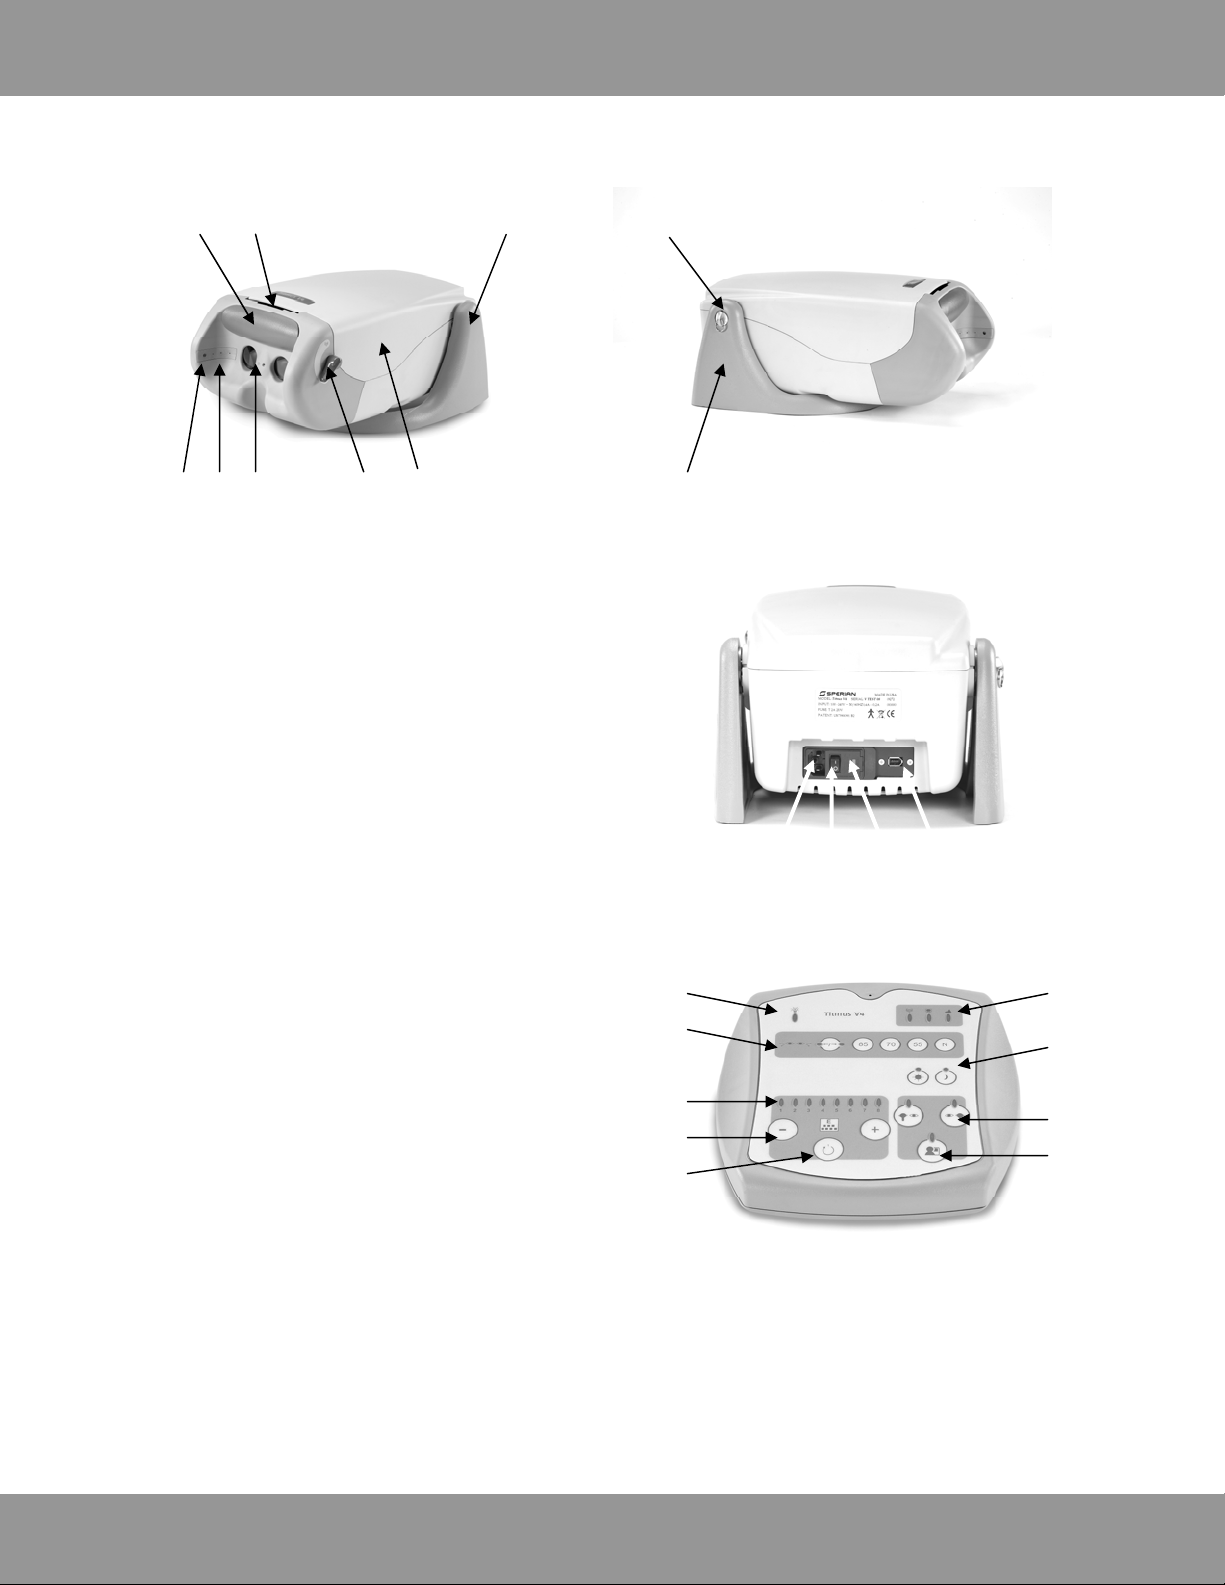
Titmus V4 only:
Control panel cord, IEEE 1394 FireWire connector, length 1.00 meter
Illumination: As per ISO 8596 and ANSI Z80.21 Standards
Dimensions: W X L X H units
11.00 X 17.00 X 7.75 inches (closed condition)
28 X 43 X 19 cm (closed condition)
Weight: 13 lbs / 6 kg
Temperature: +50°F to +104°F (+10°C to +40°C)
Humidity: 30% to 75% (non-condensing)
Pressure: 80-106 kPa
Altitude: 1000 ft below sea level to 6000 ft above sea level
Sperian Protection Optical, Inc. Sperian Protection Deutschland GmbH & Co KG
690 HP Way, Christofsstrasse 5,
Chester, VA 23836, USA D55116 Mainz, Germany
Tel: 1.800.446.1802 Tel: +49.6131.9066497
Page 5