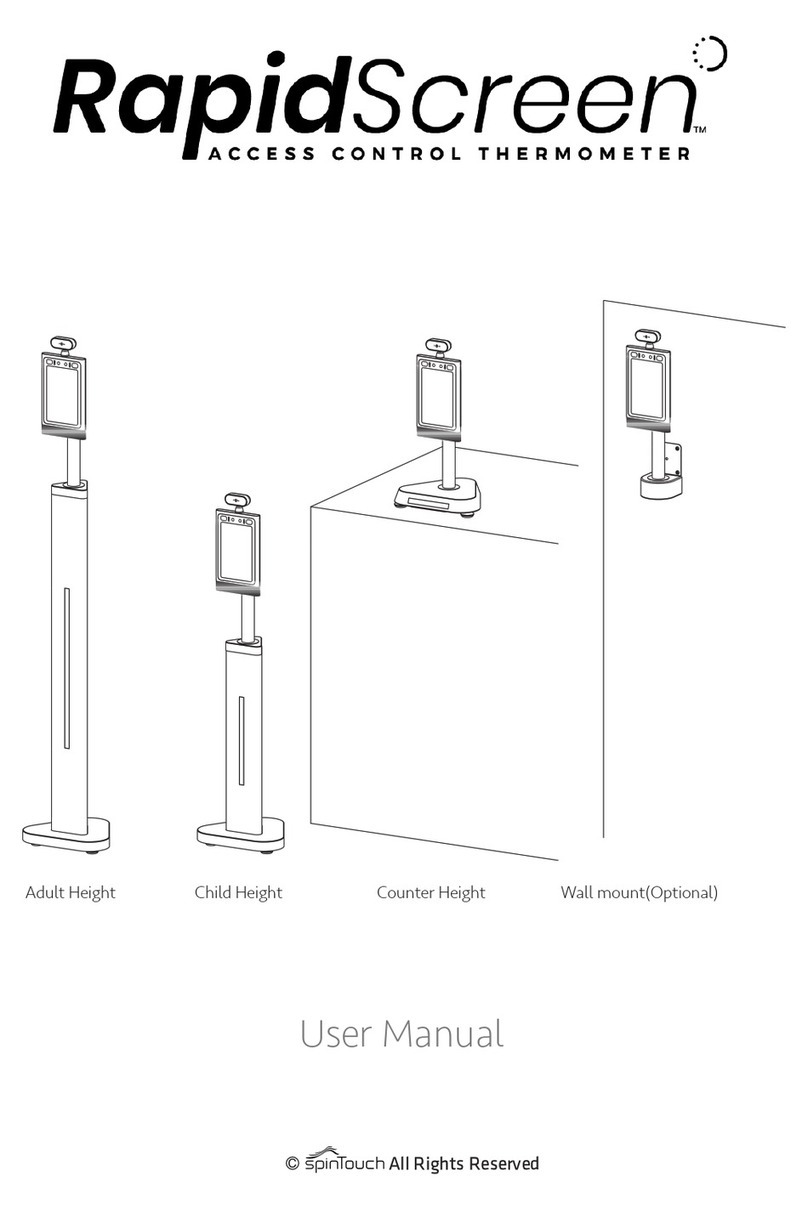
SpinTouch RapidScreen PLUS V3 User manual

TABLE OF CONTENTS
Unboxing and Stand Assembly Instruction......................................................................2
First Time Setup Notes…..…………………………………………..………………………...3-4
Included In The Box / Mouse Instruction..........................................................................5
Existing / Closing the Application.....................................................................................6
Connecting to WiFi.............................................................................................................7
Changing The Time Zone...................................................................................................8
Volume & Brightness Controls…………………………....……………………………………9
User Manual Notes..……………………………………………………..…………………..10-11
1
Quick Start Guide
In this Guide Start Guide we're going to walk through how to set up the RapidScreen.
Right out of the box this unit will already be capable of scanning users and taking their
temperatures. Some changes may need to be made to the application based on your
individual requirements.
Compatible with the following model: RapidScreen Plus V3

3
Important First Time Setup Notes
Step By Step Notes From The Video
--------------------------------------
Accessing Settings Options
To access the settings menu do a long press & hold at the top left of the screen (or right-click
with mouse) at the scanning screen, and then enter the password which by default is 123456
Showing Temperature Results
Go into the General Settings and then into Information Display Settings, turn OFF the Hide
Temperature option, save & restart. This way you can see what the device is actually reading
someone at which will help you calibrate the device. You can always turn this off afterwards if you
don’t want the temperature to display during scans.
Explaining The Effective Temperature Setting
If you can’t get the device to scan at all then you could go into the Temperature Settings and change
the Effective Temperature from 97 to 95, save & restart. This parameter means that anything UNDER
that value will be ignored as if not human, though it will prompt about aligning due to sensing motion.
Until the device has been calibrated for your location though, it could be erroneously reading people
under 97. Once calibrated you should put this back to 97.
Performing The Automatic Calibration
After these steps are done you can go back into the Temperature Settings and then use the Automatic
Calibration option. Click the Add button and then set a time range ( 0:0 to 23:59 for a rule that always
active). Put in your current temperature (based off a hand scanner result) as the Target Temperature
and then hit Confirm, the scanning screen will come up and then you hit the Start button to begin a 10
second scan. When that scan is complete your new rule will be created and you can save & restart to
see that your scans are now accurate.

4
Important First Time Setup Notes Continued
Step By Step Notes From The Video Continued
--------------------------------------
Turning Off Monocular Live (optional for faster performance)
Go into Face Settings and turn OFF the Monocular Live option, save & restart. This option simply
tries to determine if it is a live individual before scanning (rather than a prankster holding up a photo)
but it makes the device a lot less responsive so it's best to turn it off.
Turning Off Mask Detection Mode (optional for faster performance)
Go back into Face Settings and turn OFF the Mask Detection mode, if you don't mind the device not
prompting to wear a mask. With this setting off the device runs even quicker and is more responsive
than normal - people can still wear masks it just won't try to figure out if they are or not. Save & restart
the device. * Note this only gives a minor boost to performance.
Additional Notes
--------------------------------------
Normalizing Temperature Before Scanning
Another important consideration is how cold it is outdoors. Neither this device or any other
non-internal thermometer can give a good reading if people are coming in from cold & windy outdoors
unless they linger around for a minute or two after coming indoors to normalize their surface
temperature.
A Note About Facial / Head Accessories
Also important to remember is that the device needs to identify motion in front of it as a person before
it will give a reading, until then it will just say to 'align with the red dot'. This means you need to be
aware of too many facial/head accessories such as hats / earmuffs / glasses / scarfs / or masks that
have wild patterns or cartoon faces on them. These things can disrupt the device from giving a scan
and instead only saying to 'align with the red dot'.
Hood Attachment For Camera
Make sure that you use the hood attachment that comes with the device so that you can shield the
camera sensor from overhead lights which will disrupt the camera from performing.
Once these changes are done the device should be far more responsive and reliable.

Right Mouse Button
The right mouse button can be used to go to the
backend of the application. This will bring up the
password prompt (default 123456).
Also can be used to go back one level in the menu.
Center Mouse Button
Allows for scrolling long pages
Left Mouse Button
The left mouse button is used to make selections.
INCLUDED IN THE BOX
-RapidScreen PLUS v3 Kiosk
- Modular pole stand
- Power cable
- Power extension cable
- Data extension cable
- Data end cable
- Pole top cap
- Attachable camera hood
- Sensor cover plate
- Floor base plate
- Large pole stand nut
MOUSE INSTRUCTIONS
5
This device does have a
touchscreen but you can
always use a USB mouse if
you have one (not provided) as
an additional way to access the
menus.

EXITING THE APPLICATION
1. By default the device auto launches into our scanning app
called Face Recognition. To leave our app and return to the
Android home-screen you need to do a long press & hold at
the top left of the screen or Right click the mouse button and
enter the password (default 123456)
2. Select Software Settings at the top tab
3. Select Exit, confirm and you will have closed the application.
STARTING THE APPLICATION
1. If you’ve made changes to the android device and need to start the application from
the android main screen, select the Application tile.
2. Then select the application labeled “Face Recognition”
6

CONNECTING TO WIFI
1. After exiting the application (page 4), on the android main screen click on the settings icon on
the screen. This will bring up the android settings for the device.
2. At the top, click on the WiFi button.
3. Select your WiFi network and enter the password when prompted.
4. After connecting to your desired WiFi network, do a long press & hold at the top left of the
screen (or press the right mouse button) to go back to the main screen and restart the
application.
7

CHANGING THE TIME ZONE
1. Exit the application (page 4)
2. Click on the settings icon and scroll down to find Date & Time
3. After clicking Date & Time another menu will appear. Turn off the Automatic time
zone setting if not already done, then towards the bottom click on Select Time Zone.
4. Pick the appropriate location for your time zone and select it.
5. Do a long press & hold or press the right mouse button to exit back to the android
main screen and restart the application.
8

9
● Screen Brightness – Adjust the screen brightness of the kiosk. Click on the
Red Dot and drag to your desired brightness setting.
● Volume Settings – Adjust the Volume setting of the kiosk. Click on the
Red Dot and drag to your desired Volume level.
ALTERNATIVE LOUDER SPEAKER OPTION
If your environment requires much louder alerts, we suggest connecting wireless bluetooth
speakers to the device, as the device does support wireless connectivity.
VOLUME AND BRIGHTNESS CONTROLS

User Manual Notes
10
For more information on the advanced features of the device and also just
documentation on the details of various menu options, please refer to the
User Manual:
While it is good to read through these sections to get a better
understanding of how the device works, it is not necessary unless you run
into any issues and want to troubleshoot them.
For even more features you can download and install the eFace
management software. This software needs to run on a Windows PC on
the same network as your devices so that you can remotely manage
them.
You can download the eFace management software here:

User Manual Notes Continued
11
Please note that there is an additional document that is the user manual
for the eFace software itself.
You can find this user manual for eFace here:
Another important note about eFace is that you should NOT use the Kiosk
Settings section of eFace - the default values there are not what the
default values of the device are so if you change anything there and push
those changes to your device it will break the functionality until the device
is recovered.
If you purchased the premium cloud service option for your
device then please contact [email protected] and we will
get your account created for you.
Other manuals for RapidScreen PLUS V3
1
This manual suits for next models
1
Table of contents
Other SpinTouch Thermometer manuals


