manuals.online logo
Brands
  1. Home
  2. •
  3. Brands
  4. •
  5. Sport-Cam
  6. •
  7. DVR
  8. •
  9. Sport-Cam HD720 User manual

Sport-Cam HD720 User manual

Sport-Cam
www.sport-cam.co.uk
01273 906 806
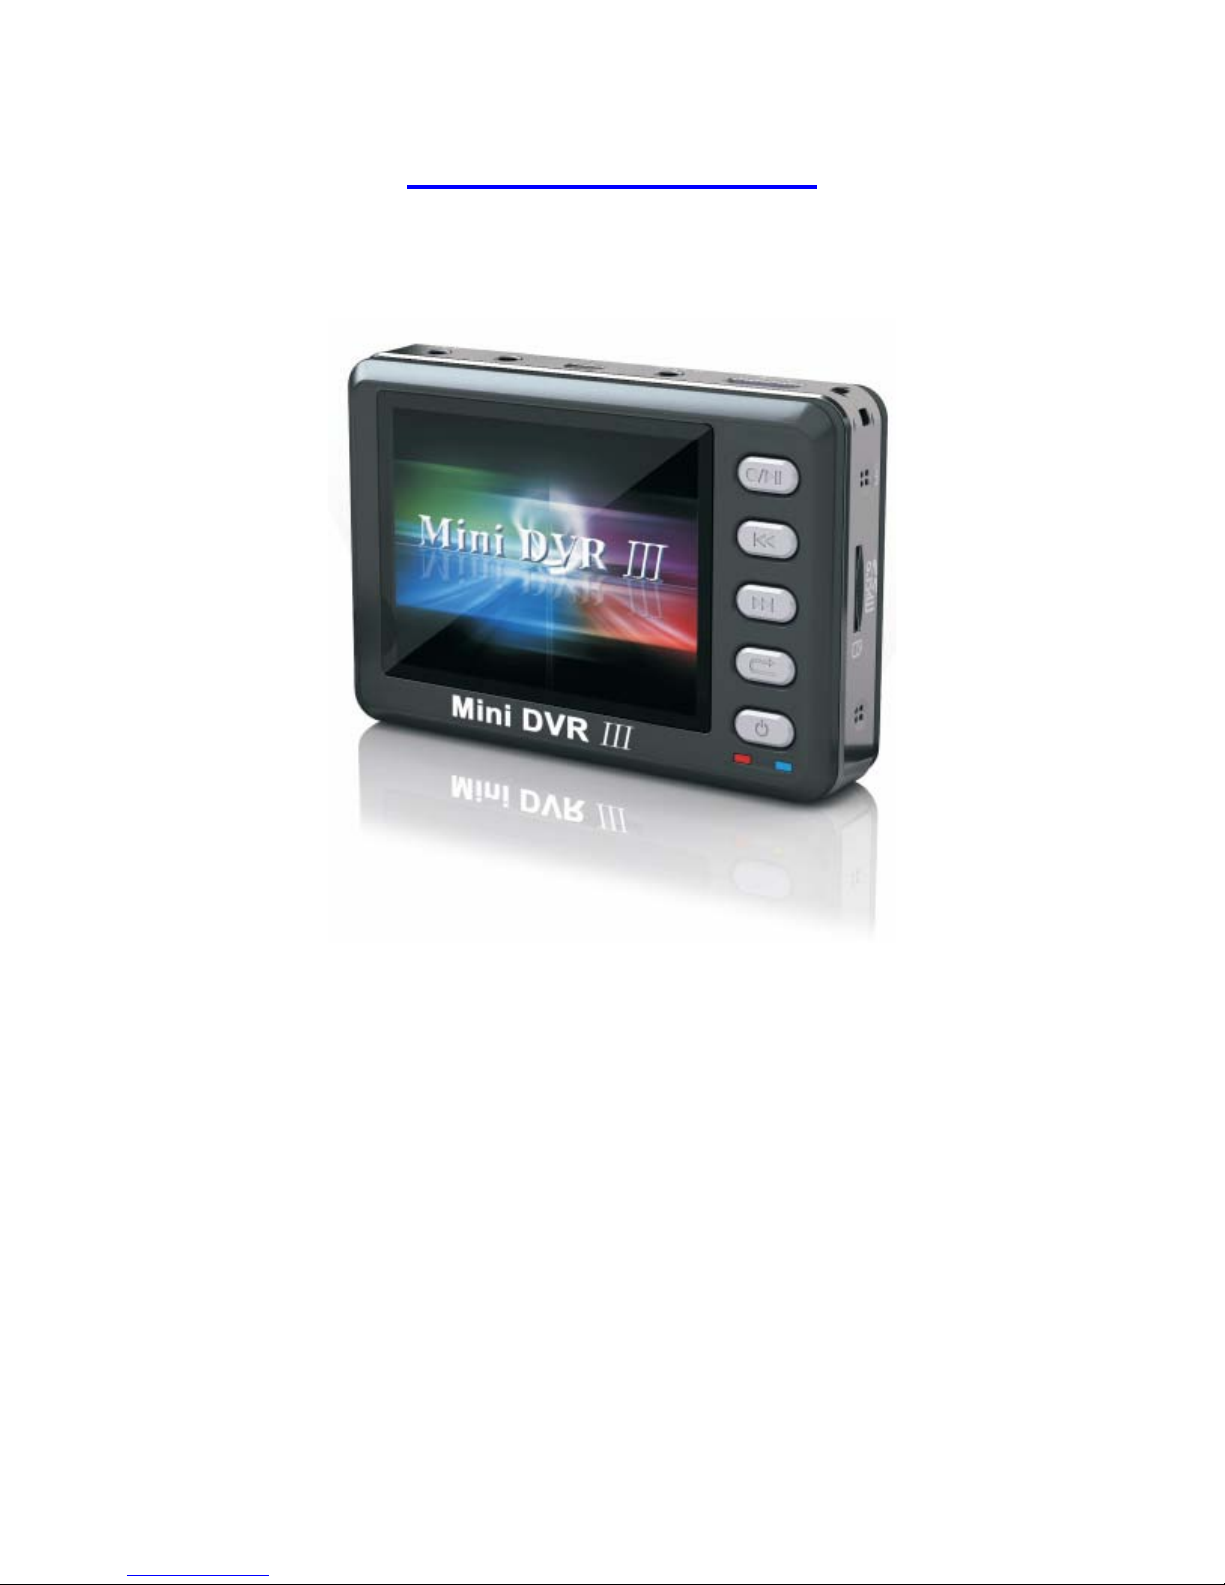
HD720 Instruction Manual
Please read carefully before using the HD720
•To prevent fire or shock hazard, do not expose the DVR unit to rain.
•Electromagnetic fields at specific frequencies may influence the picture of the recorder.
•Before recording one-off events make sure you test the unit as we want you to get the best
possible results.
•To avoid potential risk of data loss, always back up data.
•Playback of moving images recorded with your recorder on other equipment and playback of
moving images recorded or edited with other equipment on your recorder are not guaranteed.
Connection and Usage
•AV IN Connection – This is where the camera lead connects to the DVR.
•AV Out Connection – This is used when connecting the recorder direct to your television.
•USB Connection – This is used for connecting your recorder to your computer to download the
video files. It will also charge the battery and the DVR at the same time.
•Lanc Connection – This is where the remote control connects to the recorder.
Function of Keys and Interfaces
1. 2.5” TFT LCD Screen
2. AV in
3. AV out
4. USB connection
5. Earphone connection
6. Lanc remote connection
7. Play/Stop key
8. Rewind Key also adjusts the volume
9. Microphone
10. Forward Key also adjusts the volume
11. Card Support – Insert the SD card here
12. Return Key
13. Power Key (on/off)
14. Beep Alarm
15. LED indicators
16. Direction for opening rear cover
17. Speaker
Main Interface
In the main menu use the forward and rewind key to highlight and select an icon. Once you have an
icon highlighted press the play/stop key to select the function.
•Record: Select this option to enter record mode
•Video: Select this option to view videos that you have recorded.
•Music: Select this option to enter the music menu
•Setup: Select this option to enter the settings menu.
In any menu use the return key to exit back to the main menu.
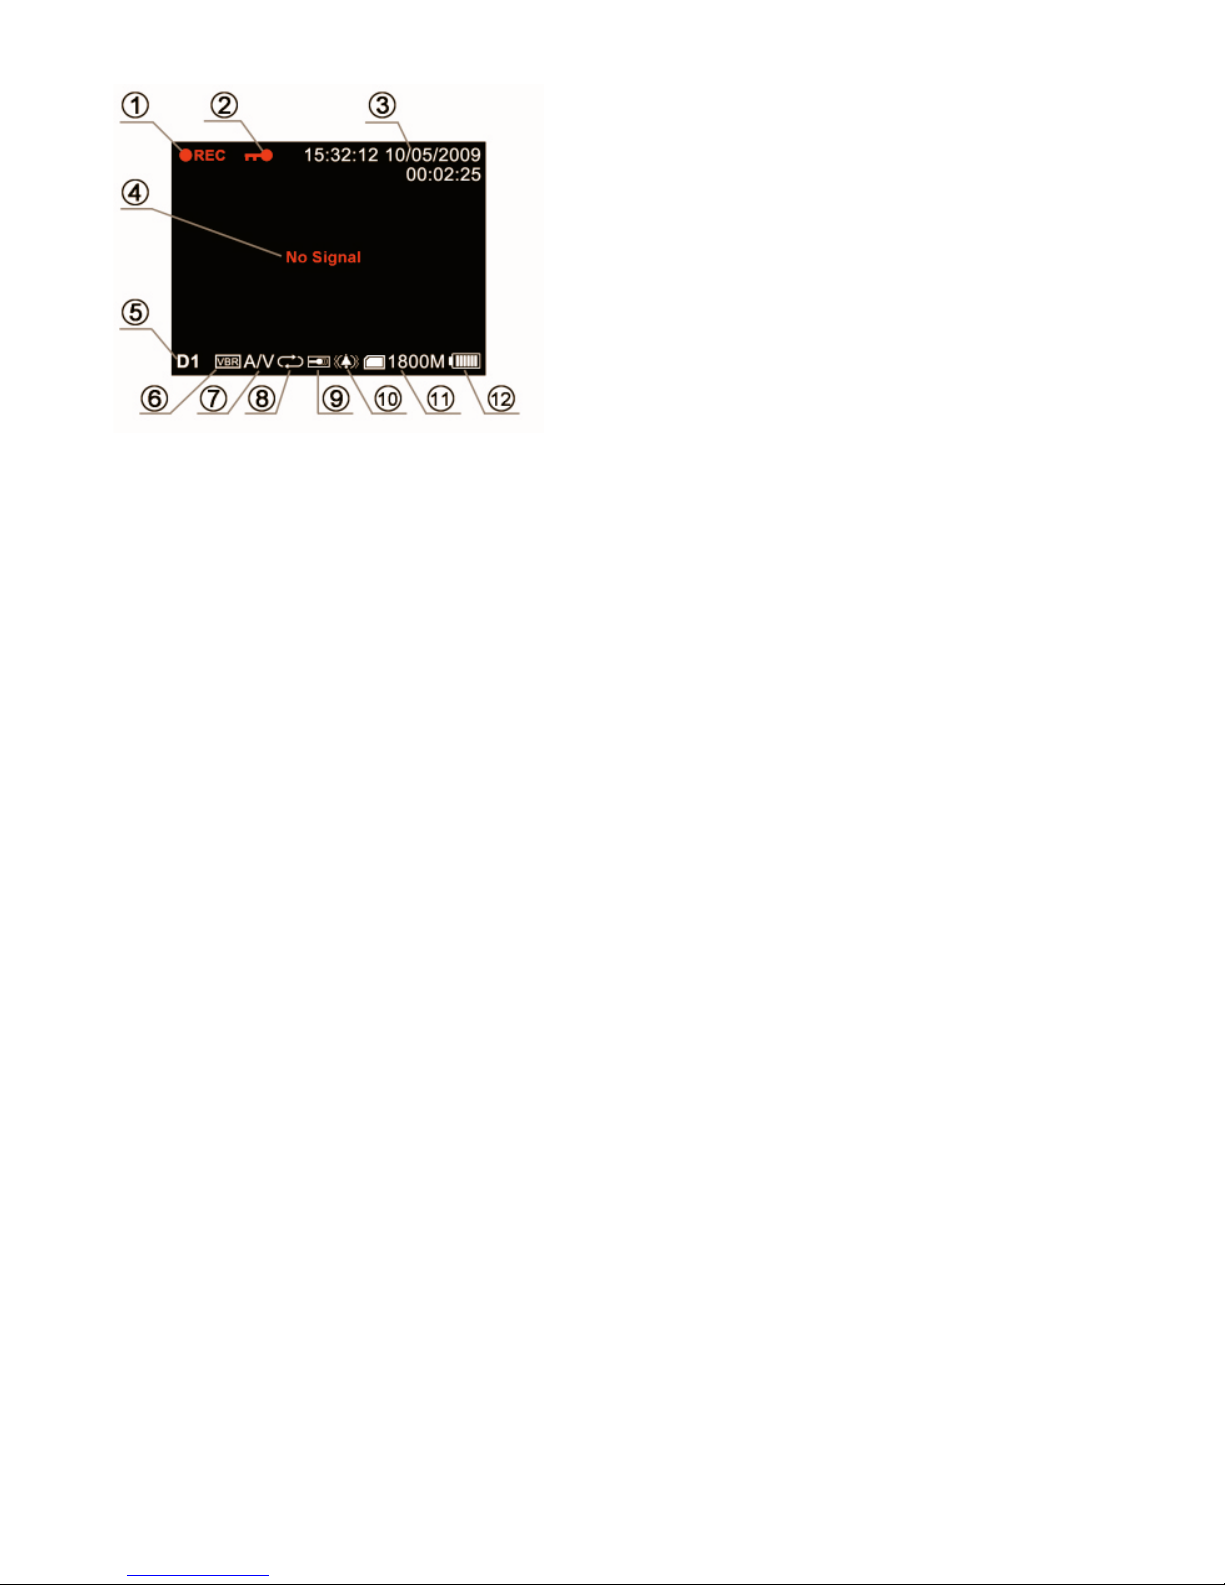
Description of Function Icons on Record Interface
1. Record Indicator
2. Key Lock Indicator
3. Date and time of current recording
4. ‘No signal’ alert when the camera is not connected.
5. Record mode – D1/VGA/SIF
•D1 – PAL: 720x576 (25fps)
•VGA – 640x480 (30fps)
•SIF – 320x240 (30fps)
6. Record quality VBR / HQ / SP / LP / EP / SLP
7. Record contents – Video/ Video & Audio
8. Overwrite/Non-overwrite mode.
9. Internal MIC/ External MIC
10. Vibrate Alarm/ Beep Alarm
11. MicroSD card icon and available memory
12. Battery Level
Record Menu
In this menu, you can record video from the camera. From standby press the play/stop key to start
recording the press the play/stop key to stop the recording.
When in standby mode the device will automatically detect whether AV IN has a signal input, if there
is no signal, the device will vibrate and beep and the screen will display ‘No Signal’. When this
happens check that the camera lead is connected correctly to the AV IN port.
Video Playback
Enter video file menu. Each folder is named with the date the video was recorded. The video file inside
is named with the record time.
In the menu press the rewind key to pop up delete/copy, pressed the forward key to select and
confirm.
Press the return key to exit from the current interface.
To vie a video you have recorded press the play/stop key to select the file, press again to play or pause
the video.
A quick press of the rewind or forward key will adjust the volume. A long press of the rewind key will
rewind the video and a long press of the forward key will fast forward the video.
Operations of Music Interface
In the music menu select the audio file to be played and press the play/stop key, this will play or pause
the audio. If you quickly press the rewind or forward keys this will adjust the volume. Press the
return key to exit from the menu.
Settings Menu
In the settings menu, press rewind or forward key to scroll through the menu options, when you have
the one you want highlighted press the play/stop key to select the option.
Record Setting
In record mode:
•One key – In this mode press the play/stop key to start recording from standby.
•Motion Detect – In this mode the unit will start recording when it detects motion. From
standby press the play/stop key to start motion detection.
•Car Mode – In this mode, the unit will automatically turn on and automatically start recording
when it receives power from the charger in the cigarette lighter. When you turn the car on the
recording will start and stop when the ignition is turned off. Do not use any other USB charger
whilst this function is enabled.
Record Object
Video: Records video only without audio
Video and Audio: Records video and audio, you may select either the internal microphone or external
microphone.
Record Quality
The user may set up a resolution rate and a compression rate according to the time, length and quality
required. The higher the quality setting and resolution the more memory the video will take up.
Resolution rate
•D1: PAL 720x576 (25fps) for best results use this setting
•VGA: 640x480 (30fps)
•SIF: 320x240 (30fps)
Compression Rate
•VBR – Variable Bit Rate, for best results use this setting
•HQ – High Quality
•SP – Standard Play
•LP – Long Play
•EP – Extended Play
•SLP – Super Long Play
Video Segment Sizes
The user can choose the length of the file segments generated by the DVR. The shorter the file segment
the smaller the individual files will be. If you set it too 10 Mins and recorded one video for an hour you
would end up with 6 files each 10 minutes long, this makes editing and also deleating unwanted
segments easier.
Overwrite
If overwrite mode is turned on, when the memory card becomes full the unit will start erasing the
earliest files and replacing them with the current recording
Date and Time display
The user can select to display the time and date on the recorded video.
Auto Key Lock
When the Auto Key lock is tuned on the unit will lock all the keys after 10 seconds of recording. Press
and hold the play/stop key for 3 seconds to unlock the DVR.
Storage
The user can choose where the video files are stored. The unit has a very small amount of internal
memory, however we would always recommend using a MicroSD card. When the MicroSD card is
inserted the unit will automatically store the video files on the memory card.
Date and Time Setting
The user can select and adjust the display format for date and time. Press the rewind and forward keys
to adjust the numbers of time and date and then press the play/stop key to confirm.
Video Output
The user can display the video files on a TV or via the supplied AV cable. Just connect the AV cable to
the AV OUT port on the DVR and connect the red, white and yellow plugs to the correct ports on your
TV. Then select the PAL option from the menu and press the play/stop key and you will see the image
from the DVR displayed on your TV (the screen on the DVR will go black whilst it is connected to a
TV).
Power Save
Power off
If you leave the unit switched on and NOT recording then to save the battery you can choose to have it
automatically switch off to save power.
LCD off
To conserve battery power you can set the unit to automatically turn the LCD screen off (even whilst
recording) a set amount of time after the last key is pressed. The LCD will turn back on as soon as a
key is pressed again
Vibrate Alarm
When the unit is running out of memory, the power is getting low or the camera is not connected it will
vibrate to warn you. You can turn this setting off in the menu. This will also stop the unit from
vibrating when you start/stop recording.
Beep Alarm
Keypad tones
This enables or disables the beep whenever a key is pressed.
Alarm Sound
When the unit is running out of memory, the power is getting low or the camera is not connected it will
beep to warn you. You can turn this setting off in the menu. This will also stop the unit from beeping
when you start/stop recording.
Format
Select the disk to be formatted.
When formatting the disk you will lose all your files, so make sure you have backed them up. You
should format your disk on a regular basis.
Defaults
You can select defaults to return the unit back too its factory settings.
System Info:
From time to time firmware updates will be available (they will be available to download on our
website www.sport-cam.co.uk ). Full instructions will be included with the update on our website
USB Connection
Use the USB cable to connect the DVR to a PC. Once connected the
DVR will enter USB slave mode to enable transfer of files from the DVR to the PC. The battery will
also charge whilst connected to a USB port.
LANC Connection
The unit will automatically enter the standby mode as soon as it
detects the remote LANC controller has been connected.
Playing your video on computer
When you connect the MiniDVR 3 to your computer it will act as a card reader.
Open up “my computer” and connect the unit via the USB cable.
You will see the device with removable storage appear.
Double click this to enter the disk.
Double click the DCIM folder and then double click the numbered folders to find your videos.
Double click the video file to start playing it.
If your computer cannot play the video, it has unsmooth playback or you can only hear the audio then
simply download a free video player from our website www.sport-cam.co.uk
Many different programs can be used to edit your video, please visit our website for recommendations
www.sport-cam.co.uk
Copyright and Statement:
The manufacturer reserves the patent, trademark, copyright and
other intellectual property rights relating to the product; copy or
reproduction of any part or all of contents in this manual is not
permitted.
The software, music or film with copyright is under protection by
laws; the user shall be liable to all when using this product to copy
the contents aforesaid.
Limited Responsibility:
The manufacturer, importer and dealer shall not be liable to any
loss or damage arising from the accidents including the man-made
or force majeure.
Please take the real product as final, the description in this manual
may be different from the real product. The manual and product
shall be subject to change without any further notice.
Statement:
The manufacturer reserves the final explanations for the difference
of the real product from the description in this manual.

This manual suits for next models

1

Popular DVR manuals by other brands

Grundig VIVANCE GV 3242 NIC/2 user manual

Grundig

Grundig VIVANCE GV 3242 NIC/2 user manual

CP Plus Indigo JRC-27F user manual

CP Plus

CP Plus Indigo JRC-27F user manual

Sanyo DSR-5016P quick guide

Sanyo

Sanyo DSR-5016P quick guide

Vitek VT-IPSN16M manual

Vitek

Vitek VT-IPSN16M manual

GE Interlogix Interlogix BusSecure user manual

GE Interlogix

GE Interlogix Interlogix BusSecure user manual

Speco CS16 operation instruction

Speco

Speco CS16 operation instruction

Archos DVR Station Connection guide

Archos

Archos DVR Station Connection guide

Kendo VR 2544 operating instructions

Kendo

Kendo VR 2544 operating instructions

V-Guard N series user manual

V-Guard

V-Guard N series user manual

Q-See QSC26404 user manual

Q-See

Q-See QSC26404 user manual

Q-See QSD42908C8 user manual

Q-See

Q-See QSD42908C8 user manual

Turnstiles ETV Series Installation and operation

Turnstiles

Turnstiles ETV Series Installation and operation

Ganz DigiMAster DR4H instruction manual

Ganz

Ganz DigiMAster DR4H instruction manual

Vicon 4CH user manual

Vicon

Vicon 4CH user manual

Gtec GT804M user manual

Gtec

Gtec GT804M user manual

Security Camera King NVR-ELE8M-4KS manual

Security Camera King

Security Camera King NVR-ELE8M-4KS manual

ADT DVR7800S-U Series user guide

ADT

ADT DVR7800S-U Series user guide

ReplayTV RTV4040 user guide

ReplayTV

ReplayTV RTV4040 user guide

manuals.online logo
manuals.online logoBrands
  • About & Mission
  • Contact us
  • Privacy Policy
  • Terms and Conditions

Copyright 2025 Manuals.Online. All Rights Reserved.