Sprout CADENCE TWS User manual

CADENCE TWS
EARBUDS
PRODUCT MANUAL

01. What’s in the box? 2
02. Product overview 3
03. Quick start guide 4
04. Operating controls 6
05. Troubleshooting 8
06. Specifications 9
07. Care and maintenance 10
08. Important safety info 11
09. Consumer guarantee 12
CONTENTS
WE PUT MORE INTO
OUR TECH, SO YOU CAN
GET MORE OUT OF LIFE.
At Sprout, our purpose is to help
you unlock the potential of your
technology. We’re an Australian
brand, and we design all of our
products locally to ensure they are
uniquely suited to your lifestyle.
Scan the QR code
to access an online
version of this manual
1

1. WHAT’S IN THE BOX?
Thank you for choosing the Cadence
TWS Earbuds.
For optimum performance and safety, please
read instructions carefully before usage.
Please keep this manual for future reference.
1x Cadence TWS earbud (Le)
1x Cadence TWS earbud (Right)
1x Charging case
1x USB-A to USB-C charging cable
2x Pairs of silicone ear tips
1x Product manual
1. Earbud indicator light
2. Microphone for calls
3. USB-C charging port
4. Charging case baery
level indicator
5. Removeable earbud tips
6. Earbud charging contact
7. Touch sensor
2. PRODUCT OVERVIEW
12
7
6
45
3
32

CHARGING THE EARBUDS
Charge the earbuds by placing them into the
charging case and carefully aligning the charging
contact on both the earbud and case.
CHARGING THE CASE
Connect the case to a 5V power adapter via
the USB-C input using the included USB-A to
USB-C cable.
Note: It is recommended that you fully charge
the case and earbuds before first use.
The recommended charging time is 1-2 hours.
4 white lights on: Baery 100%
3 white lights on: Baery 75%
2 white lights on: Baery 50%
1 white light on: Baery 25%
CHARGING CASE BATTERY LED INDICATOR
3. QUICK START GUIDE 3. QUICK START GUIDE
POWER ONOFF
The earbuds will turn on automatically when
removed from the charging case and will turn o
when placed back in the case with the lid closed.
To manually power on, hold the touch sensor on
either earbud for 2 seconds. To manually power o,
disconnect from your device’s Bluetooth and hold
the touch sensor for 8 seconds.
CONNECTING VIA BLUETOOTH
The le and right earbuds will be automatically pair to
each other when removed from the charging case.
The earbud LED indicator will flash red and blue
to indicate the earbuds are in pairing mode.
Turn on Bluetooth on your mobile phone/music
device*. Open your list of Bluetooth devices,
select “CADENCE TWS” to pair. Once a device
is connected, the earbud LED indicators will be
solid blue.
Single ear use will also be supported.
*If you are not familiar with Bluetooth pairing for your mobile phone
or music device, refer to the user guide for your mobile phone/
music device for instructions to pair a new device using Bluetooth.
54

Pause/Play: During audio playback, short touch one
earbud to pause or play.
Previous track: During audio playback, double-tap
the le earbud to skip to the previous track.
Next track: During audio playback, double-tap the
right earbud to skip to the next track.
Volume down: During audio playback or on a phone
call, long touch the le earbud. You will hear a tone
sound when the volume reaches its minimum.
Volume up: During audio playback or on a phone
call, long touch the right earbud. You will hear a tone
sound when the volume reaches its maximum.
4. OPERATING CONTROLS 4. OPERATING CONTROLS
Answering phone calls: Short touch one earbud
to answer an incoming call.
Ending phone calls: While in a call, short touch
one earbud to end the call.
Reject a phone call: When a call is incoming,
touch one earbud for 2 seconds to reject the call.
Voice assistant: Triple-tap the le earbud to
start the mobile phone voice assistant function
(requires support from connected smart devices).
This function is not available during phone calls.
7
6

Q: Only one earbud is working.
A: Place both earbuds in their charging case and close.
Next, open the case and commence using the
earbuds again. This will prompt them to reconnect.
Q: The case is not charging via cable.
A: Check that the charging cable is plugged in at
both the case end and the adapter. If it is still not
charging, try replacing your charging cable.
Q: The charging case is not charging the earbuds.
A: Generally this means that the case is out of
charge. This can be confirmed by checking the
LED indicator on the front of the case. Charge the
case as per the instructions provided.
Note: The earbuds will turn o automatically aer
five minutes if they are not paired with any device via
Bluetooth. Likewise, earbuds will enter standby mode
to save power if no incoming audio source is received
for five minutes.
When baery capacity is less than 20%, user will
hear a “baery low” voice prompt.
• Bluetooth version: V5.2
• Bluetooth chip: Actions ATS3015
• Case baery: 500mAh Lithium polymer
• Earbuds baery: 30mAh Lithium baery
• Total audio playtime: Up to 26 hours at 70%
volume, including earbud recharges
• Time to fully charge case through
USB-C port: 2 hours
• Driver: F6mm, 32Ω, 20H-20KHz
• Sensitivity: 96dB±3dB@1KHz
• Microphone sensitivity: -42dB±3dB@1KHz
• Bluetooth range: 10m
• 1x Touch control sensor per earbud
5. TROUBLESHOOTING 6. SPECIFICATIONS
98

To clean, lightly dampen a cloth with water to clean
the exterior. Ensure that all debris is removed from
the earbud opening.
If this product is not used for a long period of time,
it’s recommended to recharge it at least once a
month to extend its life and maintain the normal
baery performance.
Keep the product in a dry location.
Do not dispose of this product in fire as baeries
may explode or leak.
Do not disassemble this product. It contains no
user-serviceable parts.
IMPORTANT: Cadence TWS must be cleaned
regularly to maintain full functionality.
1. Protect your earbuds from excessive force, such
as drops and collisions
2. Do not charge your case near water, due to risk of
electric shock
3. Please do not discard the product in a fire or other
high temperature environments
4. Unplug the charging cable during lightning storms
or when unused for long periods of time
5. Avoid listening at excessive volume levels or for
prolonged periods
6. Use only original accessories, accidents caused by
the use of other accessories will not be covered
by the warranty
7. For best results, when charging through the
USB-C port, we recommend using a 5V charger
7. CARE AND MAINTENANCE 8. IMPORTANT SAFETY INFO
1110

Our goods come with guarantees that cannot be
excluded under the Australian Consumer Law. You are
entitled to a replacement or refund for a major failure
and compensation for any other reasonably foreseeable
loss or damage. You are also entitled to have the goods
repaired or replaced if the goods fail to be of acceptable
quality and the failure does not amount to a major failure.
If you have any questions about your rights in relation to
this product, please return it to point of sale or contact
us at enquiries@sproutinc.com.au. This warranty does
not aect your legal statutory rights under the Australian
Consumer Law. For more information about your rights
under Australia Consumer Law go to www.accc.gov.au.
Your Cadence TWS Earbuds are warranted to the original
owner for 24 months from the date of purchase against
defects in material and workmanship under normal use
and service. The warranty does not cover misuse of this
product and liability will not exceed the purchase price
of the product.
If you have any problems while using the product, please
do not hesitate to contact our customer support team.
For warranty and technical support please visit
sproutinc.com.au or email enquiries@sproutinc.com.au.
Thank you for choosing a Sprout product.
9. CONSUMER GUARANTEE
12

Sprout Accessories Pty Ltd
W: Sproutinc.com.au | E: enquiries@sproutinc.com.au
Table of contents
Other Sprout Headphones manuals

Sprout
Sprout Harmonic 3.0 User manual
Sprout
Sprout Stride User manual
Sprout
Sprout Invoke User manual

Sprout
Sprout Harmonic 3.0 User manual
Sprout
Sprout Stride BT5 User manual
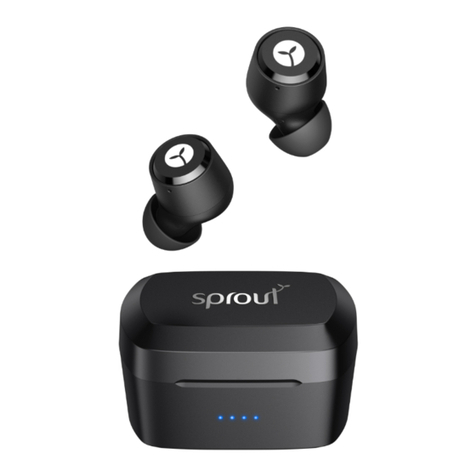
Sprout
Sprout CADENCE User manual
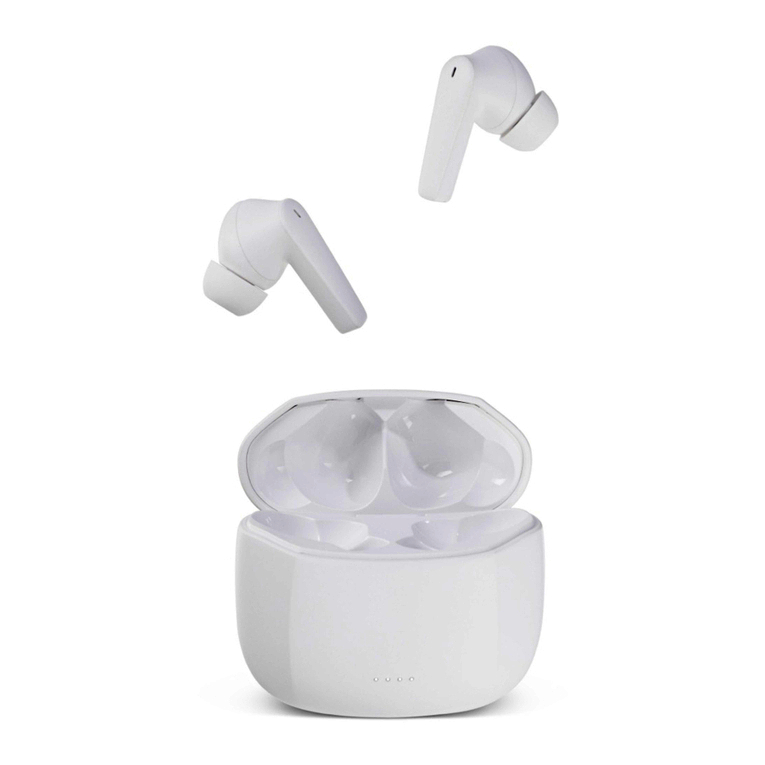
Sprout
Sprout AUDIOPLUS User manual
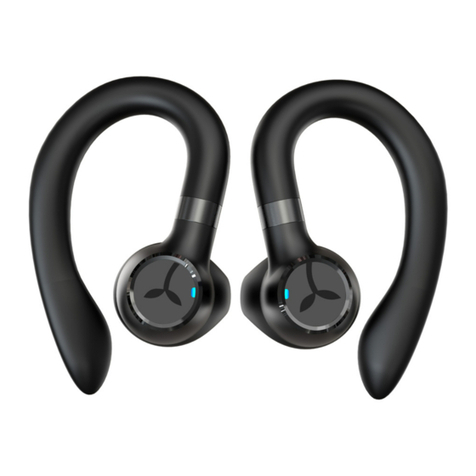
Sprout
Sprout Stride TWS User manual

Sprout
Sprout AUDIOPLUS TWS User manual

Sprout
Sprout HARMONIC II User manual


