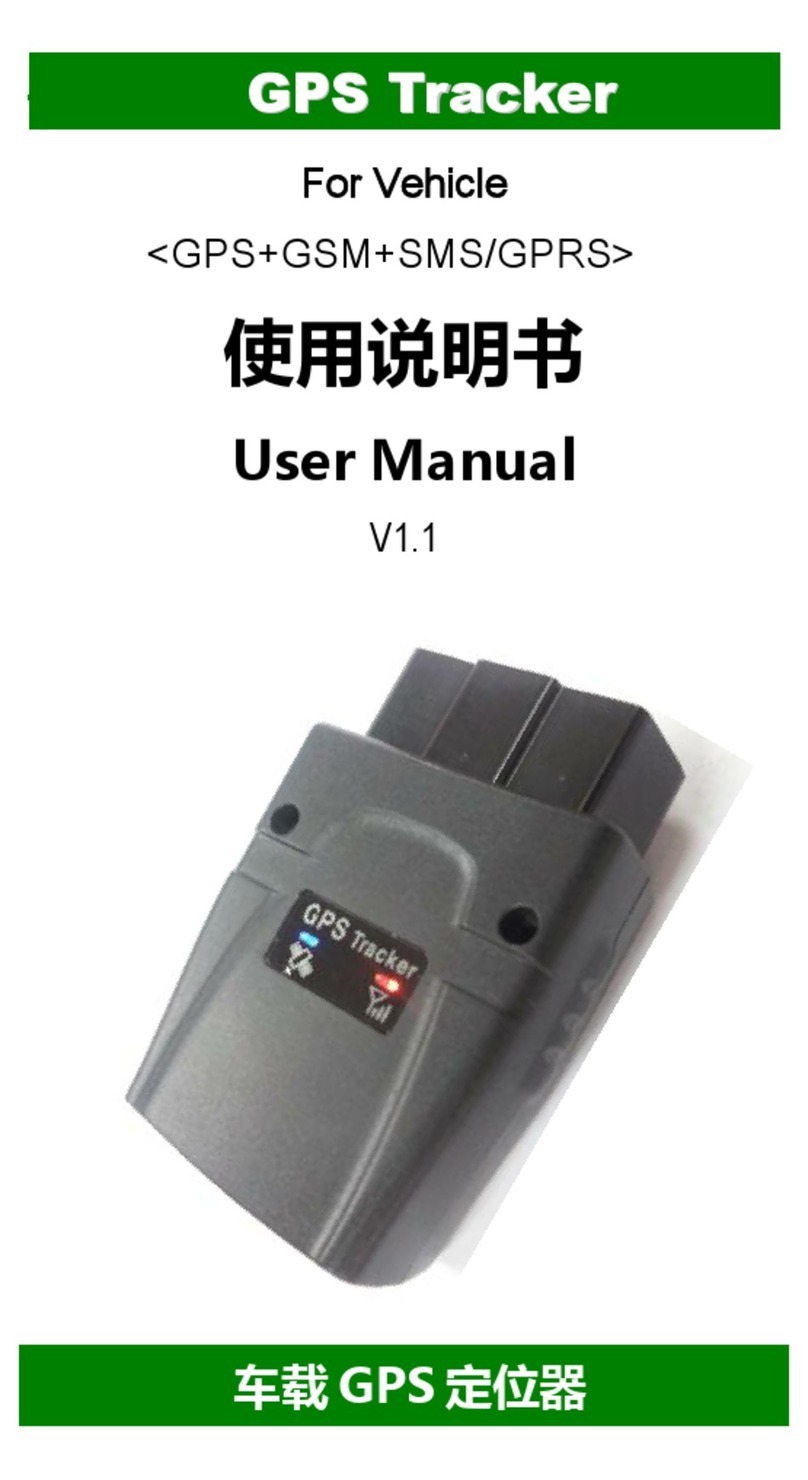
Spy Tec OBD Tracker for Vehicles User manual

1Spytec OBD Tracker for Vehicles - User Manual
Spytec GPS
OBD Tracker for Vehicles
User Manual

2 3Spytec OBD Tracker for Vehicles - User Manual
In the Box
• Tracker with programmed memory card already installed
*User does not typically need to remove the memory card.
Step 1: Locate your IMEI
• Locate the International Mobile Equipment Identity (IMEI) number on the sticker
afxed to your tracker. The number is 15 characters long. You will need to enter it
to set up your account.
Memory card and USB socket compartment
OBD Connector
Step 2: Install Tracker
• Find the On Board Diagnostics (OBD) port on your vehicle. It is typically located
under the dashboard on the driver’s side. All vehicles made since 1996 are
equipped with this socket. Though the tracker contains two rows of eight pins
each, the frame is narrower on the top than the bottom. Take care to line up
the wider end with the wider end of the OBD socket. Depending on the vehicle,
Step 3: Create an Account & Login
1. From a browser on a computer or smartphone, go to:
www.spytec.com/gps-activation.
2. Click on the “Activate a new tracker” tile.
3. Fill out the entire multi-screen form.
4. Your login details will be emailed to you. Please allow up to 24 hours for your
tracker to be activated.
5. Once you log into your account, you will see the mapping platform where your
OBD Tracker will show its location.
you may have to plug the tracker in upside down. If so, keep in mind that the LED
array will be displayed in reverse order as seen in this user guide.
• Note: the OBD port was designed to provide diagnostic information to a
car mechanic. But it also provides power. During the infrequent times that
diagnostic equipment needs to be connected to the OBD port, you or the
mechanic can temporarily disconnect the tracker. An optional cable is available
that enables the tracker to always be connected without removing it for
diagnostics.
• Keep in mind that though the tracker uses only the OBD’s power connectors, the
other connectors are deployed to physically support the tracker so it stays in
place.

4 5Spytec OBD Tracker for Vehicles - User Manual
Important Facts
• Default programming for the OBD Tracker is to update every 3 hours when not
moving and once a minute when moving.
Specications
INTERFACES
Power OBDII port
Cellular antenna Internal only
GPS antenna 2 internal; uses one with better signal automatically
LED indicators Cellular, GPS
Micro USB Used for upgrading and debugging
ENVIRONMENTAL
Operating temperature approximately -22°F ~ 176°F
ELECTRICAL
Operating voltage 8 V to 32 V DC
Battery Backup Battery Li-Polymer, 60 mAh
PHYSICAL
Dimensions 1.95” x 1.91” x 0.86”
Weight 2.05 oz
Help
Thank you for purchasing a Spytec GPS product. We appreciate your business and
strive to make your experience the best possible. If you have any issues with your
product, contact us at the following addresses:
Email tech support questions to: support@spytec.com
Email billing questions to: support@spytec.com
To download user manuals—including the one for the Spytec GPS platform
software that you’ll use to track your GPS device from a phone, tablet or computer,
go to: http://www.spytec.com/manuals
Log into your tracker at: app.spytec.com
Warranty
This Unconditional Lifetime Warranty applies to the OBD Tracker for Vehicles sold by Spytec GPS.
This warranty covers any manufacturing defects to the device or accessories encountered during
normal use, with an active Spytec GPS subscription. This warranty does NOT cover damages
resulting from improper use of the device (including the use of incompatible accessories such
as chargers, storage devices, etc.), unauthorized modications to the device, negligence, any
environmental or natural disasters, or loss or theft. This warranty does NOT cover water damage.
This warranty requires proof of sale of the device from Spytec GPS or approved resellers only.
Devices that are covered will be repaired or replaced at the discretion of Spytec GPS. Devices
requiring replacement will be fullled with a new or refurbished unit, or a similar unit if the original
unit is no longer available.
To take advantage of our warranty, go to http://www.spytec.com/pages/returns/ and review our
Returns Policy. If your device meets the above guidelines as well as the guidelines on our website,
please click the button to proceed to the Return Authorization Form. In the event that our online
guidelines change, this warranty will supersede any newer changes. Once you have lled out the
Return Merchant Authorization Form, please wait for instructions.

4 5Spytec OBD Tracker for Vehicles - User Manual
Important Facts
• Default programming for the OBD Tracker is to update every 3 hours when not
moving and once a minute when moving.
Specications
INTERFACES
Power OBDII port
Cellular antenna Internal only
GPS antenna 2 internal; uses one with better signal automatically
LED indicators Cellular, GPS
Micro USB Used for upgrading and debugging
ENVIRONMENTAL
Operating temperature approximately -22°F ~ 176°F
ELECTRICAL
Operating voltage 8 V to 32 V DC
Battery Backup Battery Li-Polymer, 60 mAh
PHYSICAL
Dimensions 1.95” x 1.91” x 0.86”
Weight 2.05 oz
Help
Thank you for purchasing a Spytec GPS product. We appreciate your business and
strive to make your experience the best possible. If you have any issues with your
product, contact us at the following addresses:
To download user manuals—including the one for the Spytec GPS platform
software that you’ll use to track your GPS device from a phone, tablet or computer,
go to: http://www.spytec.com/manuals
Log into your tracker at: app.spytec.com
Warranty
This Unconditional Lifetime Warranty applies to the OBD Tracker for Vehicles sold by Spytec GPS.
This warranty covers any manufacturing defects to the device or accessories encountered during
normal use, with an active Spytec GPS subscription. This warranty does NOT cover damages
resulting from improper use of the device (including the use of incompatible accessories such
as chargers, storage devices, etc.), unauthorized modications to the device, negligence, any
environmental or natural disasters, or loss or theft. This warranty does NOT cover water damage.
This warranty requires proof of sale of the device from Spytec GPS or approved resellers only.
Devices that are covered will be repaired or replaced at the discretion of Spytec GPS. Devices
requiring replacement will be fullled with a new or refurbished unit, or a similar unit if the original
unit is no longer available.
To take advantage of our warranty, go to http://www.spytec.com/pages/returns/ and review our
Returns Policy. If your device meets the above guidelines as well as the guidelines on our website,
please click the button to proceed to the Return Authorization Form. In the event that our online
guidelines change, this warranty will supersede any newer changes. Once you have lled out the
Return Merchant Authorization Form, please wait for instructions.
Table of contents
Other Spy Tec GPS manuals


