manuals.online logo
Brands
  1. Home
  2. •
  3. Brands
  4. •
  5. Spyder Auto
  6. •
  7. Automobile Accessories
  8. •
  9. Spyder Auto PRO-YD-CS07 User manual

Spyder Auto PRO-YD-CS07 User manual

*Please Note*
If you are unfamiliar with the installation pro-
cesses, professional installation is highly rec-
ommended.
INSTALLATION GUIDE:
PRO-YD-CS07(CCFL and LED ALL COLORS)
1) Open your hood and locate the (8) panel bolts.
Using the panel popper tool or a flat head screw
driver, gently pry the bolts free and set them aside
for later. The black protective covering will now be
able to be removed.
3) This is a top-down angle from above the
grille, looking directly down into the radiator
support and back of the grille. There 3 tabs per
side for a total of 6 tabs that need squeezed and
pressed out in order to get the grille free. (see
fig.4 for all 6 locations)
4) *For illustration the grille has been removed* You
can now see each of the 6 mounting locations for the
grille tabs that need to be pressed out in figure 3(red
arrows). Once these are removed, you will now need
to remove the (2) 10mm bolts holding the headlight in
place (green arrows).
2) Once the bolts have been removed, you will need
to remove (4) 10mm nuts, shown here. Once these
are out, you wll need to unmount the tabs holding
the grille in place. They are located directly in front
of the radiator support and behind the grille. (fig.3)
6) Now that all the bolts have been removed, you
should be able to get the headlight free. However,
still attached to the headlight will be the harness
(circled here). Disconnect this harness and now
the headlight will fully detach from the vehicle.
7) Set the OEM assembly next to the new Spyder
light. You will need to transfer the bulbs and
wiring harness over. The first set of red arrows
(left) are your signal/running lights. Turn coun-
ter-clockwise to get them free. The second set of
arrows (right) will be your bulb harnesses. These
can be pulled out fairly easily.
8) Now once you have the headlight harness
removed from the OEM headlight set, you will
now need to plug it into the new Spyder headlight.
Match the like arrows to their sockets and repeat
for all bulbs and sockets. Red arrows indicate the
running/turn signal bulbs, the blue arrows (orange
oem harness to white/blue harness) are your low
beam wires, and the green arrows (red oem beam wires, and the green arrows (red oem
harness to red/black harness) indicate your high
beam harness.
5) Before being able to full remove the headlight,
you will need to locate a 10mm bolt (red arrow) in
the fender well. Remove this, and peel back the
liner to expose the last 10mm headlight bolt (white
arrow).
10) Close the hood, and you’re done! Congratula-
tions on installing your new Spyder Halo Head-
lights for your 2007+ Chevy Silverado.
9) Once the wires have all been connected,
reattach your OEM harnesses together and mate
the connection. Reinstall all panels, bolts, and fas-
teners in reverse order as shown in steps
(6,5,4,3,2,1). For LEDS, LED/CCFL wiring
guides, see www.spyderauto.com for more infor-
mation.
For further help with installation, please watch our installation video. Follow the direct
link below to our YouTube channel for more information.
https://www.youtube.com/watch?v=L_eLaZpqyDA

Other Spyder Auto Automobile Accessories manuals
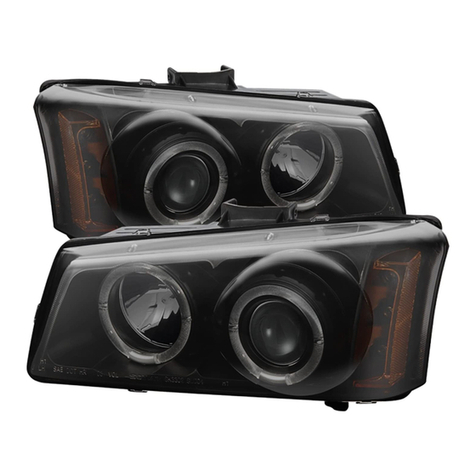
Spyder Auto PRO-YD-CS03-AM Series User manual
Spyder Auto

Spyder Auto PRO-YD-CS03-AM Series User manual

Spyder Auto PRO-YD-C300C-HL User manual

Spyder Auto

Spyder Auto PRO-YD-C300C-HL User manual

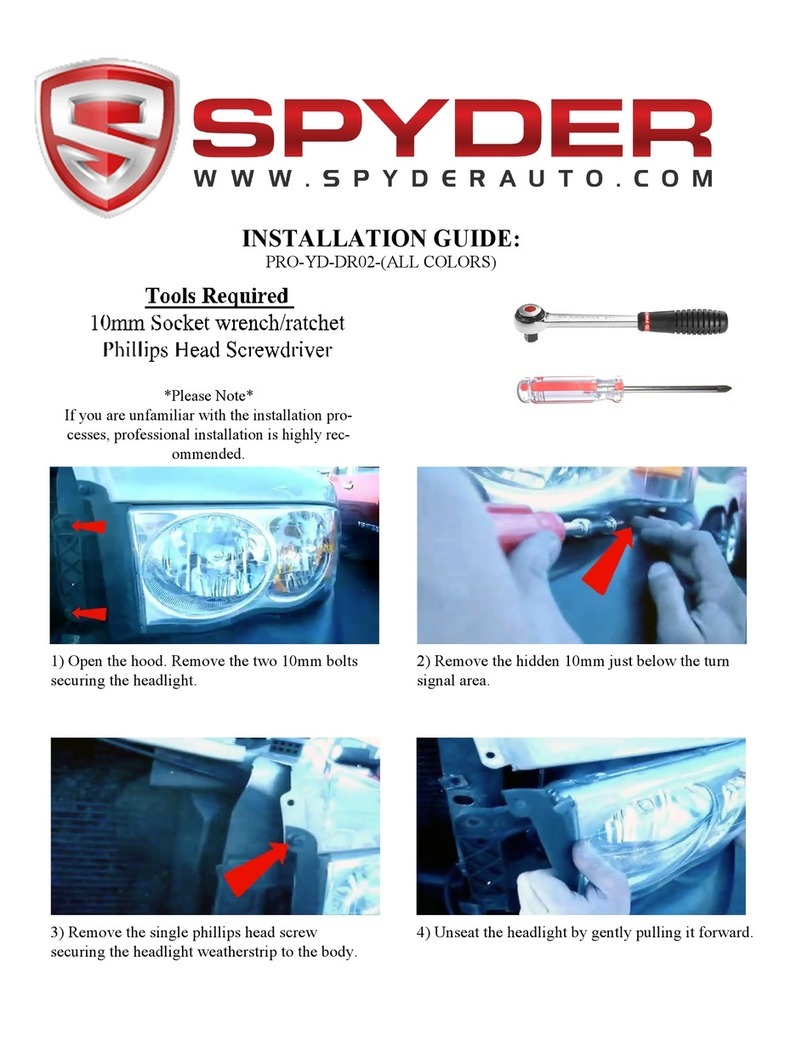
Spyder Auto PRO-YD-DR02 Series User manual

Spyder Auto

Spyder Auto PRO-YD-DR02 Series User manual

Spyder Auto PRO-YD-CCO04 Series User manual
Spyder Auto

Spyder Auto PRO-YD-CCO04 Series User manual

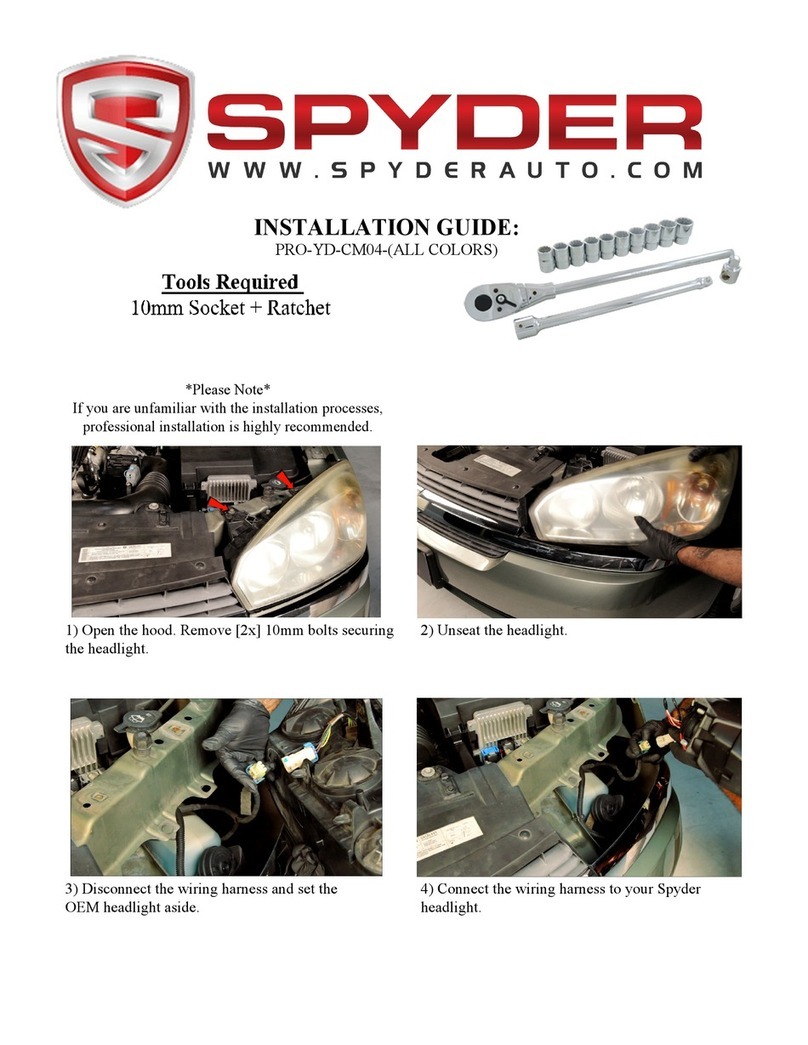
Spyder Auto PRO-YD-CM04 Series User manual

Spyder Auto

Spyder Auto PRO-YD-CM04 Series User manual

Spyder Auto PRO-YD-CS99 Series User manual

Spyder Auto

Spyder Auto PRO-YD-CS99 Series User manual

Spyder Auto PRO-YD-DINT98-HL User manual
Spyder Auto

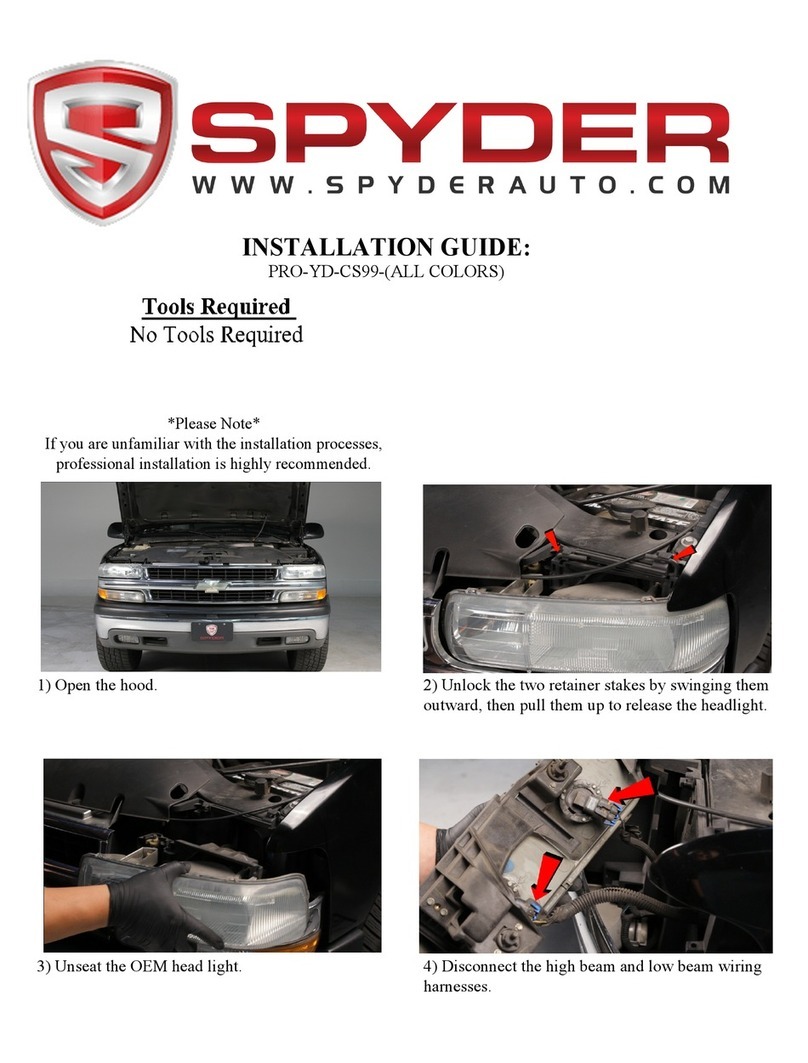
Spyder Auto PRO-YD-DINT98-HL User manual

Popular Automobile Accessories manuals by other brands

Britpart VUB000730 Fitting instructions

Britpart

Britpart VUB000730 Fitting instructions

Prorack K925 Fitting instructions

Prorack

Prorack K925 Fitting instructions

Peripheral IS8M71 instruction manual

Peripheral

Peripheral IS8M71 instruction manual

Kurgo AUTO ZIP LINE installation instructions

Kurgo

Kurgo AUTO ZIP LINE installation instructions

Warrior Products 3860 quick start guide

Warrior Products

Warrior Products 3860 quick start guide

Ranger design 5044 installation guide

Ranger design

Ranger design 5044 installation guide

AutoLoc SB2P Series User guide and installation manual

AutoLoc

AutoLoc SB2P Series User guide and installation manual

Connects2 CT23MB26L quick start guide

Connects2

Connects2 CT23MB26L quick start guide

Skoda 57A 071 336 Fitting and User Instructions

Skoda

Skoda 57A 071 336 Fitting and User Instructions

Kuda 244040 installation instructions

Kuda

Kuda 244040 installation instructions

Curt Group 70105 installation manual

Curt Group

Curt Group 70105 installation manual

Thule 59 Mounting & installation

Thule

Thule 59 Mounting & installation

Coretronics TripTek 2510-X Operator's manual

Coretronics

Coretronics TripTek 2510-X Operator's manual

Standby L88 manual

Standby

Standby L88 manual

Corvette A2D-C5 quick start guide

Corvette

Corvette A2D-C5 quick start guide

ETT HOLLYWOOD 1863389 instruction manual

ETT

ETT HOLLYWOOD 1863389 instruction manual

Cruz Alu-Bike Assembly instructions

Cruz

Cruz Alu-Bike Assembly instructions

ACV 381210-17-1 installation manual

ACV

ACV 381210-17-1 installation manual

manuals.online logo
manuals.online logoBrands
  • About & Mission
  • Contact us
  • Privacy Policy
  • Terms and Conditions

Copyright 2025 Manuals.Online. All Rights Reserved.