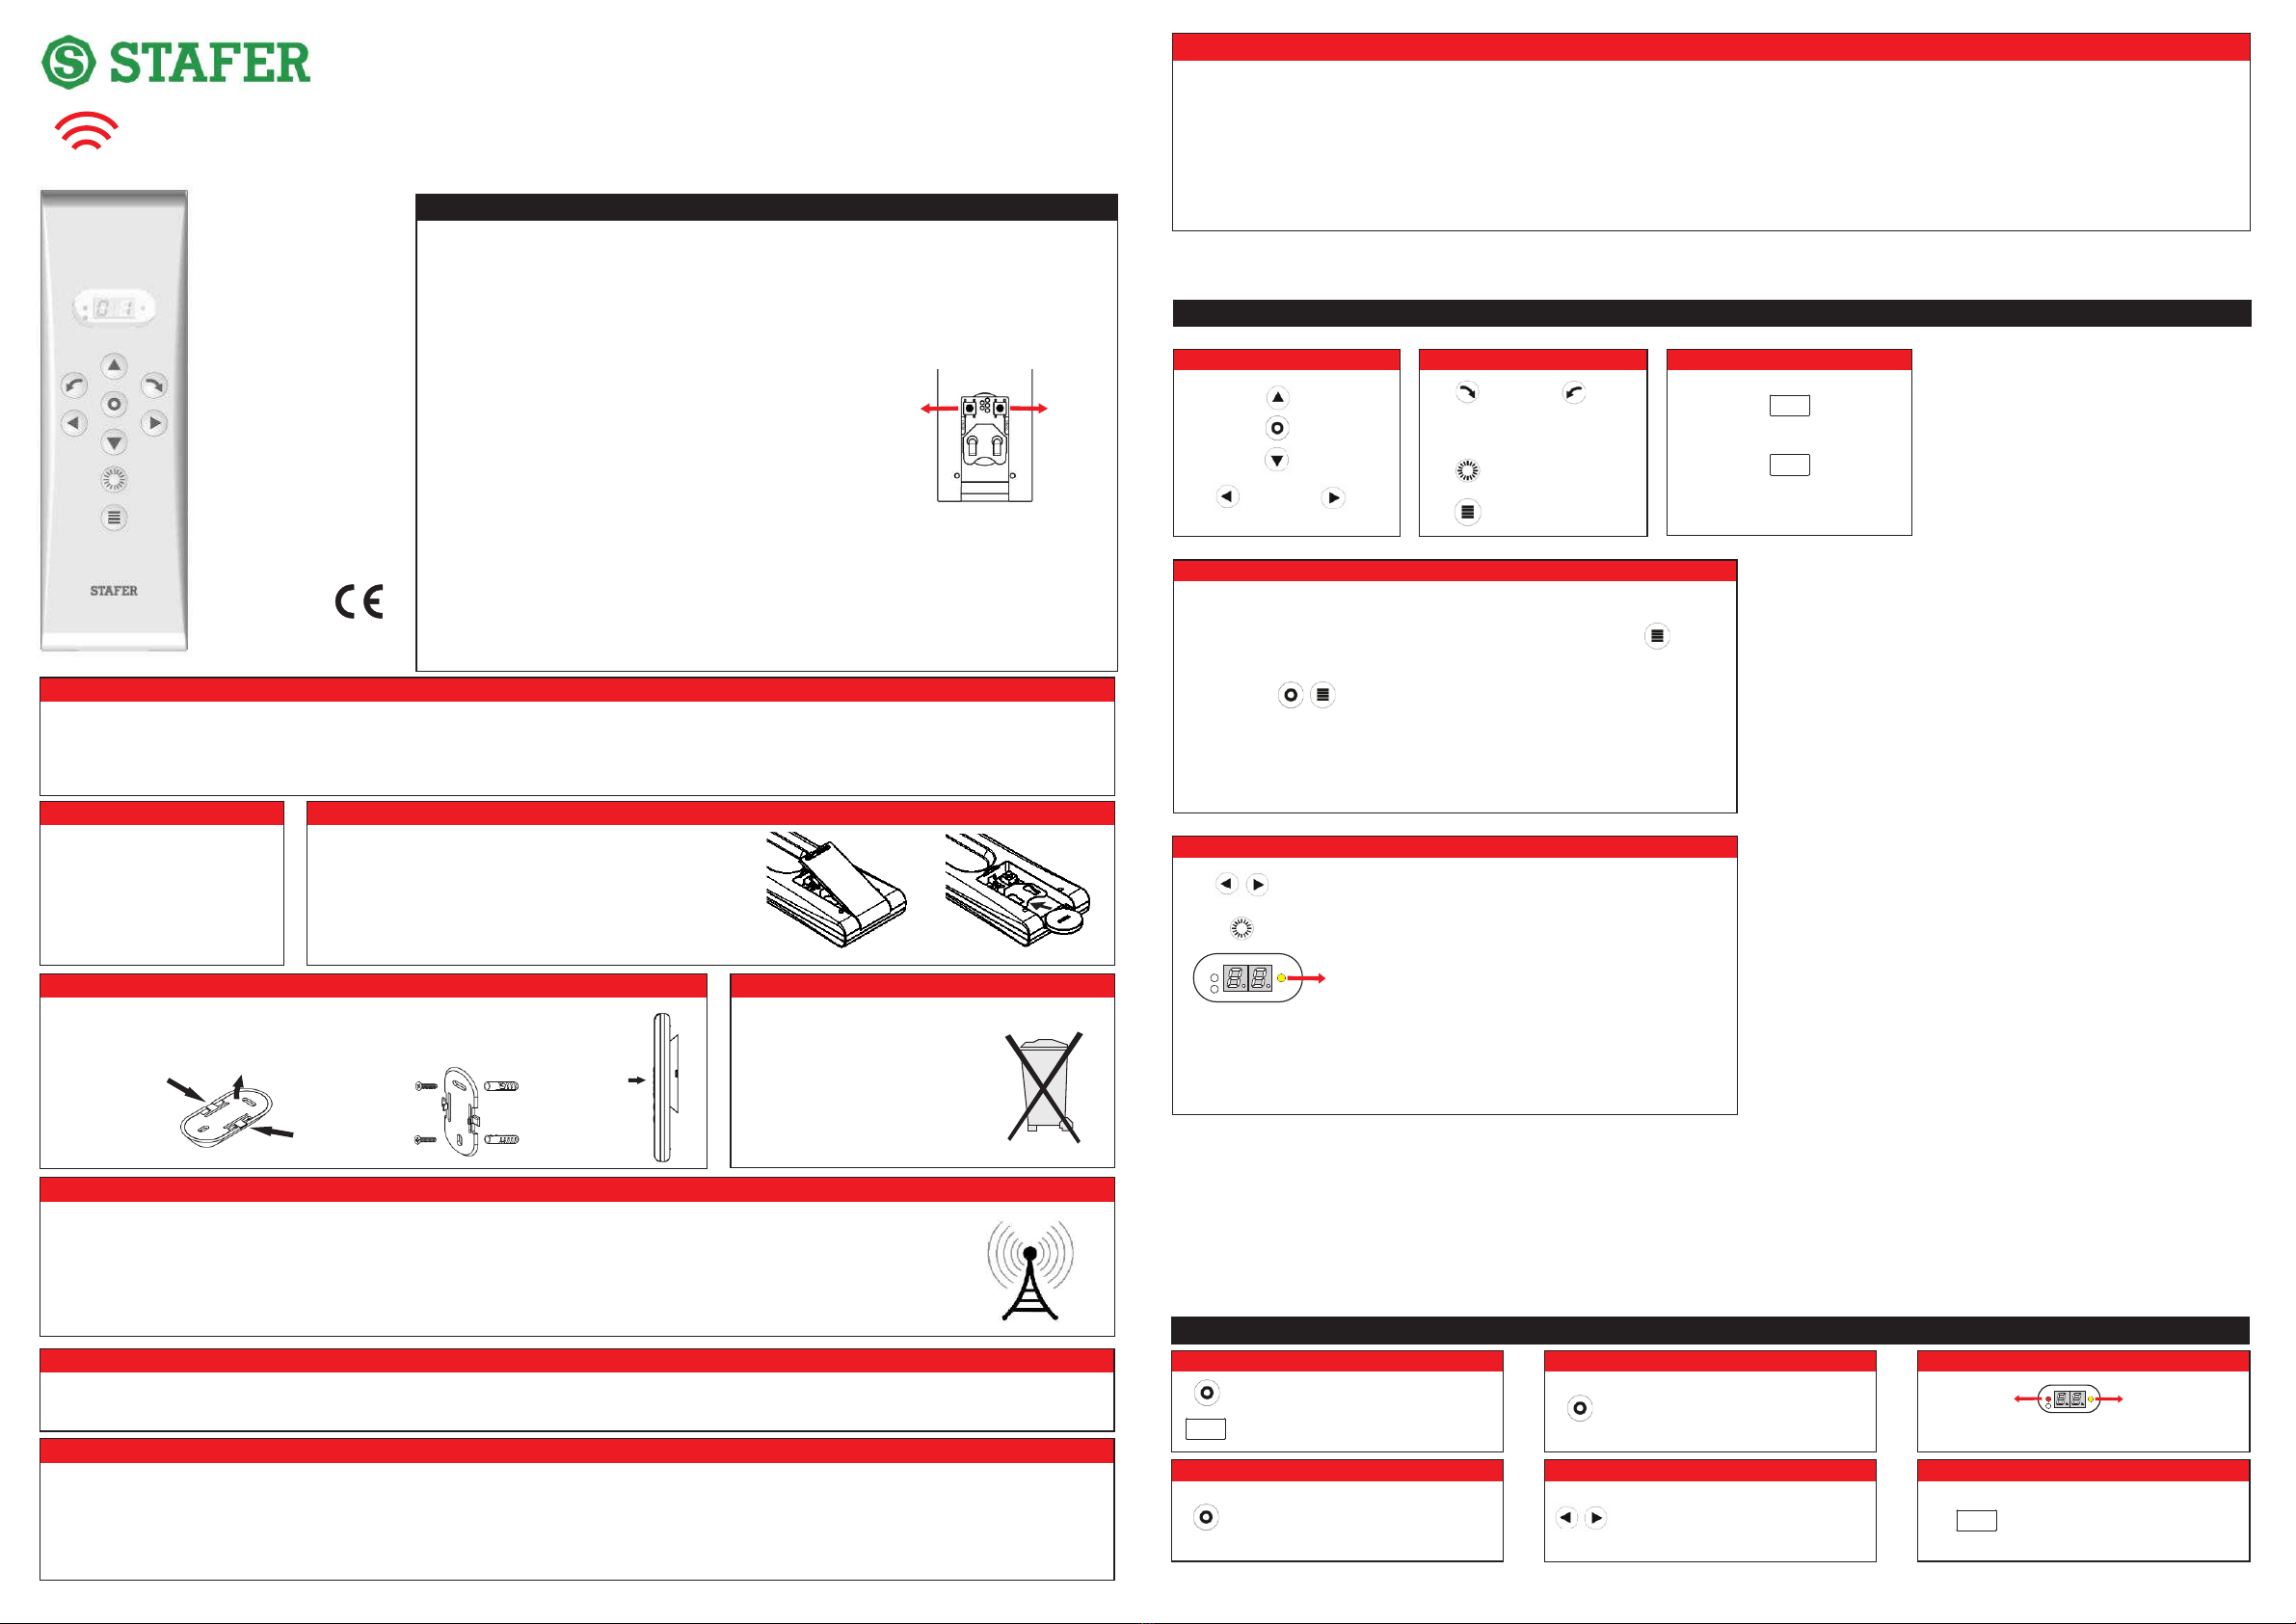
Stafer 594.T.X5.00 User manual
www.stafer.com
433,42 MHz
User manual for :
594.T.X1.00
594.T.X5.00
Table of contents
1. FUNCTIONS ASSOCIATED WITH THE TRANSMITTER BUTTONS
Basic functions
up
stop
down
channel prev
To recall:
Special functions
Intermediate position (third limit switch)
Sun/automatic lowering function (with wind-sun or wind sensor)
Select the channel (excluded «SE» sequencer channel)
sun function
right
orientation
third switch
Bring motor in a desired position.
Press simultaneously STOP and THIRD LIMIT SWITCH
until the motor moves (about 5 seconds).
LOOK OUT! With the shutter type «ADJUSTABLE SLATS» THIRD SWITCH
corresponds to shutter down with the slats completely closed. Pressing instead
DOWN button the shutter closes and the slats are open.
recycled paper versione 1.0
MENU PROG
channel next
With a wind-sun sensor this function active the sun function.
With a wind sensor this function active «automatic lowering» of awning when
the wind alarm is ended.
For clarifications, consult the manual of your wind-sun sensor.
Dear Customer,
thank you for purchasing a STAFER S.p.A. product. This guide contains all the information you will need
concerning the use of this product. Read the instructions carefully and keep them for further consultation.
The transmitter is designed specifically to control sun awnings, blinds, roller shutters, screens or similar
items. All other use beyond the field defined by STAFER S.p.A. is forbidden. This, as well as the breach of
the instructions given in this guide, shall release STAFER S.p.A. from any liability and shall annul the
product warranty.
Water, humidity, heat sources, accidental falls can damage the device. Do not use abrasive products or
solvents to clean the product.
Technical specifications
Package contents
Battery insertion/replacement
Fixing the wall bracket
Disposal
Notes on radio systems
Warnings for safety
Warnings for the installation
Warnings for use
1. Functions associated with the transmitter buttons.
2. Enabling/disabling groups and channels.
3. Delay associated to the sequencer channel.
4. Receiver menu
4A. Modification of Function 01 - WIND THRESHOLD
4B. Modification of Function 02 - SUN THRESHOLD
4C. Modification of Function 07- WORKING TIME
4D. Modification of Function 08 - «AIR CHANGE» FUNCTION
4E. Modification of Function 11- FABRIC RELEASE
4F. Modification of Function 12 - ORIENTATION TIME
4G. Modification of Function 16 - ANEMOMETRIC TEST
4H. Modification of Function 17 - RADIO TEST
4I. Modification of Function 18 - BUTTONS LOGIC
4L. Function 29 - RECEIVER RESET
Do not use radio systems in places with strong interference (for example, near police stations, airports, banks, hospitals).
It is in any case advisable to carry out a technical inspection prior to installing any radio system in order to identify possible sources of
interference.
Radio systems can be used where any disturbances or malfunction of the transmitter or receiver do not constitute a risk factor, or if such
factor is eliminated using appropriate safety systems.
The presence of radio devices working at the same transmission frequency (433.42 MHz) may interfere with the radio receiver and
reduce the range of the system, limiting functionality.
ARCO5 - ARCO10 - ARCO20
Package contents
- 1 transmitter
- 1 battery CR2032
- 1 wall bracket
- 2 dowels + 2 screws
- 1 instruction guide
Technical specifications
- Power supply: n° 1 battey CR2032
- Dimensions: 46x147x16 mm
- Weight: 50 gr
- Working temperature: from 0 to +55°C
- Radio frequency: 433.42 Mhz
- Radio channel for 594.T.X1.00: 1
- Radio channels for 594.T.X5.00: 10 + sequencer channel
Notes on radio systems
At the end of the product life cycle,
d isp o se o f t he dev i c e i n
compliance with local regulations.
This product could contain
substances that are harmful to
h u m a n h e a l t h a n d t h e
environment: do not dispose of the
product in domestic waste.
Battery insertion/replacement
The transmitter is powered by a battery C R2032. To insert
the battery, remove the battery cover on the back of the
transmitter, insert the battery respecting the polarity, close
the cover. Use of batteries different than those referred
can cause an explosion hazard. Used batteries must be
discarded in appropriate containers. It it recommended to
replace the battery every 2 years.
Fixing the wall bracket
Using a screw driver, remove the central cover from the bracket.
Fix the bracket to the wall using the supplied plugs (distance between holes 45 mm).
Place the cover back on.
Disposal
Warnings For Safety
üKeep these instructions for future maintenance work and disposal of the product.
üAll the product installation, connection, programming and maintenance operations must be carried out only by a qualified and skilled technician, who must
comply with laws, provisions, local regulations and the instructions given in this manual.
Warnings for the installation
üRead the technical data in "Technical Specifications" to assess the limits of use of the product.
üCheck that the package is intact and has not been damaged in transit.
üMake sure that the packaging is intact and has not been damaged during transportation.
üA heavy knock and the use of unsuitable tools can cause the damage of the external or internal parts of the motor.
üDo not modify or replace parts without the manufacturer's permission.
üNon utilizzare prodotti abrasivi né solventi per la pulizia del prodotto; non pulire utilizzando pulitori a getto d'acqua o ad alta pressione.
üThe product is not intended for use by persons (including children) with reduced physical, sensory or mental capabilities, or lack of experience and knowledge,
unless they are supervised or given instructions on how to use the product by a person responsible for their safety.
üBefore operating the roller shutter/awning, make sure there are no people or objects in the area involved in its movement. Check the automation during
movement and keep people at a safe distance, until the movement ends.
üDo not allow children to play with the appliance or with the fixed control devices. Also, keep the portable control devices (remote controls) out of the reach of
children.
üDo not operate the roller shutter/awning when maintenance operations are being carried out (e.g. window cleaning). If the control device is automatic,
disconnect the motor from the power line.
WARNINGS FOR USE
left
orientation
Press SUN until the state of the
YELLOW LED varies (about 2 seconds)
YELLOW LED LIGHT ON/OFF:
«sun/automatic lowering» function active / off
To store:
Programming function
Access to the receiver menu
transmitters
insertion-cancellation
MENU
PROG
Notes:
- It is possible that some receiving devices do not associate any operations to some transmitter buttons.
- It is possible that some receiving devices associate to the transmitter buttons some operations different from what it is described. In this case consider the
instruction manual of the receiving device.
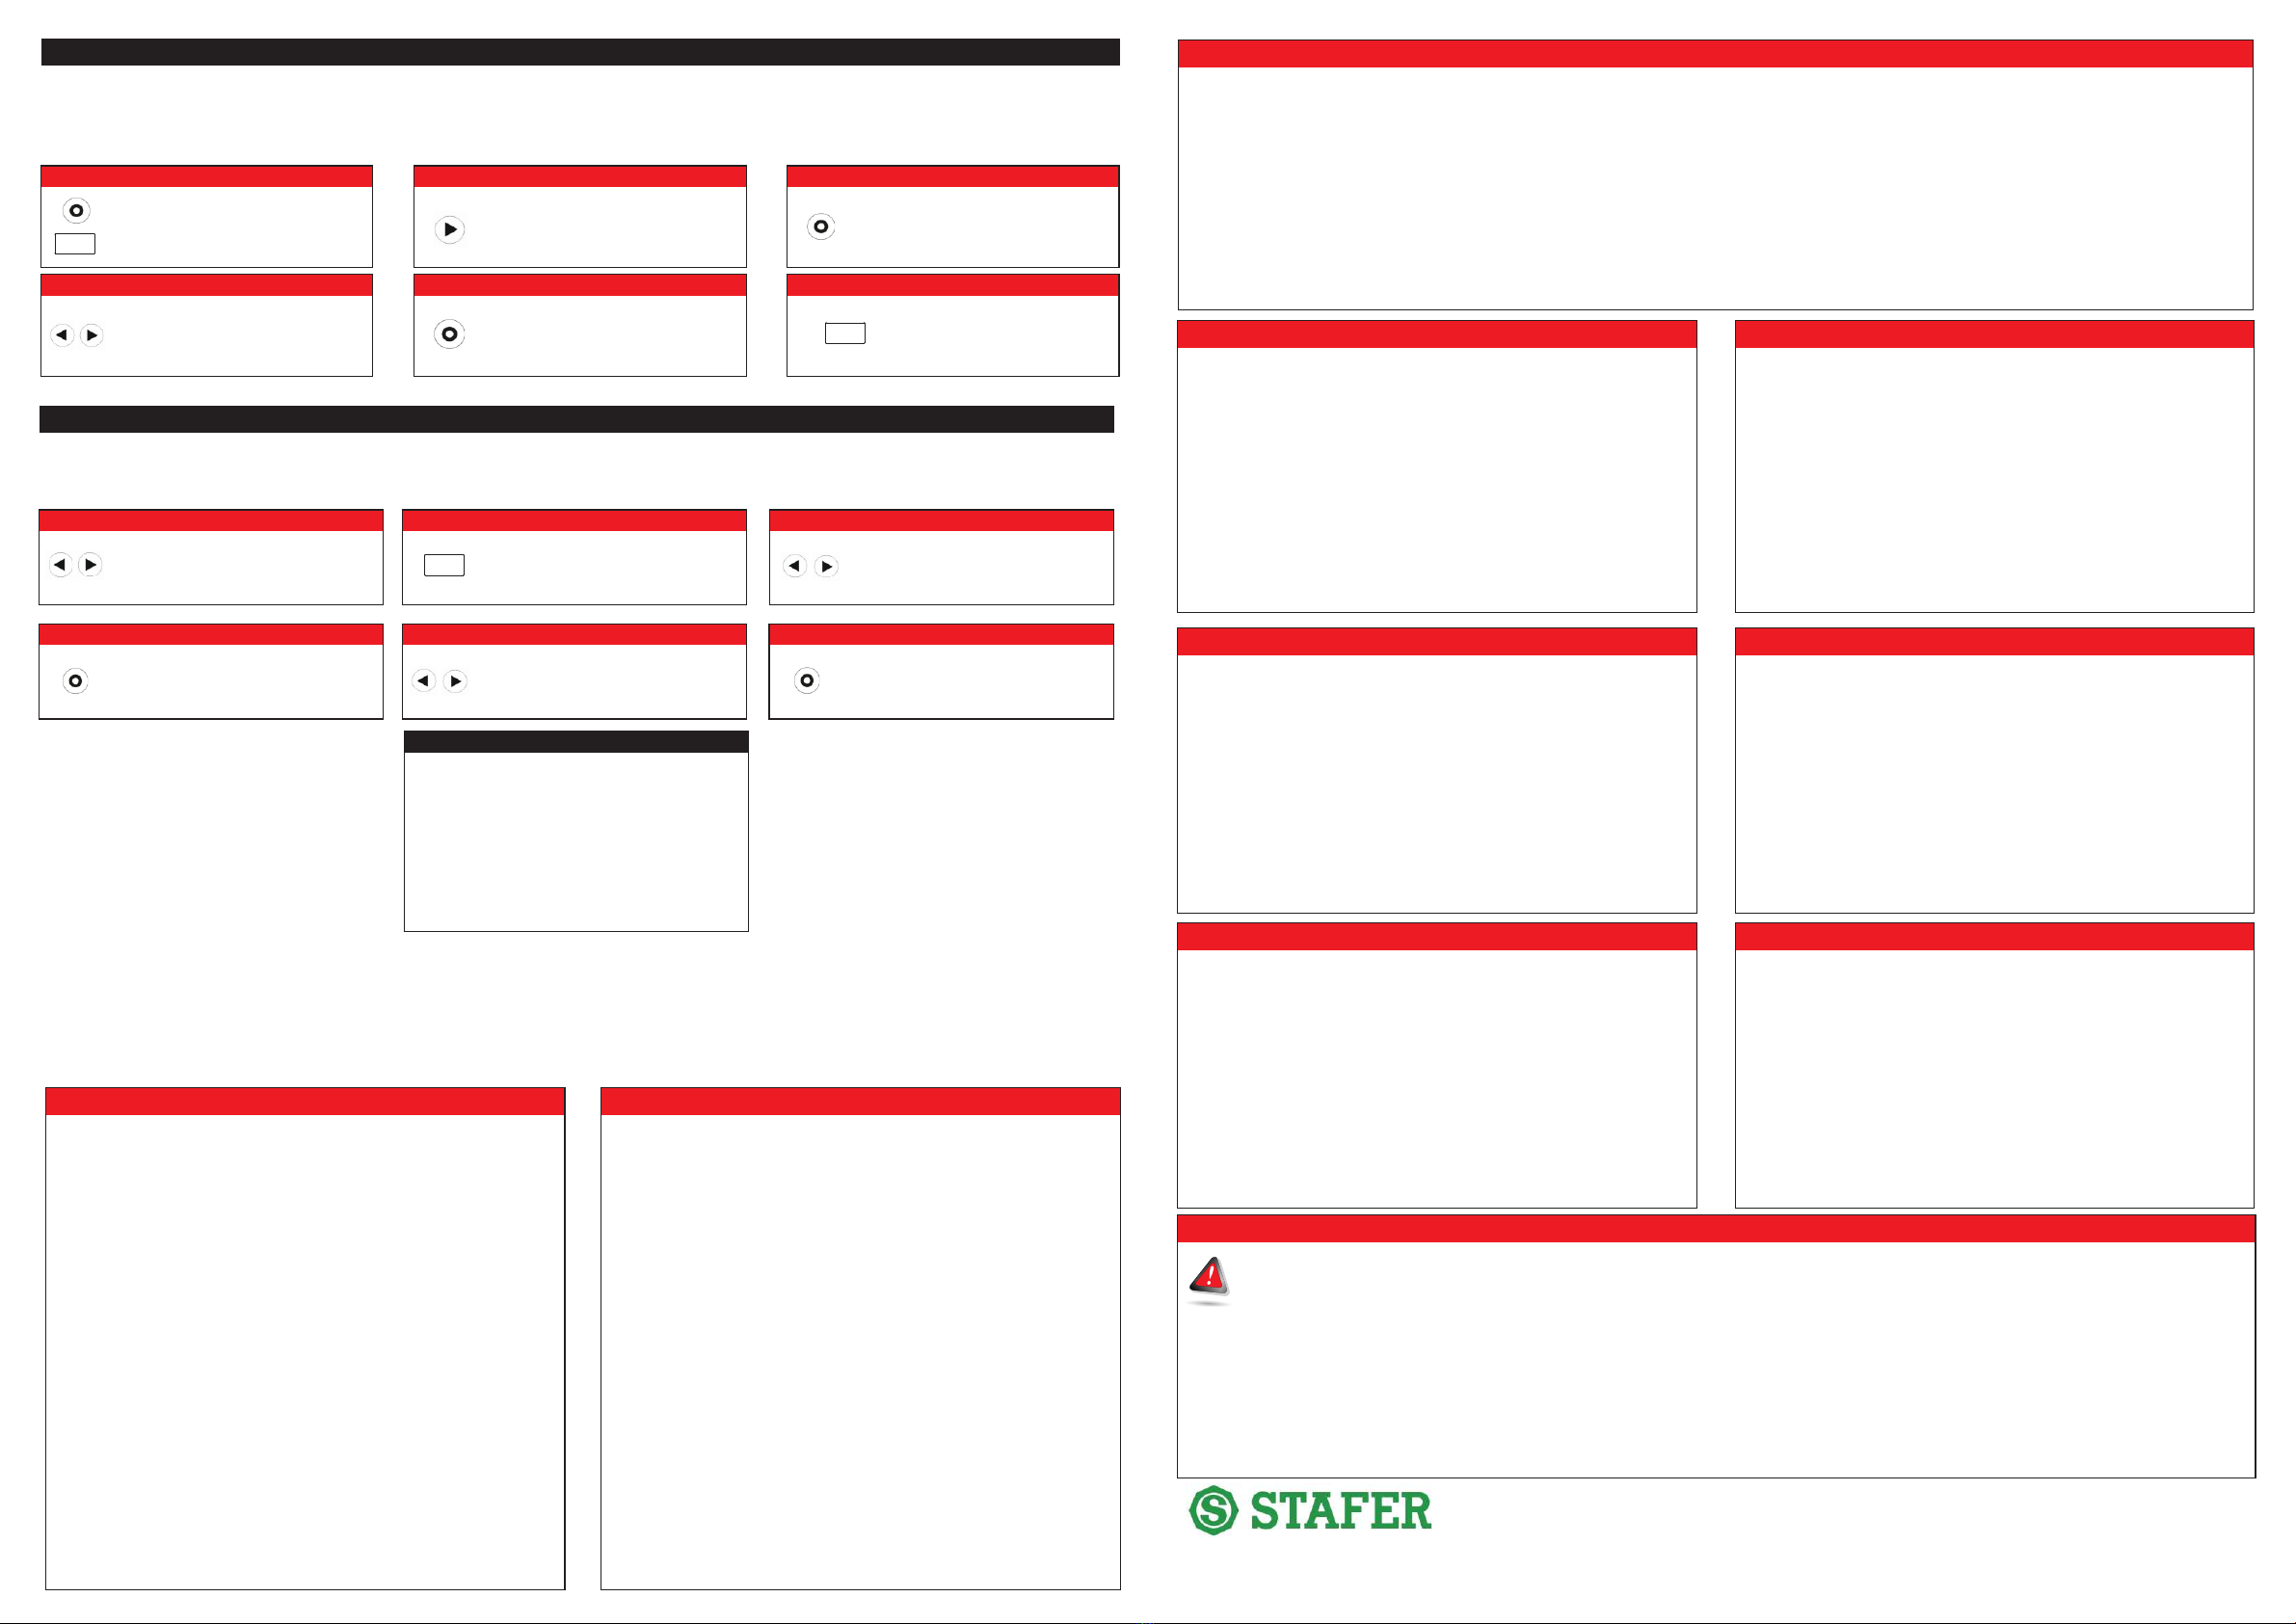
2. ENABLING/DISABLING CHANNELWS FOR 594.T.X5.00 (TO HYDE ON DISPLAY)
MENU
Press STOP and then MENU and
hold the buttons for about 3
seconds, until the ch symbol is
displayed.
Press STOP. 01 will appear on
display.
B C
Press STOP to modify the setting.
D
If necessary, select another
channel/group and return to point
C.
E F
To exit, press twice MENU or
wait about 15 seconds (the
display switches off).
MENU
A
2x
if RED LED
IS ON:
channel disabled.
if YELLOW LED
IS ON:
channel enabled.
On the next section, the operations to be performed to modify the parameters are described.
4.A - Modification of Function 01 - WIND THRESHOLD
4.G - Modification of Function 16 - ANEMOMETRIC TEST
4.I - Modification of Function 18 - BUTTONS LOGIC
4.B - Modification of Function 02 - SUN THRESHOLD
4.E - Modification of Function 11 - FABRIC RELEASE
4.H - Modification of Function 17 - RADIO TEST
4.L - Function 29 - RECEIVER RESET
01 - wind theshold
02 - sun threshold
07 - working time
08 - «air change» function
11 - fabric release
12 - orientation time
16 - anemometric test
17 - radio test
18 - buttons logic
29 - receiver reset
RECEIVER CODE FUNCTIONS
It’s NOT possible for sensor 593.K.XB.00 (in this case you can modify
only by buttons on sensor).
With 593.K.XS.00 is necessary a «10 channels» transmitter.
01. Select the correct radio channel and bring the motor on the
intermediate position.
02. If you have 593KXS00 you must store the sun-wind sensor in a free
channel of transmitter (read manual of sun-wind sensor at the
section 6) and select this channel.
03. Press MENU for about 5 seconds. rS appears on the display.
03. Press 1 time NEXT. 01 appears on the display.
04. Press 1 time STOP.The receiver signal the new value.
Examples:
if threshold = 08 Km/h: p 8 (8 short movements)
if threshold = 15 Km/h: p 1 - pause - p 5
if threshold = 30 Km/h: p 3 - pause - p 1 long
05. Using PREV and NEXT to set the new value. (from 5 Km/h at 35
Km/h. From factory set to 15 Km/h).
Examples:
for threshold 08 Km/h: (0 time PREV) - 8 times NEXT
for threshold 15 Km/h: 1 time PREV - 5 times NEXT
for threshold 30 Km/h: 3 times PREV - (0 time NEXT)
07. Press 1 time STOP.The receiver signal the new value.
It’s NOT possible for sensor 593.K.XB.00 (in this case you can modify
only by buttons on sensor).
With 593.K.XS.00 is necessary a «10 channels» transmitter.
You must before active the «sun function» on transmitter on motor
channel (read the section number 1 of this manual).
01. Select the correct radio channel and bring the motor on the
intermediate position.
02. If you have 593KXS00 you must store the sun-wind sensor in a free
channel of transmitter (read manual of sun-wind sensor at the
section 6) and select this channel.
03. Press MENU for about 5 seconds. rS appears on the display.
04. Press 2 times NEXT. 02 appears on the display.
04. Press 1 time STOP. The receiver signals the current value
Examples:
if threshold = 07 Klux: p 7 (7 short movements)
if threshold = 18 Klux: p 1 - pause - p 8
if threshold = 20 Klux: p 2 - pause - p 1 long
06. Using PREV and NEXT to set the new value (from 1 Klux at 45
Klux. From factory set to 16 Klux).
Examples:
for threshold 07 Klux: (0 time PREV) - 7 times NEXT
for threshold 18 Klux: 1 time PREV - 8 times NEXT
for threshold 20 Klux: 2 times PREV - (0 time NEXT)
07. Press 1 time STOP.The receiver signal the new value.
4.F - Modification of Function 12 - ORIENTATION TIME
All rights reserved.
STAFER S.p.a. - via Malpighi, 9 - 48018 Faenza (RA) ITALY
Tel. (+39) 0546.624811 - Fax. (+39) 0546.623141 - www.stafer.com
It is possible to exit the «receiver menu» at
any time by pressing the button MENU briefly.
3. DELAY ASSOCIATED TO THE SEQUENCER CHANNEL (only 594.T.X.00)
The «10 channels transmitter» have a virtual channel called sequencer «SE», which send the selected command in succession for all the active radio channels.
To select the Sequencer, scroll the list of channels until SE symbol appears. It is possible to set the interval (from 1 to 10 sec) of time which must pass between the
transmission on one channel and the next. The factory sets the delay at 1 second. The use of high intervals of time can negatively effect on the battery life.
To modify the setting:
MENU
Press STOP and then MENU and
hold the buttons for about 3
seconds, until the symbol ch is
displayed.
Press NEXT. The Sd symbol
appears on the display.
B
Press STOP to save the setting.
E
To exit, press twice MENU or
wait about 15 seconds (the
display switches off).
F
MENU
Press STOP. The currently set
value appears on the display (from
01 to 10 sec).
C
Use PREV and NEXT to set the
required value.
D
A
2x
4. RECEIVER MENU
After storing a radio channel of the transmitter on a receiver, it is possible to modify some operating parameters of the receiver directly from the transmitter. To
identify the editable settings, refer to the instruction manual of the receiving device.
To modify an operating parameter:
Select the channel associated to the
receiver.
B
MENU
Press MENU on the transmitter for
about 5 seconds, until rS symbol
appears.
C
Use PREV and NEXT to select the
code of the parameter to edit (see
table).
D
Press STOP. The receiver will show
the current value of the parameter.
E
Use PREV and NEXT to set the
new parameter value.
F
Press STOP. The receiving device
shows the new value of the
parameter.
A
CONVENTIONS USED IN THE EXAMPLES:
ŸOn the following example with p is indicated a short upward movement (example: p 3 = 3 short upward movements of the motor).
ŸOn the following example with q is indicated a short downward movement (example: q 1 = 1 short downward movement of the motor).
ŸSome receiver may display the settings in another way (i.e. not with motor movements, but with visual and acoustic signals) or not display the settings. In
these cases, refer to the instruction manual of the receiver.
01. Select the correct radio channel and bring the motor on the
intermediate position.
02. Press MENU for about 5 seconds. rS appears on the display.
03. Press 1 time PREV and 1 time NEXT. 11 appears on the display.
04. Press 1 time STOP. The receiver signals the current value.
Example: if parameter value = 2: p 2 (2 short upward movements)
05. Using PREV and NEXT to set the new value (from 1 at 5. 1 is
function OFF. From factory is set 1)
Example: for parameter = 2; (0 time PREV) - 2 times NEXT
06. Press 1 time STOP.The receiver signal the new value.
01. Select the correct radio channel and bring the motor on the
intermediate position.
02. Press MENU for about 5 seconds. rS appears on the display.
03. Press 1 time PREV and 2 times NEXT. 12 appears on the display.
04. Press 1 time STOP. The receiver signals the current value.
Example: if parameter value = 4: p 4 (4 short upward movements)
05. Using PREV and NEXT to set the new value (from 1 to 5. 1 is
function OFF. From factory is set 1).
Example: for parameter = 4; (0 time PREV) - 4 times NEXT
06. Press 1 time STOP. The receiver signal the new value.
Only available with 593.K.RS.00 and 593.K.RA.00.
01. Select the correct radio channel and bring the motor on the
intermediate position.
02. Press MENU for about 5 seconds. rS appears on the display.
03. Press 1 TIME PREV and 6 times NEXT. 16 appears on the display.
04. Press 1 time STOP. The receiver signals the current value.
Function active: p 1 (1 short upward movement)
Function not active: q 1 (1 short descent movement)
05. Press PREV to disable the function (Of appears on the display)
or NEXT to enable the function (On appears on the display). Factory
set is Of.
06. Press 1 time STOP. The receiver signal the new value.
Function active: p 1 - Function not active: q 1
Only available with 593.K.XS.00 and 593.K.XB.00.
01. Select the correct radio channel and bring the motor on the
intermediate position.
02. Press MENU for about 5 seconds. rS appears on the display.
03. Press 1 TIME PREV and 7 times NEXT. 17 appears on the display.
04. Press 1 time STOP. The receiver signals the current value.
Function active: p 1 (1 short upward movement)
Function not active: q 1 (1 short descent movement)
05. Press PREV to disable the function (Of appears on the display)
or NEXT to enable the function (On appears on the display). Factory
set is On.
06. Press 1 time STOP. The receiver signal the new value.
Function active: p 1 - Function not active: q 1
01. Select the correct radio channel and bring the motor on the
intermediate position.
02. Press MENU for about 5 seconds. rS appears on the display.
03. Press 1 time PREV and 8 times NEXT. 18 appears on the display
04. Press 1 time STOP. The receiver signals the current value.
Hold to run: p 1 (1 short upward movement)
Pulse: q 1 (1 short descent movement)
05. Press PREV for logic «pulse» (Of appears on the display) or
NEXT for logic «hold to run» (On appears on the display). Factory
set is Of.
06. Press 1 time STOP. The receiver signal the new value.
Hold to run: p 1 - Pulse: q 1
WARNING:
For this procedure, use ONLY A CHANNEL STORED ON THE RECEIVER THAT YOU WANT TO RESET if more devices are tuned on the same
channel, power on only the device to be resetted.
01. Select the channel tuned on the receiver to be «resetted».
02. Press MENU for around 5 seconds. rS appears on the display.
03. Press 2 times PREV and 9 times NEXT. 29 appears on the display.
04. Press 1 time STOP. The receiver signals that it is ready for the memory reset (with visual or acoustic signals, see the receiver instruction manual); on
the transmitter, all the leds and display segments come on intermittently for a few seconds.
Then they light on.
05. until the receiver signals that the factory settings have been restored. Press together PREV and NEXT
06. Follow the instruction manual of the receiver to re-install the receiver.
All products and technical specifications given in this document are subject to variation without notice. Unless previously and specifically authorised by STAFER, the device must be
used exclusively with transmitters produced by STAFER.
STAFER cannot be consider responsible for damage caused by improper, incorrect or unreasonable uses.
Since the factory is set at 1 (NOT active). Possible values from 1 to 6.
01. Select the correct radio channel and bring the motor on the
intermediate position.
02. Press MENU for about 5 seconds. rS appears on the display.
03. Press 8 times NEXT. 08 appears on the display.
04. Press 1 time STOP. The receiver signals the current value
Example:
if time = 2 sec: p 2 (2 short upward movements)
if time = 5 sec: p 5 (5 short upward movements)
05. Using PREV and NEXT to set the new value:
for time 3 sec: 0 times PREV and 3 times NEXT
for time 6 sec: 1 time PREV and 6 times NEXT
06. Press 1 time STOP. The receiver signal the new value.
To call the function, press the button «THIRD SWITCH»..
4.C - Modification of Function 07 - WORKING TIME (only for 594.R.EN.00)
4.D - Modification of Function 08 - AIR CHANGE (only for 594REN00)
01. Select the correct radio channel and bring the motor on the intermediate position.
02. Press MENU for about 5 seconds. rS appears on the display.
03. Press 7 times NEXT. 07 appears on the display.
04. Press 1 time STOP. The receiver signals the current value.
Example:
if it gets up for sec. = 2: p 2 ( 2 short upward movements)
if it gets up for sec. = 35: p 3 - pause - p 5
if it gets up for sec. = 120: p 1 pause p 2 pause p 1long
05. Using PREV and NEXT to set the new value:
for time = 3: 0 time PREV and 3 times NEXT
(the value must be between 5 and 240. Factory set is 120sec.)
06. Press 1 time STOP. The receiver signal the new value.
This manual suits for next models
1
Other Stafer Remote Control manuals


