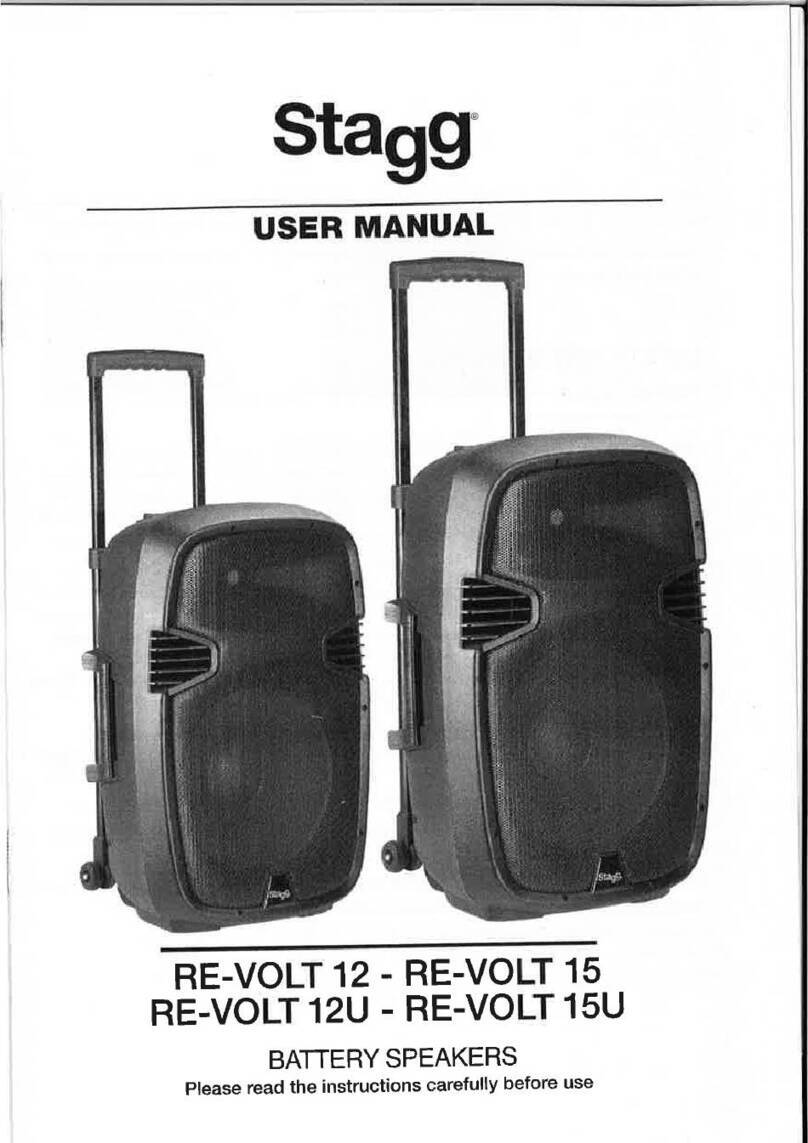
Stagg RE-VOLT 1 Series User manual

BATTERY SPEAKERS
Please read the instructions carefully before use
USER MANUAL
RE-VOLT 12 - RE-VOLT 15
RE-VOLT 12U - RE-VOLT 15U

This is a user manual for the Battery Speaker. It contains important safety information as well as
the instructions required for the intended use of the device. Please read it carefully before use.
Please note that the design and the technical specications of the device are subject to change
without any prior notice. Check the website for updates.
SAFETY INSTRUCTIONS
• Thank you for purchasing this product. It has been thoroughly tested and has been shipped in
perfect operating condition.
• Before using the product, carefully check the packaging for damage. If the packaging is
damaged, carefully inspect the device, the power cable and the plugs and make sure they are
intact. If they are damaged, please contact your vendor or call our customer support number.
The whole cable should be replaced if it is damaged or if the plug is damaged. Do not repair or
modify the mains power cable.
Do not open the cabinet. Leave all servicing to qualied personnel.
• Attention before connecting your amplier to a mains AC outlet! This amplier can be powered by
110-120V AC 60Hz or 220-250V AC 50Hz. The fuse cover plate acts as switch The orientation of
the plate is important! Make sure that your local voltage corresponds with the voltage indication
above the arrow.
(see image). If it is not, turn the plate and use the appropriate fuse. (115V: F 2,5A or 230V: F1,6A)
Always unplug the power cable before turning the plate and /or changing the fuse.
• When this active speaker system is connected to a mains (AC) outlet, it must be earthed to
operate safely.It can also work autonomously using its build in battery as soon as it is sufciently
charged.
When the unit is powered from mains the internal battery will be charged automatically.
• Only use the device in a dry location. Do not operate the device if the ambient temperature or
humidity is too high.
• Do not spill or splash liquids on the amplier. Should this happen, unplug the power cable from
the mains outlet and switch off the powered speaker immediately.

220-240
110 -12 0
220-240
110 -12 0
!
AC VOLTAGE
turn plate if not correct and
change value of fuse
220-240
110 -12 0
• Read the instructions printed on the rear panel of the cabinet.
• Make sure that the cabinet is placed or installed in such a way that it cannot injure anyone.
• Do not place heat sources on the speaker cabinet, such as lighting equipment or smoke machines.
• Do not attempt to clean the plastic enclosure with solvents or petrochemical-based cleaners.
• The wheels of the trolley are for indoor use only on fl at fl oor. The wheels are not designed for any step.
WARNING
Exposure to sounds that are louder than 85 dB can cause permanent hearing loss.
Please use this ampli ed speaker responsibly for you and your neighborhood.
CONFORMITY
1. The CE mark on this product means that the device conforms to the EMC Directive (2004/108/CE),
CE marking Directive (93/68/EEC) and Low Voltage Directive (2006/95/EC).
2. The crossed-out wheeled bin symbol means that the product must be collected separately
for recycling, as stipulated in the WEEE (Waste Electric and Electronic Equipment) Directive
(2002/96/EC).
3. The RoHS mark means that the device conforms to the Restriction of Hazardous Substances
Directive (2002/95EC) which restricts the use of certain hazardous substances in electrical and
electronic equipment, such as mercury, lead, cadmium, hexavalent chromium, polybrominated
buphenyl (PBB) and polybrominated diphenyl ethers (PBDE).

Only RE-VOLT12U/15U
9 8
10
12
11
4
3
1 5
7
613
Only RE-VOLT12U/15U
2
21 24
22
18 17 15
16 14
19
20 25 23 27 26

REAR PANEL
RE-VOLT 12 & 15:
1- MIC VOLUME: Controls the volume of inputs 2 & 3.
2- Dual XLR /Phone jack input: The XLR connects to a low impedance microphone,
the phone jack connects to a low impedance microphone or low signal high impedance source
such as a guitar.
3- Phone jack input: connects to a low impedance microphone or low signal high impedance
source such as a guitar
4- REVERB: Controls the amount of REVERB that is added on the signals of inputs 2 & 3
5- AUX VOLUME: Controls the volume of line inputs 6, 7 and the Bluetooth®wireless technology
6- AUX INPUT: 3,5mm mini stereo jack , line level
7- PHONO STEREO INPUT: Can be used to connect an external audio device such as
a CD player.
8- Bluetooth®wireless technology on/off switch: When this switch is on, the speaker can be
connected to a smartphone. To do so, access the Bluetooth®wireless technology in your phone
settings, search the speaker among the available devices and connect both units.
9- Bluetooth®wireless technology LED: This LED is off when the Bluetooth® wireless technology
is switched off. It blinks when the speaker is searching for a connection. It is on when the
connection is established.
10- VCV SWITCH: VCV means voice controlled volume. So when you use any of the microphone
inputs and talk, automatically the signals of the aux channel ( inputs 6, 7 and Bluetooth®
wireless technology ) will be lowered. When you stop talking the original aux level is restored.
11- BASS: Controls the amount of low frequencies in the output signal. (-12dB to + 12dB)
12- TREBLE: Controls the amount of high frequencies in the output signal. (-12dB to + 12dB)
13- MIX OUT: Line out XLR that can be used to connect an amplier or another powered speaker in
series. Wiring of the 3-pin connector: Pin 1 = Shield / Pin 2 = Positive (hot) / Pin 3 = Negative (cold)
14- POWER switch: This switch turns on/off the power.
15- POWER indicator LED: This LED turns on when unit is receiving mains power.
16- CHARGE indicator LED: This LED turns on when the battery is charging.
17- DC FUSE: This FUSE protects DC12V input 26. Fuse type (F6,3A 250V)
18- DC 12V: 12V DC input . Pay attention while inserting the wires not to make a short circuit and
make sure the polarity is right. DO NOT USE IT unless you are qualied.
19- AC CONNECTOR and voltage switch: Warning! The fuse cover plate acts as switch between
110-120V 60Hz and 220-250V 50Hz. The orientation is important. Make sure that your local
voltage matches the voltage indication written above the arrow. If it is not the case, turn the
plate and use the appropriate fuse. Always unplug the power cable before turning the plate or
changing the fuse.

Please use the operational manual of REVOLT 12 & 15 and nd the following extras:
4- REVERB: the effect will also apply on both wireless microphones
10- VCV: The wireless microphones will also lower the volume of the aux inputs when VCV is
switched on.
20- Volume A: Controls the volume of wireless microphone A
21- Antenna A: receives the signal of microphone A
22- RFA: this a LED that turns on when the receiver is wirelessly connected to the microphone A
23- Volume B: Controls the volume of wireless microphone B.
24- Antenna B: receives the signal of microphone B
25- RFB: this a LED that comes on when the receiver is wirelessly connected to the microphone B
26- UHF on /off switch : switches on or off the UHF receivers
27- UHF power LED: The LED comes on when the UHF receivers are switched on
28- Microphone on /off push button: Push shortly to switch on , push one second to switch off
the microphone.
29- Microphone display: Shows Channel A or B, the operational frequency, the microphone
battery level and a warning at low battery level.
29
RE-VOLT 12U & 15U:
These models have all features of RE-VOLT 12 or 15 but have on top two UHF wireless
microphones and two build in receivers .
To be operational you must insert two AA batteries in the microphones (screw off the lower part of
the microphone housing) and the two antennas have to be connected to connectors 15 and 18.
28 DISREGARD

TECHNICAL SPECIFICATIONS
RE-VOLT12 WITHOUT WIRELESS
Woofer: 12”, 33 oz, 2” VC
Tweeter: 1” titanium diaphragm driver, 8 ohms
Frequency response: 70 Hz - 20 KHz
Sensitivity: 92 dB +/- 3 dB
Impedance: 4 ohms
Sound pressure level: 93 dB +/- 3 dB
Features: Reverb, Bluetooth®wireless technology, trolley
Battery: 12 volts, 7A, rechargeable
Power supply: Built-in charger, IEC input
Microphone inputs: XLR and phone jack combo, phone jack
Line inputs: Phono and auxiliary input, Bluetooth®wireless technology
Mix out output: XLR
Controls: Microphone volume, reverb volume, line volume, VCV on/off switch, master volume,
treble, bass, Bluetooth®wireless technology on/off
Weight: 15 kg (33 lb)
Dimensions: 58 x 38 x 35 cm (22.83 x 14,9 x 13.7”)
Colour: Black
RE-VOLT12U WITH 2 WIRELESS MICROPHONES
Same specications as RE-VOLT12 with, as extras:
Two wireless cardioid dynamic microphones (neodymium magnet) with display showing
battery level indicator and UHF frequency
Two UHF antennas
Two wireless microphone volume controls
UHF on/off switch

EMD Music - 11/2016 Features and Specications are subject to change without notice.
The Bluetooth®word mark and logos are registered trademarks owned by
Bluetooth SIG, Inc. and any use of such marks by EMD MUSIC is under license.
TECHNICAL SPECIFICATIONS
RE-VOLT15 WITHOUT WIRELESS
Woofer: 15”, 33 oz, 2” VC
Tweeter: 1” titanium diaphragm driver, 8 ohms
Frequency response: 60 Hz - 20 KHz
Sensitivity: 92 dB +/- 3 dB
Impedance: 4 ohms
Sound pressure level: 95 dB +/- 3 dB
Features: Reverb, Bluetooth®wireless technology, trolley
Battery: 12 volts, 7A, rechargeable
Power supply: Built-in charger, IEC input
Microphone inputs: XLR and phone jack combo, phone jack
Line inputs: Phono and auxiliary input, Bluetooth®wireless technology
Mix out output: XLR
Controls: Microphone volume, reverb volume, line volume, VCV on/off switch, master
volume, treble, bass, Bluetooth®wireless technology on/off
Weight: 17 kg (35.27 lb)
Dimensions: 69 x 43 x 40 cm (27.2 x 16.9 x 15.7”)
RE-VOLT15U WITH 2 WIRELESS MICROPHONES
Same specications as RE-VOLT15 with, as extras:
Two wireless cardioid dynamic microphones (neodymium magnet) with display showing
battery level indicator and UHF frequency
Two UHF antennas
Two wireless microphone volume controls
UHF on/off switch
This manual suits for next models
4
Table of contents
Other Stagg Speakers manuals
Stagg
Stagg PA4/200 User manual
Stagg
Stagg PA4/200 DSP USA User manual

Stagg
Stagg HD5A User manual
Stagg
Stagg RE-VOLT 12 User manual
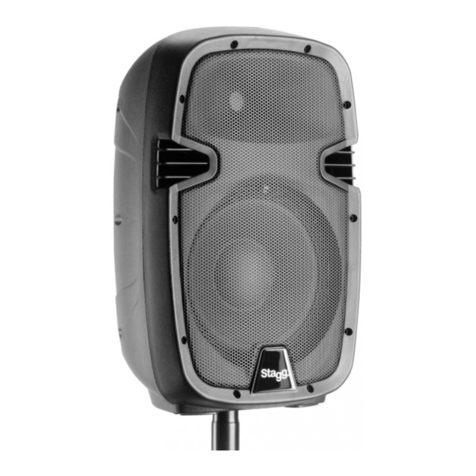
Stagg
Stagg RIOTBOX 8 User manual

Stagg
Stagg SMS12DP700 User manual
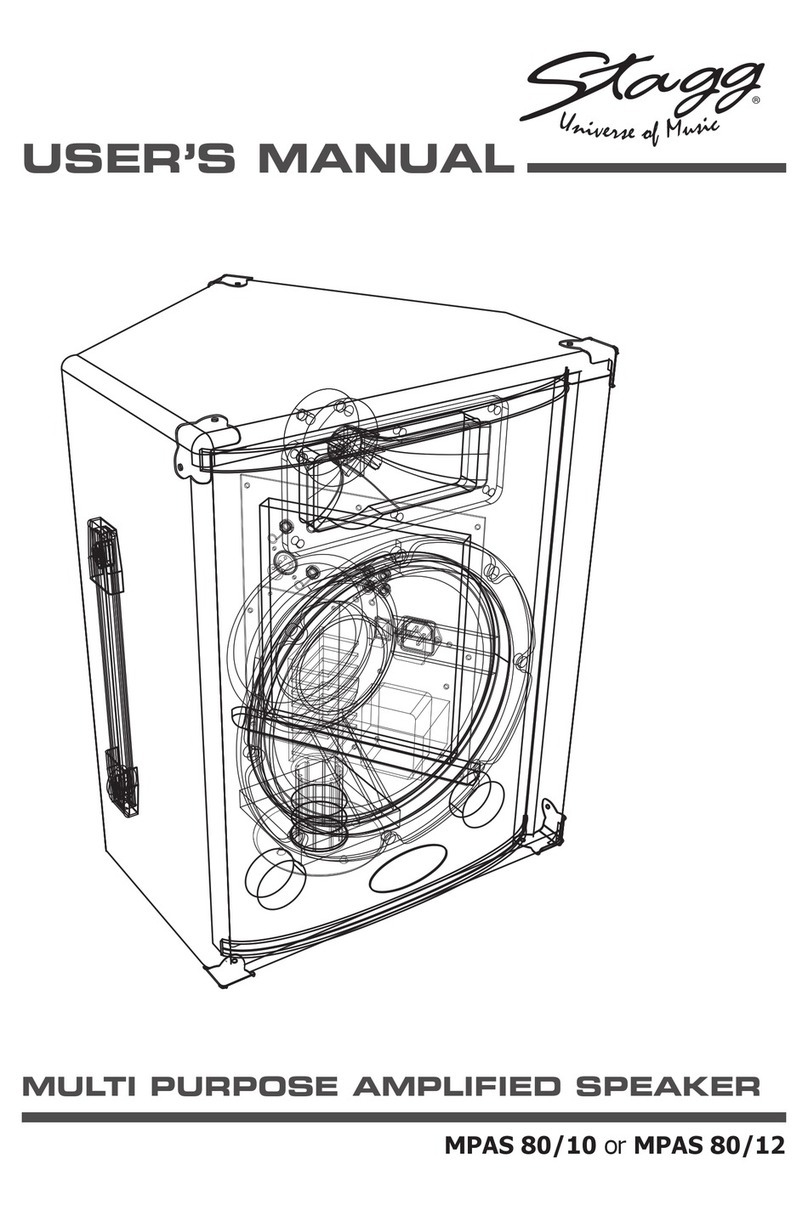
Stagg
Stagg MPAS 80/10 User manual

Stagg
Stagg PMS8A170 UBTR User manual

Stagg
Stagg AS Series User manual

Stagg
Stagg PMS12D User manual


