- 10 -
3. Do not attempt to modify the device in any way or to tamper with the device.
4. Only original spare parts supplied by the device manufacturer should be used for all repair works.
5. All works associated with the maintenance of the coffee grinder may only be carried out when the device is turned off
and disconnected from the source of power supply.
19. MAINTENANCE OF THE COFFEE GRINDER
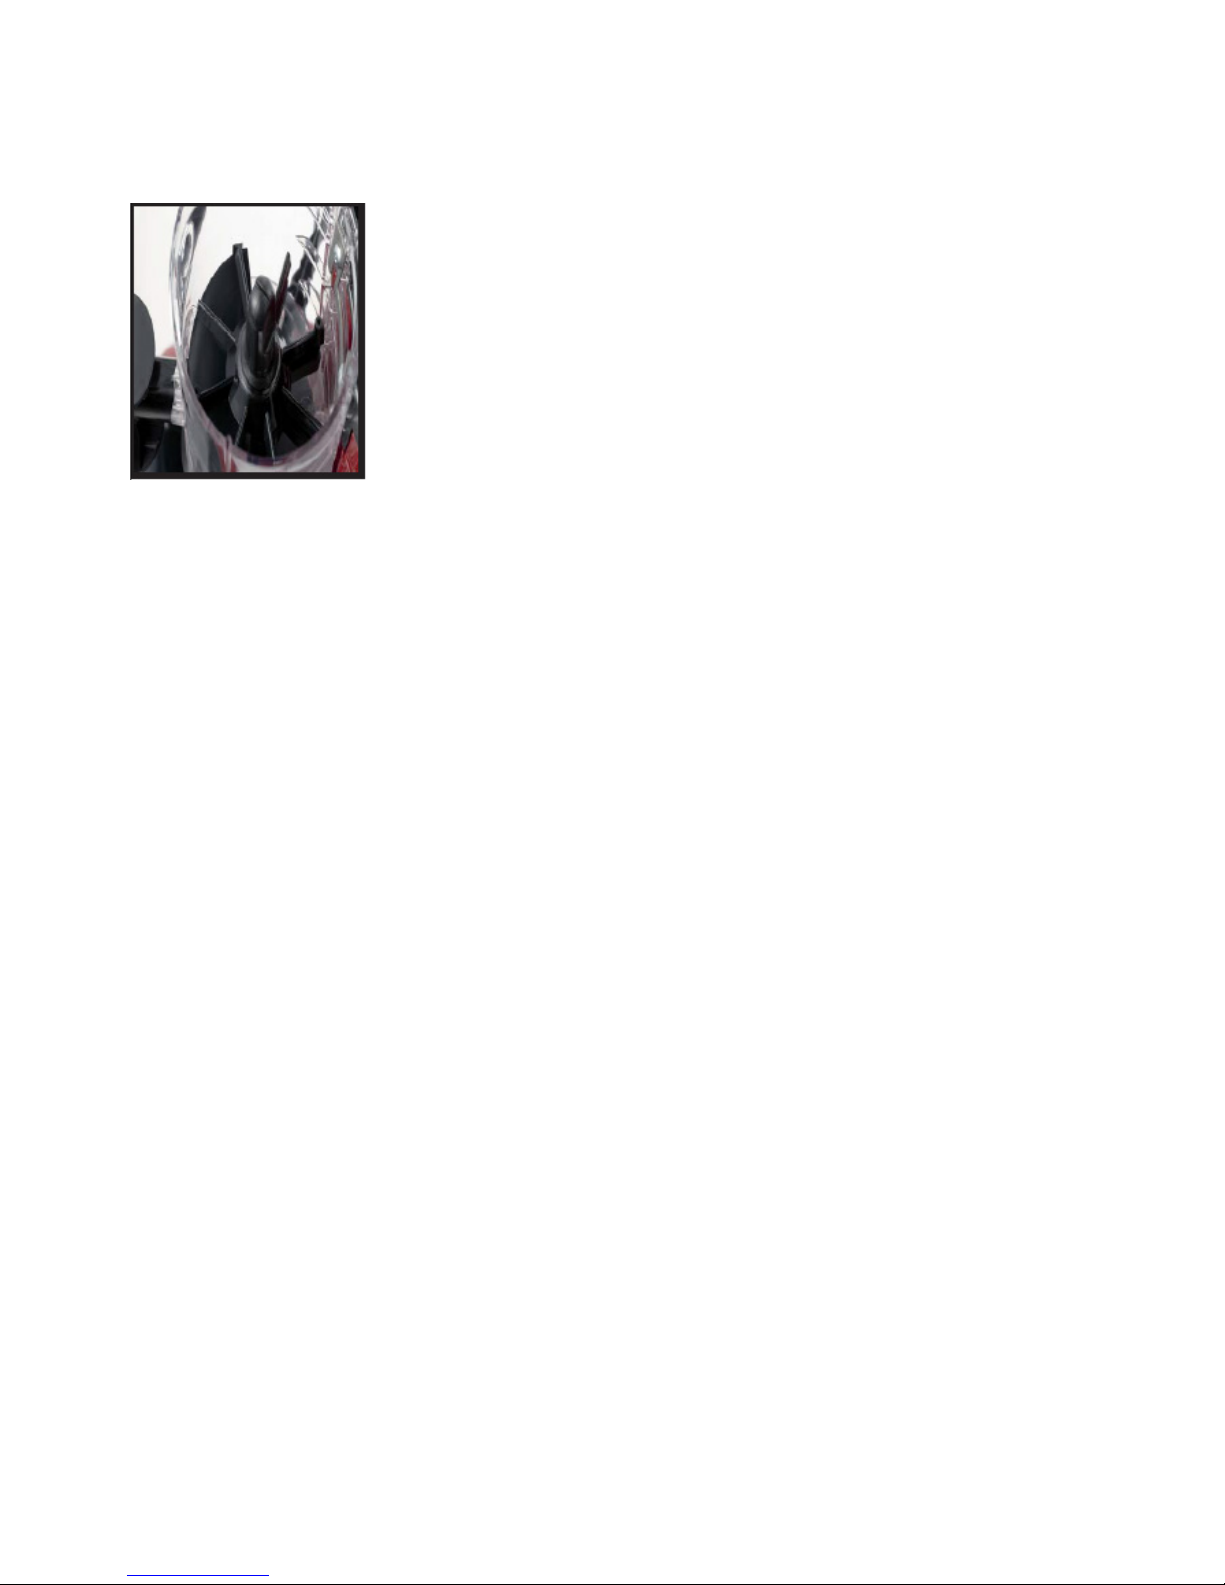
It is necessary to regularly check the condition of the grinding burrs. This is very important because the wear of these
elements leads to a deterioration in the quality of the ground coffee, an increase in electricity consumption and overheating of
the grinder engine.
In order to avoid these negative effects, it is necessary to replace the grinding burrs each time after the coffee grinder has
ground the indicated amount of coffee beans (in kilograms).
The replacement of the grinding burrs should be carried out by the technical service personnel or by qualied service
personnel authorized by the device supplier.
20. ELECTRICAL MAINTENANCE
It is necessary to regularly check the condition of the power cord, the plug and ON/OFF button.
The COFFEE GRINDER MAY NOT BE ACTIVATED in the event of any damage or signs of wear. In such case it is necessary to
disconnect the device from the power supply and immediately contact the technical service. DO NOT ATTEMPT TO REPAIR
THE COFFEE GRINDER ON YOUR OWN.
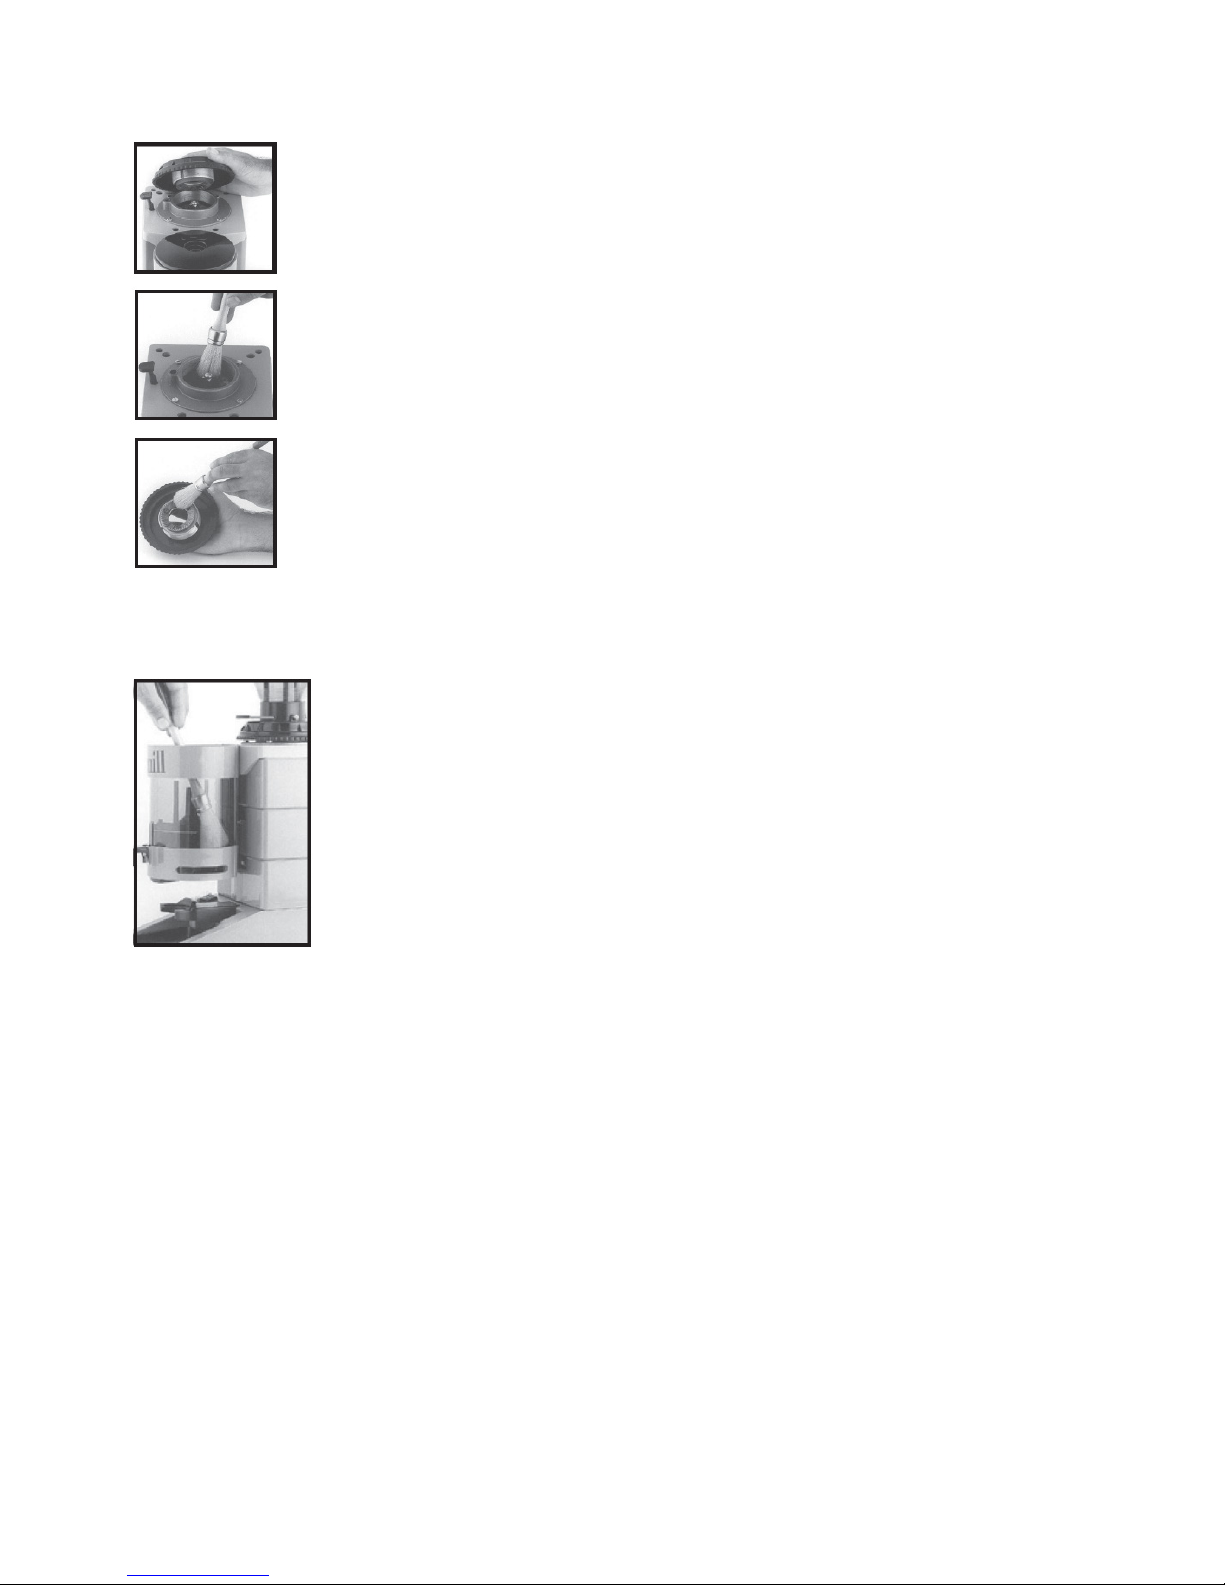
21. GENERAL MAINTENANCE
It is necessary to regularly check the condition of the individual elements of the coffee grinder – the coffee beans container,
the ground coffee dispenser, the external elements of the device, etc.
The COFFEE GRINDER MAY NOT BE ACTIVATED in the event of any damage or signs of wear of the individual elements of
the device. In such case it is necessary to disconnect the device from the power supply and immediately contact the technical
service.
22. TROUBLESHOOTING
22.1. The coffee grinder does not start
If the problem persists after the following steps are performed, please contact the technical service of the device
manufacturer:
•Please ensure that the electrical network to which the device is connected is energized (e.g. make sure that there was no
power supply failure).
•Make sure that the parameters of the power supply network are compatible with the electrical parameters provided on
the nameplate.
•TURN THE COFFEE GRINDER OFF, disconnect it from the power supply and ensure that the power cord, the plug or
the ON/OFF button are not damaged.
22.2. The grinding discs are not rotating
This problem is usually caused by the presence of foreign objects between the coffee grains prepared for grinding.
•Immediately turn the coffee grinder off using the ON/OFF button and disconnect it from the source of power supply.
•If the coffee grinder is overheated due to the jamming of the grinding burrs, wait until the device cools down completely.
•Follow the instructions for device cleaning in order remove foreign objects.
23. DISPOSING OF USED EQUIPMENT
You can return your old device after the end of use or when buying a new device at Stalgast. Send the device to us and a
specialized company will dispose of it in accordance with the Waste Electrical and Electronic Equipment Act (Journal of Laws
of 2005, No. 180, item 1495).
24. WARRANTY
The seller shall be liable under the warranty or guarantee.
The warranty does not cover damages caused by external forces such as lightning, changes in supply voltage, incorrect setting
of the voltage value, supply from an inadequate power outlet, mechanical, thermal, chemical damages to the equipment and
the defects caused by them.
Warranty exchange does not cover such elements as: light bulbs, rubber components, heating elements damaged by lime
scale, screws and elements undergoing natural wear, e.g. burners, rubber seals and all kinds of mechanically damaged
elements.