Starkey StarLink 610 User manual

Your StarLink
Remote Control
User Manual
Accessory for:
Wireless hearing aids

Congrats!
You’re about
to enhance
your hearing
experience.

3 |Intro
You’ve got a Remote Control.
Enhanced control. Easy adjustments.
Your StarLink Remote enhances the
control you have over your hearing aids
with easy and discreet adjustments.
And allows you to connect with the
world around you.
Use this simple manual to get started.

4 |What’s included

5 |TOC
1. Get to know your Remote Control
Meet your Remote 8
Set up your Remote 9
Use your Remote 11
2. Troubleshooting guide 16
3. Additional guidance
Intended use 18
FCC information 20
Regulatory information 21
Table of contents


Get to know your
Remote Control
• Meet your Remote
• Set up your Remote
• Use your Remote

8 |Get to know your Remote Control
Overview
1. Indicator lights
2. Ear Selection switch
3. Volume up
4. Volume down
5. Mute/Unmute
6. Memory Change
7. Favorite
8. Home
9. Lock/Unlock switch
10. Lanyard (optional) housing
For more details, see Use your Remote
on p. 11.
Meet your Remote
6
7
8
9
5
4
3
2
1
10

9 |Get to know your Remote Control
To pair with hearing aids
Before using your Remote for the
first time, you’ll need to pair it with
your hearing aid(s). This allows your
accessory to recognize your hearing
aids so they can work together.
STEP 1: Put Lock/Unlock switch in
Unlock position (to the left).
STEP 2: Turn your hearing aids
OFF and ON.
• For CROS hearing aid systems:
Turn OFF your hearing aids and
CROS transmitter. Next, turn ON
your hearing aids but leave the
CROS transmitter OFF.
STEP 3: Pair your Remote with your
hearing aid(s):
1. Place your hearing aids within
12 inches of your Remote.
2. Press and hold the Home button for
5 seconds until both light indicators
(blue and red) start rapidly blinking.
Set up your Remote

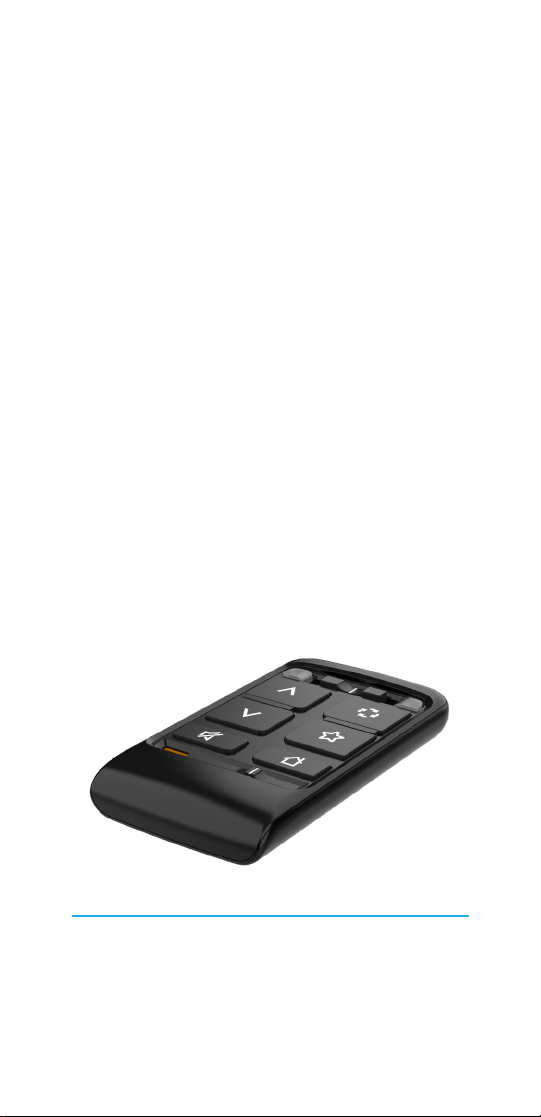
10 |Get to know your Remote Control
3. For a set of hearing aids:
• Successful pairing: Both blue
(left) and red (right) indicator lights
become solid for 2+ seconds.
• Unsuccessful pairing: Indicator
lights do not become solid for 2+
seconds. Repeat STEP 1 and 2.
4. For a single hearing aid:
• Successful LEFT hearing aid
pairing: Blue (left) indicator light
becomes solid for 2+ seconds.
If not, repeat STEP 1 and 2.
• Successful RIGHT hearing aid
pairing: Red (right) indicator light
becomes solid for 2+ seconds.
If not, repeat pairing process.
5. Check for successful setup by
pressing the Volume up or Volume
down button and confirming
the hearing aid volume adjusts
accordingly.
Set up your Remote

11 |Get to know your Remote Control
Your Remote allows for easy and
discreet adjustments to your wireless
hearing aids using the following buttons
and switches. For the location of each
button or switch on your Remote, see
Meet your Remote on p. 8.
Indicator lights
The blue (left) light
blinks when a
button press command is sent to the
left hearing aid. The red (right) light
blinks when a button press command
is sent to the right hearing aid.
Ear Selection switch
This switch controls if adjustments
are made to one hearing aid or both
hearing aids.
• Set of hearing
aids: To adjust both
hearing aids at the
same time, position
the switch in the
center.
• Single hearing aid: The switch
is ignored, as the Remote always
sends the appropriate left or
right-side command.
Set of hearing aids
Left
Right
Use your Remote

12 |Get to know your Remote Control
Volume up and Volume down
The volume buttons perform a slightly
different function depending on a short
press or long press of the buttons.
• Short press: The overall level of
all sounds coming through your
hearing aid microphone changes
in the selected direction (either
increases ^ or decreases v).
• Long press: If streaming audio
from a wireless accessory, the
audio stream volume changes
in the selected direction
(either increases ^ or decreases v).
Mute/Unmute
By pressing this button, you will
temporarily turn off or on the sounds
coming through your hearing aid
microphone.
• When hearing aids are muted,
selecting any other button will
unmute the hearing aids, as well
as perform the function of the
selected button.
Use your Remote

13 |Get to know your Remote Control
Memory Change
Your hearing care professional may
create multiple memories within your
hearing aid. By pressing this button,
you can access and cycle through the
available memories.
Favorite
Your hearing care professional can
set a Favorite configuration for you.
By pressing this button, you can easily
access that specific configuration.
• If no Favorite configuration has
been set, pressing this button
will have no effect on your
hearing aids.
Home
This will reset your hearing aids to
memory one and the default volume
level.
Use your Remote

14 |Get to know your Remote Control
Lock/Unlock switch
Use this switch to either make an
adjustment to your hearing aids, or
to prevent unintended hearing aid
changes.
• Locked position
(left): Move switch
to the left when
not using your Remote. Keeping
your Remote locked can also help
extend the battery life.
• Unlocked position
(right): Move
switch to the right
to adjust your hearing aids.
Lanyard (optional) housing
1. Insert thin cord
on lanyard
into end of the
Remote lanyard
housing until loop
is exposed.
2. Thread lanyard
through loop and
pull lanyard.
Unlocked
Locked
Use your Remote

Troubleshooting
guide

16 |Troubleshooting guide
Troubleshooting guide
Problems with your Remote? Try these
tips. If issues continue, contact your
hearing care professional.
Symptom Possible
causes Solutions
Indicator
lights do not
illuminate
when button
is pressed.
The Remote is in
locked state.
Move Lock/
Unlock switch
from Lock (right)
to Unlock (left)
position.
Indicator
lights
illuminate,
but hearing
aids do not
respond to
a button
press.
After moving
lower switch to
Unlock position,
it may take a
brief time
to wirelessly
“locate” your
hearing aids.
Wait for about
a second after
unlocking before
pressing a
button.
Hearing aids are
not paired with
the Remote.
Perform pairing
process with your
hearing aids and
Remote. See To
pair with hearing
aids on p. 9.
Battery level in
hearing aid can
no longer support
wireless activity.
Install new
hearing aid
battery.
Set of hearing
aids fail to
pair with the
Remote.
Less than two
hearing aids were
found during
pairing process.
During pairing
process, make
sure both hearing
aids are available.
Only one
hearing
aid is
receiving
commands.
Ear Selection
switch is in the
left or right
position.
Move Ear
Selection switch
to center (both)
position.

Additional
guidance
• Intended use
• FCC information
• Regulatory information

18 |Additional guidance 19 |Additional guidance
The Remote Control is an accessory to a wireless air conduction
hearing aid. It is intended to let a user remotely make volume and
program adjustments to an air conduction hearing aid.
The Remote Control is classified as a Type B applied part under the IEC
60601-1 medical instrument standard.
The Remote Control is designed to comply with the most stringent
Standards of International Electromagnetic Compatibility. However, it
is still possible that you may experience interference caused by power
line disturbances, airport metal detectors, electromagnetic fields from
other medical devices, radio signals and electrostatic discharges.
The Remote Control is designed to be cleaned with a damp cloth
moistened with soapy water.
If you use other medical devices or wear implantable medical devices
such as defibrillators or pacemakers and are concerned that your
Remote Control might cause interference with your medical device,
please contact your physician or the manufacturer of your medical
device for information about the risk of disturbance. The Remote
Control should not be used during an MRI procedure or in a hyperbaric
chamber. The Remote Control is not formally certified to operate in
explosive atmospheres such as may be found in coal mines or certain
chemical factories.
Clinical benefit
The accessory itself does not provide a direct clinical benefit.
An indirect clinical benefit is provided by enabling the parent
device (wireless hearing aids) to achieve their intended purpose.
Use on Aircrafts
The Remote Control should not be used on aircrafts unless specifically
permitted by the flight personnel.
International Use
The Remote Control is approved to operate at radio frequencies that
are specific to your country or region and might not be approved for
use outside your country or region.
Be aware that operation during international travel may cause
interference with other electronic devices, or other electronic devices
may cause interference with your Remote Control.
The battery in your Remote Control is not replaceable. Do not attempt
to replace the battery.
10% rH
95% rH
-20 C
60 C Your Remote Control is designed to operate
within the temperature range of -20°C to +60°C
(-4°F to 140°F), relative humidity range of 10%-95%, and altitude limits
70 kPa – 106 kPa (equivalent to altitudes from 1,200 ft (380 m) below
sea level to 10,000 ft (3,000 m).
Your Remote Control is designed to be transported within the
temperature range of -40˚C (-40˚F) to 60˚C (140˚F), relative humidity
range of 10%-95%, and altitude limits 70 kPa – 106 kPa (equivalent to
altitudes from 1,200 ft (380 m) below sea level to 10,000 ft (3,000 m).
Intended use

19 |Additional guidance
We are required by regulations to provide the following warnings:
WARNING: Use of the Remote Control directly next to other
electronic equipment should be avoided because it could result in
improper performance. If such use is necessary, note as to whether
your hearing aids and the other equipment are operating normally.
WARNING: Use of accessories, components or replacement
parts other than those provided by the manufacturer of the Remote
Control could result in increased electromagnetic emissions and
decreased electromagnetic immunity and could result in degradation
of performance.
WARNING: If Portable Radio Frequency communications
equipment is used closer than 30 cm (12 inches) from your Remote
Control, degradation of the performance of your hearing aid could
result. If this occurs, move away from the communications equipment.
The Remote Control has a rating of IP 5X per IEC 60529. This means
that the Remote Control is protected from dust.
The Remote Control does not contain any user-serviceable parts.
Do not open or modify this device.
Do not connect the Remote Control to any external device.
The expected service life of the Remote Control is 3 years.
Wireless Technical Description
Starkey Laboratories, Inc. Remote Control operates in the 2.4 - 2.4835
GHz band with a maximum effected radiated power of 3 dBm with
transmission modulation type of 1M06F1W. The receiver section of the
radio has a bandwidth of 2 MHz.
The Remote Control has been tested to, and has passed, the following
emissions and immunity tests:
• IEC 60601-1-2 radiated and conducted emissions requirements
for a Group 1 Class B device as stated in CISPR 11.
• RF radiated immunity at a field level of 10 V/m between 80 MHz
and 2.7 GHz as well as higher field levels from communications
devices as stated in Table 9 of IEC 60601-1-2.
• Immunity to power frequency magnetic fields at a field level
of 30 A/m and to proximity magnetic fields as stated in Table 11
of IEC 60601-1-2.
• Immunity to ESD levels of +/- 8 kV conducted discharge
and +/- 15 kV air discharge.
EU ADVERSE EVENT REPORTING
Any serious incident that has occurred in relation to your device
should be reported to your local Starkey representative and
the Competent Authority of the Member State in which you are
established. A serious incident is defined as any malfunction,
deterioration in the characteristics and/or performance of the device,
or inadequacy in the device user manual/labeling which could lead
to the death or serious deterioration in the state of health of the user,
OR could do so upon recurrence.
Intended use

20 |Additional guidance 21 |Additional guidance
FCC information
WIRELESS NOTICES
FCC ID: EOA-24WR
IC: 6903A-24WR (Model 610)
This device complies with part 15 of the FCC rules and with ISED
Canada license-exempt RSS standard(s). Operation is subject to
the following two conditions: (1) This device may not cause harmful
interference, and (2) this device must accept any interference received,
including interference that may cause undesired operation of the
device.
NOTE: The manufacturer is not responsible for any radio or TV
interference caused by unauthorized modifications to this equipment.
Such modifications could void the user’s authority to operate the
equipment.
Hereby, Starkey Laboratories, Inc. declares that the Remote Control
is in compliance with the essential requirements and other relevant
provisions of Directive 2014/53/EU. A copy of the Declaration of
Conformity can be obtained from the following addresses and from
docs.starkeyhearingtechnologies.com.
Hereby, Starkey Laboratories, Inc. declares that the Remote Control
is in compliance with the UK Radio Equipment Regulations SI
2017 as amended. A copy of the UK Declaration of Conformity
can be obtained from the following addresses and from docs.
starkeyhearingtechnologies.com.
Table of contents
Other Starkey Remote Control manuals
Popular Remote Control manuals by other brands

Associated Electrics
Associated Electrics Nitro TC3 RTR Quick Start Sheet

TANDBERG
TANDBERG Codec C20 Administrator's guide

Menvier Security
Menvier Security TSR2 installation guide

CaryMart
CaryMart S1FA-DC12/24 quick start guide

Radio Shack
Radio Shack 6-in-1 Remote Control owner's manual

LG
LG AM-SR20HB quick start guide