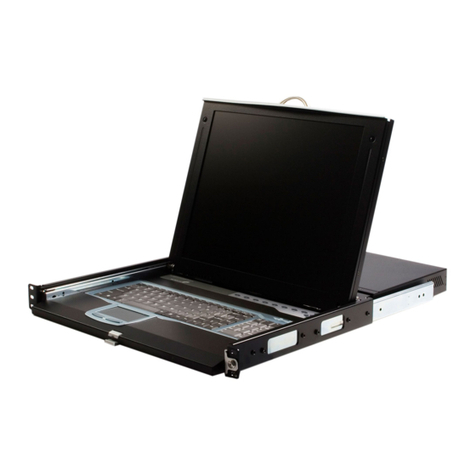
StarTech.com SCSIU3WDRWR User manual
Other StarTech.com LCD Drawer manuals
StarTech.com
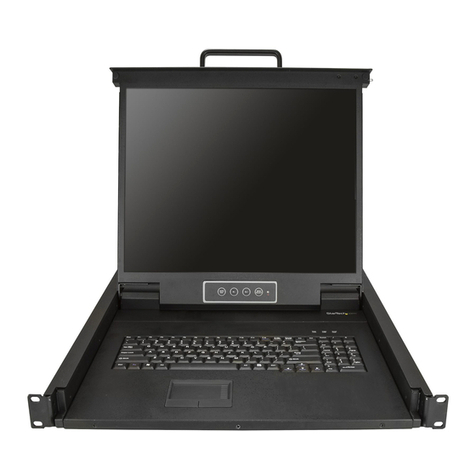
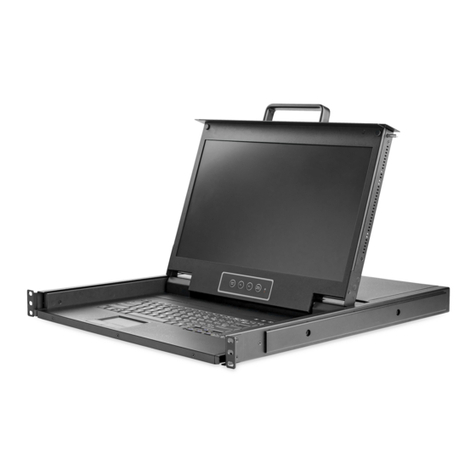
StarTech.com RKCONS17HD User manual
StarTech.com
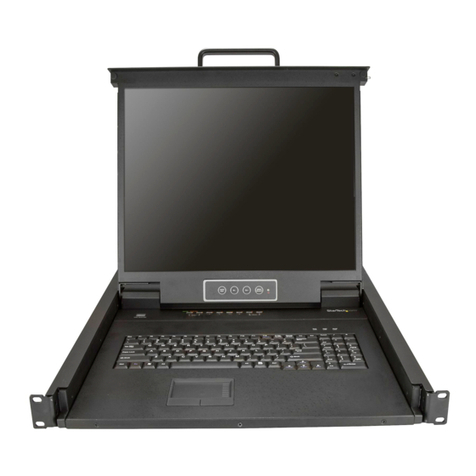
StarTech.com RKCONS1908K User manual
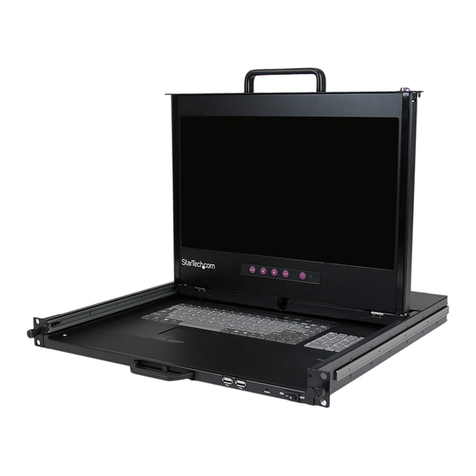
StarTech.com
StarTech.com RACKCOND17HD System manual
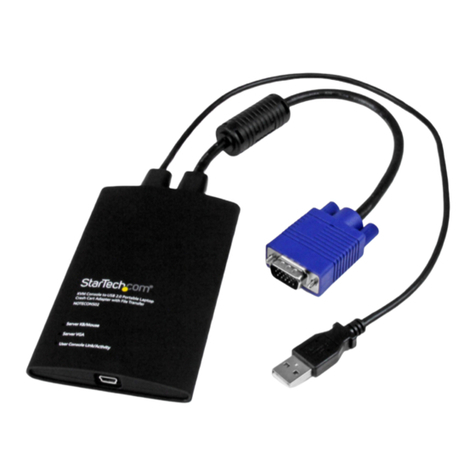
StarTech.com
StarTech.com NOTECONS02 User manual
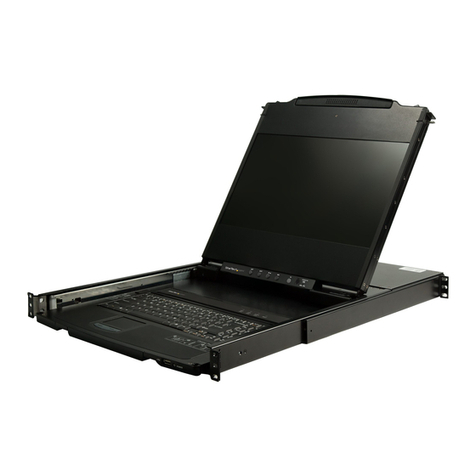
StarTech.com
StarTech.com RKCOND17HD Series User manual
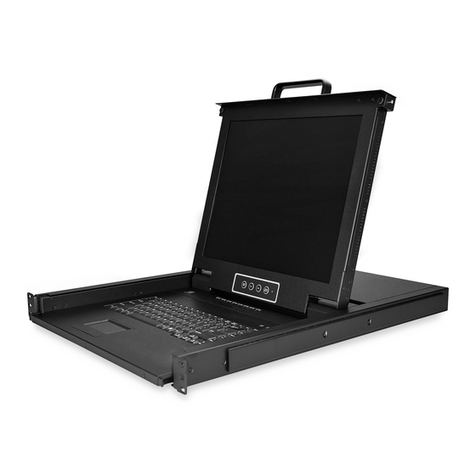
StarTech.com
StarTech.com RKCONS1708K User manual
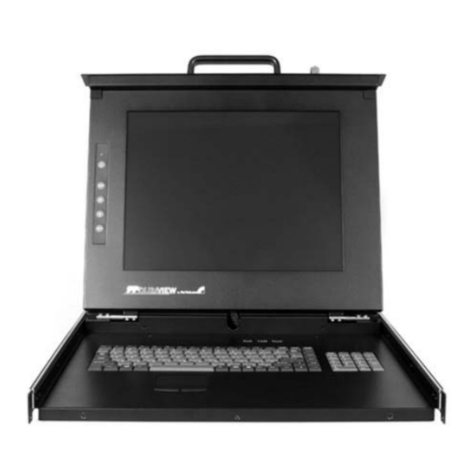
StarTech.com
StarTech.com DuraView RACKCONS1708 User manual
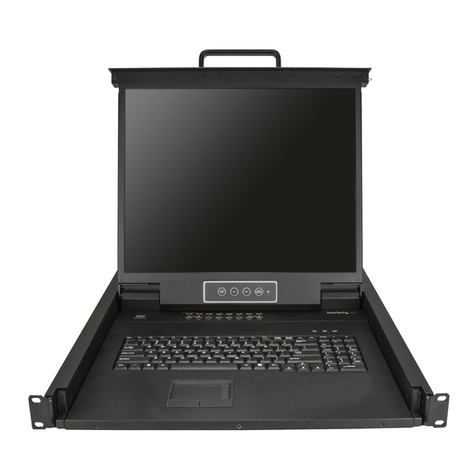
StarTech.com
StarTech.com RKCONS1916K User manual

StarTech.com
StarTech.com RKCOND17HD Series User manual

StarTech.com
StarTech.com RKCONS17HD User manual

StarTech.com
StarTech.com RKCONS1908K User manual
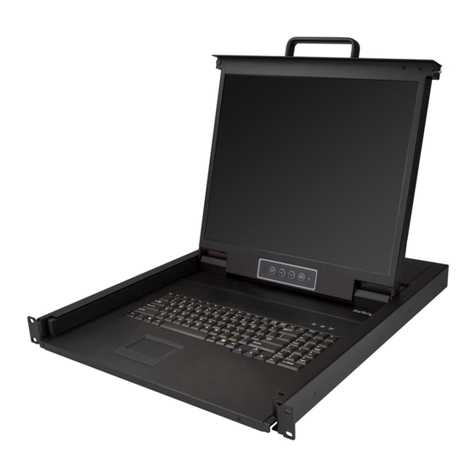
StarTech.com
StarTech.com RKCONS1901 Series User manual
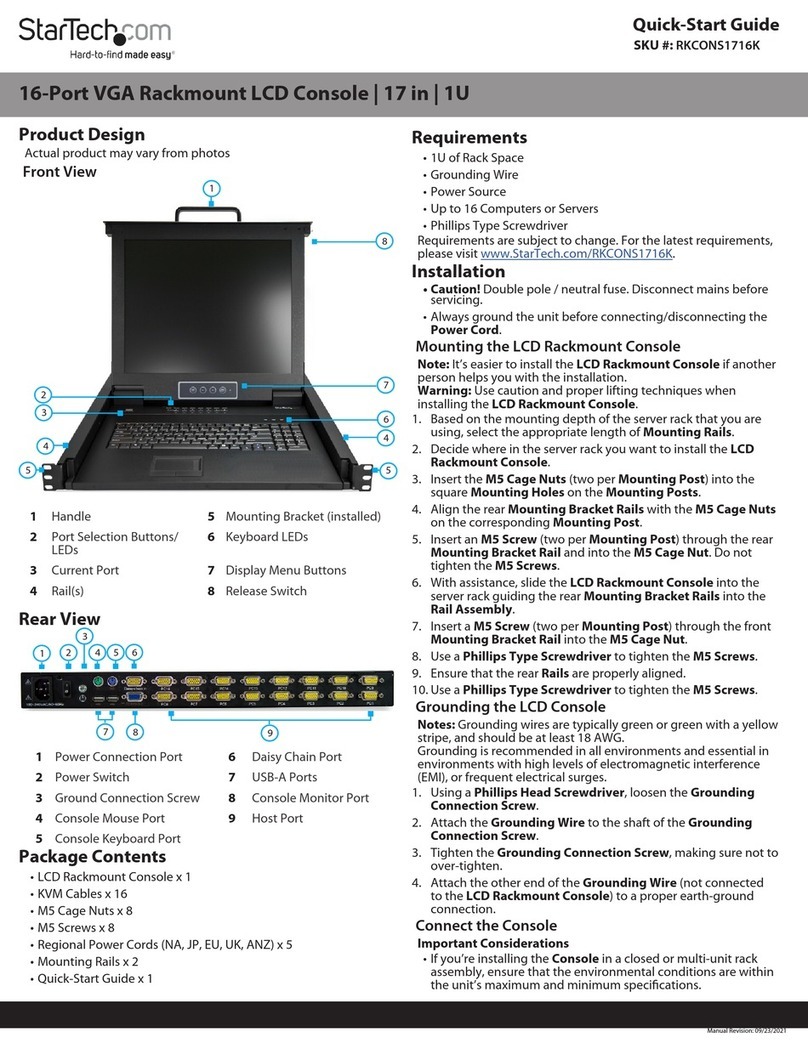
StarTech.com
StarTech.com RKCONS1716K User manual

StarTech.com
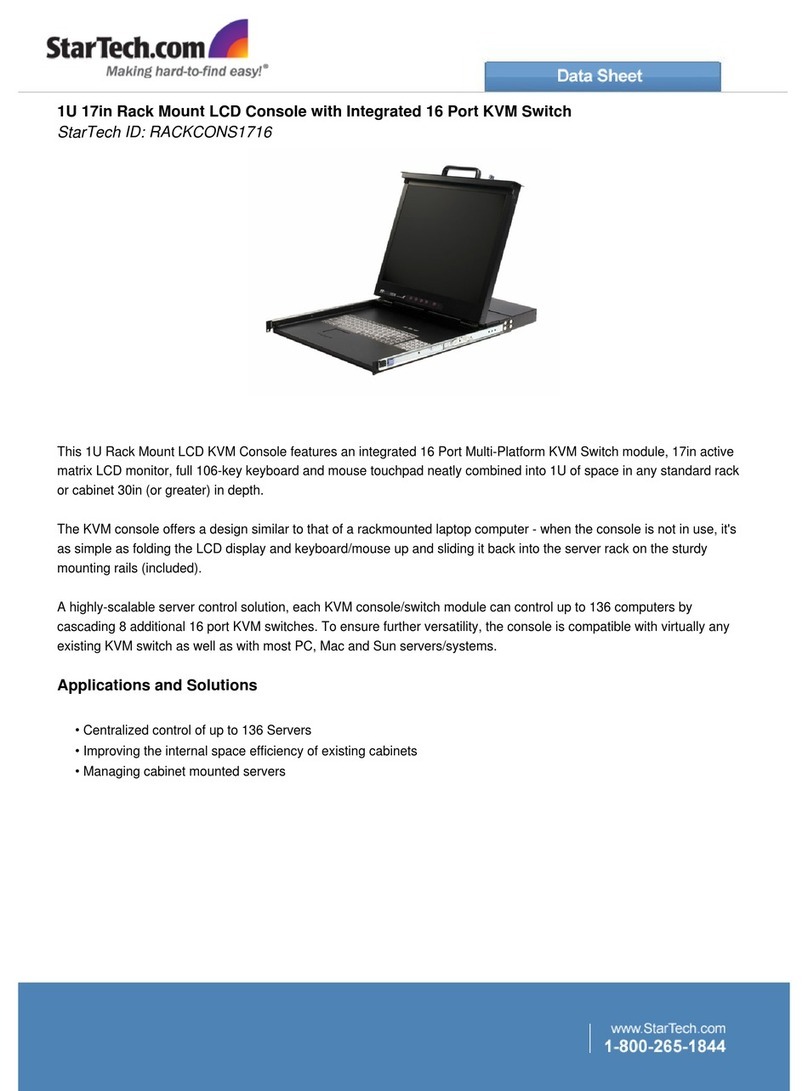
StarTech.com RKCONS1916K User manual
StarTech.com
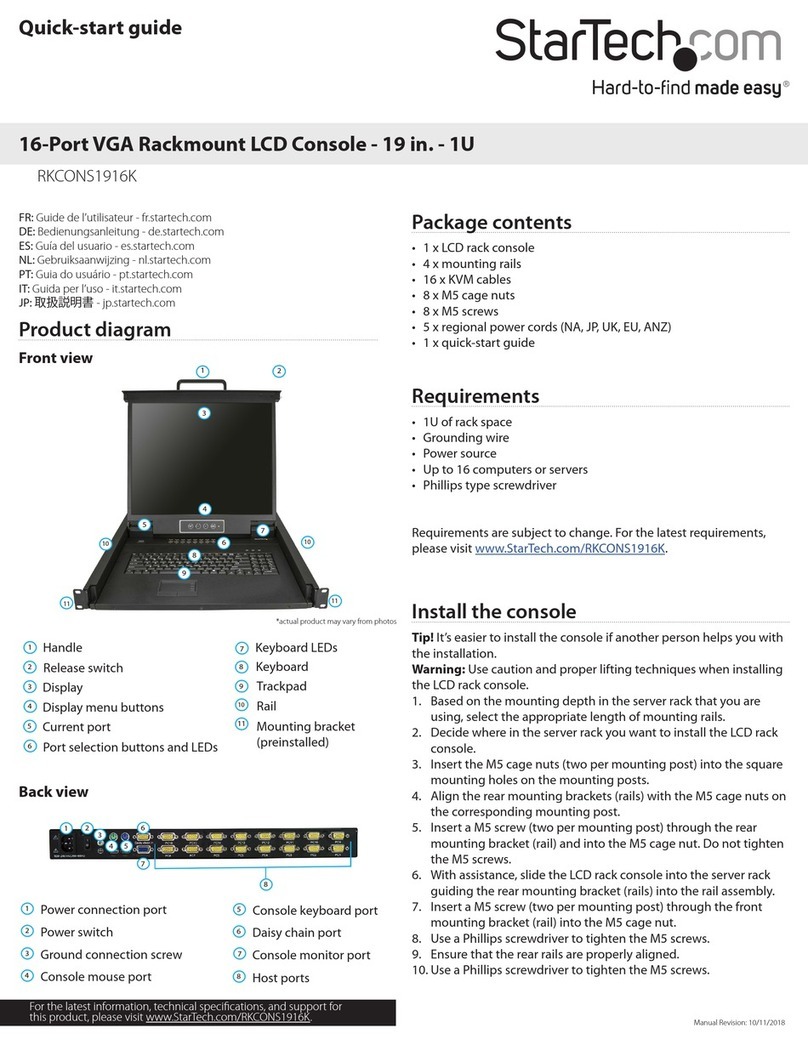
StarTech.com RACKCONS1716 User manual

StarTech.com
StarTech.com RACKCOND17HD User manual
StarTech.com
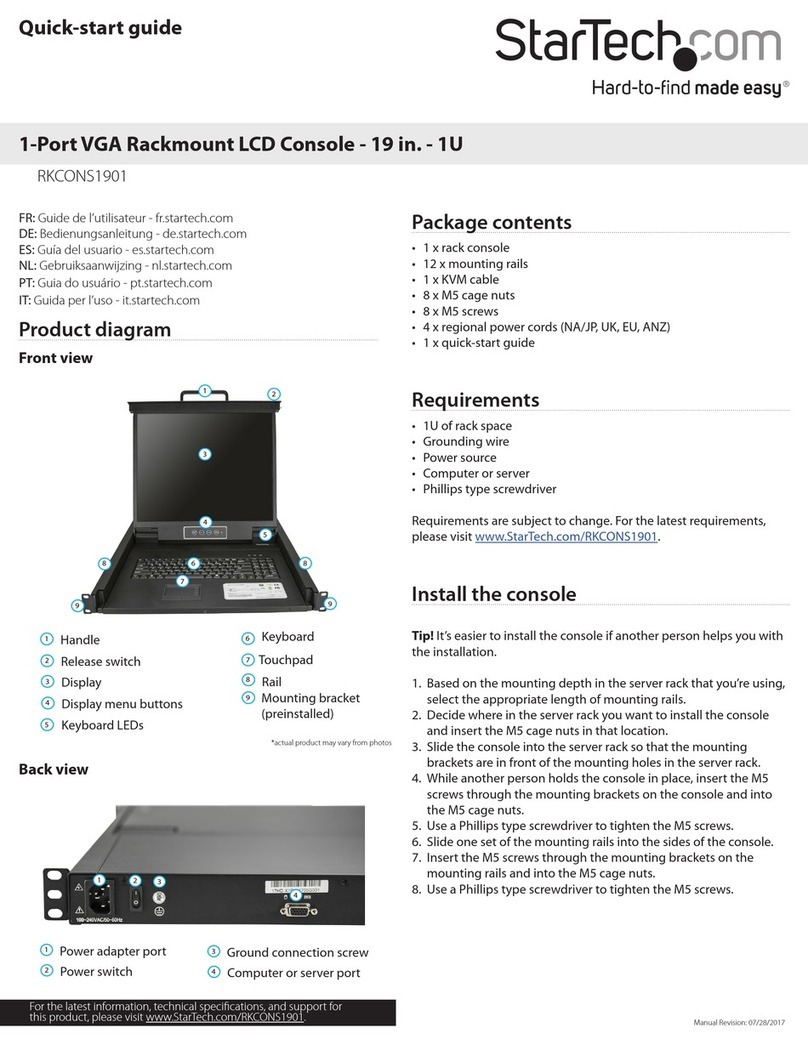
StarTech.com RKCONS1916K User manual
StarTech.com
StarTech.com RKCONS1901 Series User manual

StarTech.com
StarTech.com RKCOND17HD Series User manual
StarTech.com
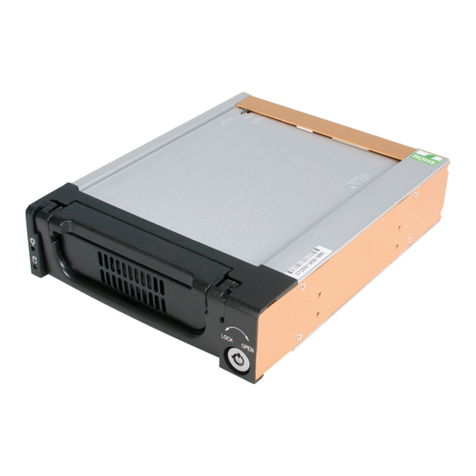
StarTech.com DRW150SAT Manual
Popular LCD Drawer manuals by other brands

Acnodes
Acnodes KD 8228 user manual

Ameriwood
Ameriwood 9524328PCOM manual

Kesseböhmer
Kesseböhmer TANDEM solo Mounting instructions

Crystal Image Technologies
Crystal Image Technologies RMD-151-A Series user manual

APW Wyott
APW Wyott Ease Extreme HDX-1-120 Installation and operating instructions

NTI
NTI RACKMUX-V17-N Installation and operation manual
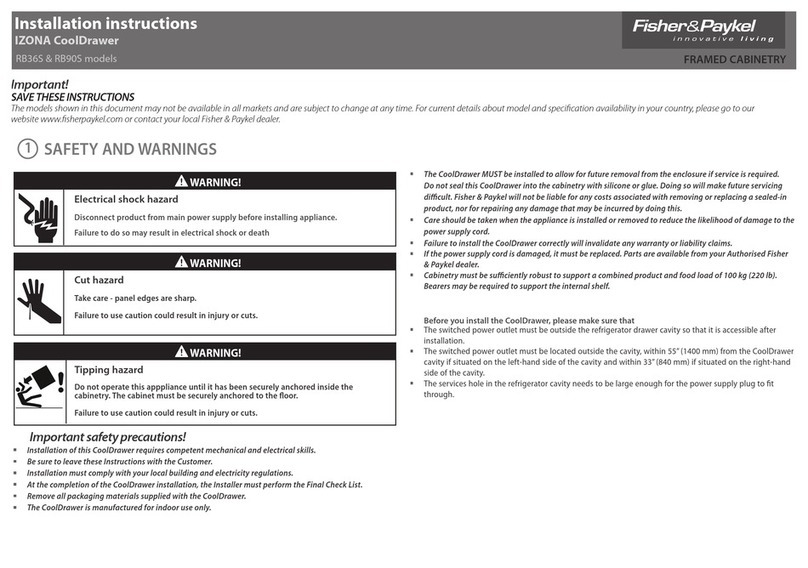
Fisher & Paykel
Fisher & Paykel IZONA CoolDrawer RB36S installation instructions

Synergy Global Technology
Synergy Global Technology LCD1U17-44 user manual
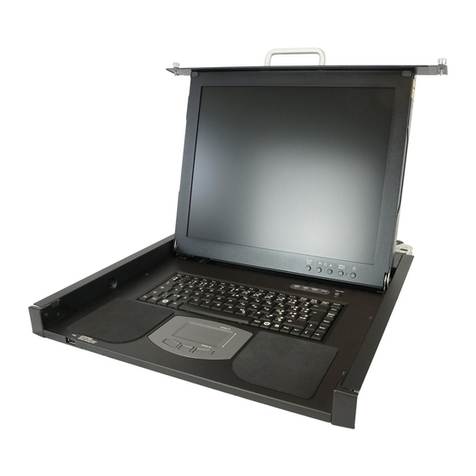
Fujitsu
Fujitsu RC25 user manual
Acnodes
Acnodes RK 1000B installation guide
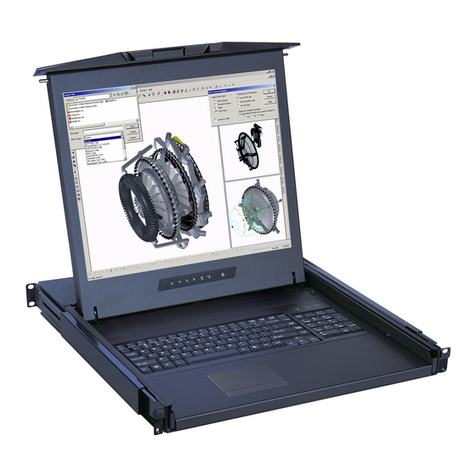
I-Tech
I-Tech RKP115 user manual
iTech Company
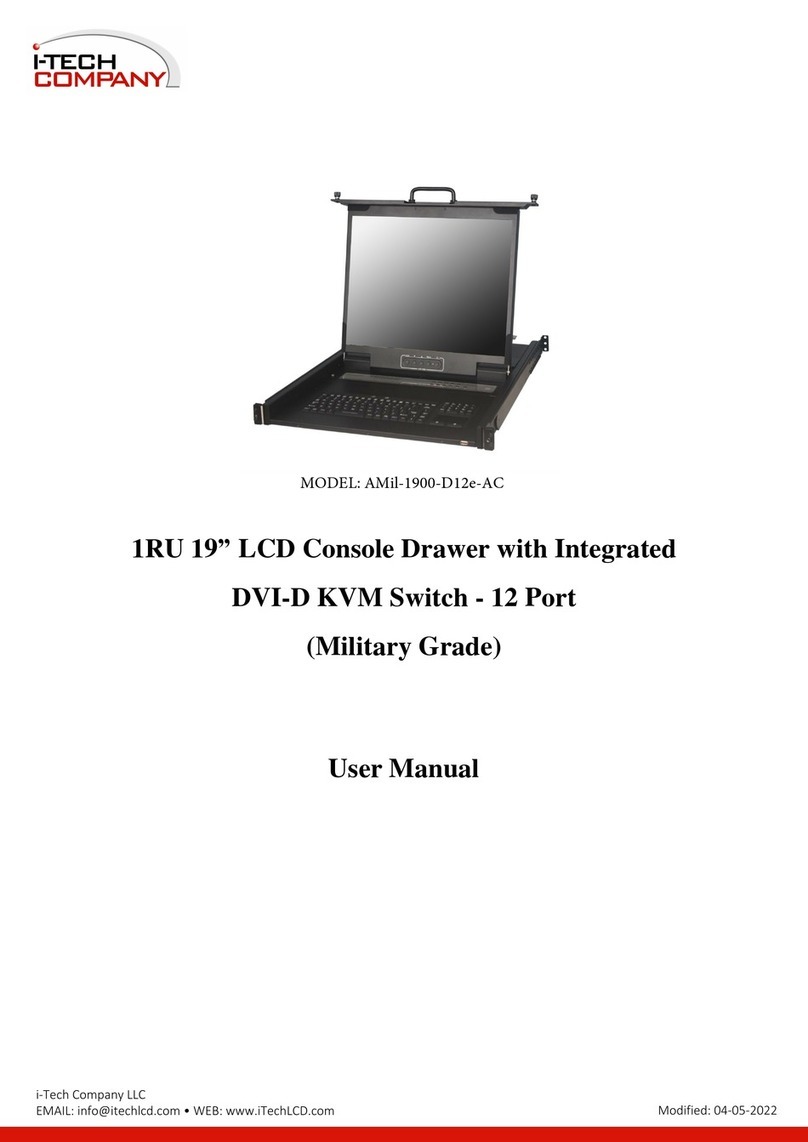
iTech Company AMil-1900-D12e-AC user manual
