manuals.online logo
Brands
  1. Home
  2. •
  3. Brands
  4. •
  5. StarTech.com
  6. •
  7. Switch
  8. •
  9. StarTech.com SV201 User manual

StarTech.com SV201 User manual

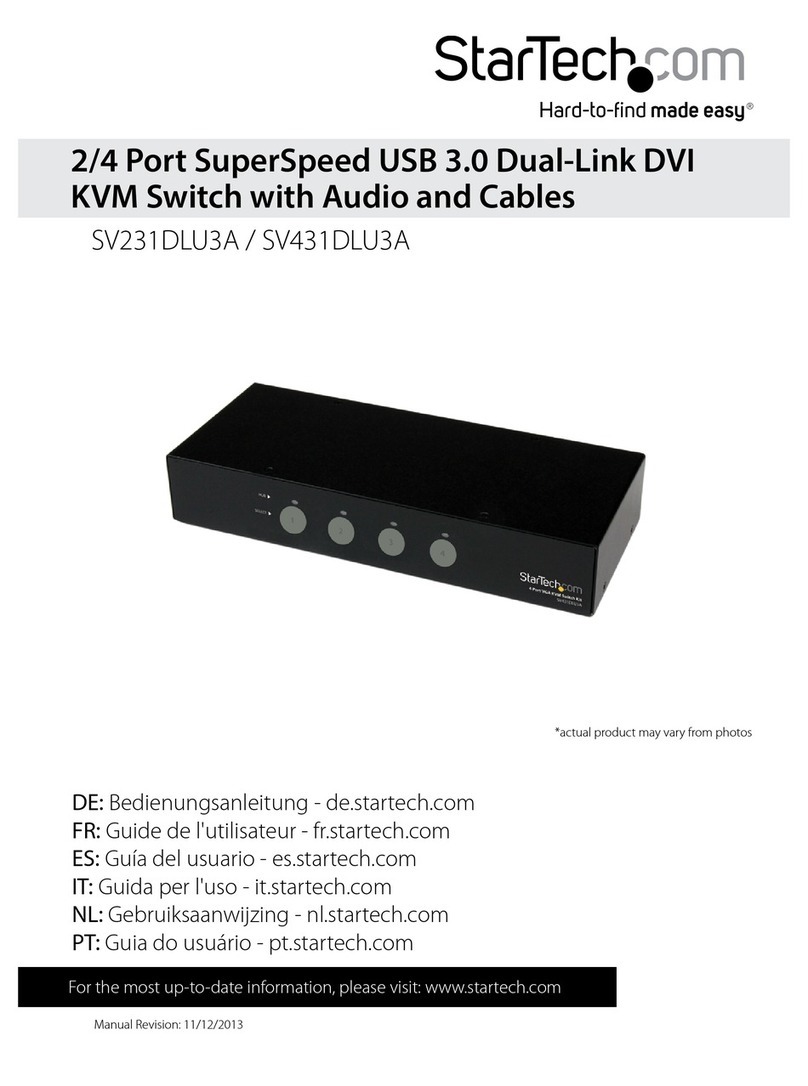
2/4 Port StarView KVM Switch
SV201
SV401 Instruction Guide
The Professionals’ Source For Hard-to-Find Computer Parts
KVM SWITCH
Revised: February 28, 2003
FCC COMPLIANCE STATEMENT
This equipment has been tested and found to comply with the limits for a Class A
digital device, pursuant to part 15 of the FCC Rules. These limits are designed to
provide reasonable protection against harmful interference in a residential installation.
This equipment generates, uses and can radiate radio frequency energy and, if not
installed and used in accordance with the instructions, may cause harmful interference
to radio communications. However, there is no guarantee that interference will not
occur in a particular installation. If this equipment does cause harmful interference to
radio or television reception, which can be determined by turning the equipment off
and on, the user is encouraged to try to correct the interference by one or more of the
following measures:
• Reorient or relocate the receiving antenna.
• Increase the separation between the equipment and receiver.
• Connect the equipment into an outlet on a circuit different from that to which the
receiver is connected.
• Consult the dealer or an experienced radio/TV technician for help.
Technical Support
The following technical resources are available for this StarTech.com product:
On-line help:
We are constantly adding new information to the Tech Support section of our web site. To
access this page, click the Tech support link on our homepage, www.startech.com. In the
tech support section there are a number of options that can provide assistance with this
card.
Knowledge Base - This tool allows you to search for answers to common issues using
key words that describe the product and your issue.
FAQ - This tool provides quick answers to the top questions asked by our customers.
Downloads - This selection takes you to our driver download page where you can
findthe latest drivers for this product.
Call StarTech.com tech support for help: 1-519-455-4931
Support hours: Monday to Friday 9:00AM to 5:00PM EST (except holidays)
Warranty Information
This product is backed by a one year warranty. In addition StarTech.com warrants its
products against defects in materials and workmanship for the periods noted below,
following the initial date of purchase. During this period, the products may be
returned for repair, or replacement with equivalent products at our discretion. The
warranty covers parts and labor costs only. StarTech.com does not warrant its products
from defects or damages arising from misuse, abuse, alteration, or normal wear and
tear.
Limitation of Liability
In no event shall the liability to StarTech.com Ltd. (or its officers, directors, employees or
agents) for any damages (whether direct or indirect, special, punitive incidental,
consequential, or otherwise), loss of profits, loss of business, or any pecuniary loss,
arising out of related to the use of the product exceed the actual price paid for
the product.
Some states do not allow the exclusion or limitation of incidental or consequential
damages. If such laws apply, the limitations or exclusions contained in this statement
may not apply to you.
7
Table of Contents
Introduction . . . . . . . . . . . . . . . . . . . . . . . . . . . . . . . . . . . . . . . . . . . . . . . . . . . . . . . . 2
Installation . . . . . . . . . . . . . . . . . . . . . . . . . . . . . . . . . . . . . . . . . . . . . . . . . . . . . . . . . 3
Using Your KVM Switch . . . . . . . . . . . . . . . . . . . . . . . . . . . . . . . . . . . . . . . . . . . . . 4
Auto-Scan Mode . . . . . . . . . . . . . . . . . . . . . . . . . . . . . . . . . . . . . . . . . . . . . . . . . . . . 5
Last/Next Mode (SV401 only) . . . . . . . . . . . . . . . . . . . . . . . . . . . . . . . . . . . . . . . . . 5
Monitoring Your Switch . . . . . . . . . . . . . . . . . . . . . . . . . . . . . . . . . . . . . . . . . . . . . 5
Troubleshooting . . . . . . . . . . . . . . . . . . . . . . . . . . . . . . . . . . . . . . . . . . . . . . . . . . . . 6
Technical Specifications . . . . . . . . . . . . . . . . . . . . . . . . . . . . . . . . . . . . . . . . . . . . . . 6
Technical Support . . . . . . . . . . . . . . . . . . . . . . . . . . . . . . . . . . . . . . . . . . . . . . . . . . . 7
Warranty Information . . . . . . . . . . . . . . . . . . . . . . . . . . . . . . . . . . . . . . . . . . . . . . . 7
1
Troubleshooting
If you encounter any problems, first make sure all cables are firmly seated at both ends
and connected to their proper ports.
Also note that the SV201/SV401 are designed to work with PS/2 and AT keyboards.
Older XT (84 key) keyboards will not work. As well, some notebook computers such as
the IBM Thinkpad and Toshiba Terca have trouble working with the SV201/SV401 when
their mouse and keyboard ports are used simultaneously. To avoid this problem, only
connect the mouse OR the keyboard port to the switch.
Problem: Keyboard is not responding.
1. Keyboard needs to be reset. Unplug keyboard from console, then plug it back in.
2. StarView needs to be reset. Turn off computers and StarView, wait five seconds, turn
StarView back on, turn computers back on.
Problem: Mouse does not respond correctly.
1. StarView is in AutoScan mode. Press space bar to exit.
2. Mouse needs to be reset. Unplug mouse from console, then plug it back in.
3. StarView needs to be reset. Turn off computers and StarView, wait five seconds, turn
StarView back on, turn computers back on.
Problem: Video problems.
1. Resolution/bandwidth is too high. StarView supports VGA, SVGA, Multisync and
XGA (interlaced, with resolution up to 1920 x 1440 @ 80MHz). The maximum
bandwidth is 180 MHz.
2. Cable quality too low. Use high quality co-axial cables. Contact StarTech.com for
details.
Problem: Pressing hot-keys gets no response.
1. Selected port connects to powered-down computer. Change to active port using push-
button.
2. StarView is in Auto Scan/Last-Next mode. Press space bar to return to normal.
Technical Specifications
6
SV201 SV401
Connectors Keyboard 6-pin mini DIN female (PS/2)
Mouse 6-pin mini DIN female (PS/2)
Video HDB-15 female (std. VGA/SVGA)
LEDs 2 4
Operating Temp. 41~140ºF (5~40ºC)
Humidity 0~80% (Non-condensing)
Weight 0.42 lbs (190g) 0.55lbs (250g)
Dimensions 3.9 x 3.4 x 1.1 in. 6.7 x 3.4 x 1.1 in.
(100 x 87 x 28mm) (170 x 87 x 28mm)
Introduction
Thank you for purchasing a StarTech.com StarView KVM switch. This space-efficient,
reliable, and cost-effective KVM switch provides an ideal solution for call centers, help
desks, and SOHO environments where the ability to use multiple PCs is necessary. You
can easily connect and operate two (SV201) or four (SV401) computers from one monitor,
keyboard, and mouse. And you can easily switch between computers by simply pushing
a button or entering a quick hot-key command.
Features
• Allows one console to control two or four computers
• Allows PCs to be quickly switched through push-buttons or hot-key commands
• Allows connection and removal of PCs without powering down
• 200 MHz bandwidth allows resolutions up to 1920x1440 @ 60Mhz
• Emulates keyboard and mouse while booting so PCs can boot unattended
• Backed by StarTech.com’s one year warranty
Before You Begin
To ensure a quick and easy switch installation, please read through this section carefully
before attempting to install the switch.
System Requirements
• IBM-compatible computers with VGA, SVGA, or Multisync card
• One monitor (must be capable of synchronizing with each computer's video signal.
Check your monitor's user manual for more information)
• One PS/2 keyboard and mouse
• Extender cables (not included)
NOTE: StarTech.com offers a variety of three-in-one KVM cables to optimize signal
integrity and simplify layout and connections. For product information, visit
www.startech.com and click on the All Parts tab. Follow the StarView/KVM Cables link
that is available under the “Cables” heading and select the Universal KVM Switch
Cables.
Contents
This package should contain:
• 1 x KVM switch
2
Last/Next Mode (SV401 Only)
The Last/Next feature allows you to quickly switch back and forth manually between
computers. It differs from Auto Scan mode in that you are able to dwell on a particular
port for as long or as little as you like, as opposed to the fixed interval of Auto Scan
mode. Activate Last/Next mode by using the following hot-key combination:
• Press and release Alt+Ctrl+Shift, then press and release 9, then press Enter.
Once Last/Next mode is activated, you can scroll to the previous computer by pressing
the Left Shift, or to the next computer by pressing the Right shift. The switch will
remain in Last/Next mode until you press the Space Bar. The port that was active at that
time will remain active.
NOTE: While in Last/Next mode, no other keys will function. You will have to first exit
Last/Next mode by pressing the space bar.
Monitoring Your Switch
The LEDs on the switch are your best indication of the switch’s activity.
5
LED Activity Meaning
On (Steady) Corresponding PC is active
Off PC is not selected
Flashing (On/Off Equal) Corresponding PC is active and is being
accessed through Auto Scan mode
Flashing (On long, Corresponding PC is active and is being
Off short) accessed by Last/Next mode (SV401 only)
4 3
Connecting the computers
1. Connect one end of your connector cables into open CPU monitor, keyboard, and
mouse ports on the front or back of the switch.
2. Plug the other end of the cables into the monitor, keyboard, and mouse ports on the
back of the computer.
Repeat steps 1-2 for any other computers you want to connect to the switch. Your KVM
switch is now ready for use.
Using Your KVM Switch
Switching Computers
The LEDs on the front panel of the switch indicate which computer is active. To switch
between computers, use the Select push-button on the right side of the switch to scroll
through the computers, or enter one of the following hot-key combinations:
SV201
• Press and release the Left Control or Right Control key twice, followed by the
number that corresponds to the port letter (Port A=1, Port B=2, etc.).
SV401
• Press Ctrl+Alt+Shift, followed by the number that corresponds to the port letter
(Port A=1, Port B=2, etc.).
Auto Scan Mode
The StarView SV201 and SV401 allow you to automatically scan between PCs at regular
intervals so that you can monitor their activity without having to manually switch
between computers. To begin Auto Scan mode, use the following hot-key combinations:
SV201
• Press and release the Left Shift key, then press and release the Right Shift key.
SV401
• Press and release Ctrl+Alt+Shift, then press and release 0 (zero), then press Enter.
The switch will remain in Auto Scan mode until you press the Space Bar. The port that
was active at that time will remain active.
NOTE: While in Auto Scan mode, no other keys will function. You will have to first exit
Auto Scan mode by pressing the space bar.
Installation
This section will guide you through the installation of your StarView switch. Please read
through the instructions carefully and complete each step in the order listed.
NOTE: Make sure that all devices are turned off before beginning installation.
Connecting the console
1. Plug your monitor into the labeled monitor port on the left side of the switch.
2. Plug your PS/2 keyboard and mouse into the labeled ports on the left side of the
switch.
Select
push-
button
Console
Ports
Power
Button
SV201 shown CPU Ports

This manual suits for next models

1

Other StarTech.com Switch manuals

StarTech.com ICUSB23216F User manual

StarTech.com

StarTech.com ICUSB23216F User manual

StarTech.com Presentation Jockey Manual

StarTech.com

StarTech.com Presentation Jockey Manual

StarTech.com P2DD46A2-KVM-SWITCH User manual

StarTech.com

StarTech.com P2DD46A2-KVM-SWITCH User manual

StarTech.com SV841HDI User manual

StarTech.com

StarTech.com SV841HDI User manual

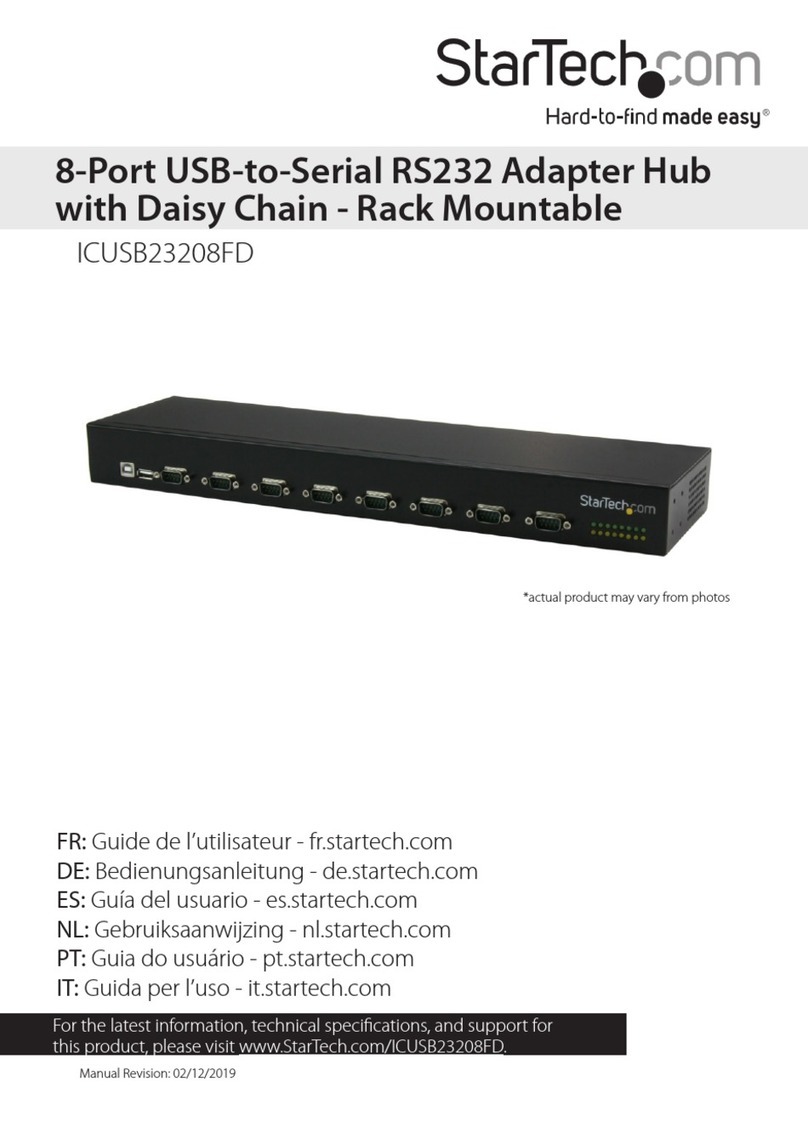
StarTech.com ICUSB23208FD User manual

StarTech.com

StarTech.com ICUSB23208FD User manual

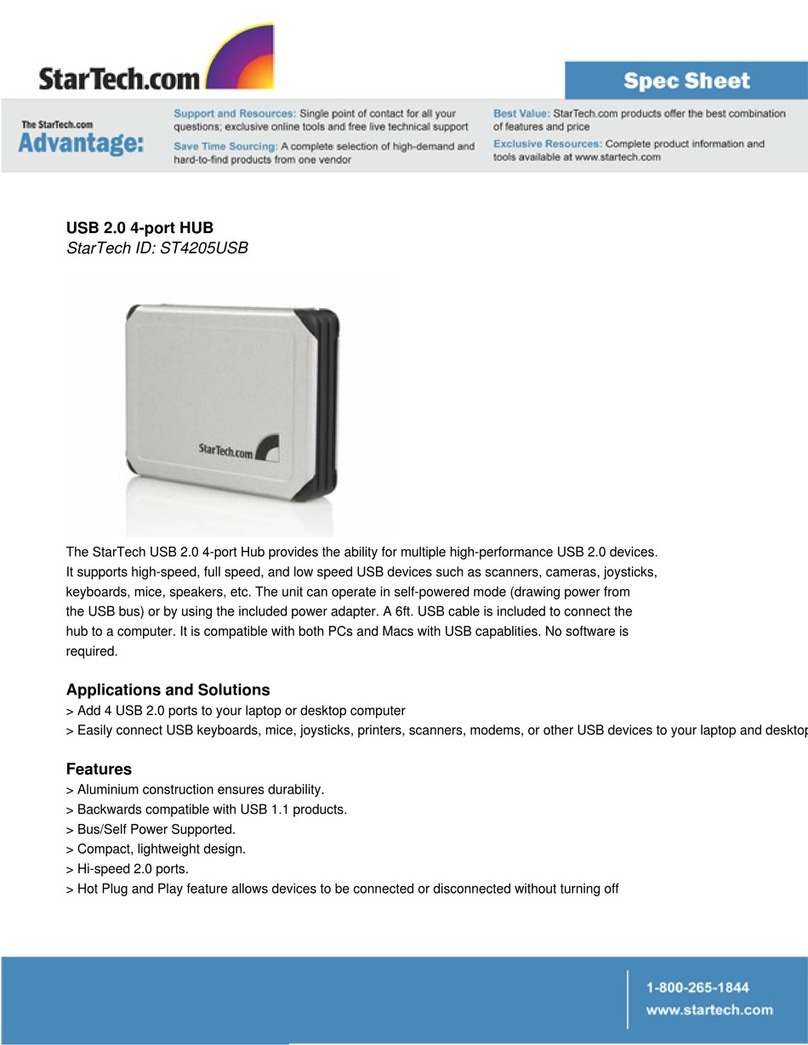
StarTech.com ST4205USB User manual

StarTech.com

StarTech.com ST4205USB User manual

StarTech.com ST7300U3M User manual

StarTech.com

StarTech.com ST7300U3M User manual

StarTech.com StarView SV231 User manual

StarTech.com

StarTech.com StarView SV231 User manual

StarTech.com 5port User manual

StarTech.com

StarTech.com 5port User manual

StarTech.com SV211KDVI User manual

StarTech.com

StarTech.com SV211KDVI User manual

StarTech.com SV211KUSB User manual

StarTech.com

StarTech.com SV211KUSB User manual

StarTech.com Starview SV231USBANGB User manual

StarTech.com

StarTech.com Starview SV231USBANGB User manual

StarTech.com HDVGADP2HD User manual

StarTech.com

StarTech.com HDVGADP2HD User manual

StarTech.com ST4300USBMS User manual

StarTech.com

StarTech.com ST4300USBMS User manual

StarTech.com C2-DH46-UA2-CBL-KVM User manual

StarTech.com

StarTech.com C2-DH46-UA2-CBL-KVM User manual

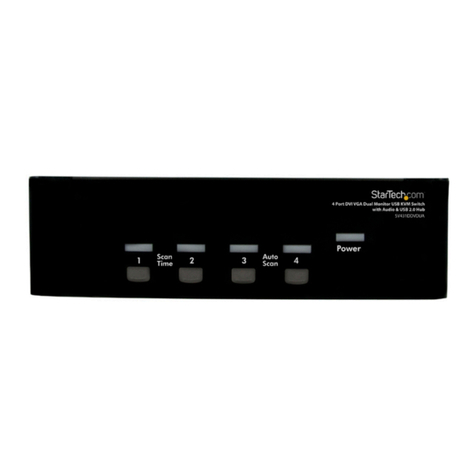
StarTech.com SV431DDVDUA User manual

StarTech.com

StarTech.com SV431DDVDUA User manual

StarTech.com ST222MX User manual

StarTech.com

StarTech.com ST222MX User manual

StarTech.com USB2HDCAPS User manual

StarTech.com

StarTech.com USB2HDCAPS User manual

StarTech.com IES101002SFP User manual

StarTech.com

StarTech.com IES101002SFP User manual

StarTech.com StarView SV1631D User manual

StarTech.com

StarTech.com StarView SV1631D User manual

StarTech.com ICUSB2322I User manual

StarTech.com

StarTech.com ICUSB2322I User manual

StarTech.com SV231DVIDDU User manual

StarTech.com

StarTech.com SV231DVIDDU User manual

StarTech.com ICUSB2322X User manual

StarTech.com

StarTech.com ICUSB2322X User manual

StarTech.com 8STICUSB23216FD User manual

StarTech.com

StarTech.com 8STICUSB23216FD User manual

Popular Switch manuals by other brands

HunterDouglas PowerView quick start guide

HunterDouglas

HunterDouglas PowerView quick start guide

Planet ISW-500 user manual

Planet

Planet ISW-500 user manual

CoolGear USBG-7DU2S installation guide

CoolGear

CoolGear USBG-7DU2S installation guide

Rocket Fish RF-NBSKHBB Instructions D'installation

Rocket Fish

Rocket Fish RF-NBSKHBB Instructions D'installation

Tripp Lite B004-DUA2-K-R Specifications

Tripp Lite

Tripp Lite B004-DUA2-K-R Specifications

Tripp Lite PDUMVR20NET owner's manual

Tripp Lite

Tripp Lite PDUMVR20NET owner's manual

SMART-AVI SM-HDN-8S user manual

SMART-AVI

SMART-AVI SM-HDN-8S user manual

Qlogic SANbox-16HA Installer's/ Installer's/user's manual

Qlogic

Qlogic SANbox-16HA Installer's/ Installer's/user's manual

Black Box SERVSWITCH PANTHER KV1108A user manual

Black Box

Black Box SERVSWITCH PANTHER KV1108A user manual

Data Video SE-2200 instruction manual

Data Video

Data Video SE-2200 instruction manual

Ntron 709FX Series User manual & installation guide

Ntron

Ntron 709FX Series User manual & installation guide

CyberView Matrix Cat6 IP KVM user manual

CyberView

CyberView Matrix Cat6 IP KVM user manual

Delta DVS-G928 series user manual

Delta

Delta DVS-G928 series user manual

Silvercrest MZ 20-1 FR Operation and safety notes

Silvercrest

Silvercrest MZ 20-1 FR Operation and safety notes

Planet IKVM-8020 Quick installation guide

Planet

Planet IKVM-8020 Quick installation guide

Qlogic SANbox 5602 installation guide

Qlogic

Qlogic SANbox 5602 installation guide

Tripp Lite NetDirector B064-016-04-IP Specifications

Tripp Lite

Tripp Lite NetDirector B064-016-04-IP Specifications

AirLive POE-FSH808PW Quick setup guide

AirLive

AirLive POE-FSH808PW Quick setup guide

manuals.online logo
manuals.online logoBrands
  • About & Mission
  • Contact us
  • Privacy Policy
  • Terms and Conditions

Copyright 2025 Manuals.Online. All Rights Reserved.