INSTRUCTIVO DE USO DE RADIO RELOJ DESPERTADOR CON
SENSOR AL TOQUE
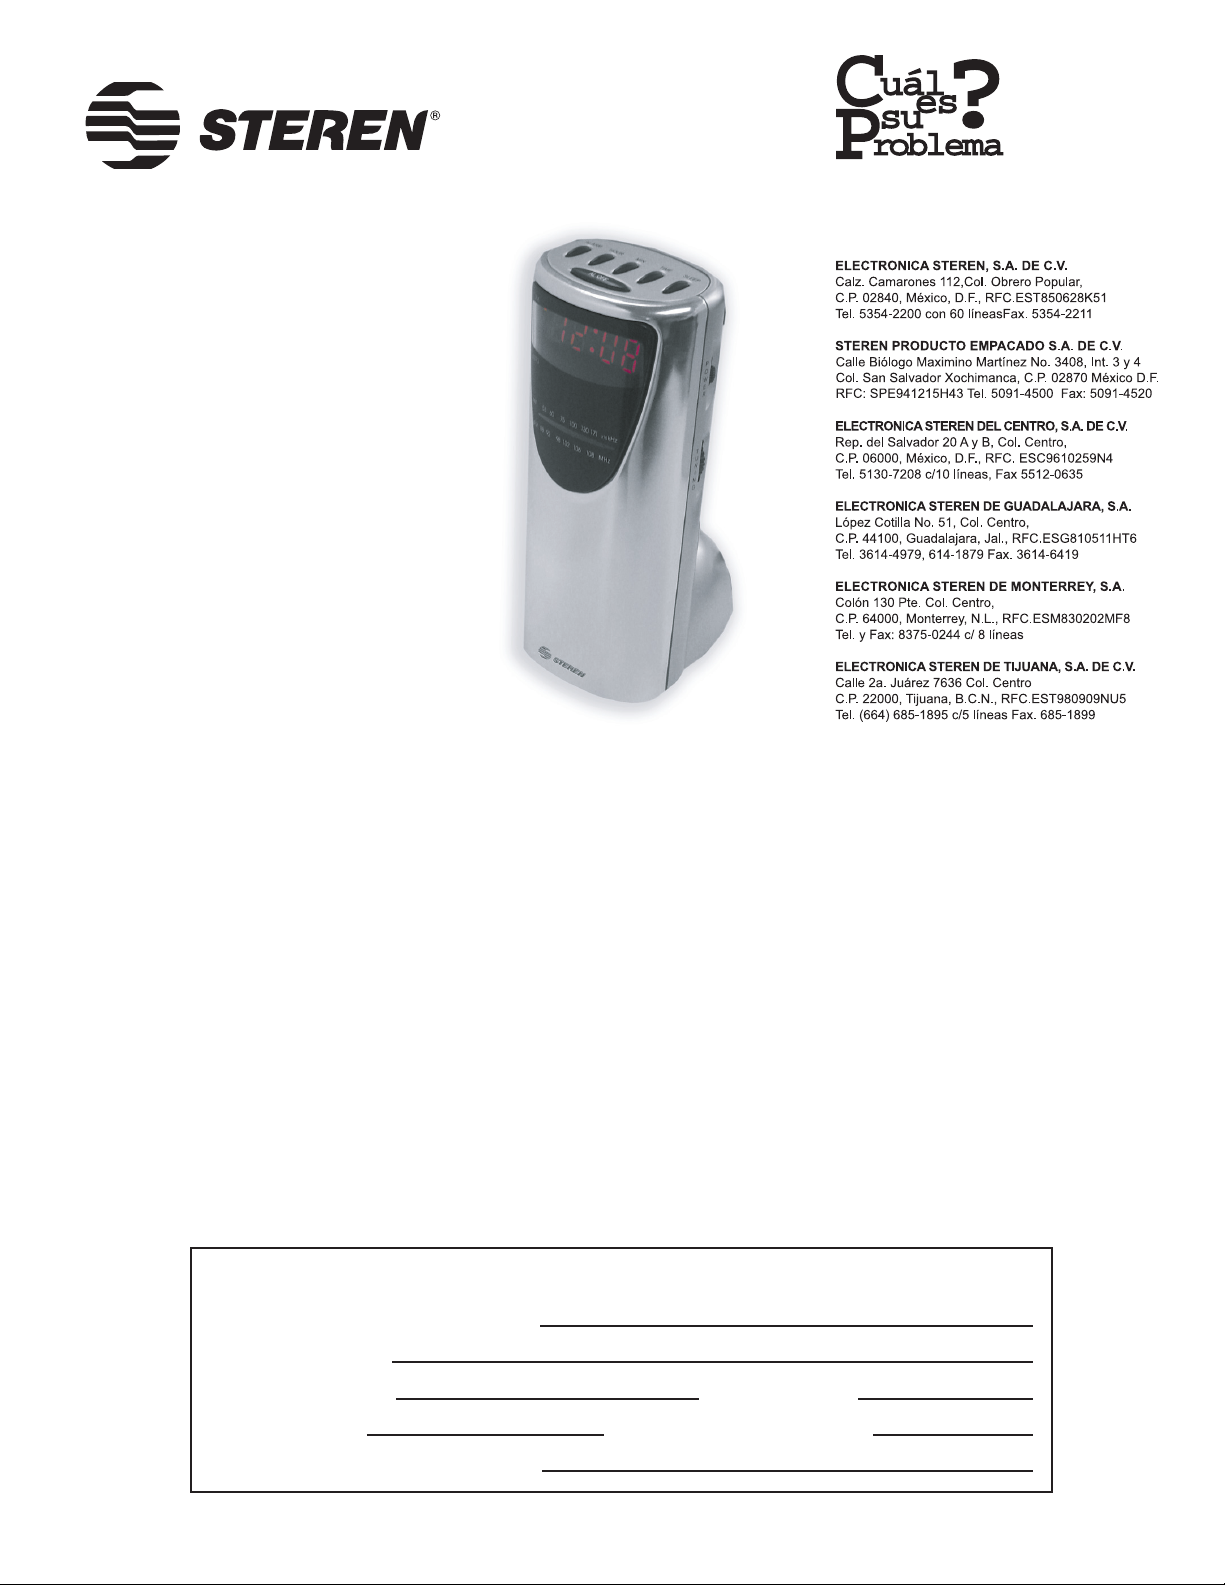
Producto: CLK-310
Marca: Steren
Antes de utilizar su nuevo Radio Reloj lea este instructivo para
evitar cualquier mal funcionamiento. Guárdelo para futuras
referencias.
Su nuevo Radio Reloj cuenta con un receptor de radio AM/FM. Así mismo
cuenta con la opción de apagado fácil (Snooze) en todo el frente del
equipo, es decir, tocando cualquier parte del frente metálico del Radio
Reloj, automáticamente apaga el despertador por 9 minutos, volviéndose
a encender después de ese tiempo. Además, tiene un sistema de respaldo
de memoria para asegurar que la hora del reloj -y por consiguiente la
alarma- sigan funcionando en caso de falla en el suministro eléctrico,
mediante una batería de 9V (no incluida).
IMPORTANTE
Asegúrese de que el voltaje de su equipo corresponda al voltaje de su
tomacorriente.
No utilice el equipo si se encuentra dañado el cable de corriente.
No exponga el equipo a temperaturas extremas.
No use ni almacene este equipo en lugares donde existan goteras o
salpicaduras de agua, esto puede causar un mal funcionamiento o choque
eléctrico.
No intente abrir el equipo, puede ocasionar malfuncionamiento y anulación
de la garantía.
Siempre desconecte el equipo antes de limpiarlo.
Siempre utilice un paño suave limpio y seco para limpiar el equipo.
Para su uso en interiores, exclusivamente.
Revise la batería de respaldo cada 3 meses, si es necesario cambie por
una nueva.
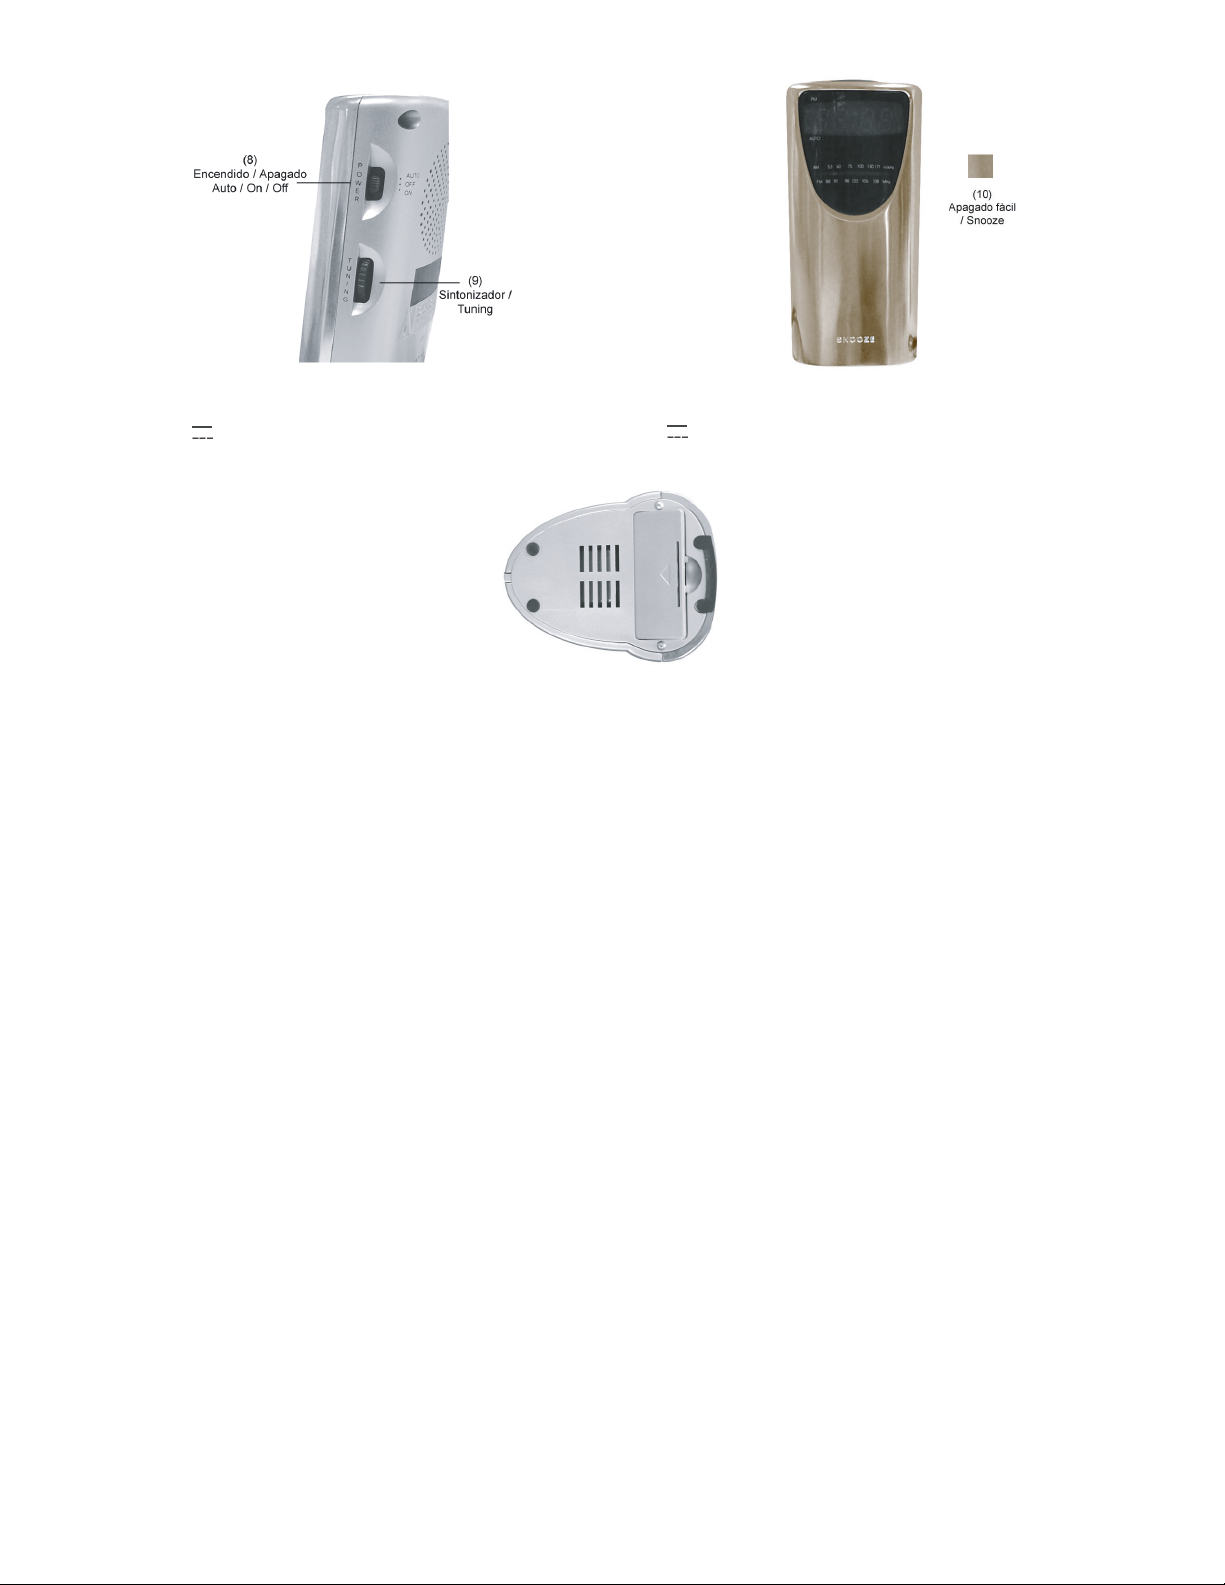
CONTROLES
1.- Alarma (Alarm) ............................. Visualiza / Ajusta la alarma
2.- Hora / Minutos (Hour / Min) ........... Ajusta las horas y los minutos del
reloj
3.- Reloj (Time) .................................. Ajusta el reloj digital
4.- Apagado automático (Sleep) ........... Activa el apagado automático
5.- Apagado de alarma (Al Off) ............ Apaga la alarma completamente
6.- FM / AM ....................................... Sintoniza la banda de AM o de FM
7.- Volumen / Timbre ………………......…. Ajusta el nivel de volumen /
(Volume / Buzz) activa la alarma con timbre
8.- Encendido / Apagado .................... Enciende o apaga el radio
(On / Off / Auto)
9.- Sintonizador (Tuning) ..................... Ajusta la estación de radio
deseada
10.- Apagado fácil (Snooze) ................. Apaga el despertador por 9
minutos
INSTRUCTION MANUAL FOR CLOCK RADIO WITH SENSOR TOUCH
SNOOZE
Product: CLK-310
Brand: Steren
Before using your new Clock Radio, please read this instruction
manual to prevent any damage. Put them away in a safe place for
future references.
Your new Clock Radio has an AM/FM tuner. Whole the front of the
equipment is a Sensor Touch Snooze, therefore you can touch any metallic
part of the sensor and automatically turns the wake-up alarm off for
around 9 minutes, after that, automatically turns on again. Also, it has a
memory back-up system to assure the actual hour -and the alarm- keeps
working even if exists a failure in the electrical system, it use a 9V
battery (not included).
IMPORTANT
Make sure that the input voltage of your equipment is the same of your
electrical system.
Do not use the equipment if the power cord is broken.
Do not expose to extreme temperatures.
Do not use or store the equipment near wet places. May cause
malfunction or shock hazard.
Do no try to open the equipment, may cause malfunction and warranty
repeal.
Always disconnect the equipment from the electrical current before
cleaning.
Clean only with a soft, dry cloth.
Only indoors use.
We recommend you to check the back-up battery each 3 months, if is
necessary, change the battery with a new one.
CONTROLS
1.- Alarm ........................................... Visualize / Set the alarm
2.- Hour / Min …………………………......… Set the hours and minutes
3.- Time ............................................ Set the digital clock
4.- Sleep ........................................... Activates the Sleep Mode
5.- Al Off ………………………………………… Turns the alarm off completely
6.- FM / AM ....................................... Choose between AM or FM radio
band.
7.- Volume / Buzz …..……………………..... Set the volume level / Activates
the buzz alarm
8.- On / Off / Auto …............................ Turn on / Turn off the radio
9.- Tuning ……………………..................... Set the desired radio station
10.- Snooze ........................................ Turn the wake-up alarm off for 9
minutes