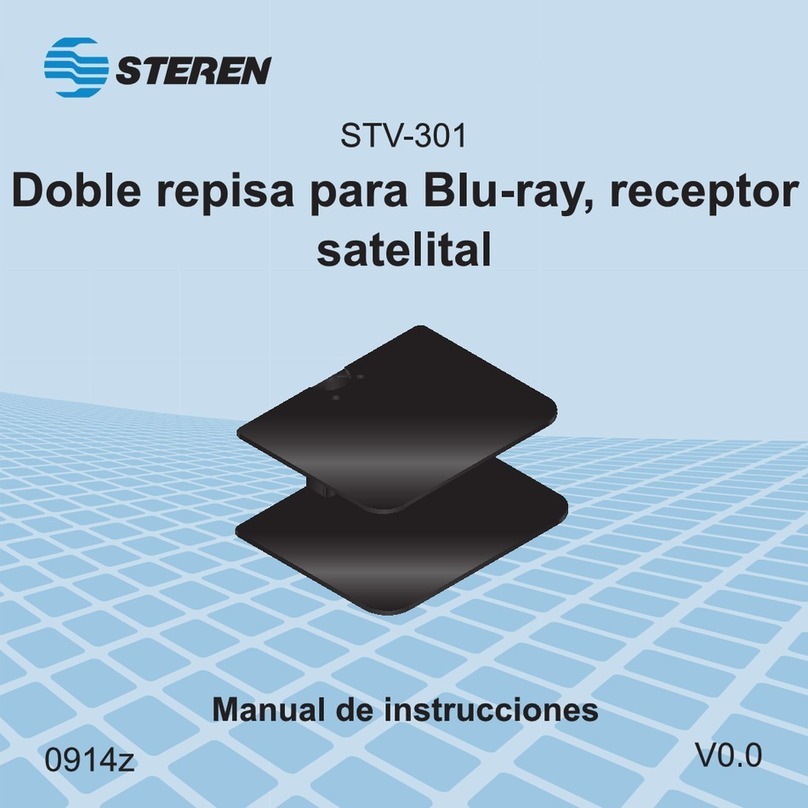
Producto: Repisa doble para DVD/CABLE/SAT
Modelo: STV-300
Marca: Steren
PÓLIZA DE GARANTÍA
Esta póliza garantiza el producto por el término de un año en todas sus partes y mano de obra, contra cualquier defecto de fabricación y
funcionamiento, a partir de la fecha de entrega.
CONDICIONES
1.- Para hacer efectiva la garantía, presente esta póliza y el producto, en donde fue adquirido o en Electrónica Steren S.A. de C.V.
2.- Electrónica Steren S.A de C.V. se compromete a reparar el producto en caso de estar defectuoso sin ningún cargo al consumidor. Los gastos de
transportación serán cubiertos por el proveedor.
3.- El tiempo de reparación en ningún caso será mayor a 30 días,contados a partir de la recepción del producto en cualquiera de los sitios donde
pueda hacerse efectiva la garantía.
4.- El lugar donde puede adquirir partes, componentes, consumibles y accesorios, así como hacer válida esta garantía es en cualquiera de las
direcciones mencionadas posteriormente.
ESTA PÓLIZA NO SE HARÁ EFECTIVA EN LOS SIGUIENTES CASOS:
1.- Cuando el producto ha sido utilizado en condiciones distintas a las normales.
2.- Cuando el producto no ha sido operado de acuerdo con el instructivo de uso.
3.- Cuando el producto ha sido alterado o reparado por personal no autorizado por Electrónica Steren S.A. de C.V.
El consumidor podrá solicitar que se haga efectiva la garantía ante la propia casa comercial donde adquirió el producto. Si la presente garantía se
extraviara, el consumidor puede recurrir a su proveedor para que le expida otra póliza, previa presentación de la nota de compra o factura respectiva.
DATOS DEL DISTRIBUIDOR
Nombre del Distribuidor _________________________________________
Domicilio _____________________________________________________
Producto _____________________________________________________
Marca _______________________________________________________
Modelo ______________________________________________________
Número de serie _______________________________________________
Fecha de entrega ______________________________________________
ELECTRÓNICA STEREN S.A. DE C.V.
Camarones 112, Obrero Popular, 02840, Del. Azcapotzalco, México, D.F. RFC: EST850628-K51
STEREN PRODUCTO EMPACADO S.A. DE C.V.
Biólogo Maximino Martínez No. 3408 Int. 2, 3 y 4, San Salvador Xochimanca,
Del. Azcapotzalco, México, D.F. 02870, RFC: SPE941215H43
ELECTRÓNICA STEREN DEL CENTRO, S.A. DE C.V.
Rep. del Salvador 20 A y B, Centro, 06000, Del. Cuauhtémoc, México. D.F. RFC: ESC9610259N4
ELECTRÓNICA STEREN DE GUADALAJARA, S.A.
López Cotilla No. 51, Centro, 44100, Guadalajara, Jal. RFC: ESG810511HT6
ELECTRÓNICA STEREN DE MONTERREY, S.A.
Colón 130 Pte., Centro, 64000, Monterrey, N.L. RFC: ESM830202MF8
ELECTRÓNICA STEREN DE TIJUANA, S.A. de C.V.
Calle 2a, Juárez 7636, Centro, 22000, Tijuana, B.C.N. RFC: EST980909NU5
En caso de que su producto presente alguna falla, acuda
al centro de distribución más cercano a su domicilio y
en caso de tener alguna duda o pregunta por favor llame
a nuestro Centro de Atención a Clientes, en donde con
gusto le atenderemos en todo lo relacionado con
su producto Steren.
Centro de Atención a Clientes
01 800 500 9000
Antes de utilizar su nuevo producto Steren, lea este instructivo para evitar
cualquier mal funcionamiento.
PRECAUCIONES
CARACTERÍSTICAS
INSTRUCCIONES
CONTENIDO
IMPORTANTE
• No altere ni modique ninguna pieza.
• Cuando la instale en una pared de concreto asegúrese de utilizar taquetes.
• Intente tener al menos 2 personas para la instalación.
• Elija una pared recta para poder jar con seguridad el soporte.
• Tras la instalación, compruebe que el soporte esté rmemente jado.
La repisa doble para DVD, receptor satelital o dispositivos digitales tiene un diseño minimalista y dos
charolas de cristal templado pintado en color negro.
Su estructura está fabricada en lámina de acero de alta resistencia, e incluye todos los tornillos y
herrajes necesarios para armar y jar en la pared.
4. INSTALACIÓN DE LAS CHAROLAS
2. ARMADO DE LOS SUJETADORES
3. MONTAJE LOS SUJETADORES
Coloque las charolas (B) sobre los
sujetadores.
Inserte los tornillos (H) por la parte superior
y en la parte inferior (entre la charola y el
sujetador) use los protectores (I) y apriete
rmemente los tornillos con la llave allen.
Para mayor seguridad, asegúrese de que los 4 protectores para charolas
(K) estén colocados en las pestañas de los sujetadores.
Use la llave allen y dos tornillos (H) para sujetar el
soporte para charola (C) al sujetador metálico (D).
Asegúrese de no apretar los tornillos completamente
de modo que quede una separación de 3 mm.
Realice este mismo proceso para ajustar el segundo
sujetador.
Cerciórese de no haber apretado los tornillos completamente e inserte el
sujetador en el canal central del soporte como muestra la imagen. Una vez que
haya denido la posición del sujetador apriete rmemente los tornillos con la llave
allen.
Realice este mismo proceso para ajustar el segundo sujetador. Una vez
nalizado el montaje coloque las tapas (E) del soporte.
Para una mejor distribución y ajuste de los cables conectados
use el pasa cable.
A) 1 placa de pared
B) 2 charolas de cristal
C) 2 soportes de charolas
D) 2 sujetadores metálicos
E) 2 tapas del soporte
F) 4 tornillos ST5.5x50
G) 4 taquetes de plástico
H) 6 tornillos M5x10
I) 2 protectores para charolas (grandes)
J) 4 tapas para tornillos
K) 4 protectores para charolas (pequeños)
L) Llave allen
La información que se muestra en este manual sirve únicamente como
referencia sobre el producto.
Debido a actualizaciones pueden existir diferencias. Por favor, consulte
nuestra página web (www.steren.com) para obtener la versión más reciente del
instructivo.
El diseño del producto y las especicaciones pueden variar sin previo aviso.
1. INSTALACIÓN DE SOPORTE
Con un taladro haga los oricios
y una vez nalizados inserte los 4
taquetes (G) incluidos.
Finalmente asegure el soporte con
los tornillos (F).
Para proteger la instalación,
únicamente coloque rmemente
las 4 tapas para tornillos (J) en
cada oricio.
Ubique el lugar donde desee realizar la instalación y coloque el soporte (A) sobre la pared, a n de
marcar con un plumón los 4 oricios a perforar. Recuerde que el soporte debe estar perfectamente
vertical.
Cuando la instale en una pared de madera o tablarroca,
identique la ubicación del poste que soporta el muro y realice
la instalación sobre éste.


