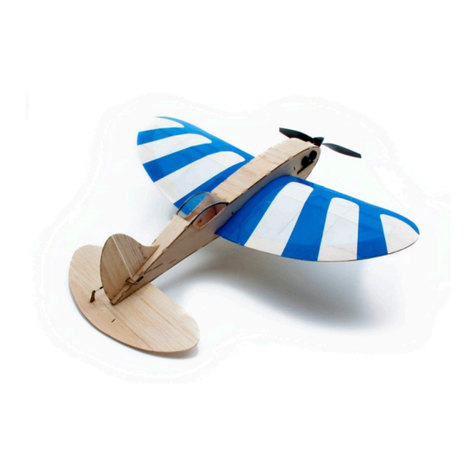
Stevens Aero Model Pober Pixie 360 Manual


Table of contents
Other Stevens Aero Model Toy manuals

Stevens Aero Model
Stevens Aero Model SkyBuggy User manual

Stevens Aero Model
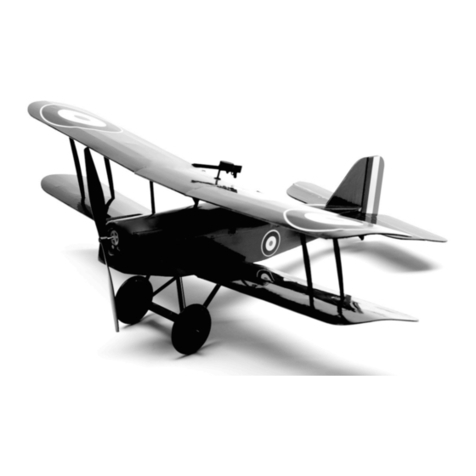
Stevens Aero Model AVRO 534 BABY Manual
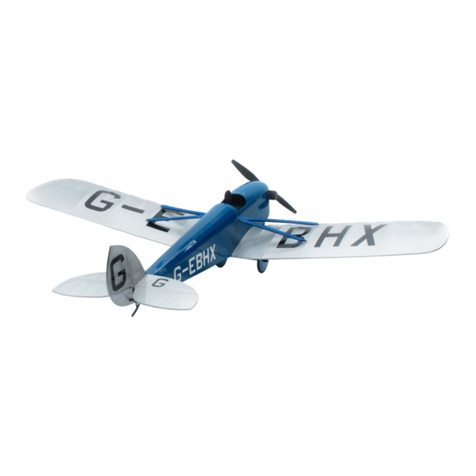
Stevens Aero Model
Stevens Aero Model Hummingbird (100) Manual
Stevens Aero Model
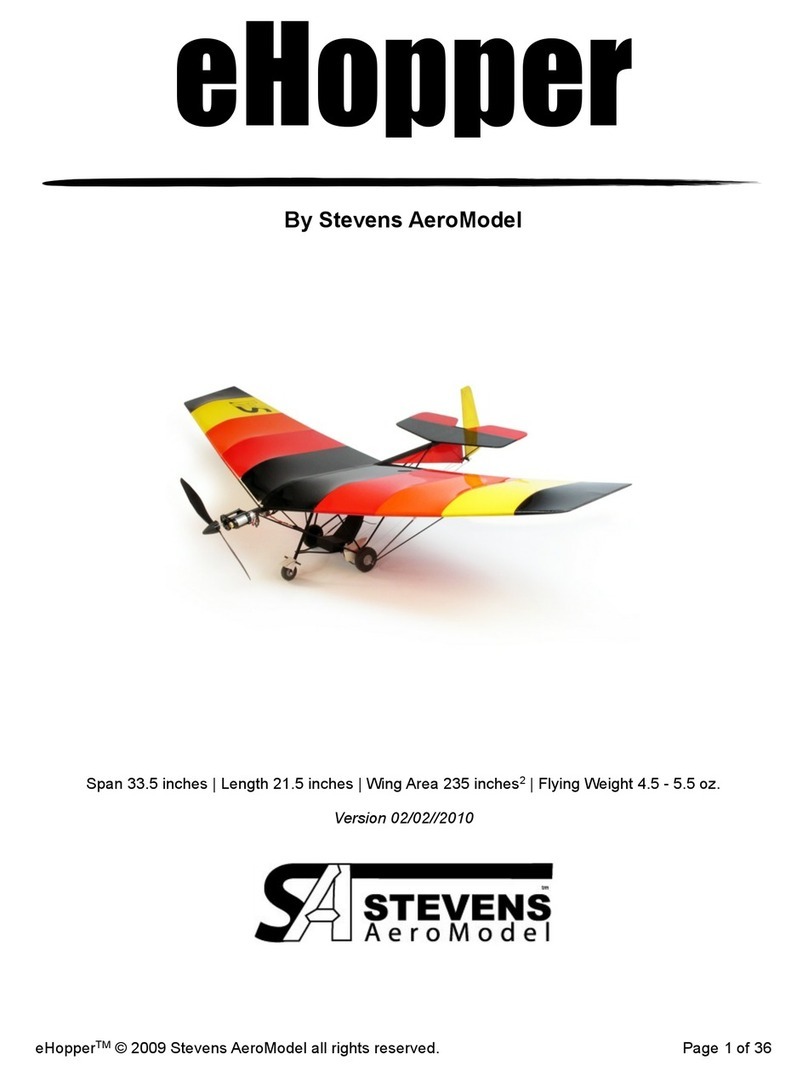
Stevens Aero Model eHopper User manual

Stevens Aero Model
Stevens Aero Model FREDe 1.5X User manual
Stevens Aero Model
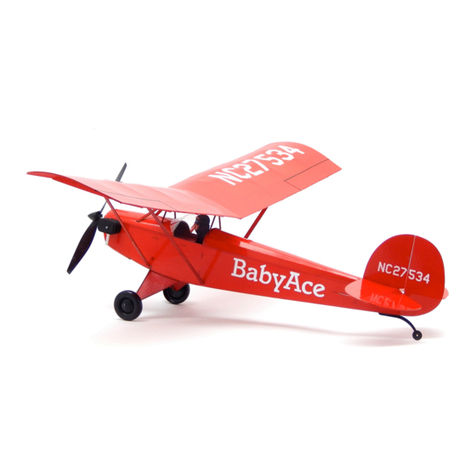
Stevens Aero Model Build It! Baby Ace Manual

Stevens Aero Model
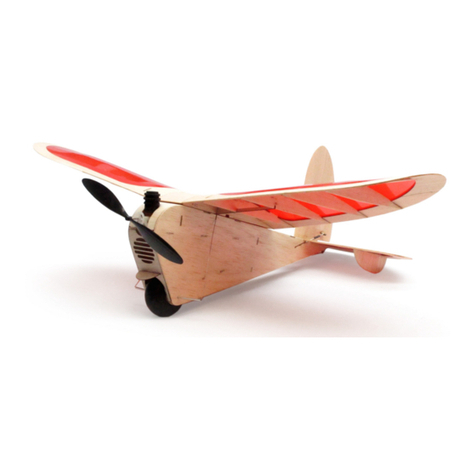
Stevens Aero Model Waterboard mini pondflyer Manual
Stevens Aero Model
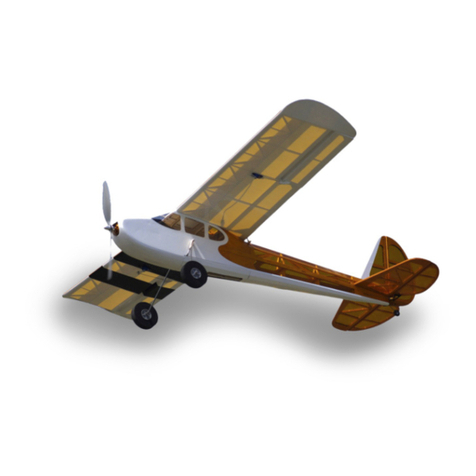
Stevens Aero Model Build It! PuddleBug UM Manual
Stevens Aero Model
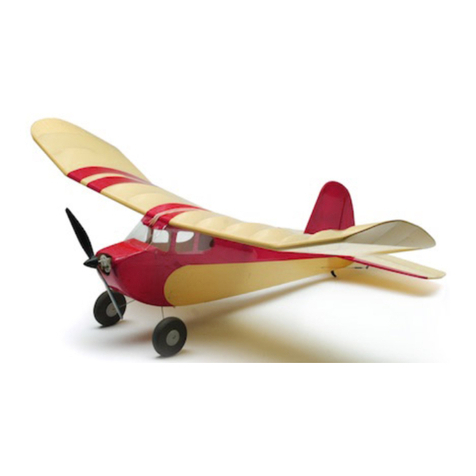
Stevens Aero Model Build It! FullHouse 500 Manual
Stevens Aero Model
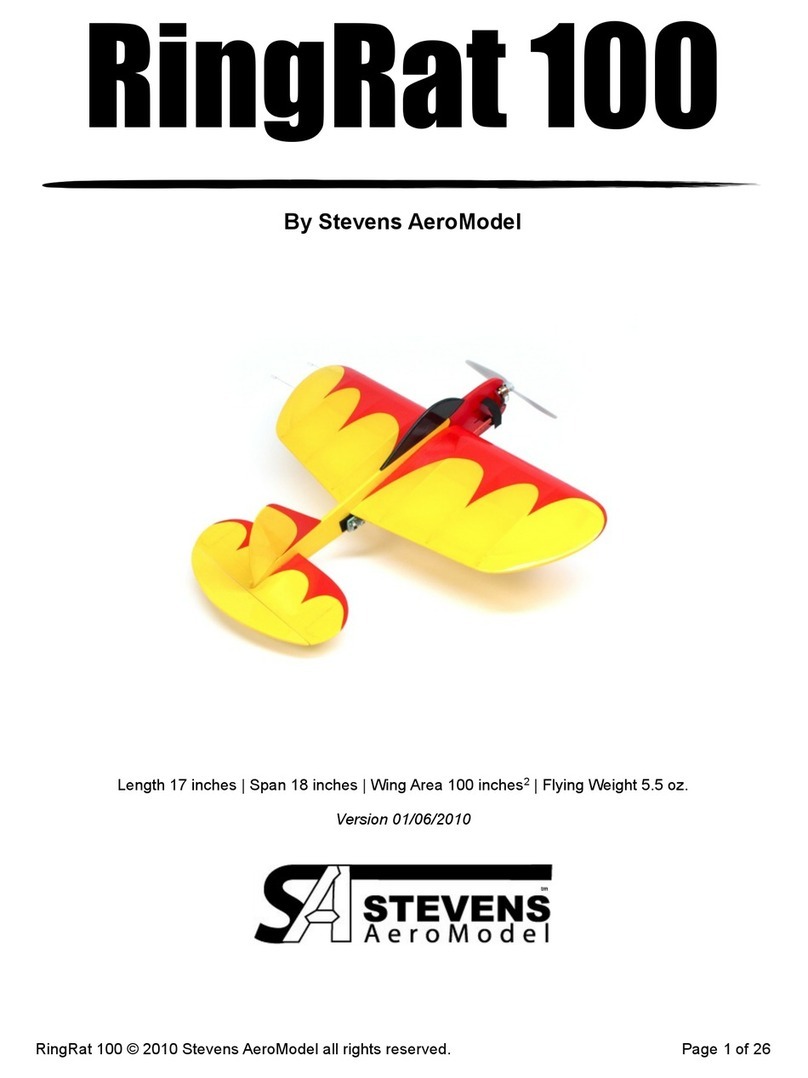
Stevens Aero Model Build It! BuzzBomb 100 Owner's manual
Stevens Aero Model
Stevens Aero Model RingRat 100 User manual
Stevens Aero Model
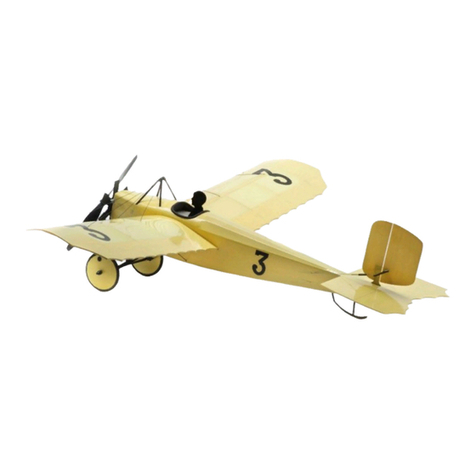
Stevens Aero Model 1911 Caudron Manual

Stevens Aero Model
Stevens Aero Model QuickOats 250 Manual
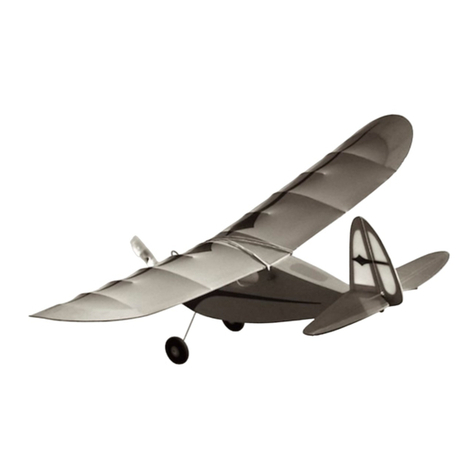
Stevens Aero Model
Stevens Aero Model QuickOats100 Manual
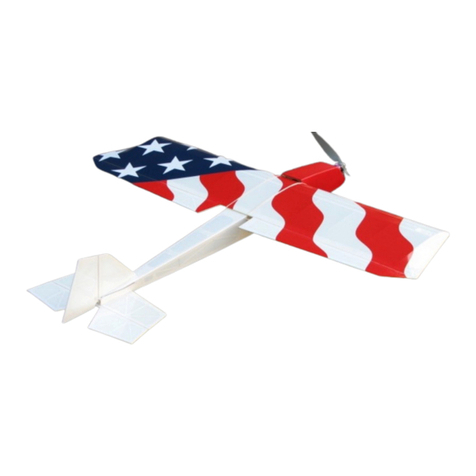
Stevens Aero Model
Stevens Aero Model XS480 User manual
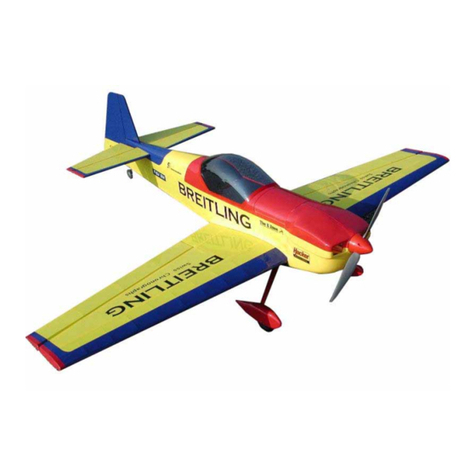
Stevens Aero Model
Stevens Aero Model CAP23240e User manual
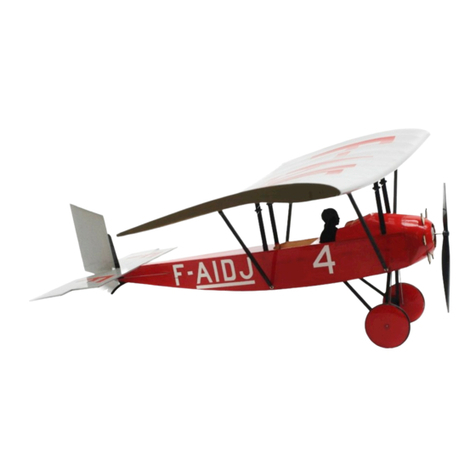
Stevens Aero Model
Stevens Aero Model Farman Carte Postale Post Card Owner's manual
Stevens Aero Model
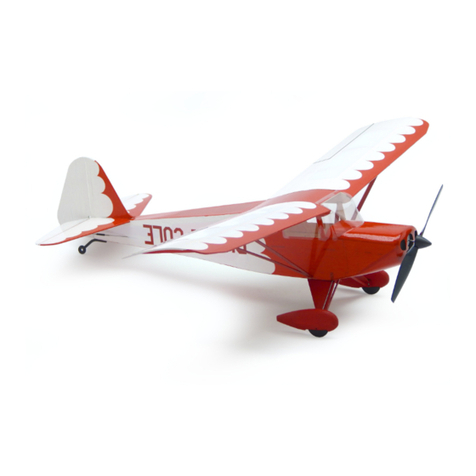
Stevens Aero Model Clipped-Wing Taylorcraft Manual

Stevens Aero Model
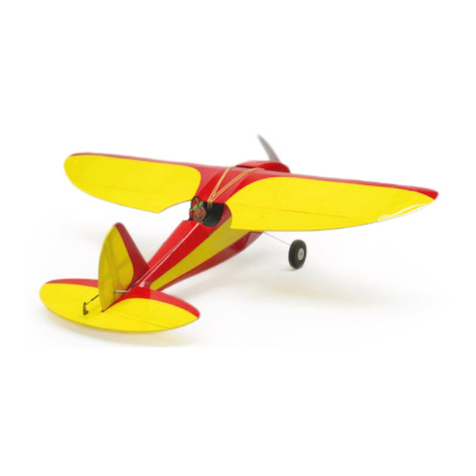
Stevens Aero Model PACEMAKER Manual
Stevens Aero Model
Stevens Aero Model Swift 100 Manual
Popular Toy manuals by other brands

KidKraft
KidKraft 65956A manual

MOKIDA
MOKIDA ZM2603402WOW-000-000 user manual

Maison Battat
Maison Battat Baby B Shelle Drift away quick start guide
Power Wheels
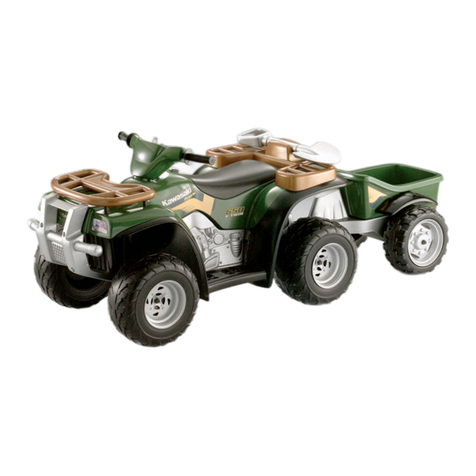
Power Wheels Power Wheels B9785 Owner's manual with assembly instructions
Trix
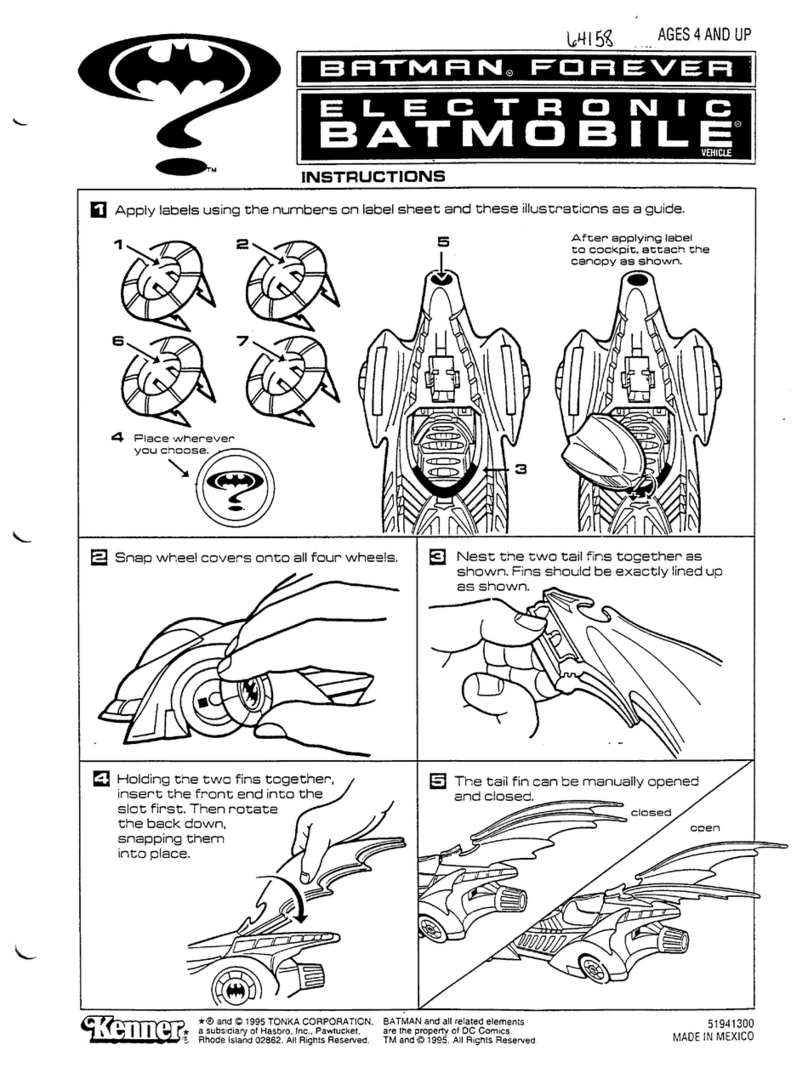
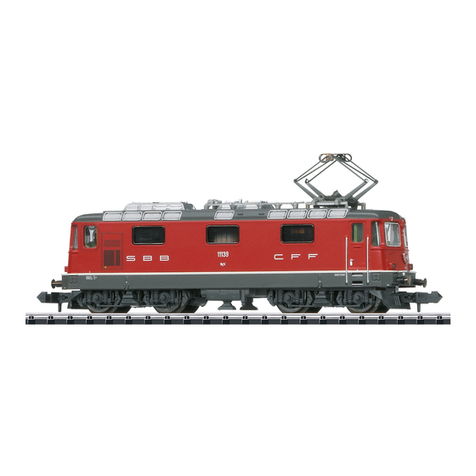
Trix Re 4/4 II Series manual

Beam
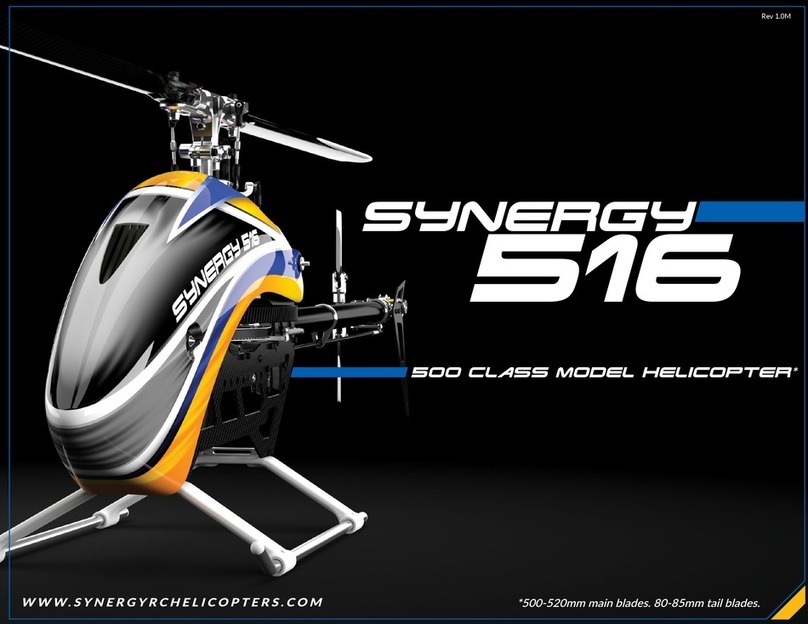
Beam ARCHON 500 Class Helicopter manual
