General Assembly Instructions
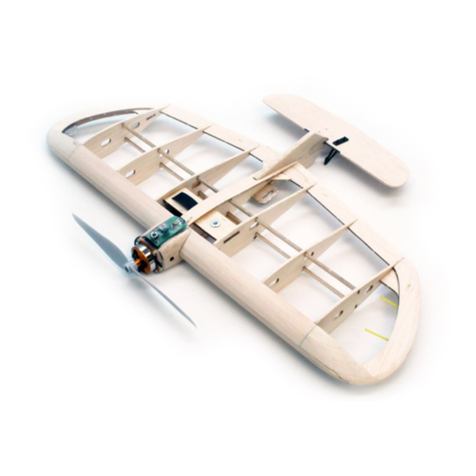
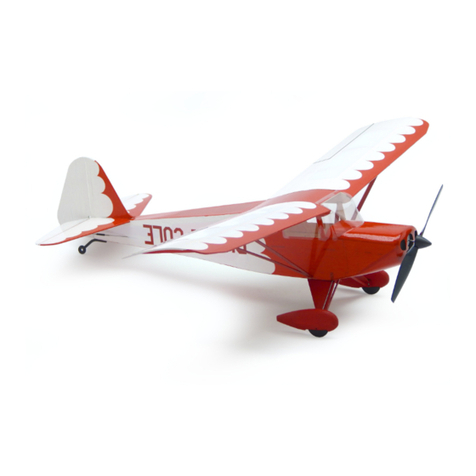
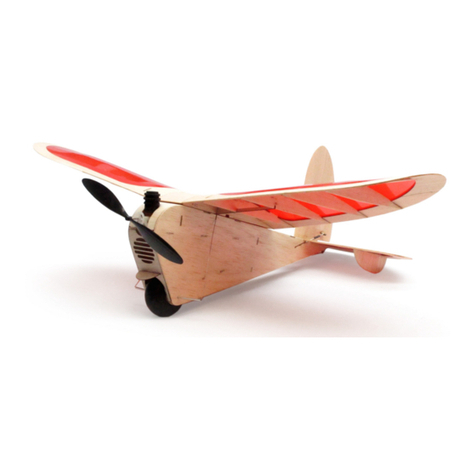
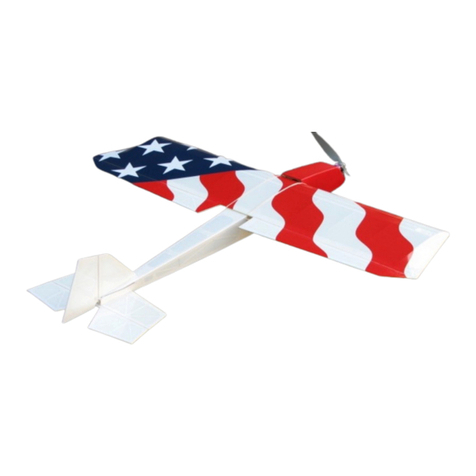
Thank you, for purchasing this Stevens AeroModel SkyBoy (600)™. The SkyBoy (600)™ was inspired
by our good friend Kris Cartwright who brought in a sketch of a low wing companion plane for our
SkyBuggy. With an obvious tip of the hat to Andy Clancy and his “Bee” series of models, along with it’s
nostalgic lines, the SkyBoy (600)™ was just too good not to share with the R/C modeling community.
SkyBoy (600)™ is a gentle flyer suitable for the intermediate pilot, and we’re sure you’ll have many hours
of pleasure flying at the local park or school yard.
SkyBoy (600)™ has been developed and manufactured using state of the art CAD/CAM systems and
features a unique interlocking construction process that, when compared to traditional methods found in
other model aircraft kits, save countless hours of measuring, cutting, sanding, and fitting. We are certain
that you’ll find our kit to offer a truly exceptional build experience. As this kit is recommended for the
novice model builder and “pilot”; we invite absolute beginners to correspond with us, or to seek the help of
another seasoned builder. At any time should one run across a term or technique that is foreign please
don’t hesitate to contact our staff with your questions.
Please READ and RE-READ these instructions along with any other included documentation prior to
starting your build and or contacting our staff for builder support.
Pre-sanding
Do not skip this step. Prior to removing any parts from the laser cut sheet wood use a sanding block
loaded with 250-400 grit paper and lightly sand the back side of each sheet of wood. This step removes
any residue produced as a result of the laser cutting process and, as we have found that most stock wood
sizes run several thousandths of an inch over sized, slightly reduces the thickness of each sheet.
Leave your pre-sanded parts in the sheet until required in the assembly process.
Protecting your worktable
Use the poly tube that this kit was shipped in as a non-stick barrier between your worktable and the
product assembly. Promptly clean up any epoxy spills with rubbing alcohol and a disposable towel.
Bonding the assembly
As this product tabs, notches, and otherwise interlocks like a 3D puzzle we suggest that when fitting parts
you dry fit (use no glue) the parts together first. It’s advised to work 1-2 steps ahead in the instructions
using this dry-fit technique which allows ample opportunity to inspect the fit and location of assembled
components and realizes a benefit as each successive part contributes to pulling the entire assembly
square. Once you arrive at the end of a major assembly step(s) square your work on top of a flat building
table and revisit the dry fit joints with glue. Using the dry-fit process you’ll be able to recover from a minor
build mistake and will ultimately end up with a more square and true assembly.
Unless otherwise noted in the instructions, always use medium CA glue for bonding parts.
Never force the fit!
Remember this is a precision cut kit our machines cut to within 5 thousandth of an inch in accuracy. Yet
the wood stock supplied by the mill may vary in thickness by up to 20 thousandths. This variance in the
wood stock can cause some tabs/notches to fit very tight. Hey, dad always said it was easier to take
away material than add it back. With this in mind, should you find a joint to fit rather snug consider lightly
sanding a tight fitting tab rather than crushing and forcing your parts together. You’ll break fewer parts in
assembly and will end up with a more square and true assembly.
SkyBoy 600 © 2010 Stevens AeroModel all rights reserved. Page 10 of 55


