STEWART-AMOS Starfire S-4XL User manual

1
Starfire S-4XL Sweeper Body
Safety, Operations and Maintenance
Manual
Sweeper Co.
SN 6008 & UP

Sweeper Co.
1Last Update January 2015
Starfire S-4XL Sweeper Body
Safety, Operations and Maintenance
Manual
Sweeper Co.
SN 6008 & UP

Sweeper Co.
2Last Update January 2015

Sweeper Co.
3Last Update January 2015
Table of Contents
Safety 7
Safety Is A Shared Responsibility 9
Recognize Safety Information 9
Equipment Lockout 10
Hopper Port Restrictors 10
General Safety Precautions 11
Before Operating Machine 11
When Operation Machine 11
When Servicing Machine 11
Safety Features 12
Follow Safety Instructions 13
Prevent Bypass Starting 13
Handle Fuel Safely-Avoid Fires 13
Prepare For Emergencies 14
Never Use Starting Fluid 14
Wear Protective Clothing 14
Protect Against Noise 14
Handle Chemical Products Safely 14
Dispose Of Waste Properly 15
Practice Safe Maintenance 15
Work In Ventilated Area 16
Avoid High-Pressure Fluids 16
Avoid Heating Near Pressurized Fluid Lines 17
Remove Paint Before Welding Or Heating 17
Service Cooling System Safely 17
Avoid Harmful Asbestos Dust 18
Stay Clear Of Rotating Equipment 18
Diesel Fuel Storage 19
Filling Fuel Tank 19
Warranty 21
Warranty Certificate 23
General Conditions 23
Items Not Covered By Warranty 25
Items Covered By Separate Warranty 25

Sweeper Co.
4Last Update January 2015
General Specifications 27
Serial Number Location 29
Figure 1: Serial Number Plate
Controls 31
Engine Controls 33
Figure 2: Engine Control Box 34
Sweeper Controls 35
LH Gutter Broom tilt Up/Down 35
Beacon Lights On 35
RH Gutter Broom Tilt Up/Down 35
Brooms Up/Down 35
GB Lights On/GB/MB Lights On 35
Sweep Forward/Sweep Reverse 35
Hopper Up/Down 36
Water 36
Hopper Dump/Retract 36
LH Gutter Broom Up/Down 36
RH Gutter Broom Up/Down 36
Electric Throttle 37
Figure 3: Sweeper Control Box 38

Sweeper Co.
5Last Update January 2015
Operation 39
Chassis 41
Auxiliary Engine 41
Water Fill Up 43
Figure 4: Water Tank 43
Sweeping 44
Dumping 45
Break-In Period 47
Engine Break-In 47
Sweeper Break-In 47
Winterizing Your S-4 48
Service 49
Fuel, Lubricants, and Coolants 49
Diesel Fuel 49
Diesel Engine Oil 49
Coolant 49
Hydraulic Oil 49
Grease 50
Lubrication and Maintenance 50
Daily 50
Figure 5: Service Locations on Auxiliary Engine 51
Every 40 Hours 51
Every 250 Hours 51
Every 500 Hours 52
Every 1000 Hours 52
Adjustments 53
Gutter Broom Angle Adjustment 53
Correct Gutter Broom Angle 53
Adjust Tilt Angle 53
Adjust Front to Back Angle 53
Gutter Broom Pressure 54
Correct Gutter Broom Pressure 54
Adjusting Gutter Broom Pressure 54
Sweeping Width 54
Gutter Broom Impact Protection Spring 55
Figure 6: Gutter Broom Assembly 56
Figure 7: Correct Broom Pattern 57
Main Broom Pressure 58
Figure 8: Main Broom Assembly 58
Elevator Chain Adjustment 59
Upper Drive Shaft Adjustment 59
Center Idler Shaft Adjustment 59
Figure 9: Elevator Chain Adjustment 60

Sweeper Co.
6Last Update January 2015
Repair and Maintenance 61
Maintenance Filter Cross Reference 63
Gutter Broom Segment Replacement 63
Main Broom Strip Replacement 63
Figure 10: Main Broom Assembly 64
Main Broom Bearing Replacement 64
Figure 11: Main Broom Arm Assembly 65
Carbide Drag Shoe Replacement 66
Figure 12: Carbide Drag Shoe 66
Elevator Chain Replacement 66
Figure 13: Elevator 68
Bottom Liner Replacement 69
Top Liner Replacement 69
Main Broom Hydraulic Motor Replacement 69
Gutter Broom Hydraulic Motor Replacement 70
Elevator Hydraulic Motor Replacement 70
Hydraulic Pressure Adjustment 71
Figure 14: Hydraulic Valves 71
Stall Switch Adjustment 72
Electrical Activation Sequences at Valve Connectors 73
Lubrication and Maintenance Check List 75
Every 10 Hours 77
Every 40 Hours 79
Every 250 Hours 80
Every 1000 Hours 81
Service Point Lubrication Chart 82

Sweeper Co.
7Last Update January 2015
Safety

Sweeper Co.
8Last Update January 2015
Sweeper Co.
9Last Update January 2015
Safety is always of prime importance when operating any type of machine or vehicle in the
vicinity of people. All persons working with this unit are to be knowledgeable of the safety
practices and features detailed in this section.
Safety Is a Shared Responsibility
Safety is everyone’s responsibility. Working together with Safety as the prime objective will
insure a safe work environment and reduce injuries.
The operator must become familiar with safe operating procedures and use the equipment in the
fashion that it was intended. Routine inspections and maintenance will prevent premature wear,
expensive downtime and ensure that the equipment functions as it is intended.
Recognize Safety Information
This is the safety alert symbol. When you see this symbol in the manual or on your machine, be
alert to the potential for personal injury.
DANGER: Identifies the most serious hazard
WARNING: Identifies a potential hazard if safety precautions
are not taken
CAUTION: Identifies a general safety precaution
Sweeper Co.
10 Last Update January 2015
Equipment Lockout
It is strongly recommended that a commonly known Equipment Lockout procedure be enforced
at your work environment. This is a series of precautions designed to protect any personnel that
is inspecting, cleaning, or repairing the equipment. The Lockout Procedure should include the
following.
1. Apply Parking Brake.
2. Place hopper, hopper door in secure positions so that they can not accidentally fall. If
required, install additional blocking devices such as hopper safety pins.
3. Turn off Auxiliary Engine.
4. With auxiliary engine off, turn key to run position and work hydraulic functions to relieve
any residual pressure in the hydraulic system.
5. Remove keys from ignition.
6. Store keys in pocket or in a safe controlled area.
7. Place an "OUT OF SERVICE" sign on the steering wheel using a non-reusable fastener.
8. Place an "OUT OF SERVICE" sign on the front window.
9. Disconnect negative terminal from battery.
Hopper Port Restrictors
To control the decent of the hopper under all conditions port restrictors are used in the hopper lift
cylinders. These port restrictors are sized to give a controlled decent of the hopper even if a
hydraulic hose would rupture with a full hopper at the top of its travel. The hopper would come
back to the at rest position with minimal damage to the equipment.
DANGER: Do not remove or modify any port restrictors

Sweeper Co.
11 Last Update January 2015
General Safety Precautions
Before Operating Machine
1. Read the operators manual and the engine manual to familiarize yourself with safe
operating practices before operating the machine.
2. Read the chassis operator’s manual thoroughly to familiarize yourself with safe operating
practices before operating machine.
3. Be sure all observers are clear of the machine and at a safe distance.
4. Ensure mirrors, windows, lights, and monitor equipment (if equipped), are clean and
adjusted properly at all times.
5. Do not enter hopper unless engine is shut off, key is removed and there is a note posted
indicating not to start the engine. (See Equipment Lockout).
When Operating Machine
1. Operate controls from the operator’s station only.
2. Keep all riders off the machine.
3. Keep all safety shields in place.
4. Ensure the area is clear of any persons or possible obstructions.
5. Do not wear loose clothing or jewelry.
6. Do not leave the vehicle before it is brought to a complete stop and the parking brake is
applied.
7. Be cautious while driving with an unevenly distributed load.
8. Inspect for overhead hazards (e.g. power lines) before raising the hopper.
9. Raise the hopper only on level ground.
10. Ensure the hopper has completely lowered and the hopper door is closed before moving
the vehicle. Do not move vehicle with hopper up.
11. Do not stand under the hopper when it is in the dump position.
When Servicing Machine
1. Follow the Equipment Lockout procedure described above.
2. Install safety pins into holes in slide frame to prevent scissor frame from moving when
servicing under the hopper. (See Safety Features).
3. Never work under a loaded hopper even with safety pins installed.

Sweeper Co.
12 Last Update January 2015
Safety Features
This machine is equipped with many safety features. To operate this equipment safely, it is
imperative to be aware of these functions. Please read all of the features listed, as the order they
are presented does not reflect the degree of importance. Some safety features listed are options
and MAY or MAY NOT be on your unit.
If there are concerns, report to your supervisor or maintenance department.
1. Decals - These must be clean and visible at all times.
2. Mirrors - A variety of mirrors, including large convex ones, are to help ensure adequate
rear vision. These must be properly adjusted, clean and visible at all times!
3. Cameras –All machines are equipped with side and rear cameras, if so equipped, they
must be in proper working order at all times. The rear camera option is also wired to the
chassis transmission, when the chassis is shifted into reverse the rear camera will
automatically activate and will go off automatically when chassis is shifted out of reverse.
4. Marker Lights - There is 1 marker lamp on each side of the sweeper and an ID bar at the
back on the elevator cover. Marker lights are wired direct to chassis lights and come on
with chassis lights.
5. Beacon and/or Strobe Lights - The switch is installed in the sweeper control box inside
the cab. The lights are mounted on the front and rear canopy of sweeper.
6. Gutter Broom Lights - These lights are used for work lights and are mounted at both
gutter brooms. The switch is found on the control box in the cab.
7. Main Broom Light - This light is used for a work light and is mounted on the drivers side
at the back above the main broom. The switch for this work light is combined with the
gutter broom light switch in the 3rd position.
8. Backup Alarm - When the truck is put into reverse this alarm sounds. The alarm is
mounted to the rear canopy frame.
9. Hopper Safety Prop - If any work is to be done under a lifted hopper, insert props into the
main frame roller rails. This will restrict any movement of the scissors frame sliders, thus
keeping the hopper stable. NEVER use the safety pins to hold a LOADED HOPPER!
10. Arrow Board (option) - A separate control box mounted in the cab controls the arrow
board mounted on the rear of the sweeper. A switch and pattern selector with indicator
lights controls the order the light pattern.
11. Fire Extinguisher (option) - This is located in the cab behind the driver’s seat.
12. First Aid Kit (option) - This is located inside the cab behind the driver’s seat.

Sweeper Co.
13 Last Update January 2015
FOLLOW SAFETY INSTRUCTIONS
Carefully read all safety messages in this manual and
on your machine safety signs.
Keep safety signs in good condition. Replace missing
or damaged safety signs. Be sure new equipment
components and repair parts include the current safety
signs. Replacement safety signs are available from
your dealer.
Learn how to operate the machine and how to use
controls properly. Do not let anyone operate without
instruction.
Keep your machine in proper working condition.
Unauthorized modifications to the machine may impair
the function and/or safety and affect machine life.
If you do not understand any part of this manual
and need assistance, contact your dealer.
PREVENT BYPASS STARTING
Do not start engine by shorting across starter terminal.
Start engines only from operator's station with transmission
in park.
HANDLE FUEL SAFELY-AVOID FIRES
Handle fuel with care: It is highly flammable. Do not
refuel the machine while smoking or when near open
flame or sparks.
Always stop engine before refueling machine. Fill fuel
tank outdoors.
Prevent fires by keeping machine clean of accumulated
trash, grease, and debris. Always clean up spilled fuel.

Sweeper Co.
14 Last Update January 2015
PREPARE FOR EMERGENCIES
Be prepared if a fire starts.
Keep a first aid kit and fire extinguisher handy.
Keep emergency numbers for doctors, ambulance
service, hospital, and fire department near your
telephone.
NEVER USE STARTING FLUID
Starting fluid is highly flammable and can cause
serious damage to engines.
WEAR PROTECTIVE CLOTHING
Wear close fitting clothing and safety equipment
appropriate to the job.
Operating equipment safely requires the full attention of
the operator. Do not wear radio or music headphones
while operating machine.
PROTECT AGAINST NOISE
Prolonged exposure to loud noise can cause
impairment or loss of hearing.
Wear a suitable hearing protective device such as
earmuffs or earplugs to protect against objectionable or
uncomfortable loud noises.
HANDLE CHEMICAL PRODUCTS SAFELY
Direct exposure to hazardous chemicals can cause
serious injury. Potentially hazardous chemicals used
with this equipment include such items as
lubricants, coolants, paints, and adhesives.
A Material Safety Data Sheet (MSDS) provides specific
details on chemical products: physical and health
hazards, safety procedures, and emergency response
techniques.
Sweeper Co.
15 Last Update January 2015
Check the MSDS before you start any job using a
hazardous chemical. That way you will know exactly
what the risks are and how to do the job safely. Then
follow procedures and recommended equipment.
(See your dealer for MSDS on chemical
products used with this equipment.)
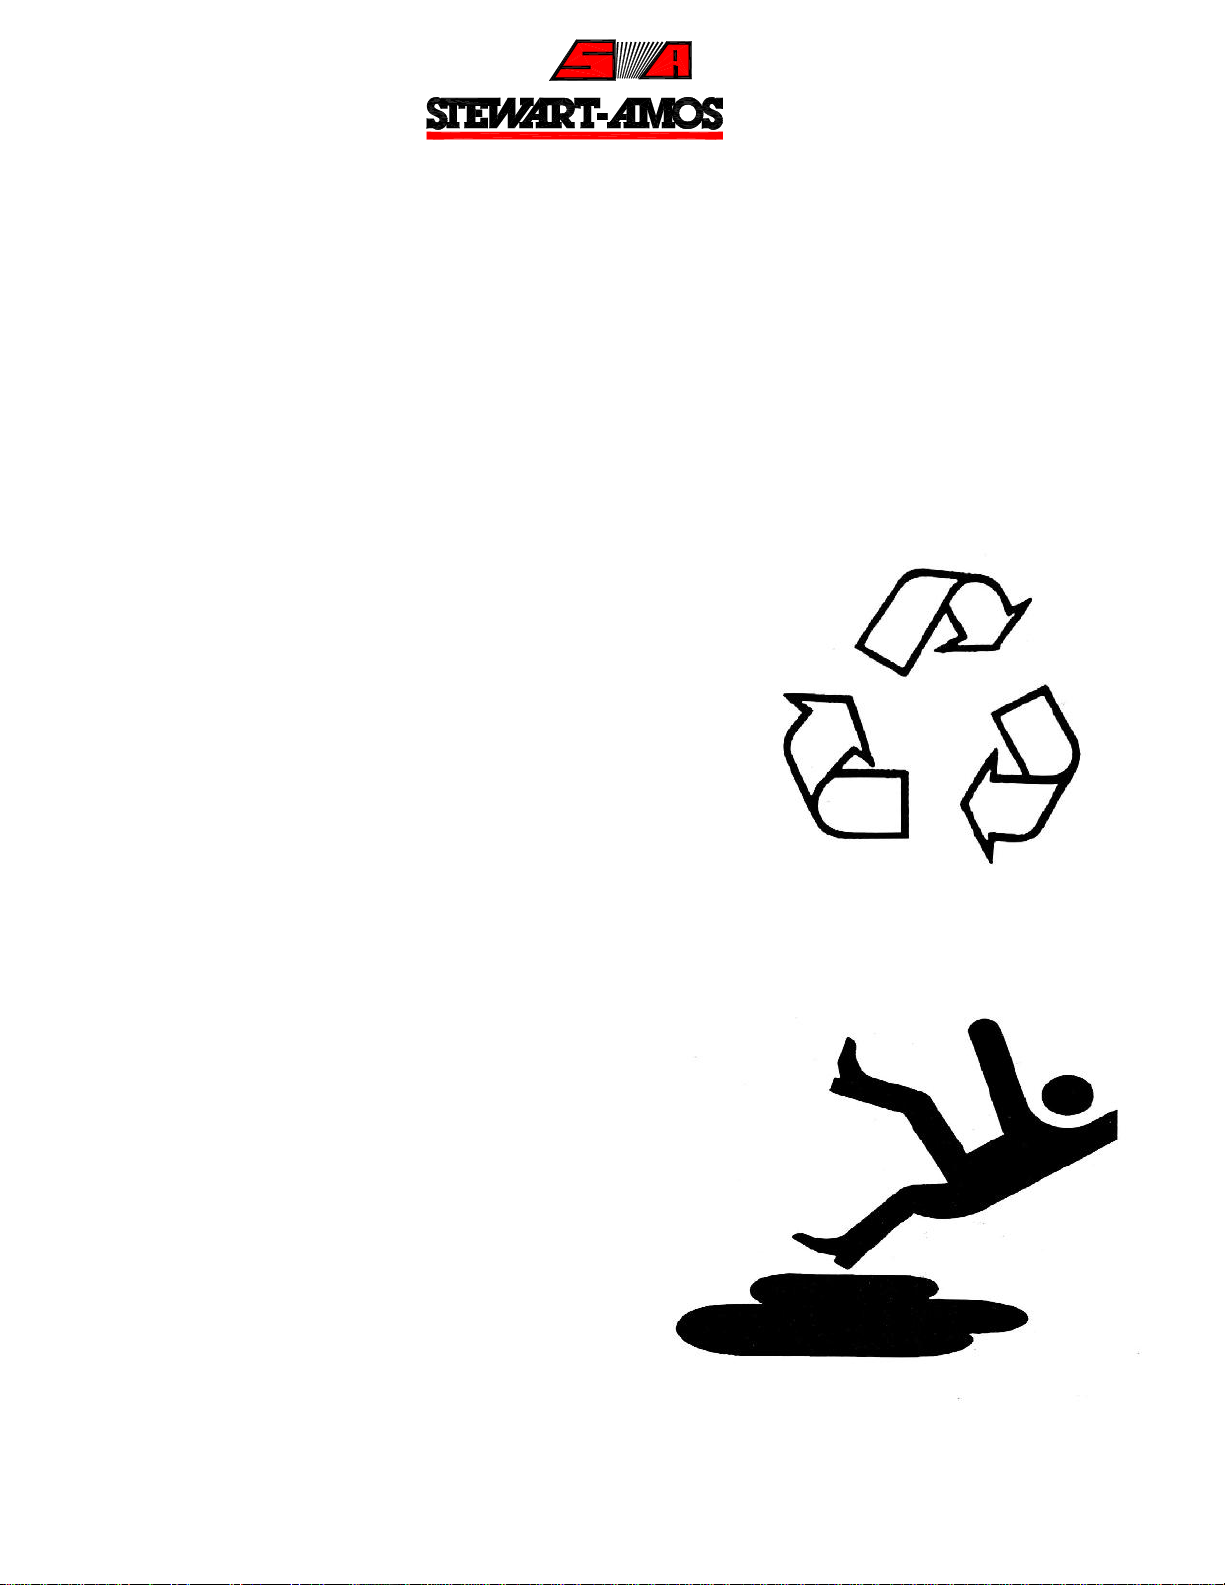
DISPOSE OF WASTE PROPERLY
Improperly disposing of waste can threaten the
environment and ecology. Potentially harmful waste
used with this equipment include such items as
oil, fuel, coolant, brake fluid, filters, and batteries.
Use leak proof containers when draining fluids. Do not
use food or beverage containers that may mislead
someone into drinking from them.
Do not pour waste onto the ground, down a drain, or
into any water source.
Air conditioning refrigerants escaping into the air can
damage the Earth’s atmosphere. Government
regulations may require a certified air conditioning
service center to recover and recycle used air
conditioning refrigerants.
Inquire on the proper way to recycle or dispose of
Waste from your local environmental or recycling center,
or from your dealer.
PRACTICE SAFE MAINTENANCE
Understand service procedure before doing work. Keep
area clean and dry.
Never lubricate, service, or adjust machine while it is
moving. Keep hands, feet, and clothing from power-
driven parts. Disengage all power and operate controls
to relieve pressure. Lower equipment to the ground.
Stop the engine. Remove the key. Allow machine to
cool.
Sweeper Co.
16 Last Update January 2015
Securely support any machine elements that must be
raised for service work.
Keep all pats in good condition and properly installed.
Fix damage immediately. Replace worn or broken
parts. Remove any buildup of grease, oil, or debris.
Disconnect battery ground cable (-) before making
adjustments on electrical systems or welding on
machine.
WORK IN VENTILATED AREA
Engine exhaust fumes can cause sickness or death. If it
is necessary to run an engine in an enclosed area,
remove the exhaust fumes from the area with an
exhaust pipe extension.
If you do not have an exhaust pipe extension, open the
doors and get outside air into the area.
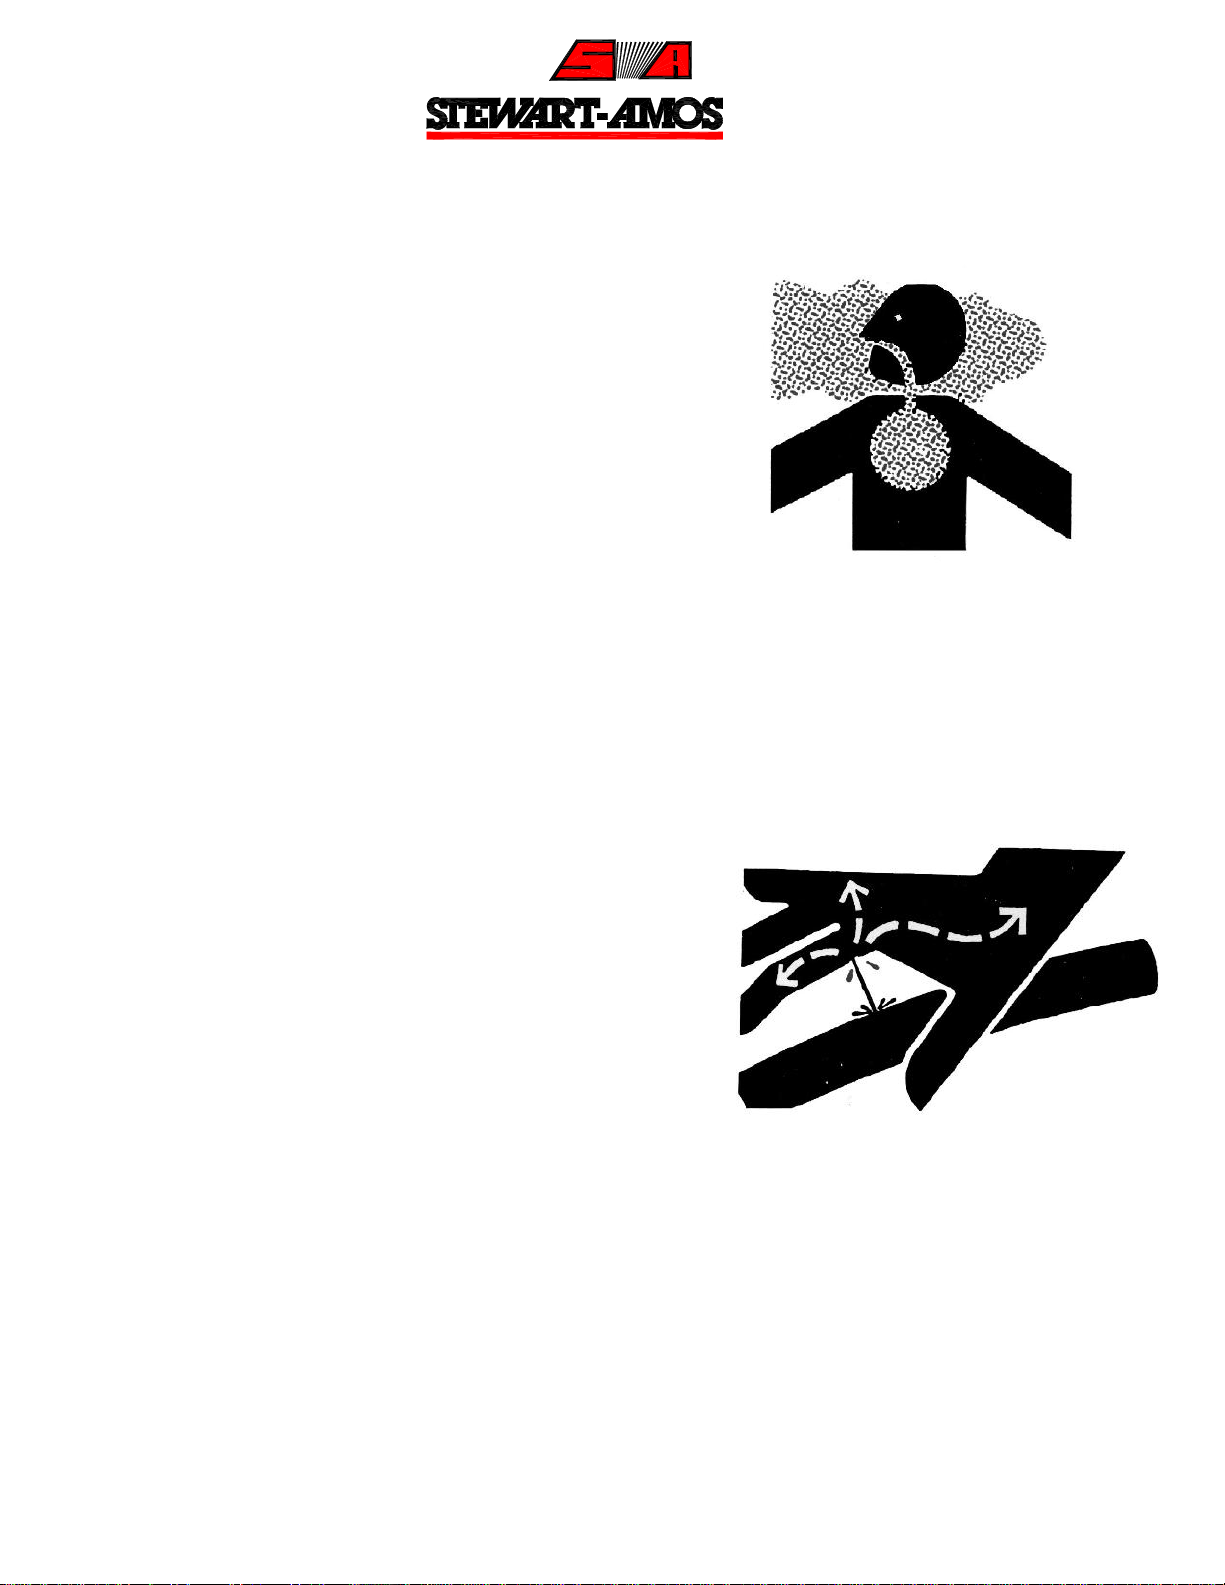
AVOID HIGH-PRESSURE FLUIDS
Escaping fluid under pressure can penetrate the skin
causing serious injury.
Avoid the hazard by relieving pressure before
disconnecting hydraulic or other lines. Tighten all
connections before applying pressure.
Search for leaks with a piece of cardboard. Protect
hands and body from high pressure fluids.
If an accident occurs, see a doctor immediately. Any
fluid injected into the skin must be surgically removed
within a few hours or gangrene may result. Doctors
unfamiliar with this type of injury should reference a
knowledgeable medical source.

Sweeper Co.
17 Last Update January 2015
AVOID HEATING NEAR PRESSURIZED
FLUID LINES
Flammable spray can be generated by heating near
pressurized fluid lines, resulting in severe burns to
yourself and bystanders. Do not heat by welding,
soldering, or using a torch near pressurized fluid lines
or other flammable materials. Pressurized lines can be
accidentally cut when heat goes beyond the immediate
flame area.
REMOVE PAINT BEFORE WELDING OR
HEATING
Avoid potentially toxic fumes and dust.
Hazardous fumes can be generated when paint is
heated by welding, soldering, or using a torch.
Do all work outside or in a well ventilated area.
Dispose of paint and solvent properly.
Remove paint before welding or heating:
If you sand or grind paint, avoid breathing the dust.
Wear an approved respirator.
If you use solvent or paint stripper, remove stripper
with soap and water before welding. Remove
solvent or paint stripper containers and other
flammable material from area. Allow fumes to
disperse at least 15 minutes before welding or heating.
SERVICE COOLING SYSTEM SAFELY
Explosive release of fluids from pressurized cooling
system can cause serious burns.
Shut off engine. Only remove filler cap when cool
enough to touch with bare hands. Slowly loosen cap to
first stop to relieve pressure before removing
completely.

Sweeper Co.
18 Last Update January 2015
AVOID HARMFUL ASBESTOS DUST
Avoid breathing dust that may be generated when
handling components containing asbestos fibers.
Inhaled asbestos fibers may cause cancer.
Components in products that may contain asbestos
fibers are brake pads, brake band and lining
assemblies, clutch plates, and some gaskets. The
asbestos used in these components is usually found in
a resin or sealed in some way. Normal handling is not
hazardous as long as airborne dust containing
asbestos is not generated.
Avoid creating dust. Never use compressed air for
cleaning. Avoid brushing or grinding materials containing
asbestos. When servicing, wear an approved
respirator. A special vacuum cleaner is recommended
to clean asbestos. If not available, apply a mist of oil or
water on the material containing asbestos.
Keep bystanders away from the area.
STAY CLEAR OF ROTATING EQUIPMENT
Entanglement in rotating equipment can cause serious
injury or death. Keep shields in place at all times.
Wear close fitting clothing. Stop the engine before
making adjustments or performing any type service on
the equipment.

Sweeper Co.
19 Last Update January 2015
DIESEL FUEL STORAGE
Proper fuel storage is critically important. Use clean storage and transfer tanks. Periodically drain
water and sediment from bottom of tank. Store fuel in a convenient place away from buildings.
IMPORTANT: DO NOT store diesel fuel in galvanized containers. Diesel fuel stored in
galvanized containers reacts with zinc coating on container to form zinc flakes. If fuel contains
water, a zinc gel will also form. The gel and flakes will quickly plug fuel filters, damage injection
nozzles and injection pump.
DO NOT use brass-coated containers for fuel storage. Brass is an alloy of copper and zinc.
FILLING FUEL TANK
CAUTION: Handle fuel carefully. Do not fill the fuel tank when engine is
running. DO NOT smoke while filling fuel tank or servicing fuel system.
IMPORTANT: The fuel tank is
vented through the filler cap. If a new
filler cap is required, always replace
it with an original vented cap.
Fill fuel tank at the end of each day’s operation to
prevent condensation in tank as moist air cools
and freezes during cold weather.
Store diesel fuel in plastic, aluminum, or steel
containers specifically coated for diesel fuel storage.
Avoid storing fuel over long periods of time. If fuel is stored for more than a month prior to use,
or there is a slow turnover in fuel tank or supply tank, add a fuel conditioner to stabilize the fuel
and prevent water condensation. Fuel conditioner also reduces fuel gelling and controls wax
separation during cold weather.
Consult your engine distributor or servicing dealer for recommendations and local availability.
Always follow manufacturer’s directions on label.
Table of contents
Other STEWART-AMOS Blower manuals


