Stomer Professional SMS-1800-T User manual

SMS-1800-T
93728830
2
1800 W230 V
50 Hz
3600
min-1
22,5 kg305х30
mm
90°x90° - 95x151 mm
90°x45° - 60x151 mm
45°x90° - 95x90 mm
45°x45° - 60x100 mm
Soft Start
12
13
14
13
16
17
18
25
2626
31
1
2
3
6
20
21
22
23
24
34
35
36
39
40
41
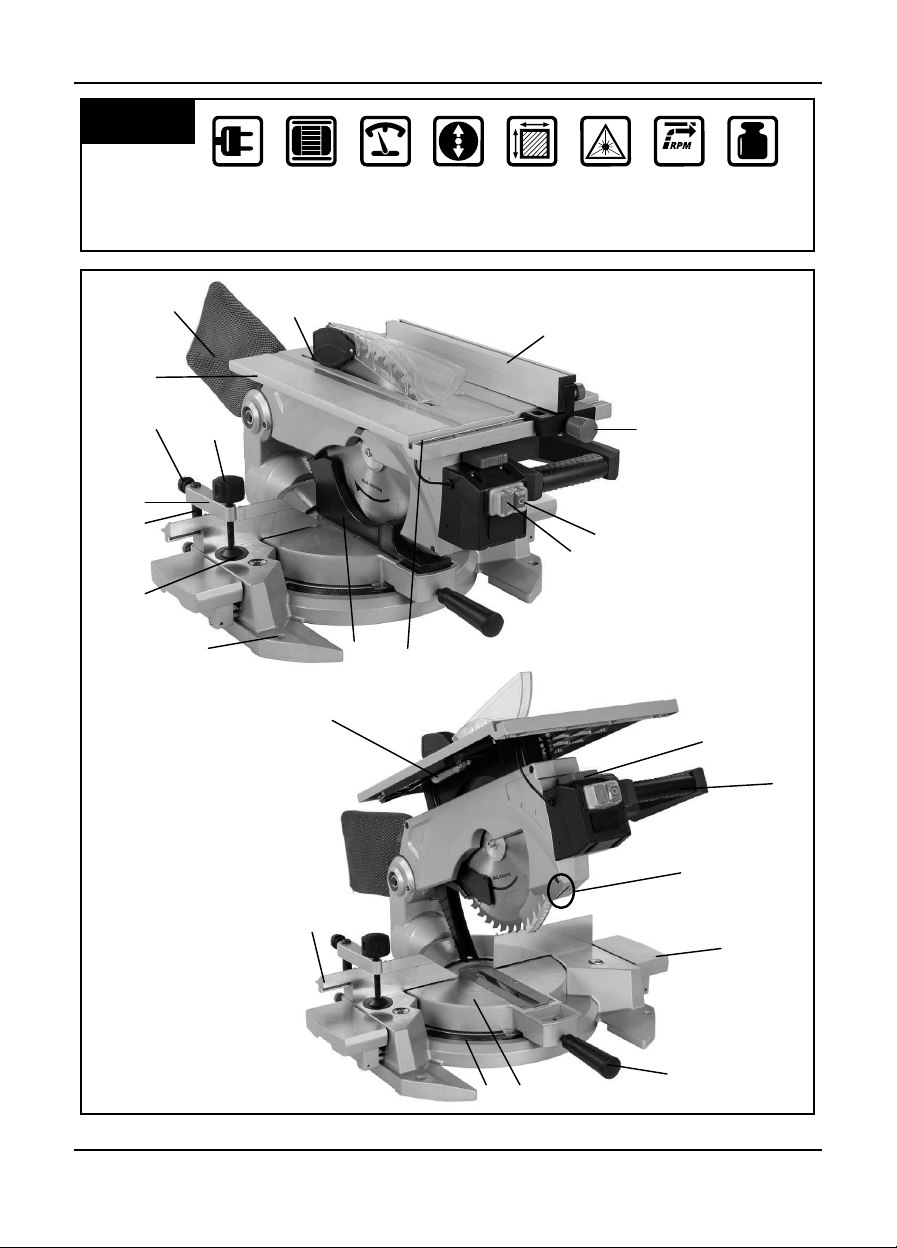
fig. 1
3
4
5
7
8
9
10
11
15
19
27
28
29
30
32
33
37
38
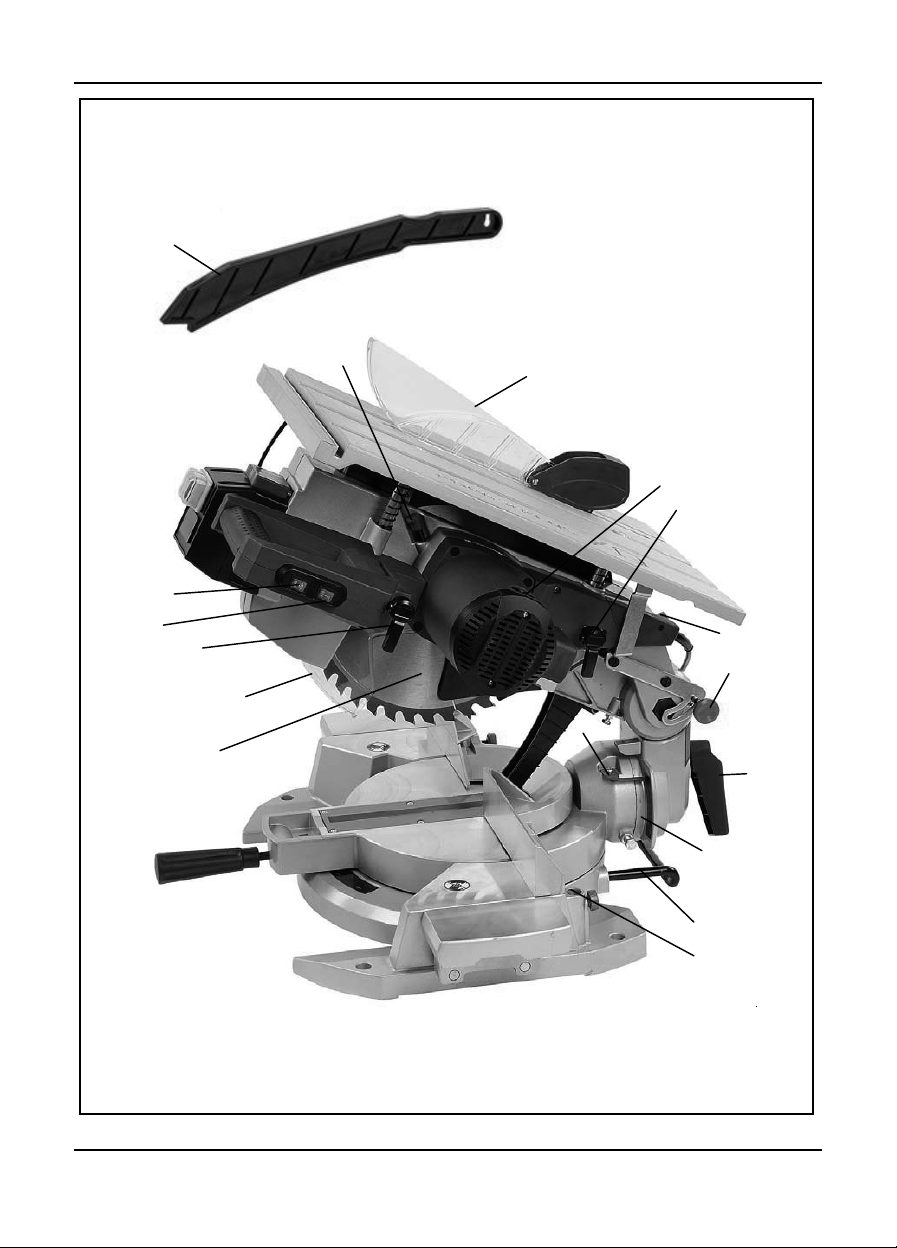
4
fig. 2
fig. 3
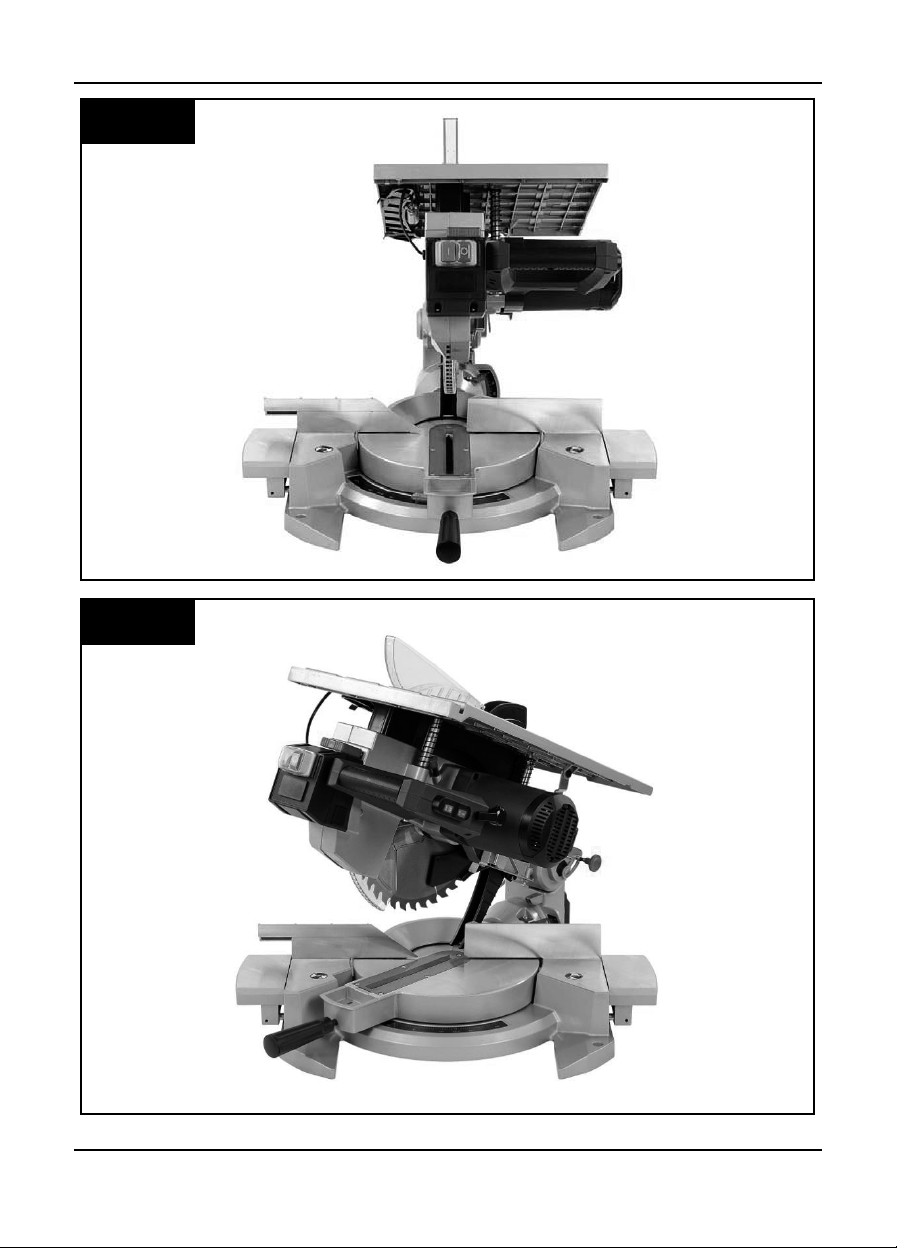
5
fig. 4
fig. 5
This manual suits for next models
1
Table of contents
Languages:


