CARE AND MAINTENANCE
1. Keep the water clean and clean the fountain periodically to prevent mineral deposits and contamination which may clog the pump.
2. Use a pre-filter on your pump if available.
3. Regular cleaning of the pump will be necessary depending upon the environment in which it is operated. Clean the pump when it
is visibly soiled or when a noticeable decrease in performance is detected.
Failure to clean the pump will result in overheating of the pump.
4. Before cleaning, always disconnect the pump from the power source.
5. Disassemble the pump by removing the filter and gland. Remove the
impeller/rotor assembly by gently pulling on the impeller blades. Use a soft cloth
or brush to clean the area inside of the pump where the Impeller/rotor assembly
was. Clean the filter, gland and impeller in warm soapy water. Reassemble the
pump and inspect for proper operation.
6. Check the water level regularly to ensure the pump is completely submerged
during operation.
7. To eliminate water damage to floors and/or surrounding fountain areas,
check for leaks and excessive splashing after initial installation and on a
regular basis.
8. Place the fountain in a location that will not be damaged should the area come
in contact with liquids.
9. If the fountain is not in use for an extended period of time, disconnect the power and empty all the water from the fountain. Do not tip
the fountain to empty the water. Use a siphon pump or a small bucket.
10. The fountain should not be operated in temperatures below 5° Celsius / 41° Fahrenheit to prevent frost damage. If the fountain is
stored outdoors in freezing temperature, disconnect the power, empty all the water from the fountain and make sure it is completely
dry.
Light Bulb Replacement Instructions:
1. If an accent light bulb is burned out, unplug the transformer from the power
source and allow a few minutes for the light bulb to fully cool before handling.
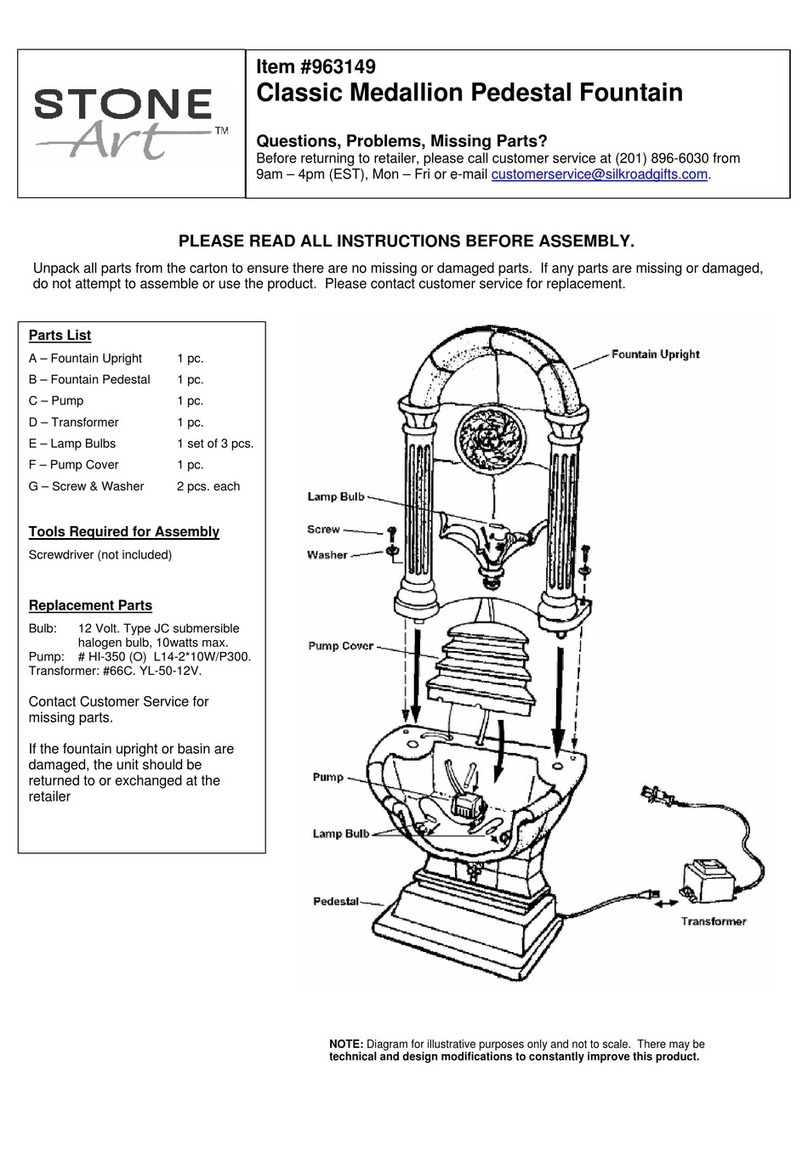
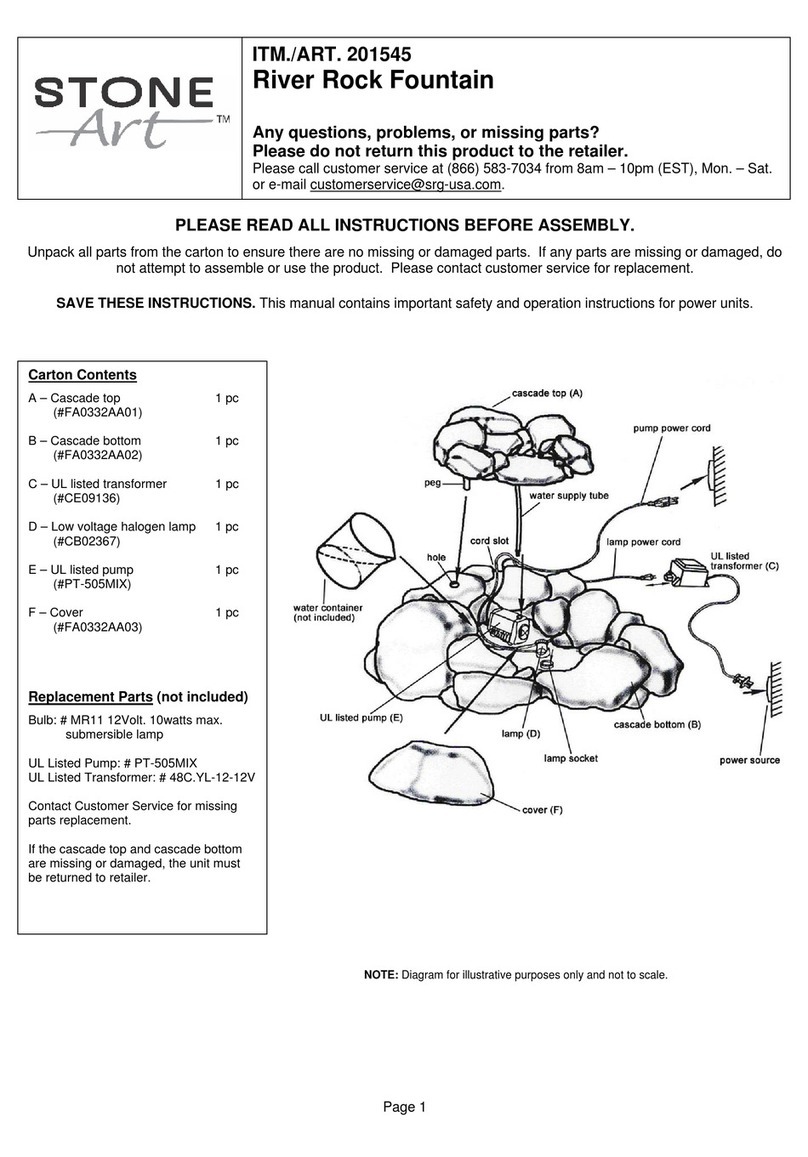
2. Remove the lamp’s plastic cover by twisting in a counter clockwise motion and
remove the transparent lens cover.
3. The bulb may now be pulled out from its socket and replaced with a new bulb
Replacement for the high intensity halogen bulb: (not included)
MR-11 type halogen bulb, 12 volts, 10 watts maximum
Light Bulb Replacement Instructions – Finger Lamp
1. If an accent light bulb is burned out, unplug the transformer from the power
source and allow a few minutes for the light bulb to fully cool before handling.
2. Detach the lamp from the lamp clip and remove the glass tube by firmly
grasping and twisting the tube away from the bulb socket.
3. The bulb may now be pulled out from its socket and replaced with a new bulb
4. Reattach the glass tube by pushing and twisting onto the bulb socket.
Replacement for the high intensity halogen bulb: (not included)
JC type, 12 volts, 10 watts maximum
IMPORTANT SAFETY INSTRUCTIONS PERTAINING TO A RISK OF FIRE, OR INJURY TO PERSONS
WARNING - Lighted lamp gets HOT quickly. Do not touch hot lens or cover.
Unplug and allow the lamp to cool before handling the lamp.
Keep lamp away from materials that may burn.
Do not touch the bulb at any time. Use a soft cloth. Oil from skin may damage lamp.
Do not operate the lamp without bulbs or with missing or damaged lamp covers.
Troubleshooting Guide:
If the pump operates, but, there is no water flow…
1. Check to make sure the pump is fully submerged.
2. Check the supply tube for any kinks or folds and correct.
If the pump operates, but there is no water flow and the pump is fully submerged and the supply tubing has no kinks…
1. Disconnect the pump from the power source.
2. Disconnect the supply tube from the pump outlet.
3. Check for clogs or holes and clean the tubing inside and outside if necessary.
4. Check for clogs and clean the pump inlets and outlet if necessary.
5. Place the pump back into the water outlet side up and then re-connect the pump to the power source.
6. Once the water begins to flow from the pump, re-connect the supply tubing to the pump outlet.


