Storage Canopy EWC4040R User manual

1
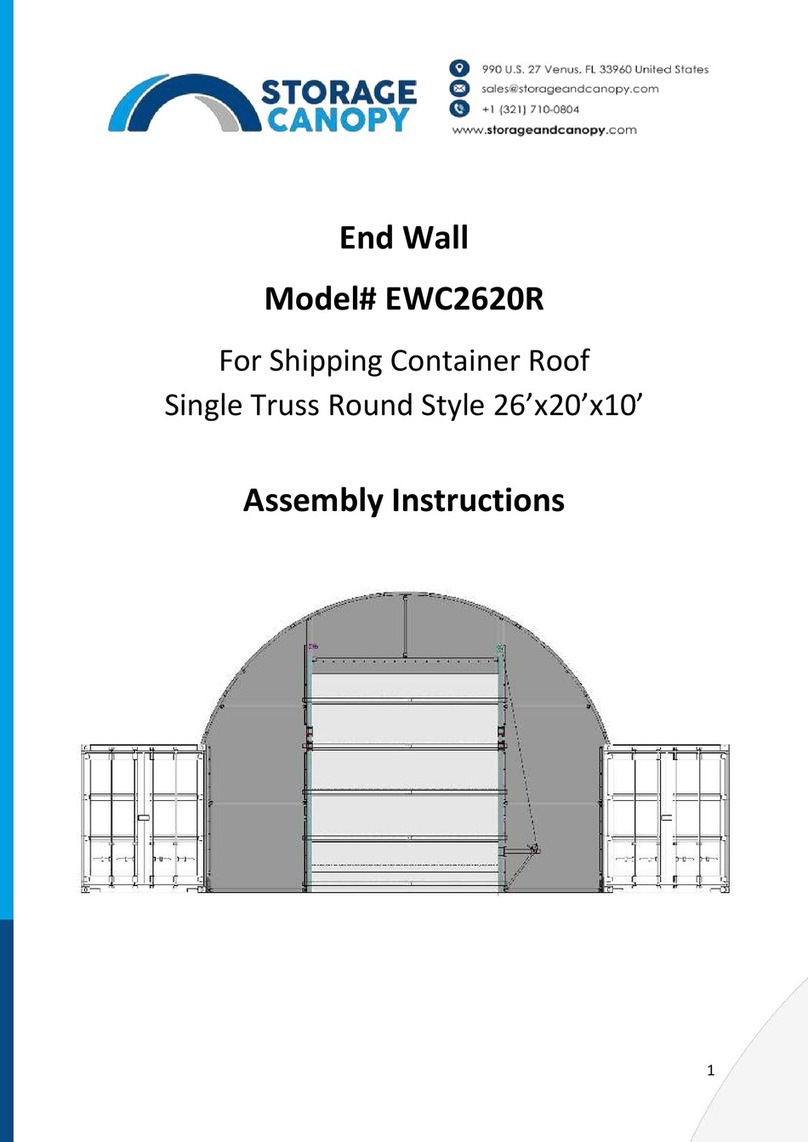
End Wall
Model# EWC4040R
For Shipping Container Roof
Single Truss Round Style 40’x40’x15’
Assembly Instructions

2
Equipment List
Speed Wrench
22#.23#.24#
Hammer (30lb)
Rope (12#)
Long Tape (50m)
Hammer Drill*1
Lifter*2
Crane*1
Forklift*1
Protective
equipment

3
YOU MUST READ THIS DOCUMENT BEFORE YOU BEGIN TO ASSEMBLE THE SHELTER.
Thank you for purchasing our shelter. When properly assembled and maintained, this product will provide years
of reliable service. These instructions include helpful hints and important information needed to safely assemble
and properly maintain the shelter. Please read these instructions before you begin.
If you have any questions during the assembly, please contact local dealer for assistance.
SAFETY PRECAUTIONS
. Wear eye protection.
. Wear head protection
. Wear gloves when handling metal tubes
. Use a portable GFCI (Ground Fault Circuit Interrupter) when working with power tools and cords.
. Do not climb on the shelter or framing during or after construction.
. Do not occupy the shelter during high winds, tornadoes, or hurricanes.
. Provide adequate ventilation if the structure is enclosed.
. Do not store hazardous materials in the shelter.
. Provide proper ingress and egress to prevent entrapment.
ANCHORING INSTRUCTIONS
Prior to assembling this shelter, please read the MUST READ document included with the shipment.
WARNING: The anchor assembly is an integral part of the shelter construction. Improper anchoring may
cause shelter instability and failure of the structure. Failing to anchor the shelter properly will void the
manufacturer’s warranty and may cause serious injury and damage.
LOCATION
Choosing the proper location is an important step before you begin to assemble the structure.
The following suggestions and precautions will help you determine whether your selected location is the best
location.
. Never erect the structure under power lines.
. Identify whether underground cables and pipes are present before preparing the site or anchoring the
structure.
. Location should be away from structures that could cause snow to drift on or around the building
. Do not position the shelter where large loads such as snow and ice, large tree branches, or other overhead
obstacles could fall.
. Your shelter’s cover can be quickly removed and stored prior to severe weather conditions. If strong winds or
severe weather is forecast in your area, we recommend removal of cover.
SITE
After choosing a location, proper preparation of the site is essential. The following site characteristics will help
ensure the integrity of the structure.
. The support structure must be level to properly and safely erect and anchor the frame.
. Drainage: Water draining off the structure and from areas surrounding the site should drain away from the site
to prevent damage to the site, the structure, and contents of the structure.
WARNING: The individuals assembling this structure are responsible for designing and furnishing all
temporary bracing, shoring and support needed during the assembly process. For safety reasons, those who are
not familiar with recognized construction methods and techniques must seek the help of a qualified contractor.
4
ANCHORING THE CONTAINER
Make sure you have:
Welder.
Cement.
Four 3” x 3” x 6 feet ¼” Square steel angle
1. As shown in the diagram 1, make a 3 ft deep hole right beside one of the front and opposite rear corners of
the container, in which the 6ft square steel will be installed.
2. Insert the 6ft square steel into the hole, making sure 3ft is below the surface completely laying on the side
of the containers.
3. Weld the square steel to the 2 containers.
4. Pour cement in the holes to make sure the square steel won’t move.
5. Repeat the previous steps on the corners located in the opposite rear side.
Securing the containers to the floor is crucial, that way the containers won’t shift under harsh weather
conditions, thus avoiding the shipping container canopy roof top of getting damaged.
Diagram 1

5
Highly Recommended
1. All container canopy covers need to be removed during windstorm of 60 mph, leaving frame assembled.
Customer responsibility.
2. All container canopy covers need to be removed before a snowstorm of 1-2 inches (for single truss
Shipping container roofs) and 3-4 inches (for double truss Shipping container roofs), leaving the frame
assembled. Customer responsibility.
3. It is highly recommended for customers who live in snow states and cities to use double truss framing
instead of Single truss framing. Customer responsibility.
4. It’s the owner's responsibility to shovel snow off the canopy rooftop.
5. All containers need to be anchored to the ground in each opposite corner sides. Customer responsibility.
6. All of our products fall under the temporary structure category/storage ragtops.
Return Policy: Any product can be returned within 7 calendar days after arrival; shipping expenses are not
refundable. For more information, please refer to the Return and refund policy page.
About lifespan:
Tarp lifespan: 7-10 years*
Frame Lifespan: +15 years*
*The term "lifespan" refers to the durability of the materials themselves, not to the structural integrity of the
canopy once assembled.

6
End Wall 40’x40’x15’ Parts List
Part
Code
Description
Qty/
PCS
21
left lower post welded with door track
1
22
right lower post welded with door track
1
23
middle post welded with door track
(extension for high cube container)
2
24
left upper post welded with door track
and pully
1
25
right upper post welded with door track
and pully
1
26
upper post
2
27
connection plate for post
6+6
28
interior lower post
2
29
interior middle post (extension for high
cube container)
2
30
interior upper post, left & right
2
30A
base plate
2
31
cross beam, 2pcs/set
1 set
32
vertical rod
1
33
rail
2
34
rail
8
35
rail
4
36
side square tube (left & right) with velcro
2
37
side square tube with velcro (extension
for high cube container)
2
38
angle bracket
1

7
39
door winch bracket
1
40
support tube for winch bracket
1
41
pole for door opening
1
42
door bracing tube 2pcs/set
5 sets
43
bottom bracing tube with hole 2pcs/set
1 set
44
tube clip with bolt
10
45
bolt M12x130 for post
26
46
bolt M10x70 for post
25
47
bolt M10x30 for connection plate
22
48
bolt M10x90 for swaged tube
12
49
carriage bolt M11x100 for rail
6
50
bolt M8x70 for rail
2
51
bolt M6x40 for door bracing tube No.42,
No.43
6
52
expansion bolt
16
53
cable tie
60
54
rope, 5 bundles
2 packs
55
steel wire rope
1 bundle
56
steel wire clamp
4
57
door winch
1
58
front cover
1

8
FRAME INSTALLATION
Installation for End Wall Basing on 40ft standard container (8’6’’ high)
Winch door size: W13ft x H16ft

9
Installation for End Wall Basing on 40ft high cube container (9’6’’ high)
Winch door size: W13ft x H17ft

10
WINCH DOOR INSTALLATION

11
1. Install the front door frame and door winch bracket
2. Fix the winch to the bracket. Make sure the winch handle faces the outside. Refer to Figure 1.

12
3. Take out the door curtain cloth and lay it on the ground. Pay attention to the direction. The side with
pipe pockets faces inward.
4. Connect the door bracing tube (2pcs/set) with M6x40 bolt.
5. Thread the door bracing tube into the pocket from top to bottom. Pay attention to the bottom
bracing tube. There are holes on both sides for fixing steel wire rope. Refer to Figure 2.

13
6. Put the steel wire rope through the pulley on the door frame as shown in Figure 3, so that the steel
wire rope is located on the inner side of the door frame and on the same plane as the pulley, and then
the steel wire rope sags naturally. Keep the length of both sides equal, and naturally sag to the ground.
7. Fix each end of steel wire rope to the hole on bottom bracing tube with steel wire clamps. Make
sure fix it firmly.
8. Put the door bracing tube into the track from the gap at the bottom,from top to bottom.

14
9. Adjust the length of the steel wire rope to be equal on both sides.Fix the wire rope fold to the hole in
the winch. Refer to Figure 4.
4

15
10. Turn the winch clockwise to lift the door curtain cloth and bracing tubes to a position about
40-50cm away from the cross beam. Lace the eyelets on the cloth to cross beam with a rope. Refer to
Figure 5.

16
11. Now the winch door installation is completed.Turn the winch clockwise to raise and
counterclockwise to lower the door. The steel wire rope shall be evenly wound on the winch so that the
door can rise and fall smoothly.

17
COVER INSTALLATION
Installation for End Wall Basing on 40ft standard container (8’6’’ high)
Winch door size: W13ft x H16ft
Note: Need to put the bottom bracing tube(No.43) into the second last row of pocket.

18
Installation for End Wall Basing on 40ft high cube container (2.9m, 9’6’’ high)
Winch door size: W13ft x H17ft
Note: Need to put the bottom bracing tube(No.43) into the bottom pocket.
Now your installation is completed.
Table of contents
Other Storage Canopy Tent manuals

Storage Canopy
Storage Canopy End Wall EWC2620R User manual

Storage Canopy
Storage Canopy FB335017DP User manual

Storage Canopy
Storage Canopy Metal Carport 12'x20'x10' Instructions for use

Storage Canopy
Storage Canopy EWC3340R User manual

Storage Canopy
Storage Canopy FB204016DP User manual

Storage Canopy
Storage Canopy EWC2020R User manual

Storage Canopy
Storage Canopy EWC3340DTPR User manual
Popular Tent manuals by other brands

Coleman
Coleman Tent 9277B151 instructions

Ozark Trail
Ozark Trail WMT-1290S owner's manual

ShelterLogic
ShelterLogic 78431 Assembly manual & parts list

GigaTent
GigaTent Princess Cruiser owner's manual

Kiwi Camping
Kiwi Camping HOMESTEAD Pitching instructions

ShelterLogic
ShelterLogic 30'W x 15'H instructions