10
VIDEO CAPTURE MODE
This is the default mode the device will be set to when first turned on. In Video Capture mode you can record video
footage on the camera.
To start recording:
Press the “Record” button. A red dot will flash on screen and the recording time will start to count up in the
format: HH:MM:SS.
To stop recording:
Press the “Record” button. The recording time will be replaced with remaining time on the SD card (in
white), in the same format: HH:MM:SS.
Other functions:
You can also use the “Up” and “Down” buttons to zoom in or out of the image, from 1x to 8x.
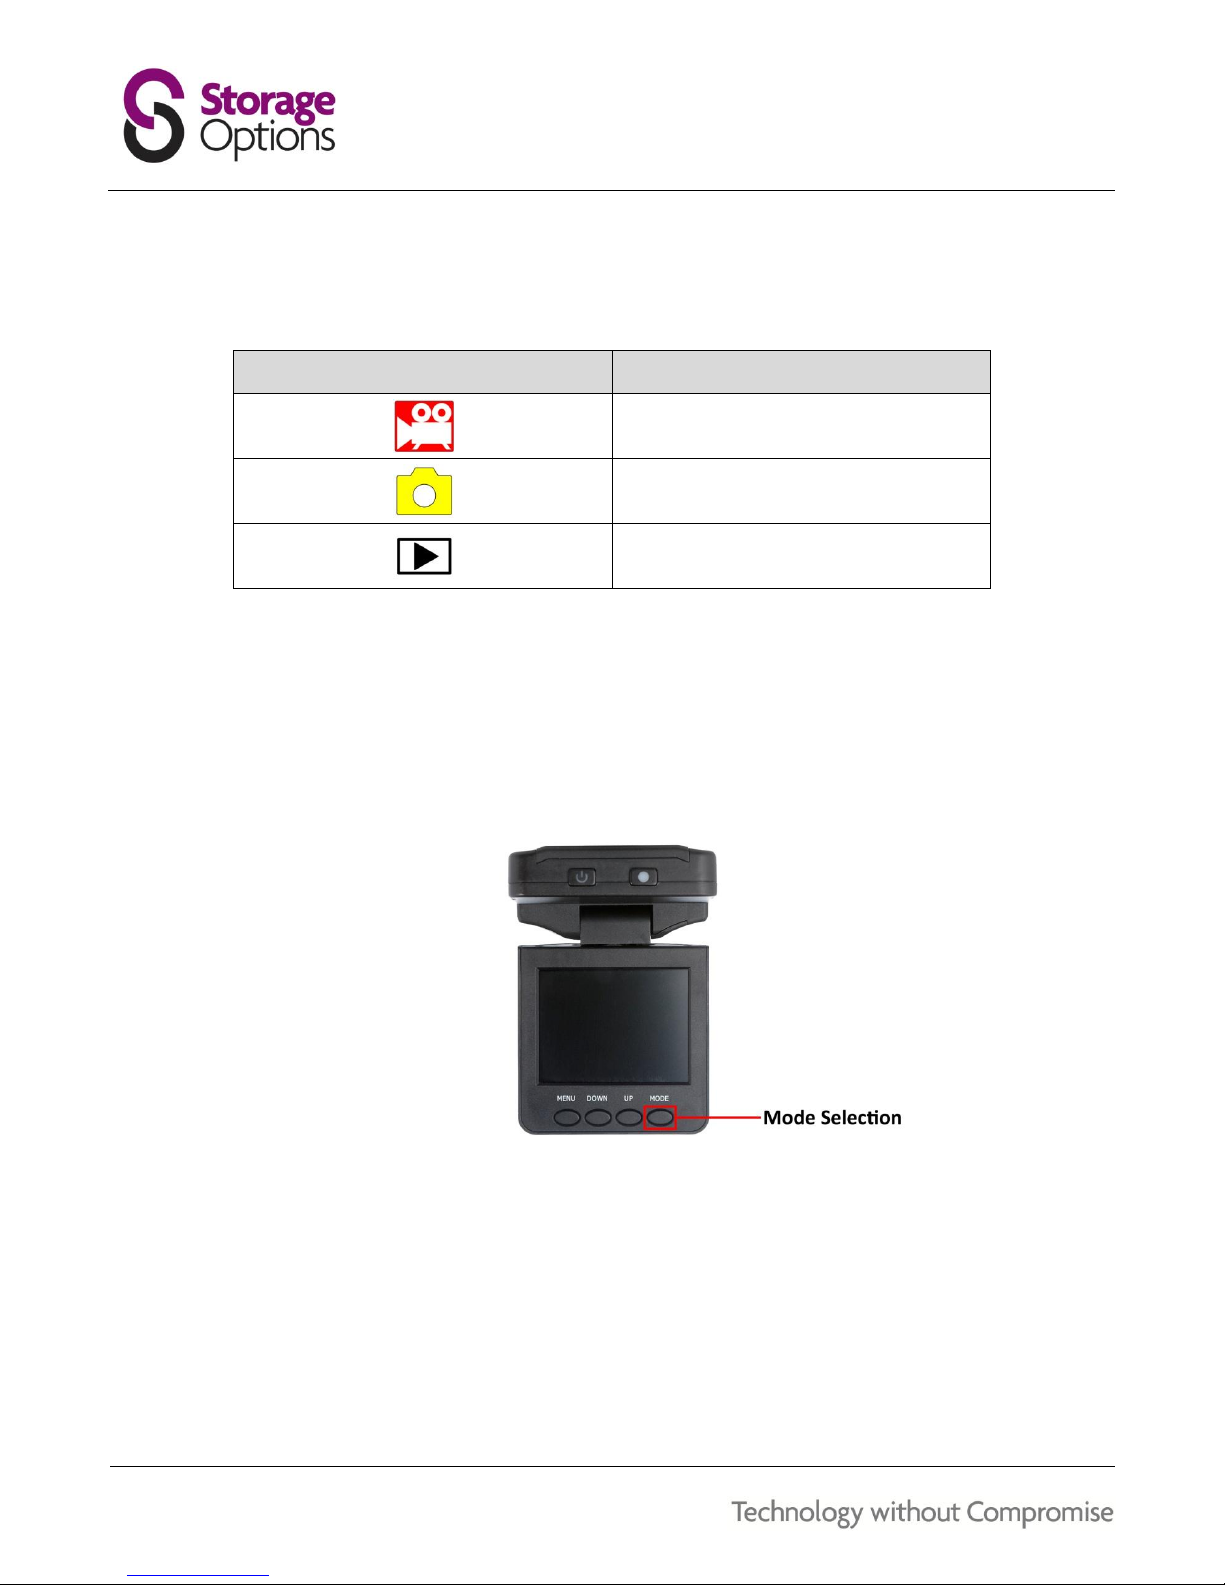
9.1 –MAIN MENU
When in Video Capture mode, press “Menu” once, and the following will be displayed on screen:
9.2 –VIDEO OUTPUT MENU OPTIONS