Storm Manufacturing Buckner Superior Sterling Series Instruction Manual
Storm Manufacturing Group, Inc. / 23201 Normandie Ave. / Torrance, CA 90501 / TEL: 800.210.2525 / FAX: 800.997.0500 / www.BucknerSuperior.com
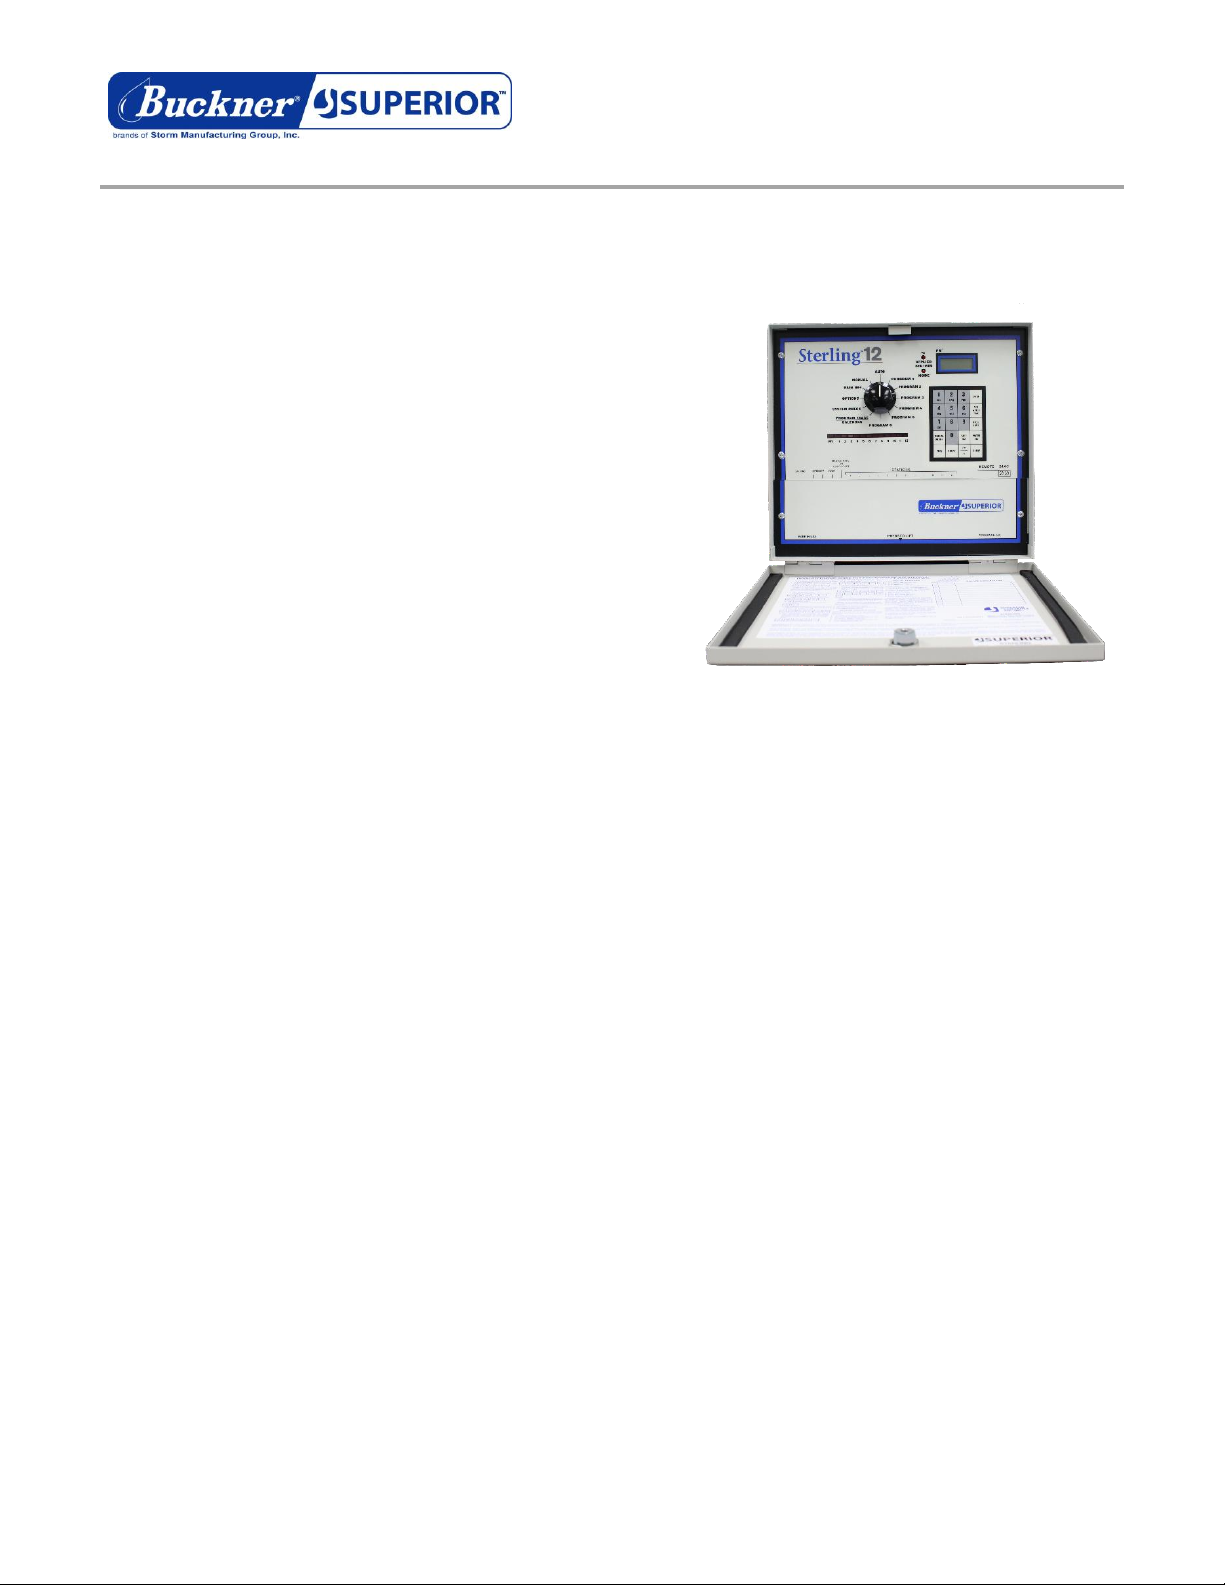
Frequently Asked Questions
STERLING CONTROLLER FAQ
1) What does it mean when the display alternately flashes
“Fuse” and one or more numbers?
This message indicates that the controller encountered a
short during a watering cycle. The station number where the
short occurred is the number shown in the message. The
case of the short is most likely a shorted solenoid coil or bare
wires touching each other.
To clear the “Fuse” message, turn the dial to any position
other than AUTO and press the CLEAR key. The cause of the
short must be corrected or the message will appear again
during the next watering cycle.
2) What does it mean when the display shows “Fuse” with no
number?
This is caused by a transient surge that has spiked the
line. To clear the message, turn the dial to any position other
than AUTO and press the CLEAR key.
3) What does it mean when the display shows “OF” and a number and no stations will operate automatically or
manually?
This happens when the Programmable Rain-Off feature is utilized. By turning the dial to the RAIN-OFF position
and keying in a number from 1 to 14 then pressing ENTER, operation is suspended for the number of days that
were entered. The number currently appearing on the display represents how many more days before operation will
resume. To cancel the suspension, turn the dial to RAIN-OFF, and press 0, then press ENTER. Return the dial to
AUTO.
4) One of my valves continues to stay on. None of the station lights are on. What is causing the valve to stay on?
The likely cause is a struck valve. To verify this, remove the AC power to the controller. If the valve continues to
stay on, there is 100% certainty that the problem is with the valve, not the controller.
5) One of my valves has been on for hours and will not advance to the next station. The station light is on. What is
the problem?
The likely cause is that the time is set to run in hours instead of minutes. To verify, turn the dial to the program
in operation. Next, key in the station number and then press the STN WATER TIME key. IF, for example, the display
shows the water time as 8:00, the run time is set for eight hours instead of eight minutes (which would be
displayed as :08).
6) Why is there a long beep when I move the dial from a program position?
This means that programming is incomplete and the program will not operate automatically. Return the dial to
the program position and complete programming. In addition to assigning one or more stations to the program, you
must enter at least one cycle-state time and at least one watering day.
7) When attempting to add more watering days to a program, I get an “Eror” (error) message. Why?
If you attempt to add a watering day that exceeds the calendar length, an error message appears on the
display. For example, if the 7 day calendar is changed to a 2 day calendar (to accommodate every other day
watering) you can only assign days 1 and 2 as watering days. The error message usually occurs when the person
attempting to add days is unaware that the calendar has been changed from a 7 day calendar. To see the calendar
length, turn the dial to the PROGRAM ERASE/CALENDAR position. IF the display shows PE: 2, then the calendar

Storm Manufacturing Group, Inc. / 23201 Normandie Ave. / Torrance, CA 90501 / TEL: 800.210.2525 / FAX: 800.997.0500 / www.BucknerSuperior.com
length is 2 days. To change the calendar length to 7 days, key in 7 then press ENTER. The display will then flash PE:
7 to indicate that the calendar length has been changed to 7 days.
8) How do I change the current time of day that is displayed when dial is in AUTO?
Turn the dial to any program number and key in the current time (if PM press PM key) then press TIME key.
Return dial to AUTO position and the correct time will appear on the display.
9) How can I determine what stations are included in a program and the watering duration of each station?
Turn the dial to the desired program. Press the STN WATER TIME key. The number that appears on the display
is the combined watering duration for all stations assigned to the program. Next, press the STN WATER TIME key a
second time. The display will scroll thru all assigned stations in sequence first showing the station number followed
by the station watering duration.
To view the watering duration of a particular station, key in the station number then press STN WATER TIME
key and the station watering duration will appear. If no station watering time appears, then that station has not
been assigned to the program.
10) How can I determine what the cycle start time is for a program?
Turn the dial to the desired program and press CYCLE START key. The controller will display in sequence all
programmed cycle starts, first showing the cycle start number followed by the cycle start time, and then the cycle
end time.
11) When I checked the cycle start time for a program by pressing the CYCLE START key it showed two cycle start
times, but I only assigned one cycle start. How is this possible?
The first time that appeared on the display is the cycle start time. The second time that appeared on the
display is the cycle end time, not a second start time.
12) How can I check what water days are assigned to a program?
Turn the dial to the desired program and press the WATER DAY key. The display will scroll the water days as
“On” days.
13) How do I delete a water day?
Turn the dial to the desired program and key in the day you want to delete, then press the SKIP DAY key.
14) How do I change the watering duration of a station?
Turn the dial to the desired program. Key in the station number and press the STN WATER TIME key. Next, key
in the desired watering duration and press ENTER.
15) How do I delete a station from a program?
Turn the knob to the desired program. Key in the station number and press the STN WATER TIME key. Next, key
in 0 and press ENTER.
16) I have watering set for Monday, Wednesday, and Friday but it’s watering on Tuesday, Thursday, and Saturday.
What’s wrong?
TODAY is set on the wrong day. To set on the correct day, turn the dial to any program and key in the current
day (1=SUN, 2=MON, 3=TUE, etc) and then press the TODAY key.
17) I programmed a loop cycle to begin at 8:00AM and end at 6:00PM. After completing the programming steps at
1:00PM, I returned the knob to AUTO and expected the cycle to start. Why didn’t it start?
The program will not start automatically until the next scheduled start time which is 8:00AM the following day.
However, the program can be stated semi-automatically at any time by turning the knob to the loop program, keying
in the lowest numbered station assigned to the program and then pressing the MANUAL ON/OFF key. The program
will operate until the end of the loop and then shut off automatically.
18) I programmed a loop cycle with all stations set to water for 10 seconds. However, during a cycle each station
runs for 6 seconds then shuts off for 4 seconds before the next station turns on. Why is this?
The controller has a feature enabling you to set a delay of 1 to 59 seconds between the time one station shuts
off and the next station turns on. The delay time is subtracted from the previous station's runtime. If a 4 second

Storm Manufacturing Group, Inc. / 23201 Normandie Ave. / Torrance, CA 90501 / TEL: 800.210.2525 / FAX: 800.997.0500 / www.BucknerSuperior.com
delay is scheduled, and the previous station is set to water for 10 seconds, the station would run for 6 seconds and
then shut off for 4 seconds before the next station turns on. Had all of the stations been set to water for 14
seconds, then each station would actually run for 10 seconds then shut off for 4 seconds before the next station
turns on.
To eliminate the delay, turn the dial to the loop program, key in 0then press the STN WATER TIME key. Next,
key in 0then press ENTER.
19) How do I change the delay between watering cycles in my loop program?
Turn the dial to the loop program. Next, key in 90 then press the STN WATER TIME key. Next, key in the
desired delay time (1 min to 4 hrs, 15 min), then press ENTER.
20) How do I change the start time and end time of my loop program?
Turn the dial to the loop program. To change the start time of the loop, press 9then press the CYCLE START
key. Next, key in the desired start time then press ENTER. To change the end time of the loop, press 0then press
the CYCLE START key. Next, key in the desired end time (followed by PM key if applicable) then press ENTER.
21) Does the dial need to be in the AUTO position in order for the programs to operate automatically?
No. Automatic operation will occur with the dial set in any position other than RAIN-OFF. The only exception is
when Option 0 is enabled. This option gives you the flexibility of having two or more programs set, but limiting
automatic operation to only that program at which the dial is set. If the dial is moved to AUTO then all programs are
allowed to operate automatically.
22) When I try to enter 10 minutes of watering, the display shows a different time. What's wrong?
The Water Budgeting feature is set at other than 100%. If, for example, the Water Budget is set at 50% and
you entered 10 minutes of water time for a station, the display would show 5 minutes. To change Water Budget to
100%, turn the dial to the desired program then press the % /PM key. Next, key in 100 then press ENTER.
This manual suits for next models
1
Table of contents
Popular Controllers manuals by other brands

Vestax
Vestax PMC-05ProIII owner's manual

Honeywell
Honeywell HON R100NG Series User and maintenance manual

PIETRO FIORENTINI
PIETRO FIORENTINI REVAL 182 Technical manual

Sonic
Sonic PPG30 instructions

HomeMatic
HomeMatic HM-LC-Dim1TPBU-FM Installation and operating manual

Altronix
Altronix Maximal3FD installation guide


